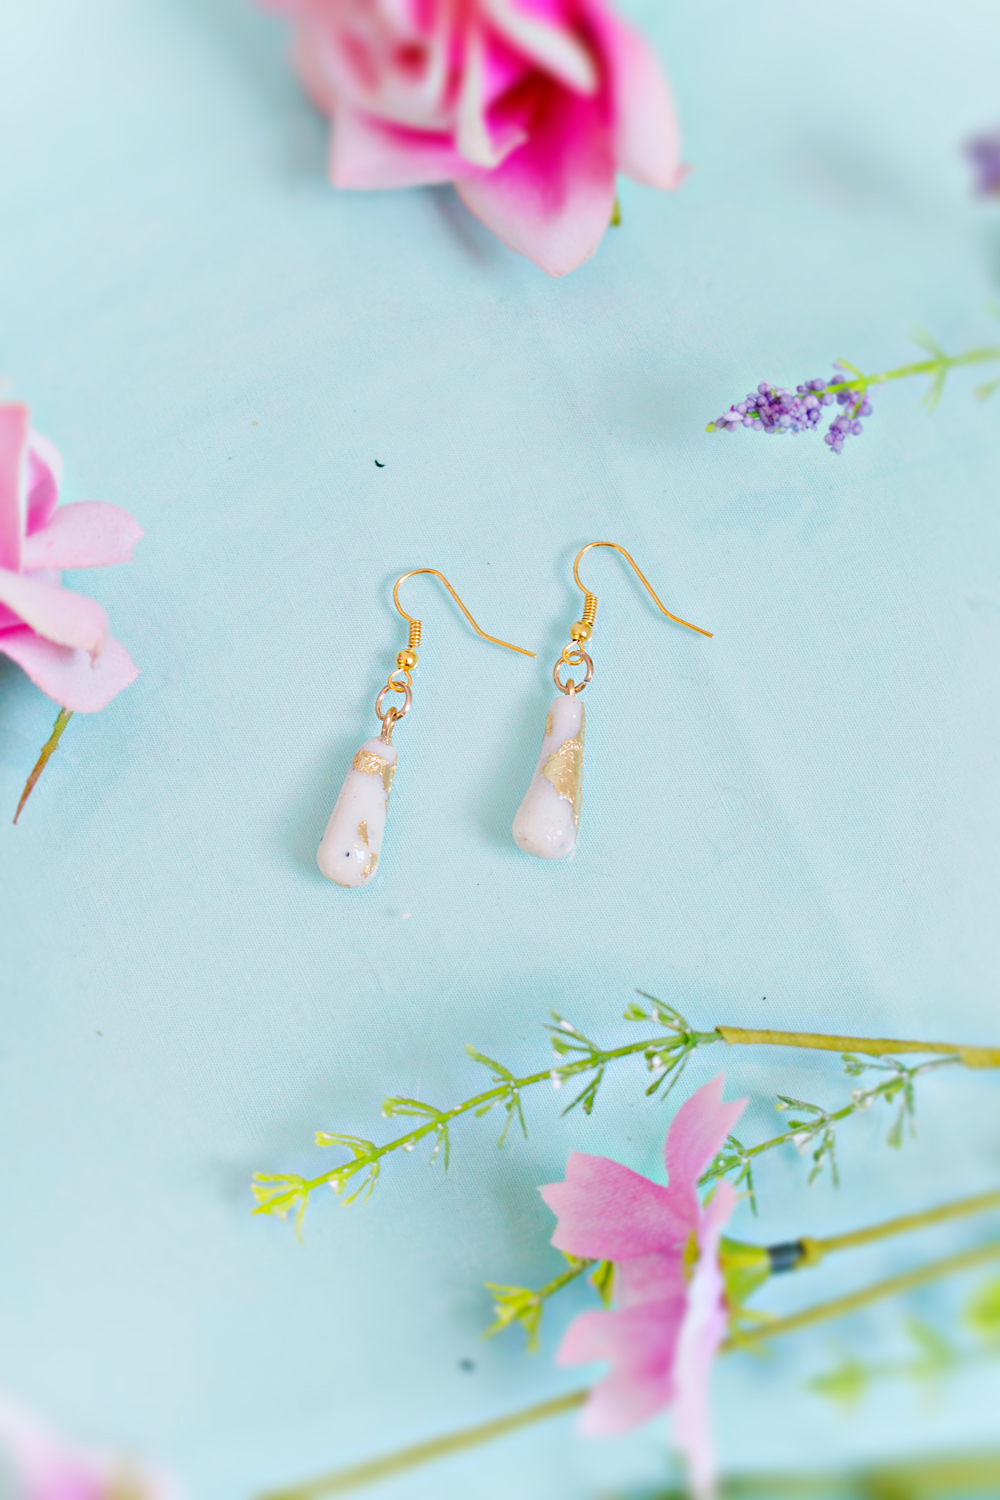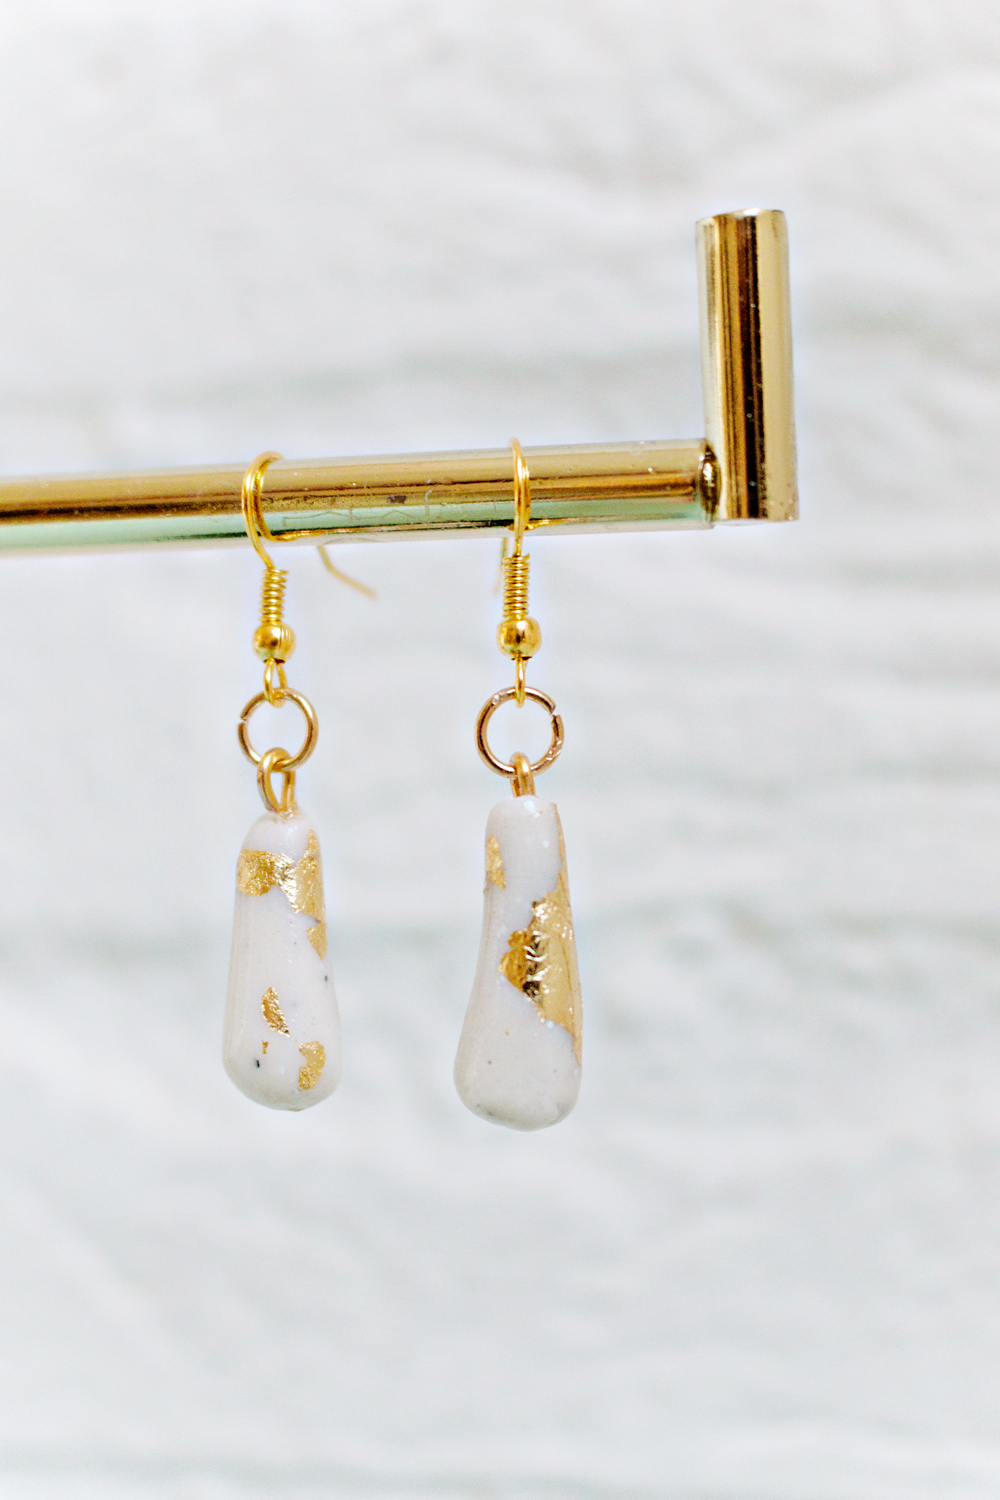
What do you do when you have left-over materials and are in need of a quick fancy and affordable pair of earrings? That’s right: you make them yourself in less than an hour!
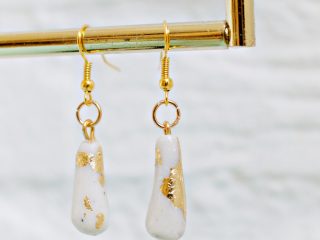
I was experimenting with different shapes and sizes and while trying these ones out and wearing them for a day, two different people complimented me on the earrings and asked me where I bought them. Which if you haven’t guessed by now, is the biggest compliment that you can give a DIY enthusiast like myself. Result: a step by step photo tutorial on how to make them yourself!
Are you ready to heads with a new pair of white and gold dangle earrings?
JEWELRY DIY | Gold Leaf Teardrop Earrings Step
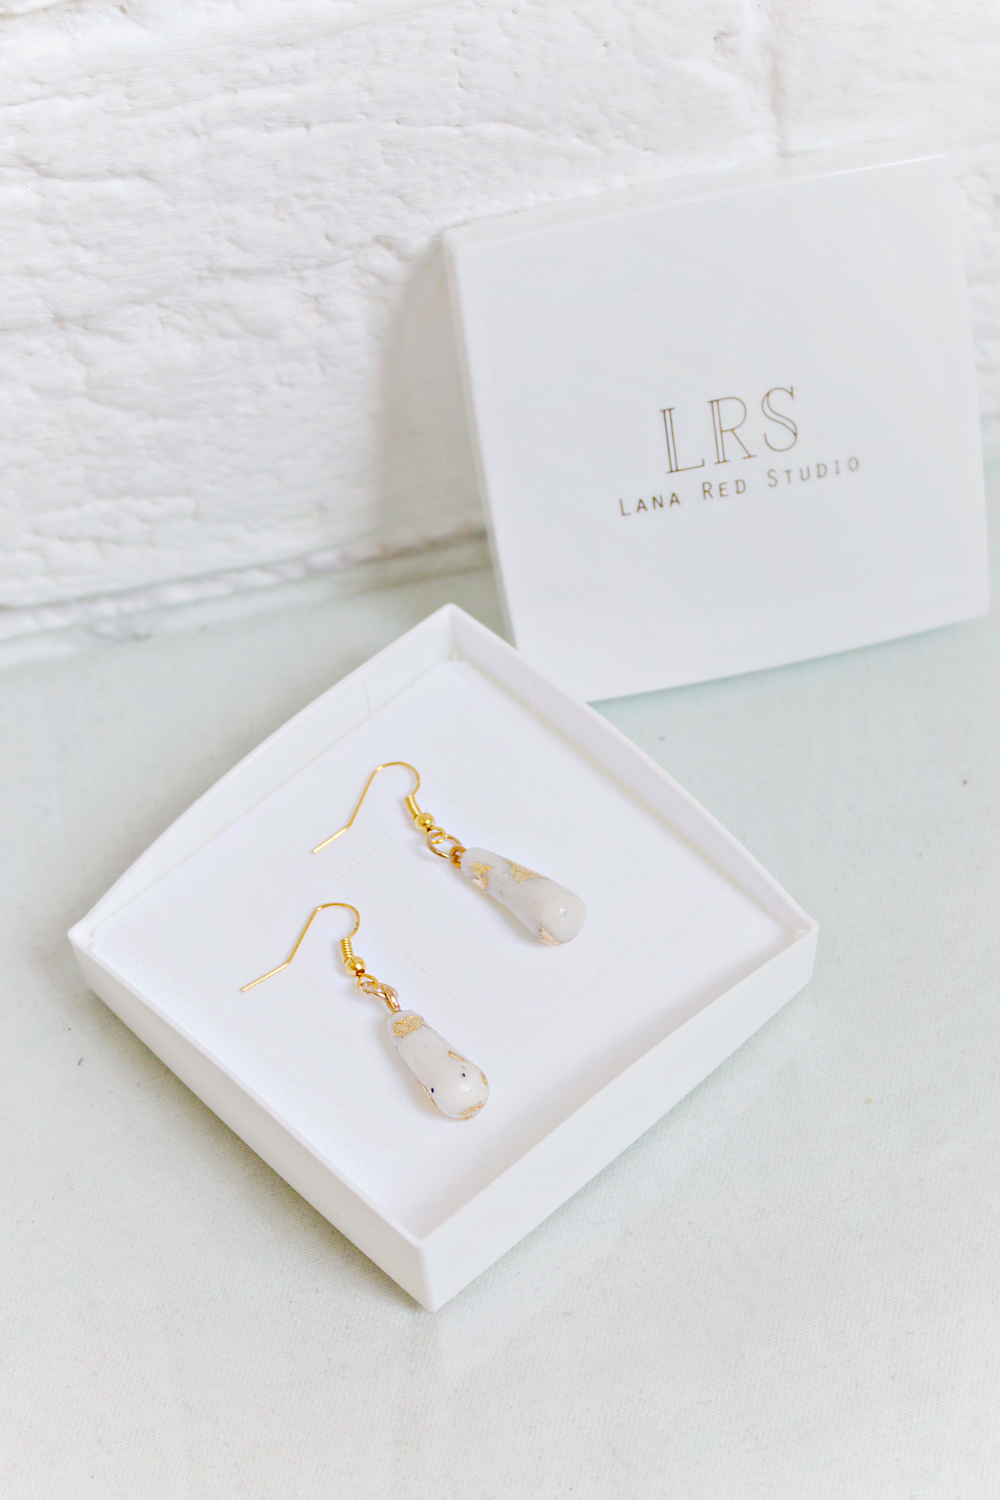
This project is a part of the LRS DIY / BUY it collection.
Make it yourself, or buy it today!
SUPPLIES
Polymer Clay ( I used one with a marble effect)
A sheet of gold leaf
Leaf Adhesive
Jewelry hoops x2
Earrings x2
Gold coloured wire
Pliers
* Oven
STEP 1
*Preheat your oven according to the instructions on your polymer clay packet
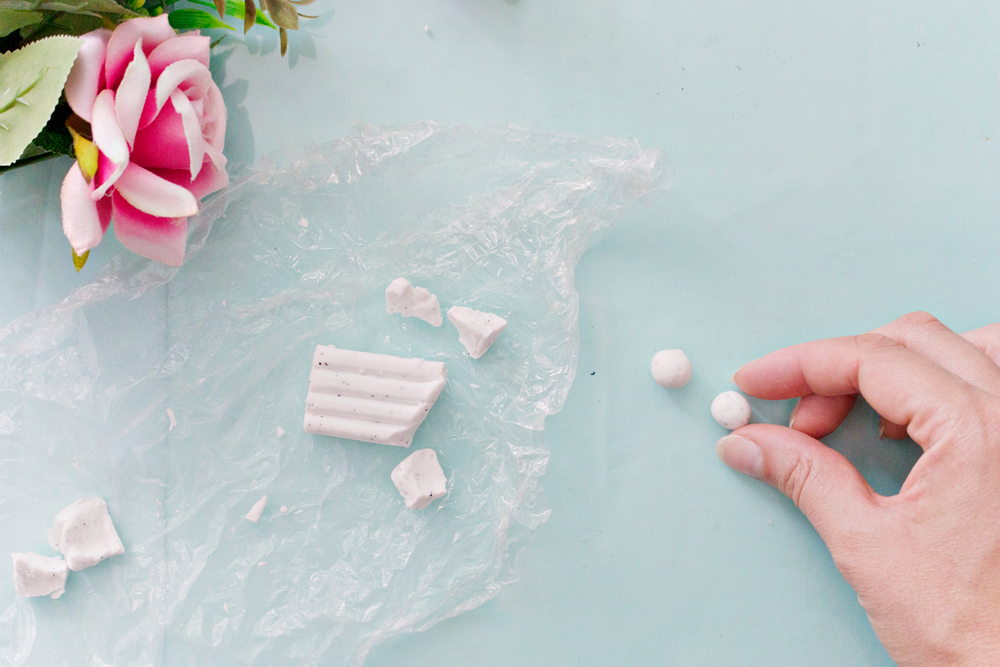
– Take a small piece of polymer clay and place it in the palm of your hand.
– Place your other palm on top and make circular movements to create a ball shape out of the clay.
– Repeat this once more with a second piece of clay.
STEP 2
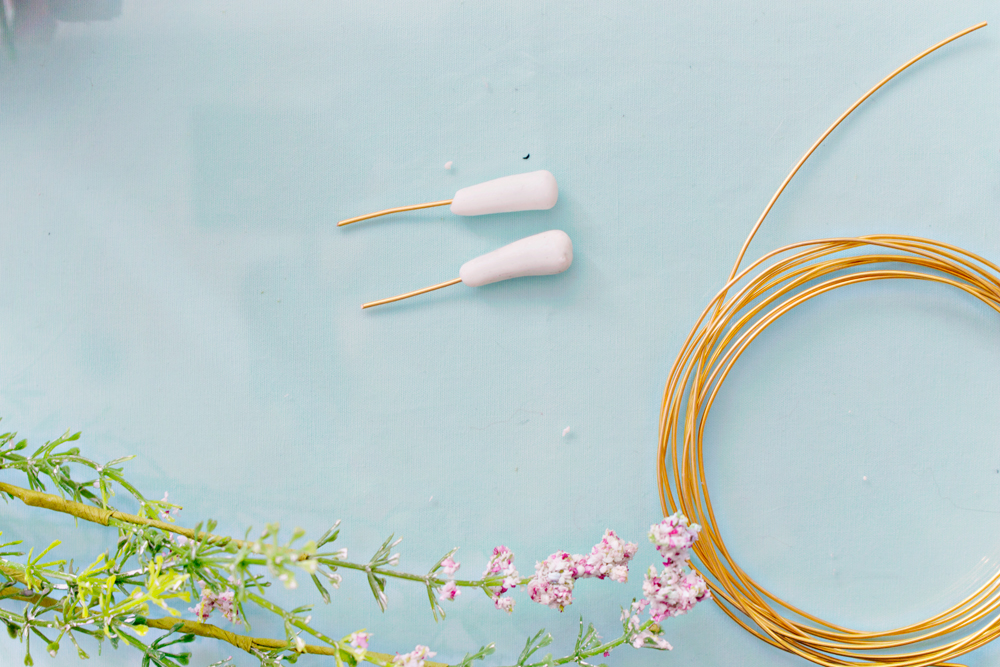
– Place the two small clay balls on a flat non-sticky surface. With your finger slow start rolling one of the balls vertically back and forth, while moving your finger horizontally across the surface. Press harder when moving to the left side and softer when moving to the right side.
– Keep rolling the ball until you have created your teardrop shape*.
– Repeat this for the other earring. They don’t have to be the same length yet, but the thickness should be similar.
* The best thing about clay is that you can’t ruin it. So no worries if you don’t get the envisioned shape within one try! Just start over with the same amount of clay until you have made the shape you desire.
STEP 3
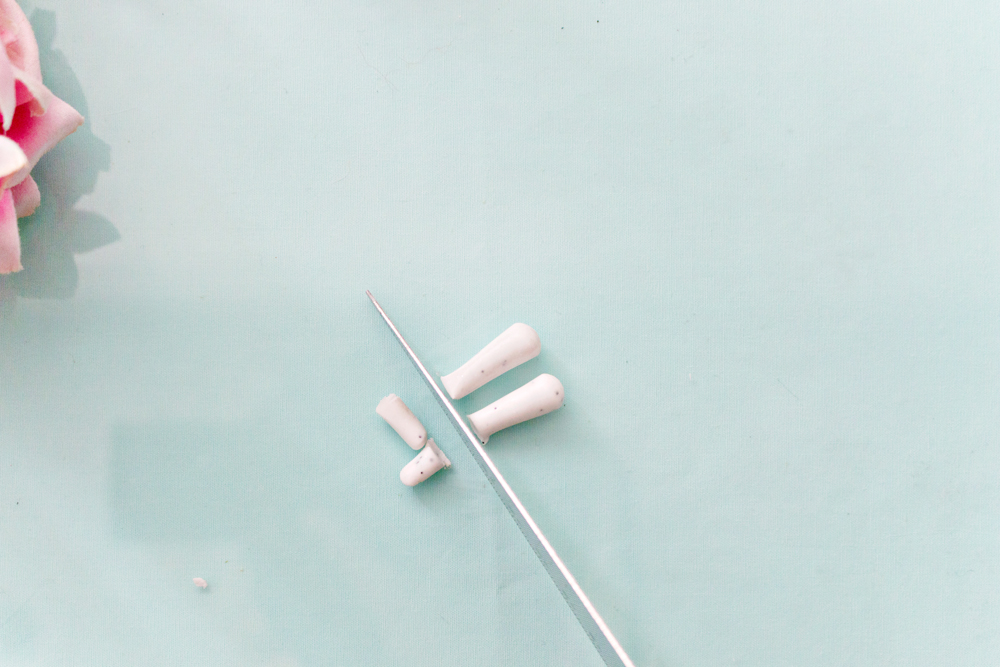
– With a dull object (like a ruler) cut off the excess clay at the small top of the teardrop, this will also make the earrings the same length.
STEP 4
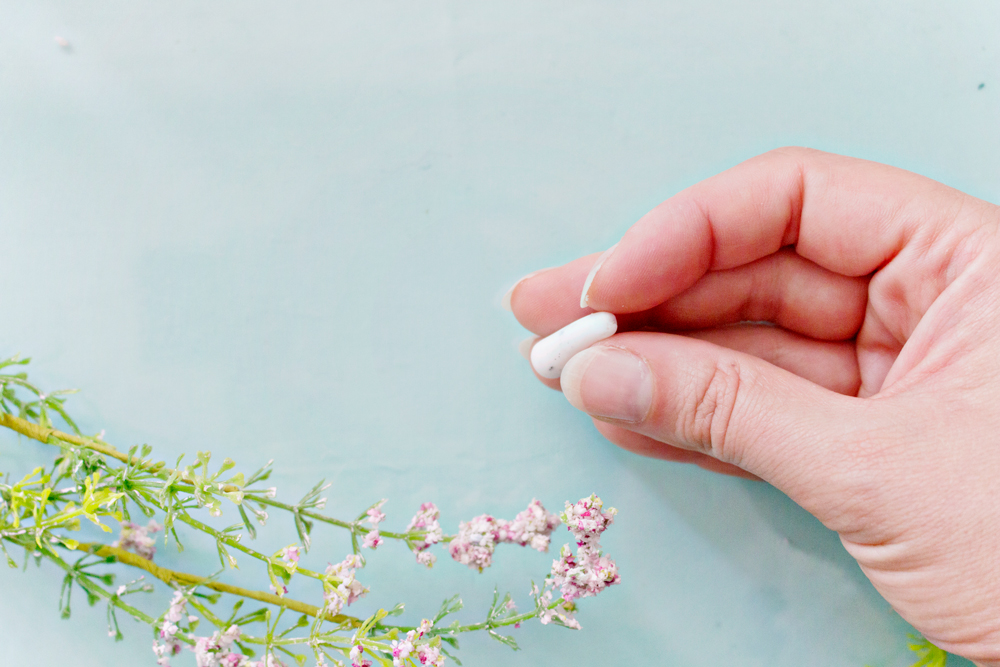
– Gently press the top of the earring with your finger, to create an even round top for both of the earrings.
STEP 5
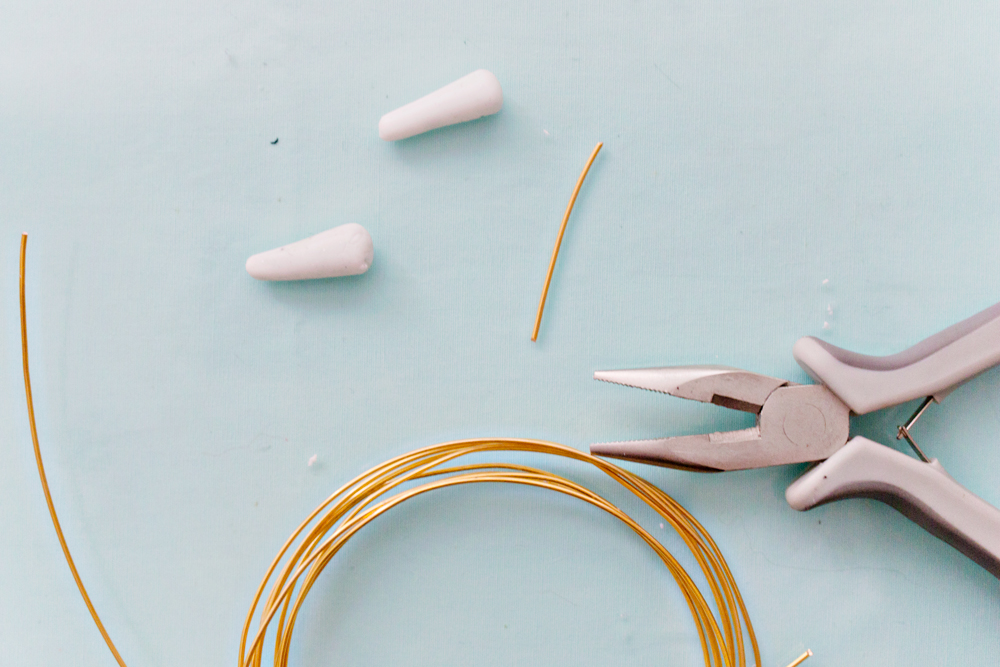
– Cut two pieces of gold wire in approx. 5 cm each with your pliers.
STEP 6
– While holding the biggest part of one of the earrings in between your finger in one hand, take the wire in the other hand. Slowly and gently press the wire in the top of the clay, while make a twisting motion with the wire. (like you are ‘screwing’ it in the clay).
– Repeat this for the other earring.
BAKING
– Place the earrings on a baking sheet and place them in the oven. Bake according to the instructions on the polymer clay packet.
– After baking the earrings, let them cool completely.
STEP 7
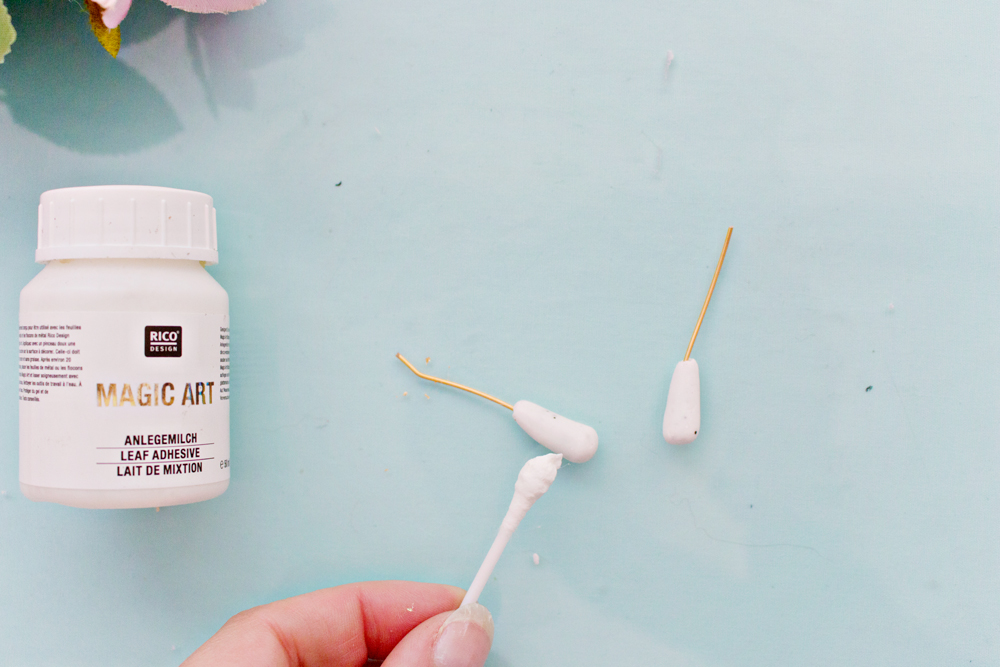
– Take a cotton swap and dip it in the leaf adhesive.
– Wipe the cotton swap across a few parts of the baked clay surface of the earrings.
– Let the adhesive sit for approx. 15 minutes.

STEP 8
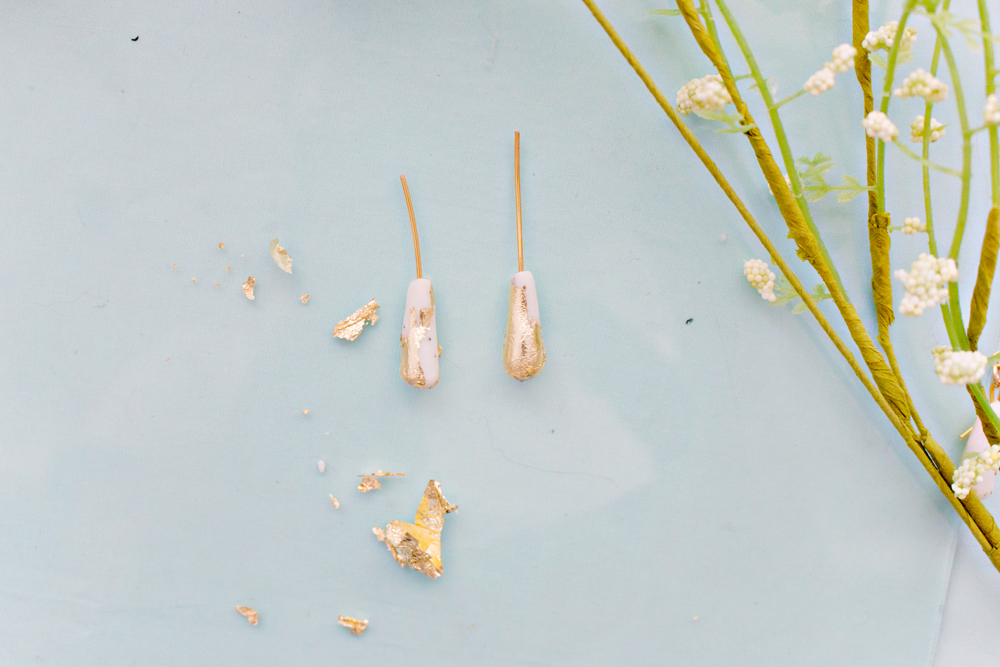
– Take your gold leaf and wrap both earrings in gold leaf.
– Gently press the gold leaf onto the clay with your fingers (do not rub the leaf yet!)
– Let the gold leaf sit for approx. 15 minutes.
STEP 9
– After the gold leaf and adhesive have set, gently rub the excess gold leaf from the earrings. Keep wiping the surface until all of the loose gold leaf has been removed.
STEP 10
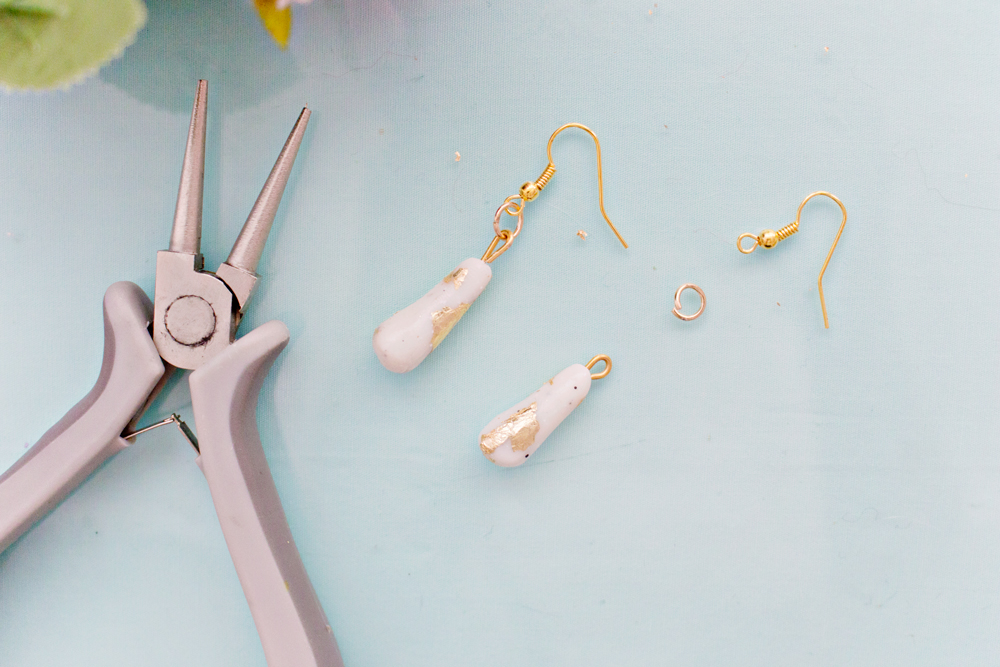
– With your pliers, turn the top of the gold wire into a loop.
– Attach one hoopring and one earring to each loop.
The materials used in the step-by-step was left over from a few other jewelry pieces that I made in the past. You can see and purchase them here.
My color choice of white and gold was mainly set by the materials in my home, but this project is perfect for experimenting with different types of polymer clay. Imagine making these with a black clay and gold leaf, so très chic!
CREDITS
Gold Leaf – Pipoos
Leaf Adhesive – Idee Creativmarkt
Top – SHEIN
This post is an original LRS project and was not sponsored.

