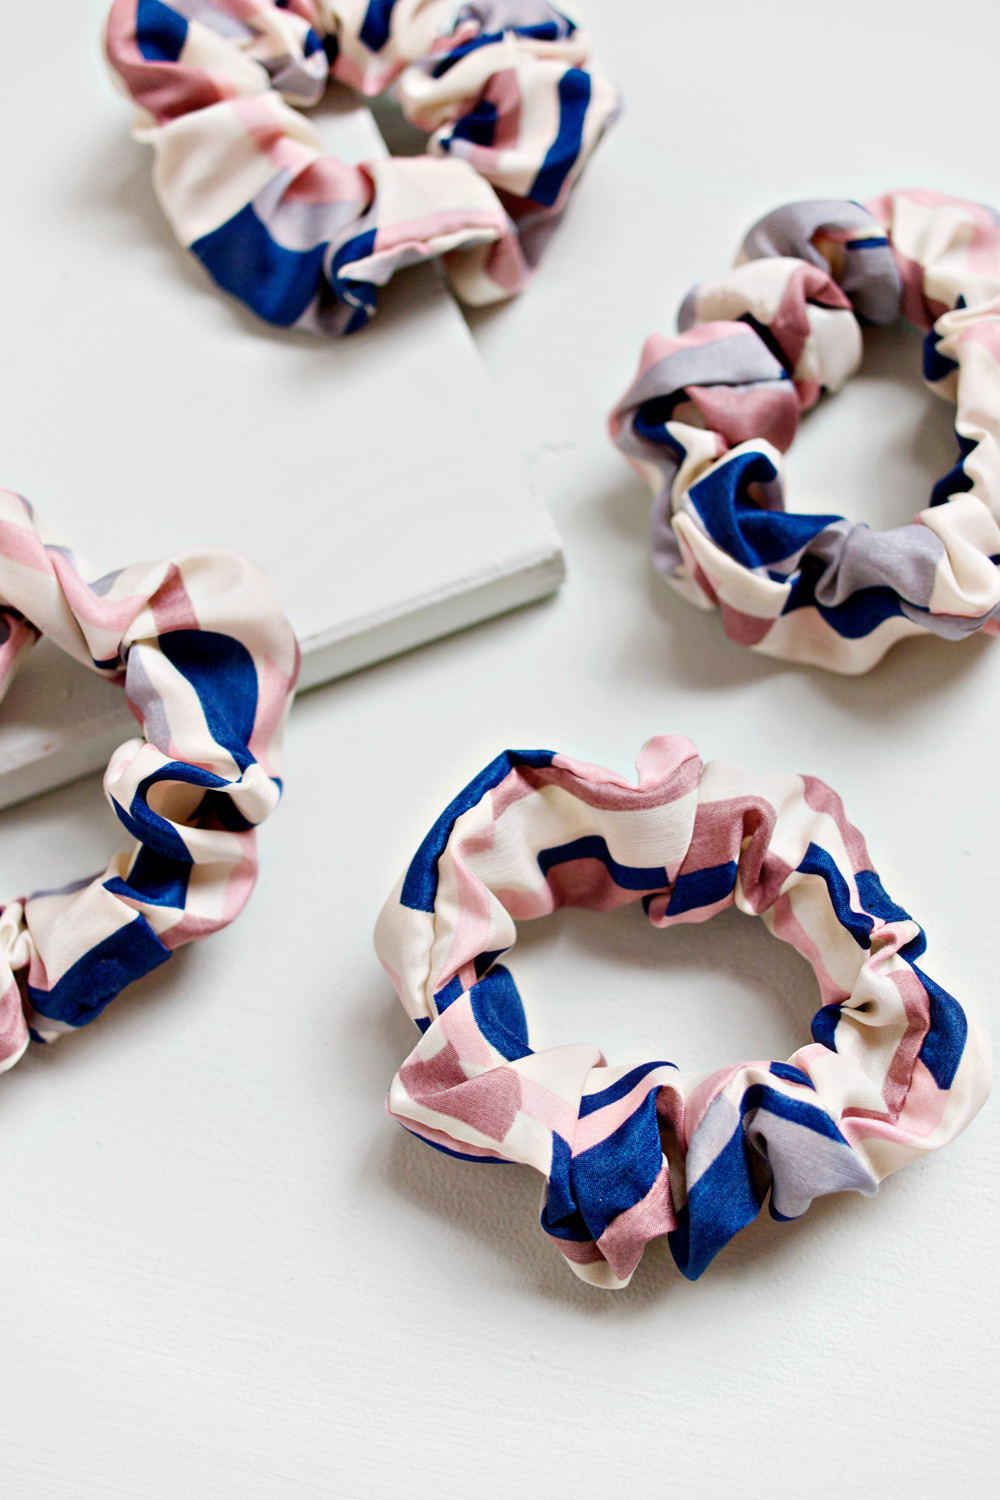
Living in a small space, doing lot’s of AMAZING projects for the wonderful Simply Sewing Magazine and receiving many old clothes from family and friends with the statement ‘you are a creative individual and will surely come up with a way to re-use this’.. These and many more reasons come to mind why I am always on the lookout for new upcycling sewing ideas.
This time I am recycling old shirts and fabric scraps. in other words: this project is perfect to finally put your tiny scraps to good use!
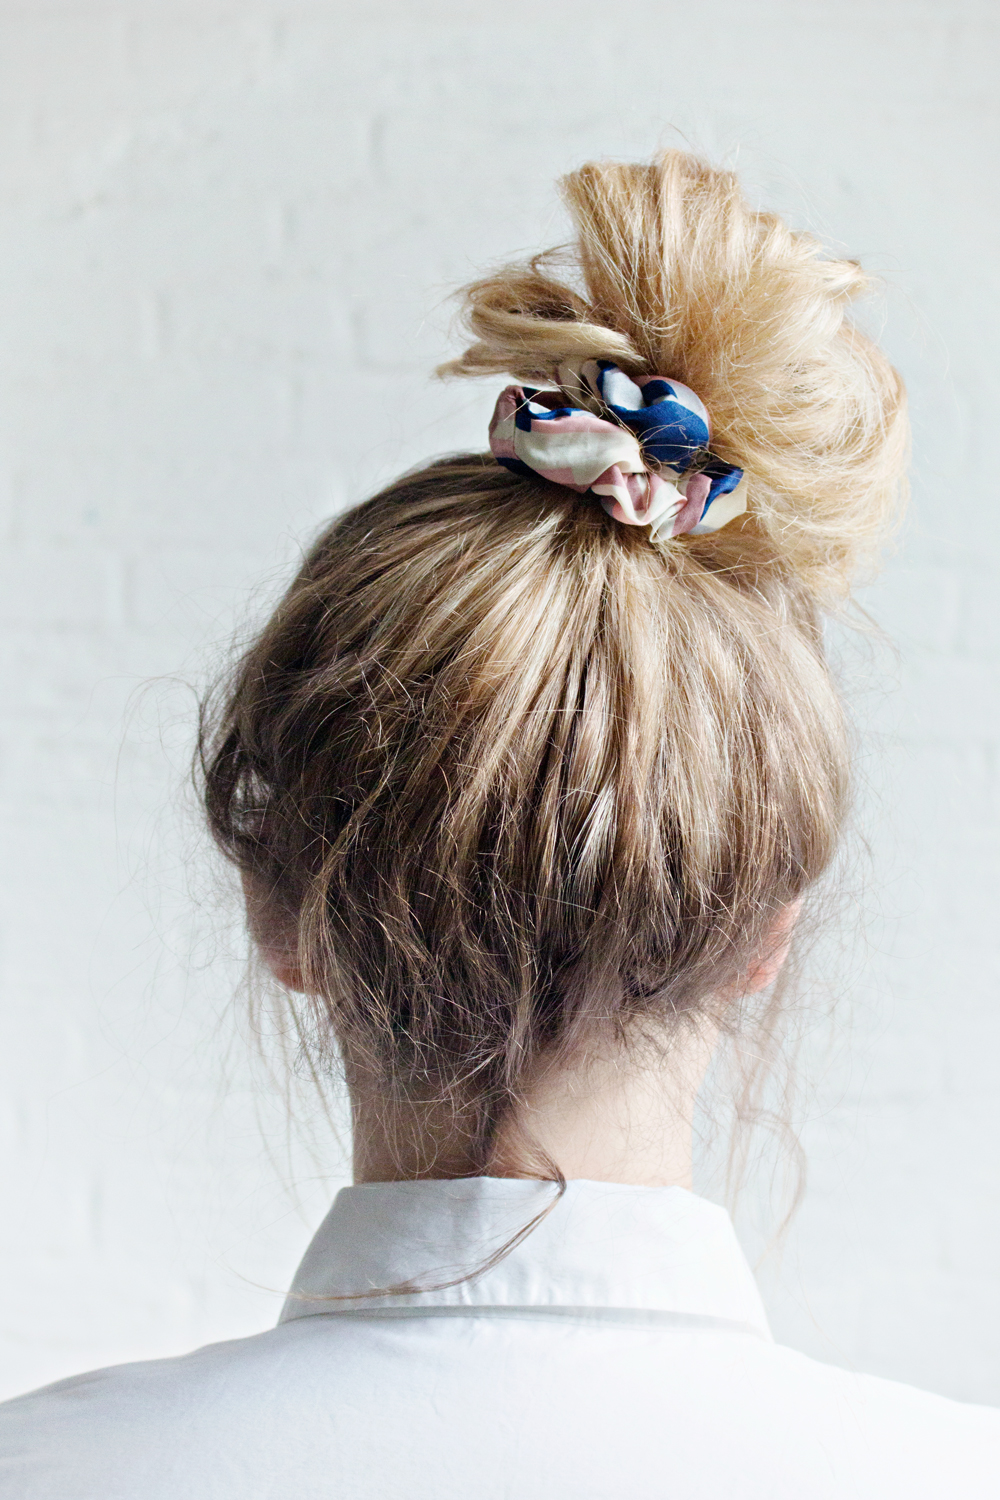
The days of throwing away pieces of clothing or fabric that you fell in love with because of the pretty print or soft material, because it’s too small to make anything with it are over! Because. you can turn them into hair scrunchies! Within 10 minutes, you will have turned your left over fabrics and shirts into trendy hair ties.
Are you ready to turn your old shirts into fashionable hair ties?
UPCYCLING DIY | Old T-Shirt Hair Scrunchie
This project is a part of the LRS DIY / BUY it collection.
Make it yourself, or buy it today!
SUPPLIES
Old shirt (or a piece of fabric)
Measuring Tape
Scissors
Pins
Elastic
Sewing Machine
Textile Glue
Safety Pin
STEP 1
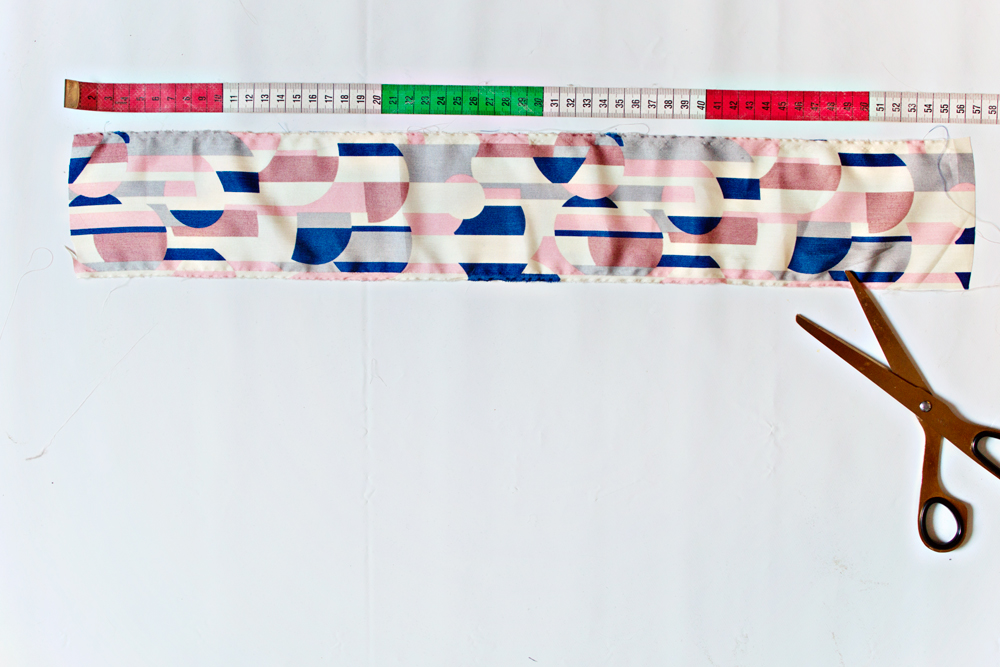
– You will need one piece of fabric in the size: 56cm x 9cm. (22″by 3,5″)
You can use the bottom of an old shirt or a simple piece of fabric for this.
STEP 2
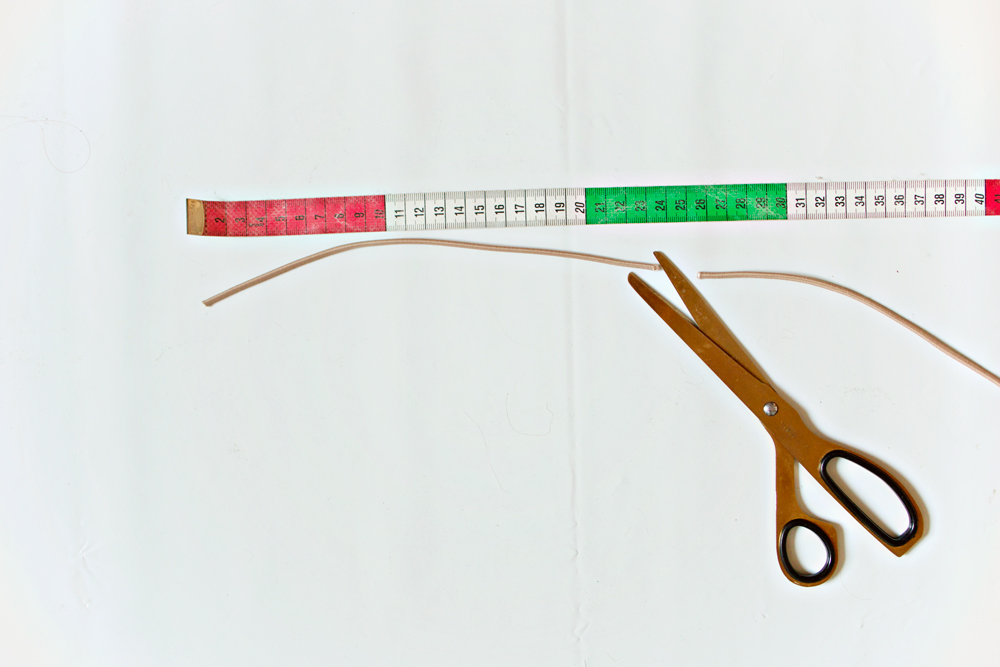
– Cut one piece of elastic* 23cm (9″) in length.
*Because the ”stretchiness of elastic can vary. it’s best to test it by holding the ends together with one hand, and try to slide the elastic circle around your other wrist.
STEP 3
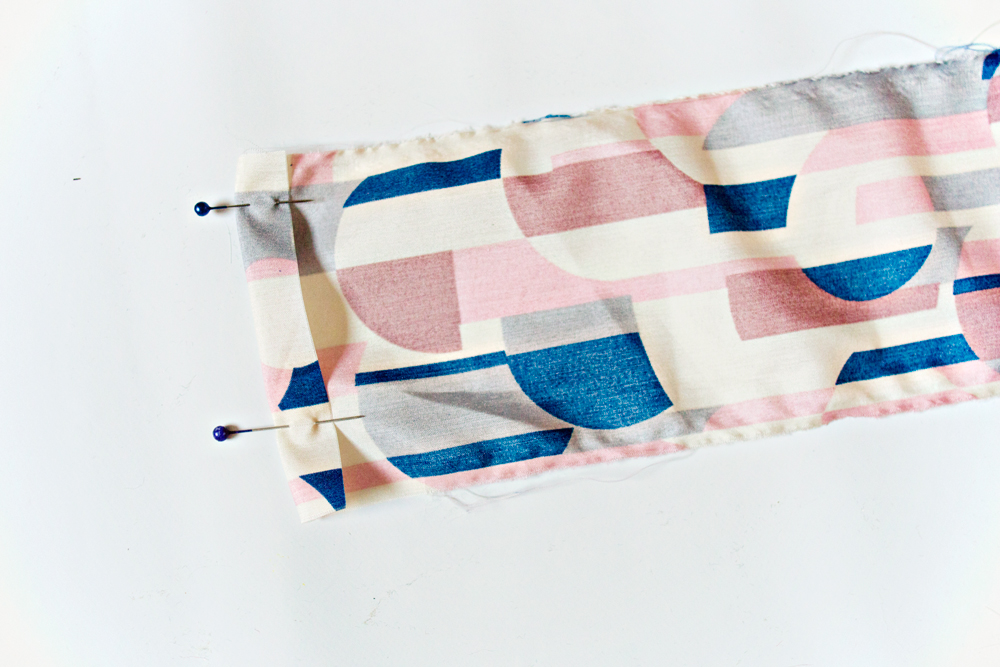
– Place the fabric right side down on a flat surface and fold one side 1cm inwards. Keep the fold in place with a few pins.
STEP 4
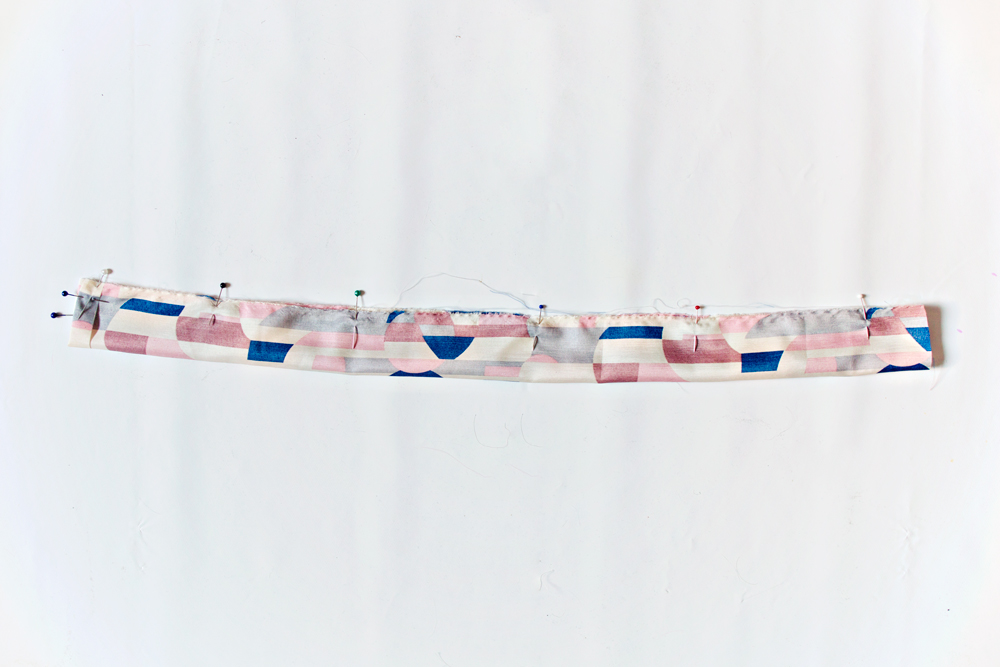
– Fold the fabric horizontally down the middle. (right sides towards each other)
– Pin the fabric together to keep it in place.
STEP 5
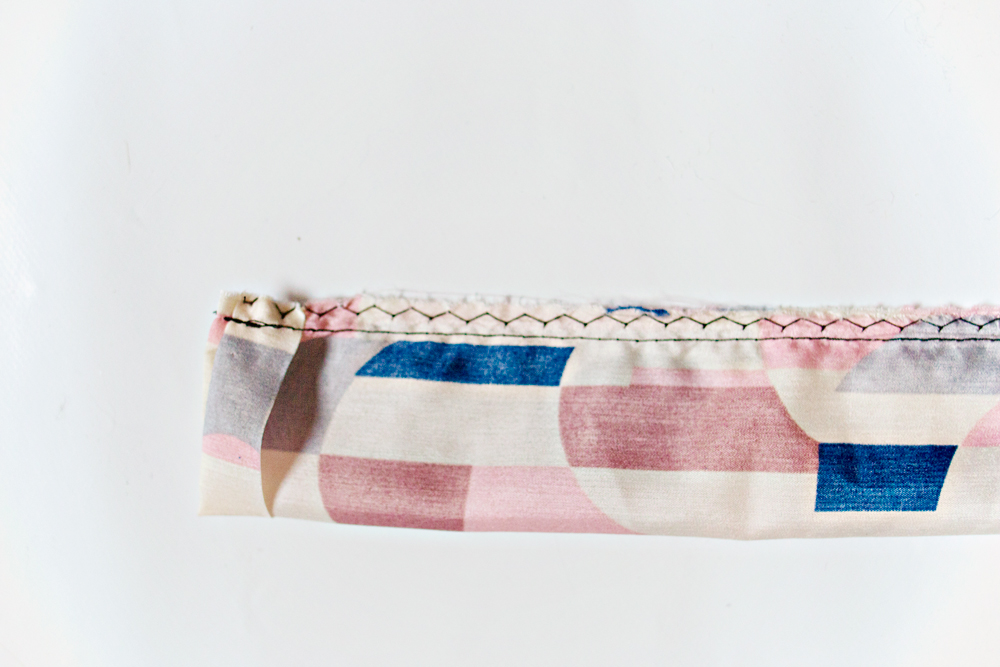
– Sew along the pinned line with your sewing machine
– Use a serger or a zigzag stitch to finish the edge.
STEP 6
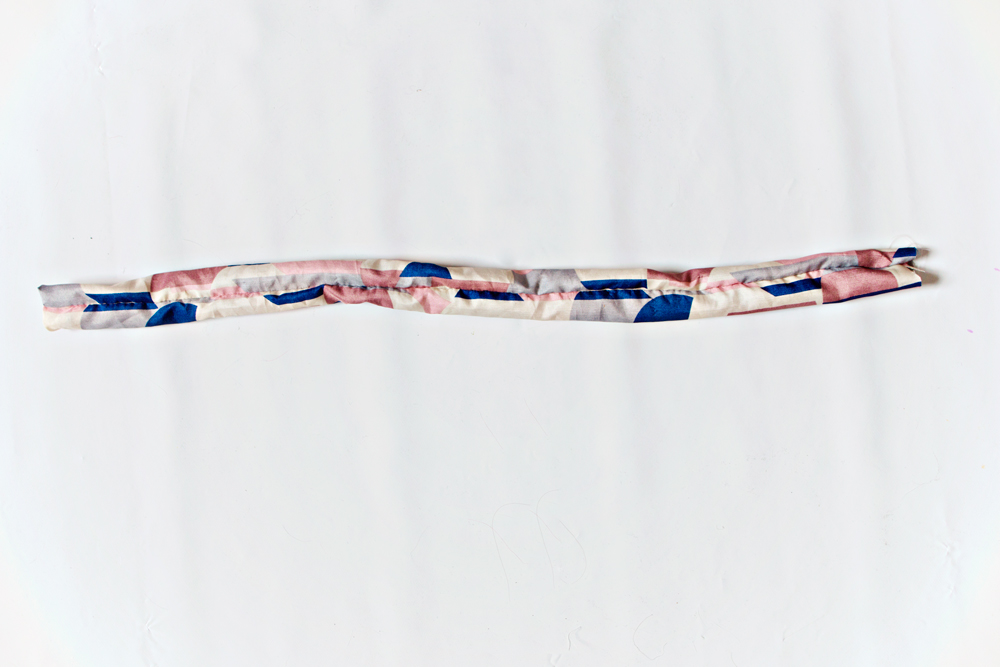
– Wrap the ‘tube’of fabric* inside-out.
*You can iron the seam flat if you prefer that look. I choose not to iron the fabric, to keep the ‘tube’nice and round.
STEP 7
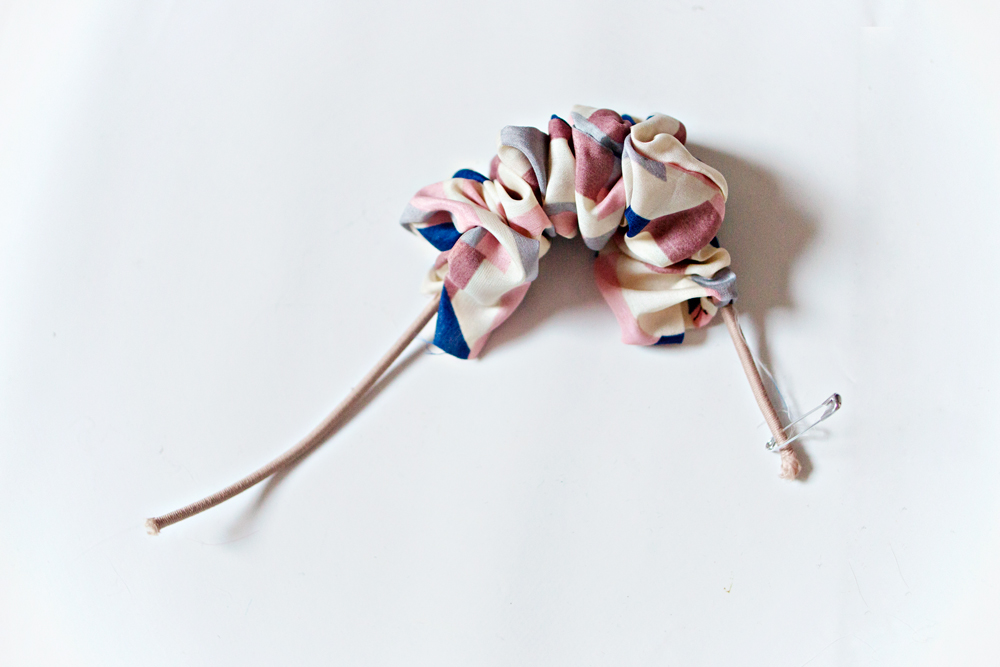
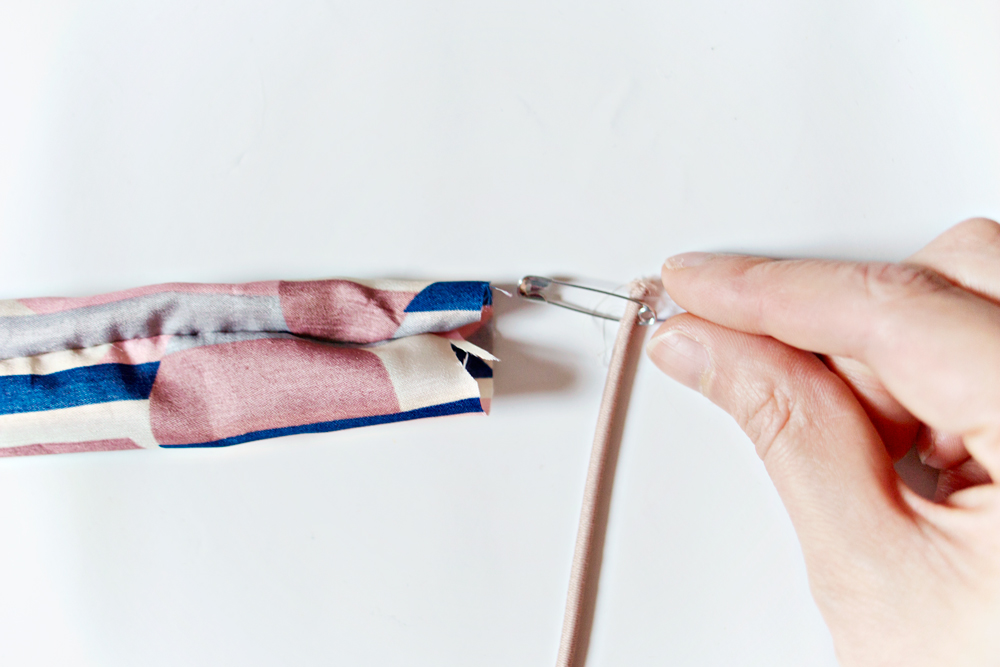
– Attach a safety pin to one end of the elastic.
– Pull the elastic through the fabric tube and collect the safety pin on the other end of the tube.
STEP 8
– Pull both ends of the elastic out of the fabric. They should stick out a bit for the next step.
STEP 9
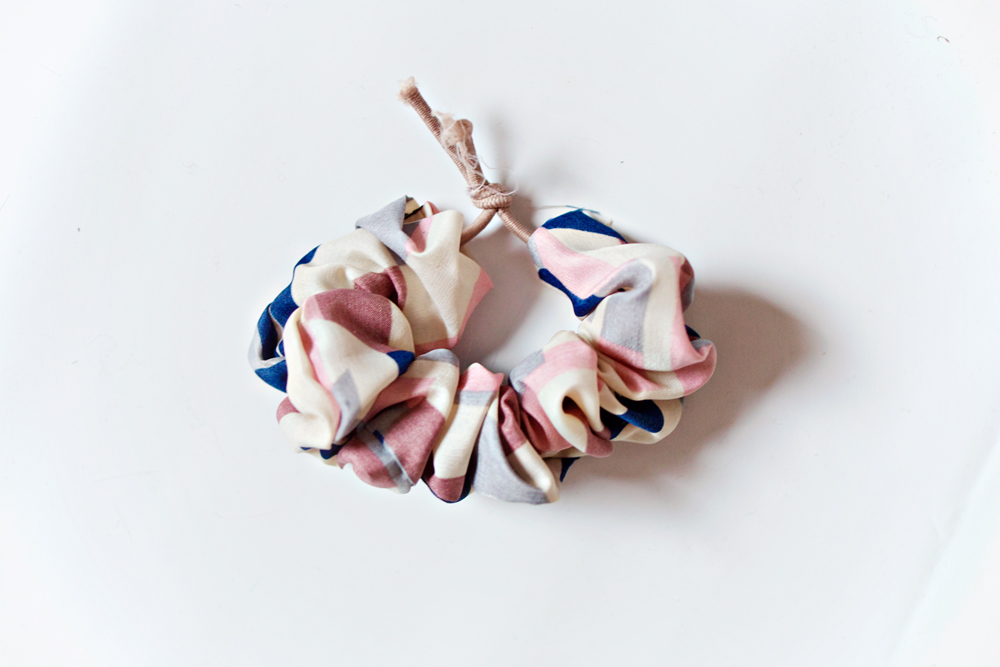
– Tie a knot in the elastic ends. Test the knot by pulling on the elastic, making sure that the knot is secure enough to hold your ponytail on windy days;)
STEP 10
– Slide the elastic knot inside the fabric the tube.
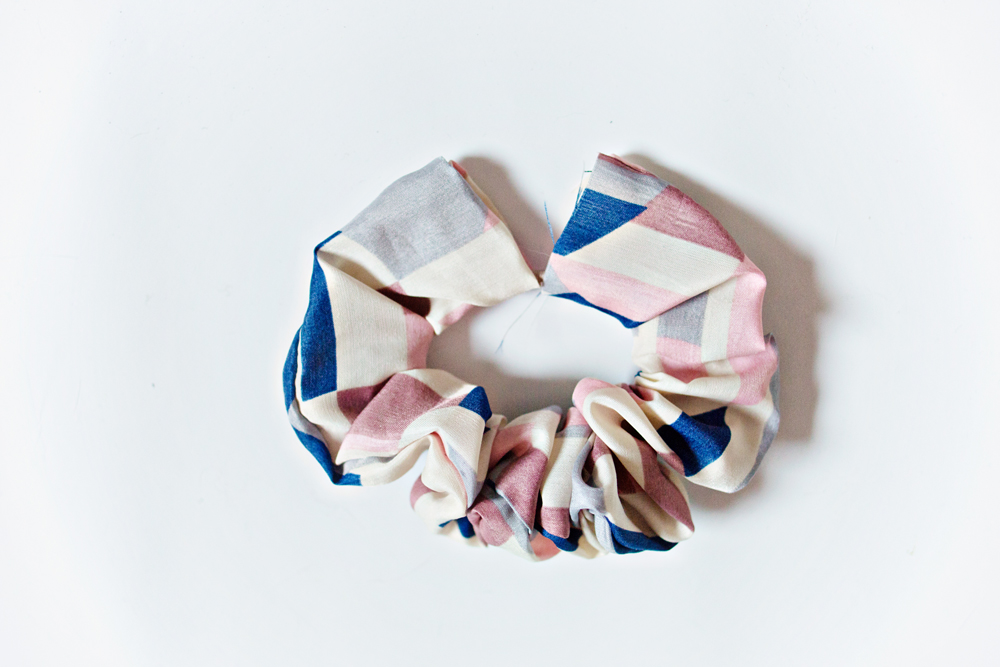
– Align the seams on both ends of the fabric.
STEP 11
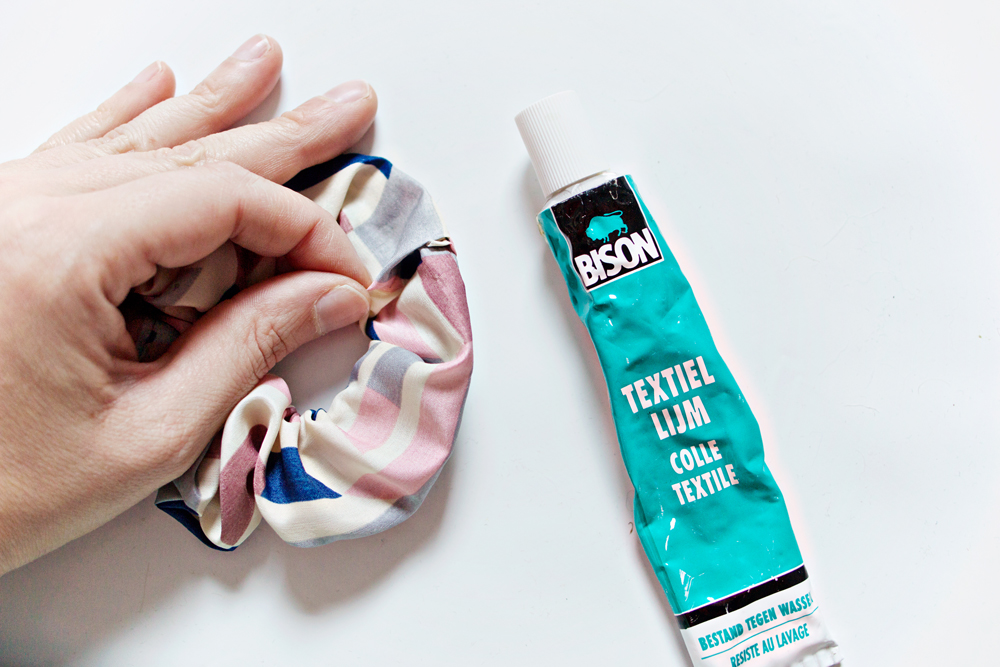
– Slide the folded end of fabric over the unfolded end.
– Apply fabric glue* on the inside of the folded fabric and attach the two ends.
– Let the glue dry according to the instructions of your glue of choosing.
*Most fabrics will be suitable to glue together. In case you have a fabric that doesn’t react to the glue, you can hand stitch the fabric together with needle and thread.
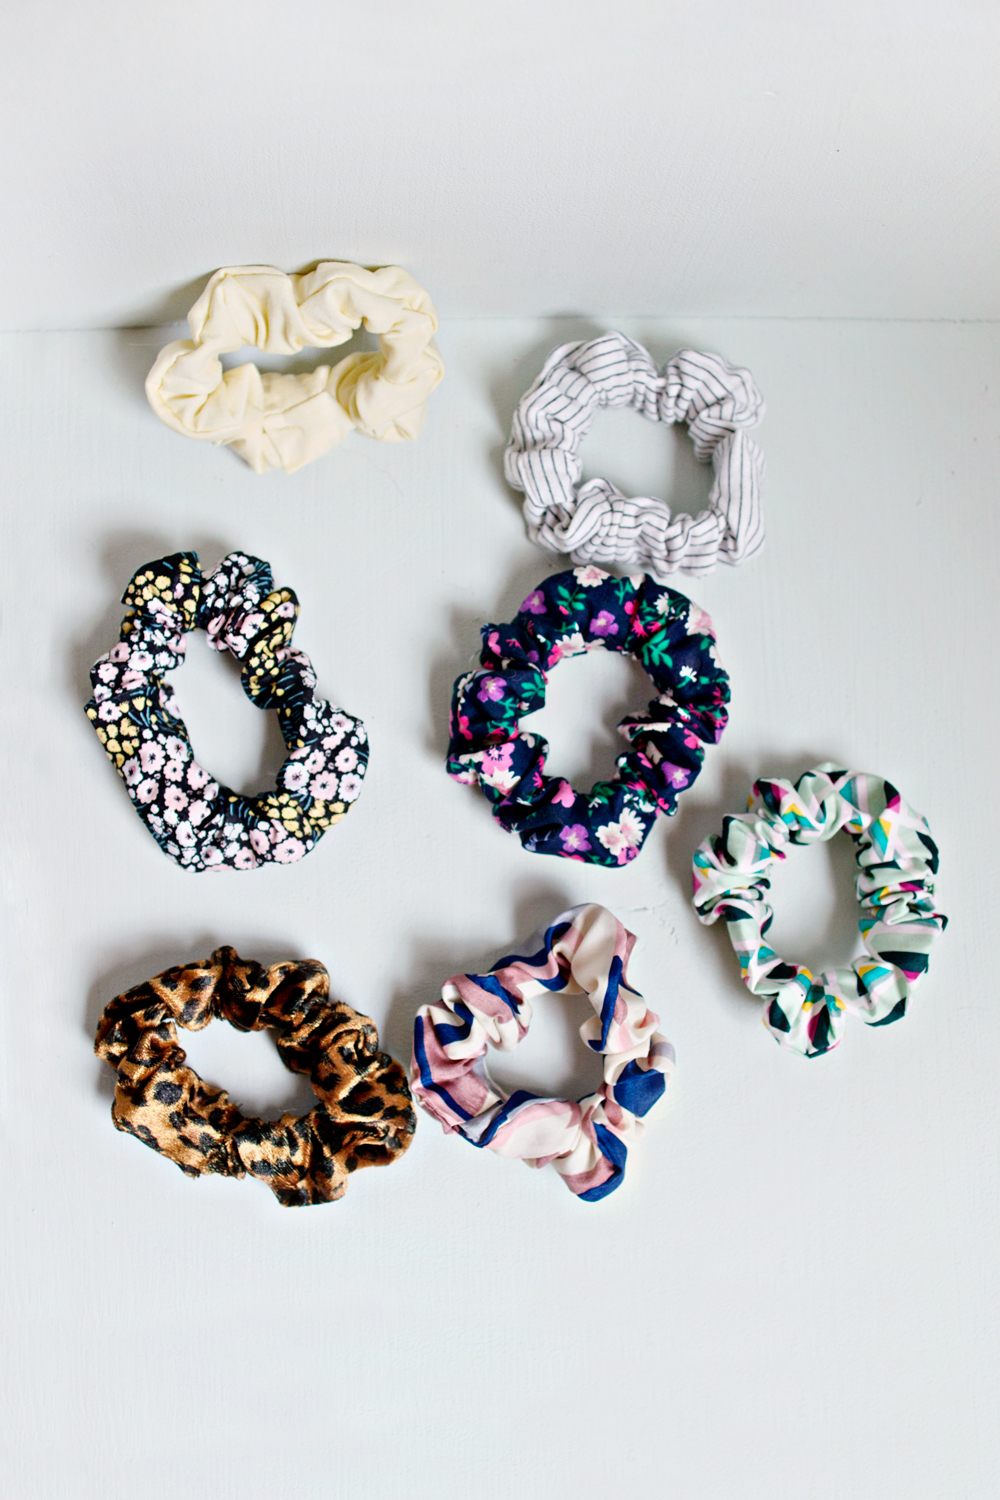
The material used in the step-by-step was an old piece of lining fabric. But there really are no limits when it comes to using textile for your scrunchies. Stretchy. glossy, furry, velvet. the limits are endless!
The only thing to pay attention to is the suitability of your fabric glue. The leopard scrunchies (shown above) are the only ones that weren’t suitable for glueing. I used a simply stitch to finish them with needle and thread.
CREDITS
Fabrics – Used in old projects for this blog, Mollie Makes Magazine and Simply Sewing Mag
This post is an original LRS project and was not sponsored.

1 comment
Thank you so much share the blog information i read your content, Best Institute of PGDM Marketing in Noida.