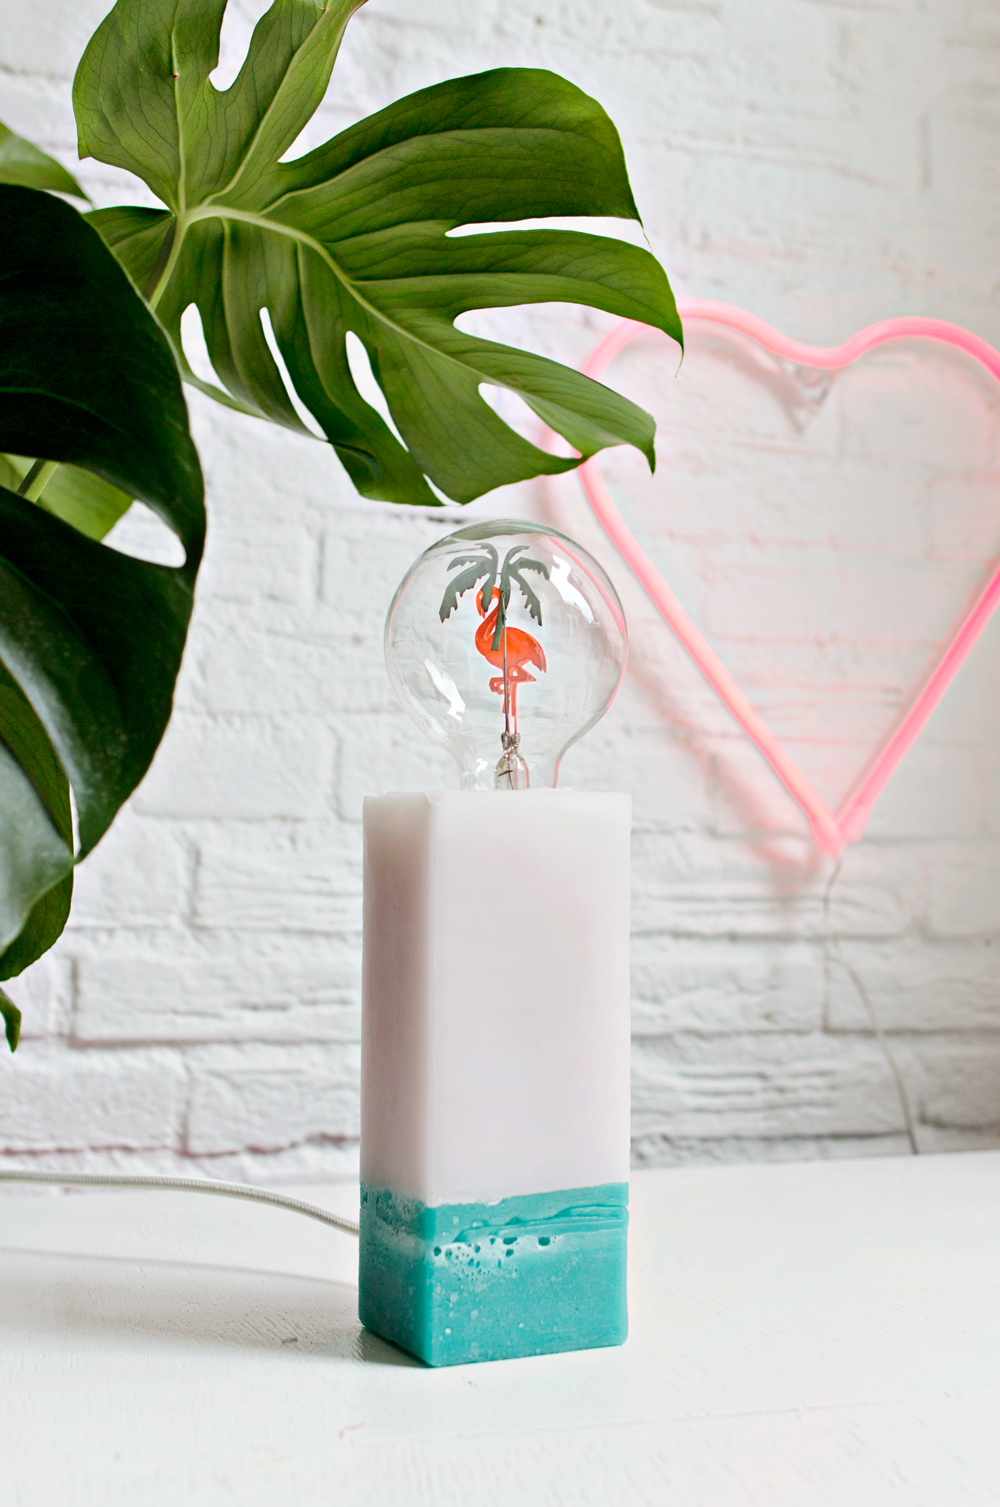
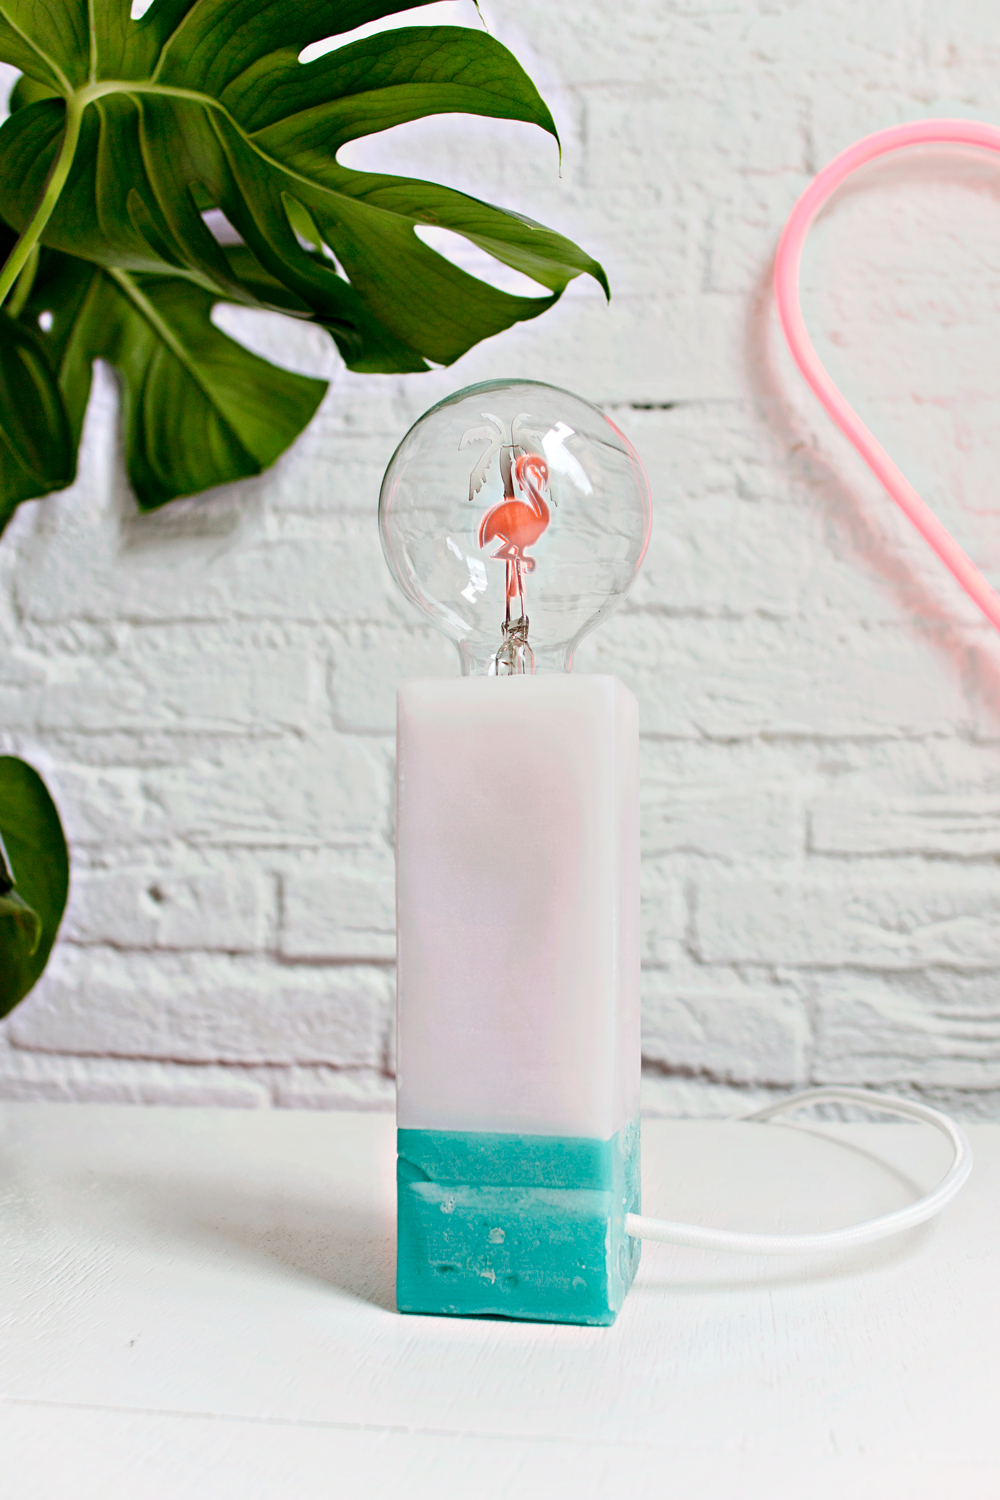
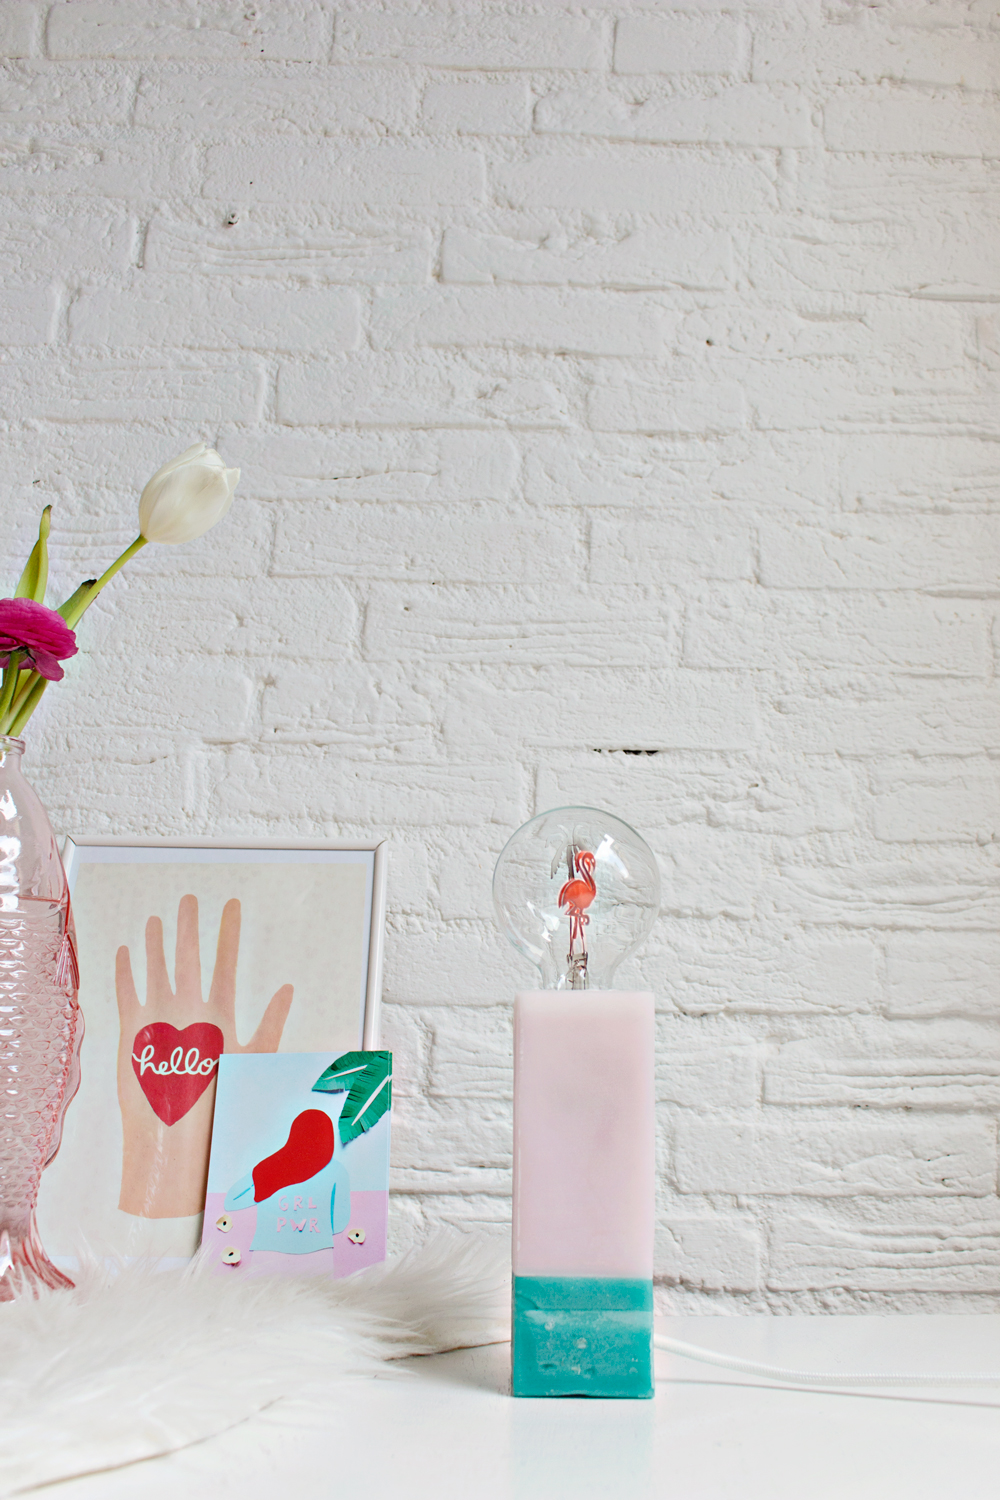
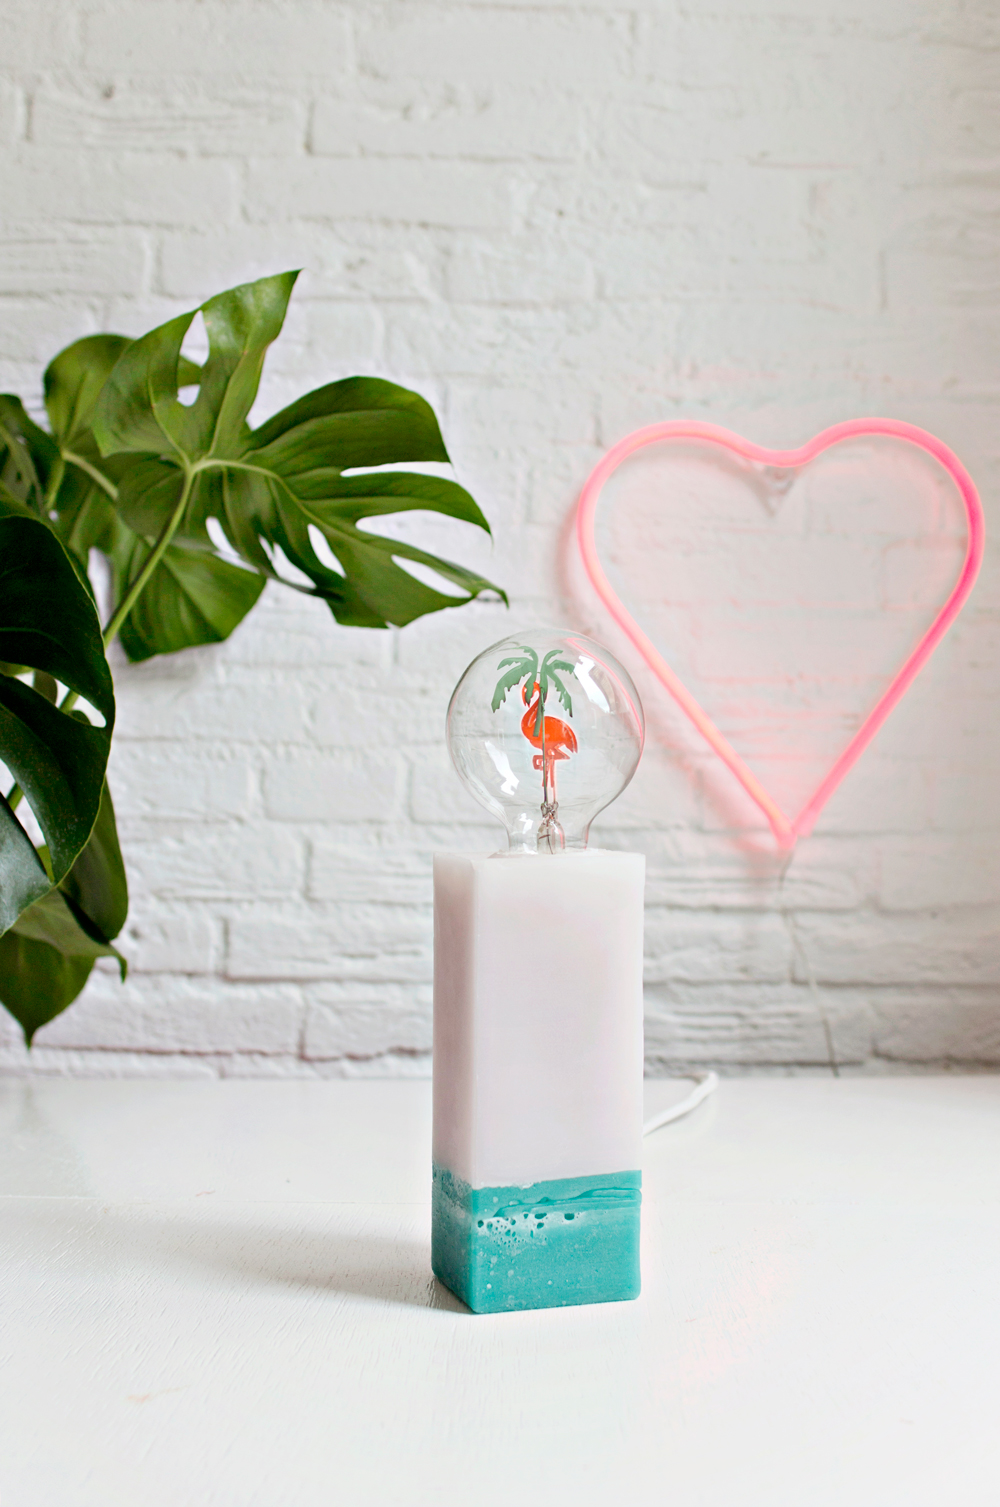
Let’s take those DIY skills to the next level and use them to create your very own table lamp project, from scratch! And yes, you read that right: this table lamp is made almost completely from candle wax!
The idea behind this project came from a gift that my parents gave me: an awesome looking flamingo bulb from Bitten-Design that deserved more than a plain Ikea lamp. I had done a few concrete mold projects that would have been great for this, but I was also looking for a new innovative version that didn’t require special supplies and scary advanced pottery skills and basically just something ‘new’.
Which let me to wax. And no, not some kind of special sculpture wax, (which would also be great for a future advanced-project!) but plain old candle wax.
The great thing about using candles, is that they come in a million colors. Which means that you can really match your home’s color palette or the bulb that you are using like me. You can go for:
- black, white and grey
- An ombre effect
- Pastel tones
And I can go on like this for a while, because the options really are endless.
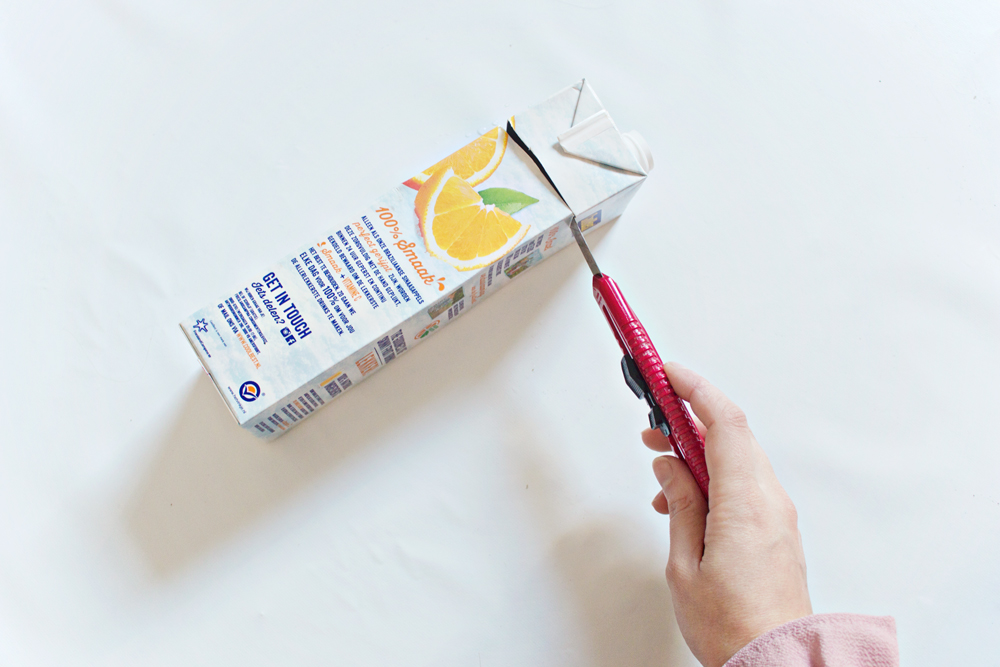
Not to mention the shape of your lamp, because as a mold, I used a simple juice carton.
I think that it is safe to say that I had a great time making this project and I can’t wait to see what the result of your lamp will be!
Are your ready to make your own table lamp? Scroll down for the full project!
DIY | Candle Wax Table Lamp
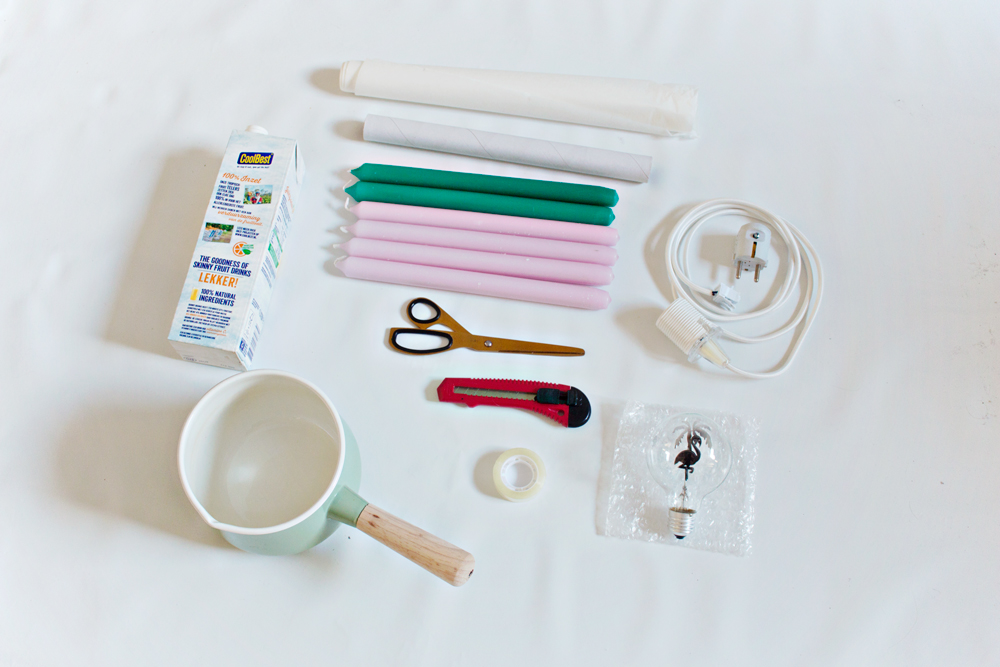
SUPPLIES
– Carton in the shape of your choice
– Lamp Wire ( I used this cord set from Ikea)
– Power Plug
– Candles to melt
– Baking Paper
– Scissors
– Hobby Knife
– Tape
– Round Cardboard Tube ( I used the leftover tube from an aluminum roll. The important thing is to make sure that the lamp fitting fits inside the tube)
– Pan
– Glue Gun
– Bulb (LED, because we don’t want our special wax lamp to melt;))
STEP 1
– Empty and clean your carton. Wipe the inside dry.
– Use your hobby knife to remove the top* of the carton.
* This doesn’t have to be in the exact size of your lamp design. Just as long as you don’t cut it too short.
STEP 2
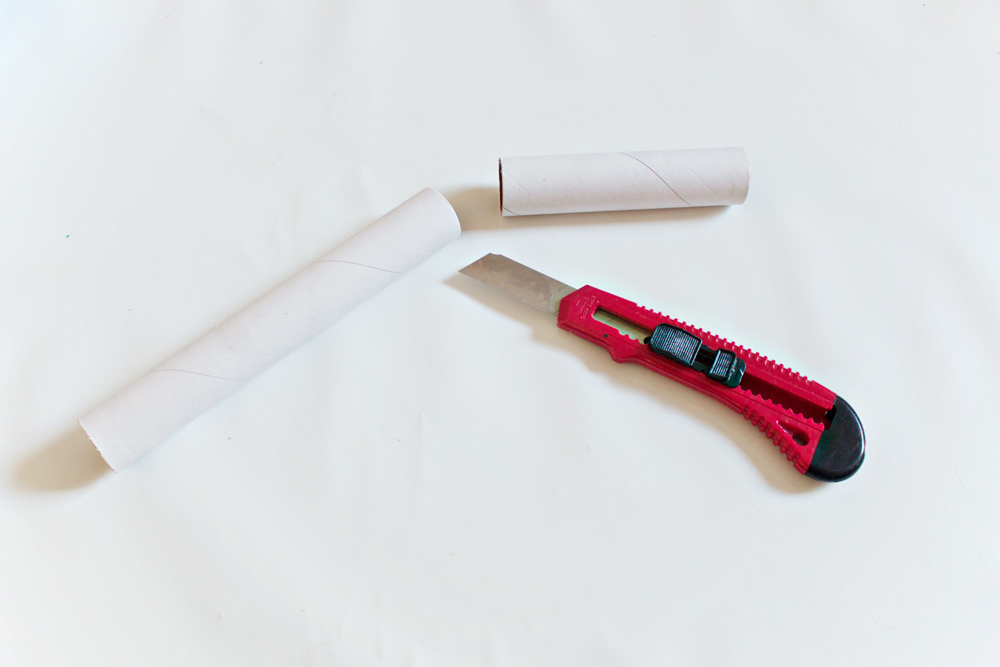
– Decide how tall you want your lamp to be.
– Mark the length on your cardboard tube and use your hobby knife to cut the tube.
STEP 3
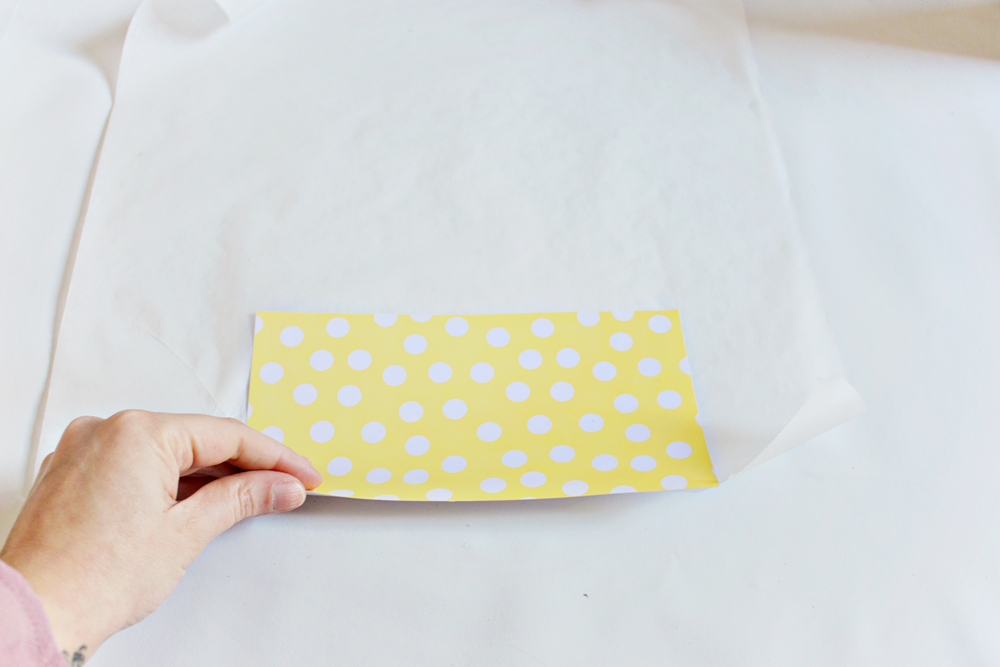
– Take a piece of cardboard or thick paper and place it on your baking paper.
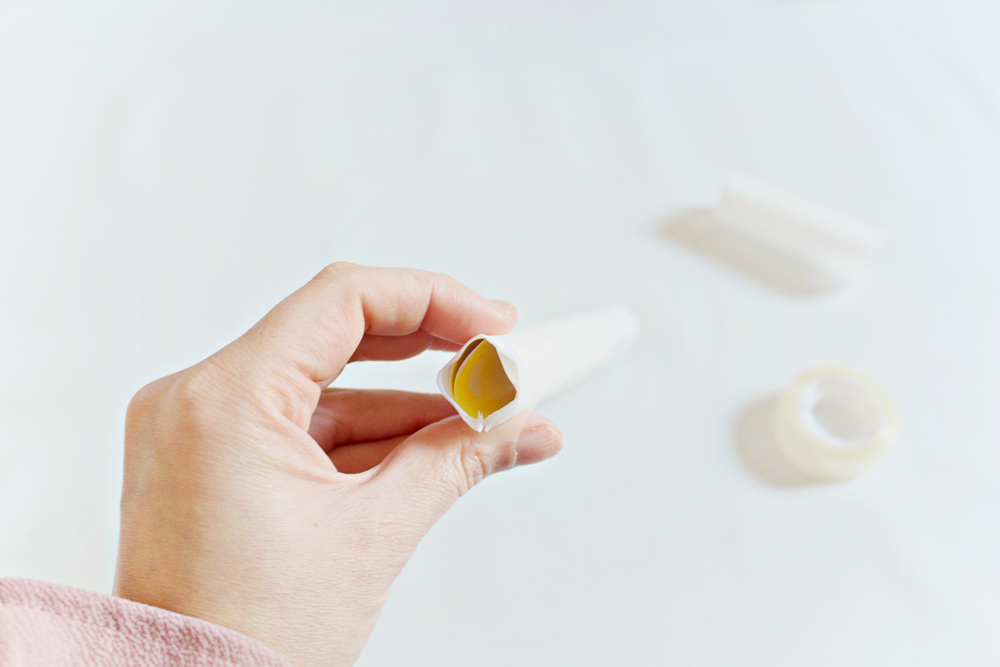
– Roll the two forward, creating a tube-like shape. (make sure that the opening is big enough for your cord to go through)
STEP 4
– Use some tape to keep the rolled up scroll in place.
STEP 5
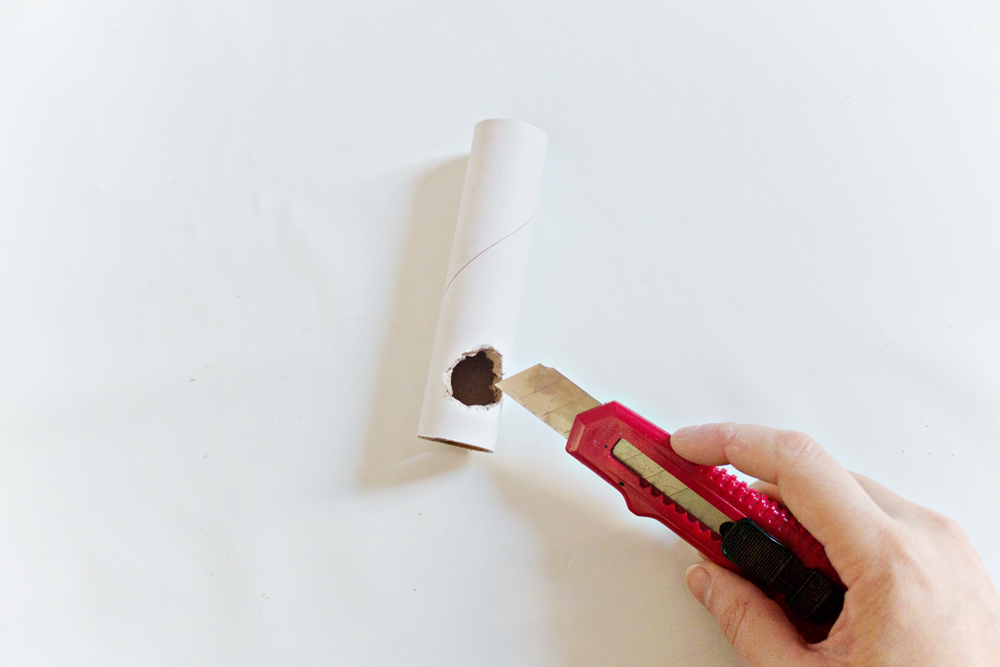
– Mark a small line approx. 2cm from the bottom of your cardboard tube with a pencil.
– Draw a circle in the same size as your rolled up baking paper scroll above the 2cm line.
– Use your hobby knife to cut the hole out of the tube.
– Make a matching hole in the bottom of your carton, using the exact same placement specifications.
STEP 6
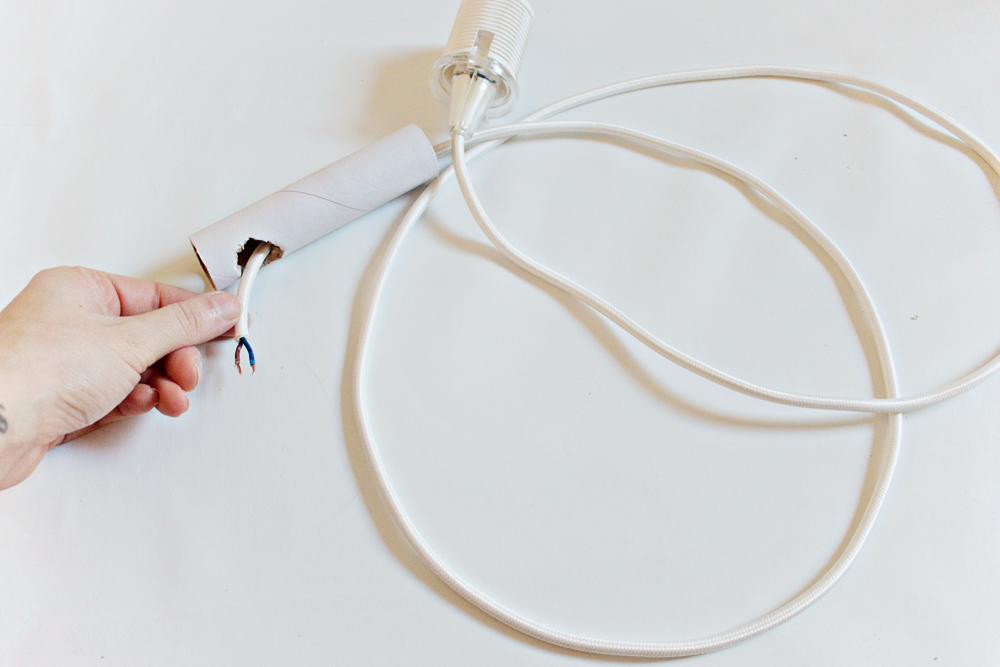
– Pull your cord though the top opening of the cardboard tube and out of the hole that we made in step 5.
– Keep pulling the cord, until the socket slides into the tube.
STEP 7
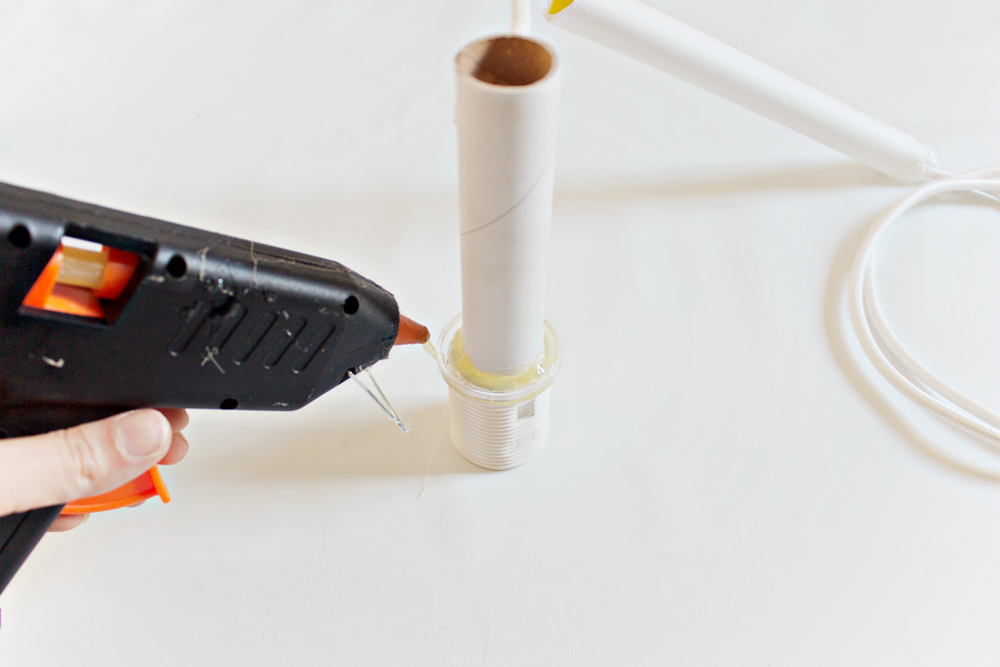
– Use your glue gun to attach the lamp’s socket to the top of the tube.
STEP 8
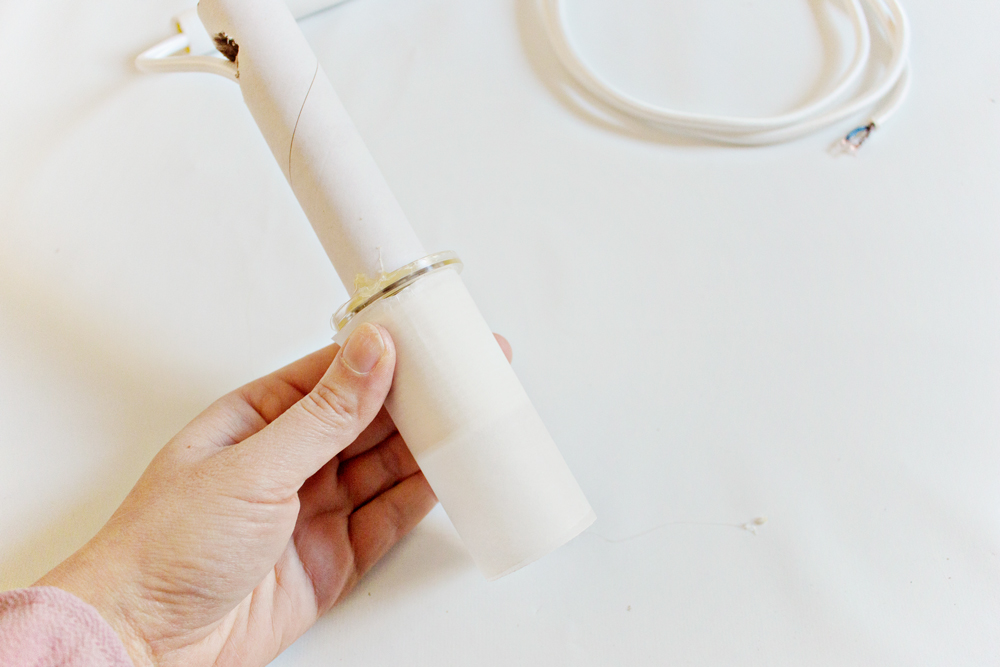
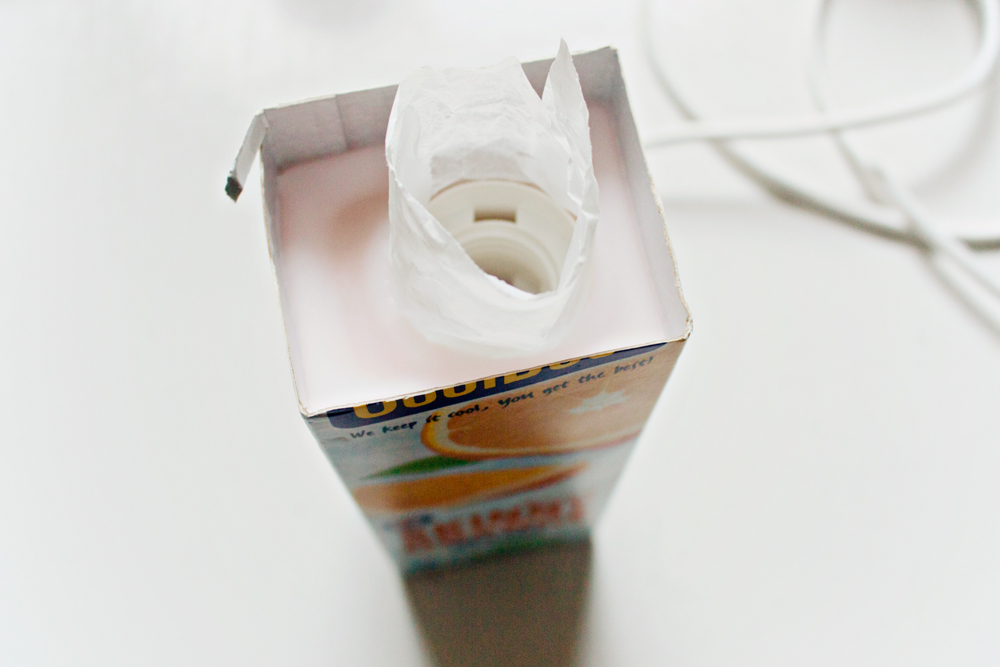
– Cut a small piece of baking paper and wrap it around the socket*.
– Use tape or your glue gun to keep the baking paper in place.
* This will protect the socket from the hot candle wax.
STEP 9
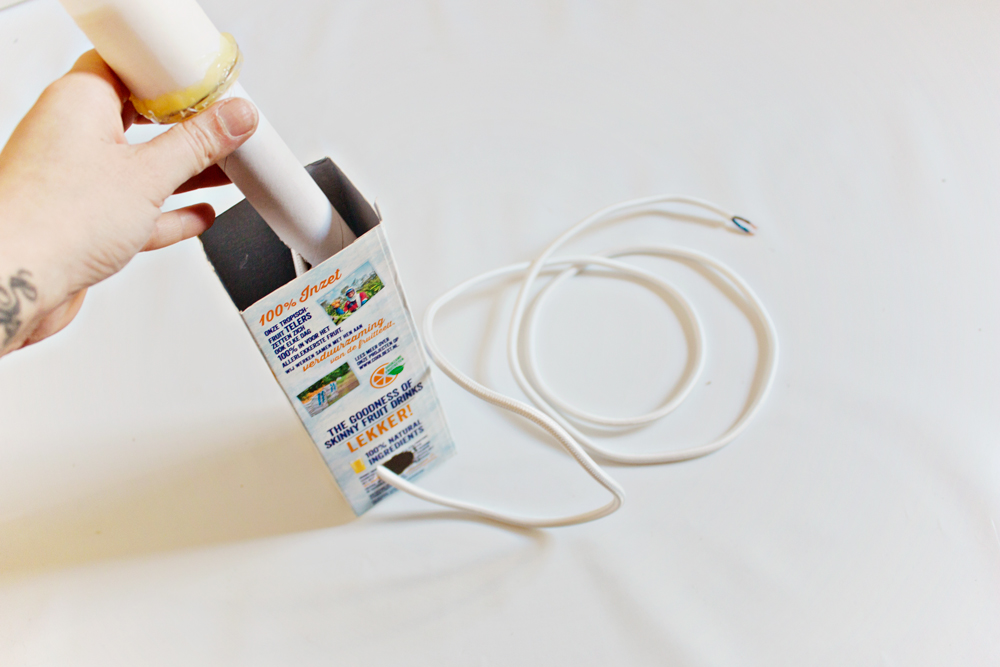
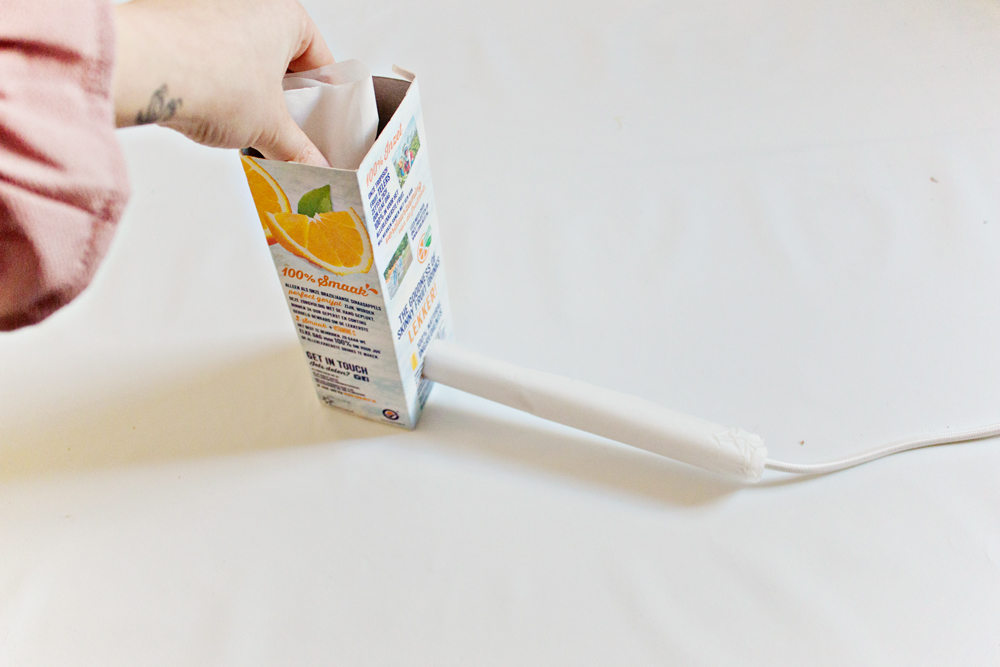
– Take the cord coming out of the tube and pull it through the carton and out of the opening on the bottom side of the carton.
– Hold the tube in place and see of everything fits correctly. If you need to shorten the tube, level the bottom etc. this will be the step to do that.
STEP 10
– Use your glue gun to glue the bottom of the cardboard tube. Quickly, before the glue dries, stick the tube to the bottom of the carton.
– Slide the cord coming out of the carton through the baking paper tube.
– Press the baking paper tube through the hole in the carton as well as the hole in the cardboard tube.
STEP 11
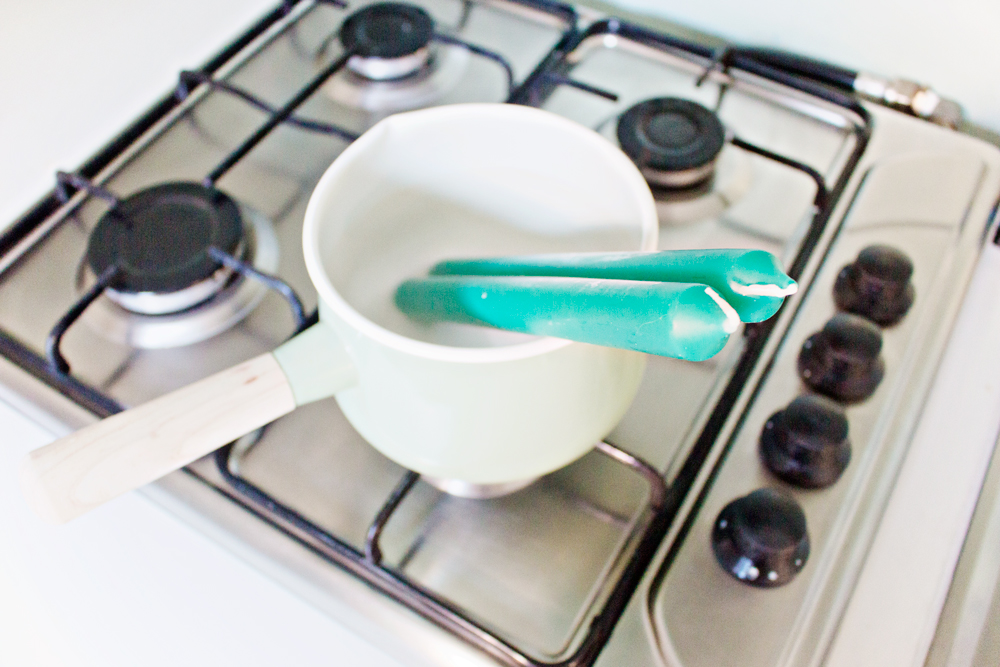
– Place your pan on the stove and melt the candles.
– Once the candles have melted, remove the wicks.
– Let the wax cool off for a while, until it has the thickness of yoghurt*.
* If the wax is too hot, there is a chance of the middle part of the mold slightly sinking in.
STEP 12
– Pour the wax into the mold. Try to keep the entire carton as level as possible.
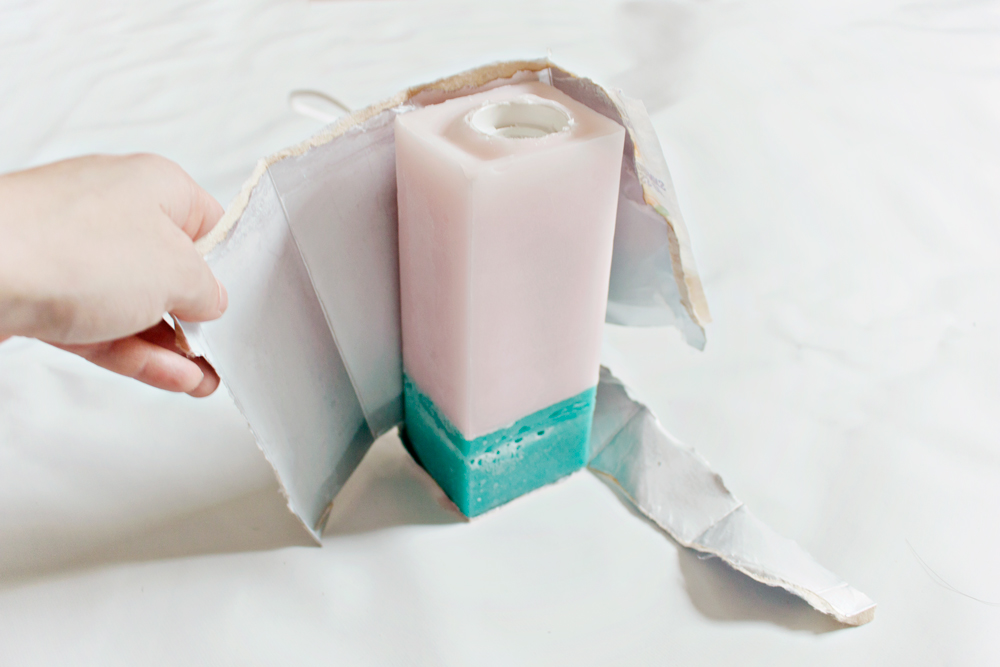
– If you want to create multiple layers like I did, let the wax completely cool off, before you pour the next color/layer.
STEP 13
– After the wax has set and doesn’t feel warm anymore, you can carefully remove the carton.
STEP 14
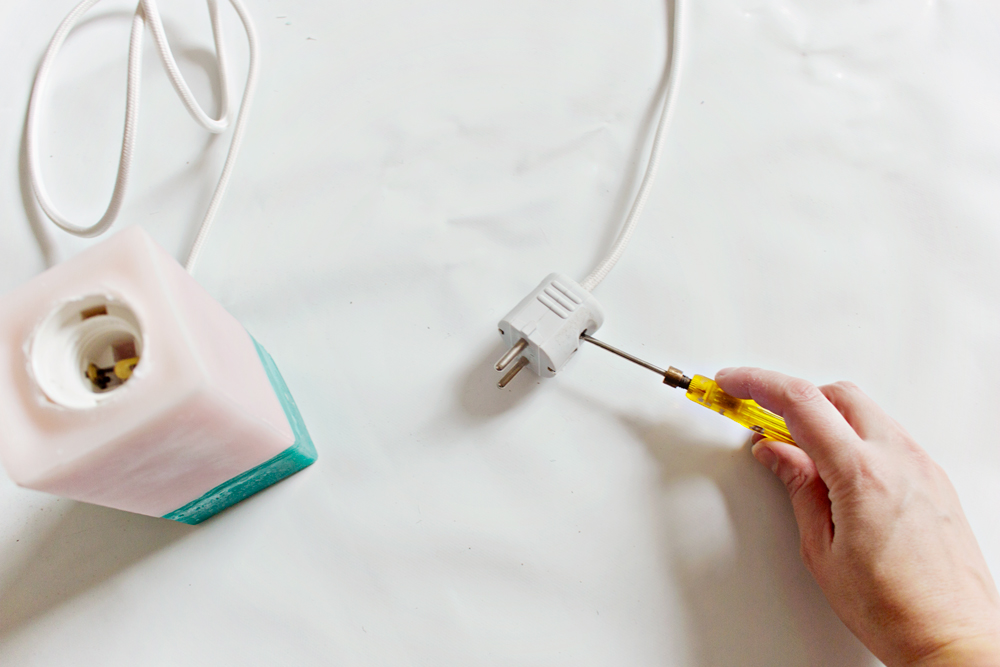
– Attach your power plug according to the instructions on the label*.
* If your label doesn’t come with instructions, you can use this website on how to attach your power plug.
STEP 15
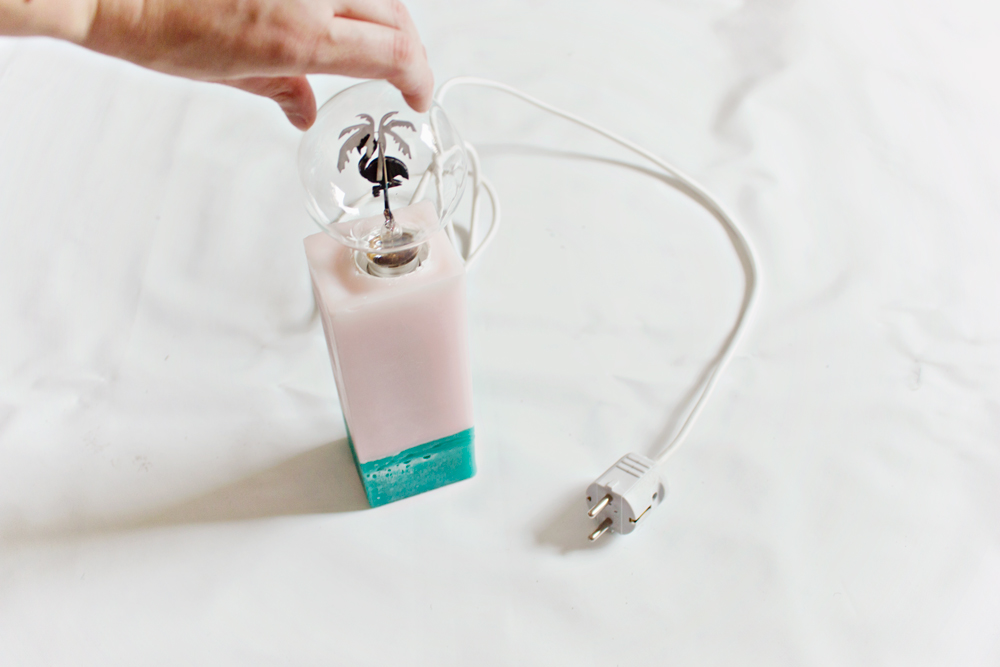
– Find the perfect bulb for your table lamp and check to see if everything is working properly.
And that’s it! You will now have your very own handmade candle wax table lamp!
What I love most about this project
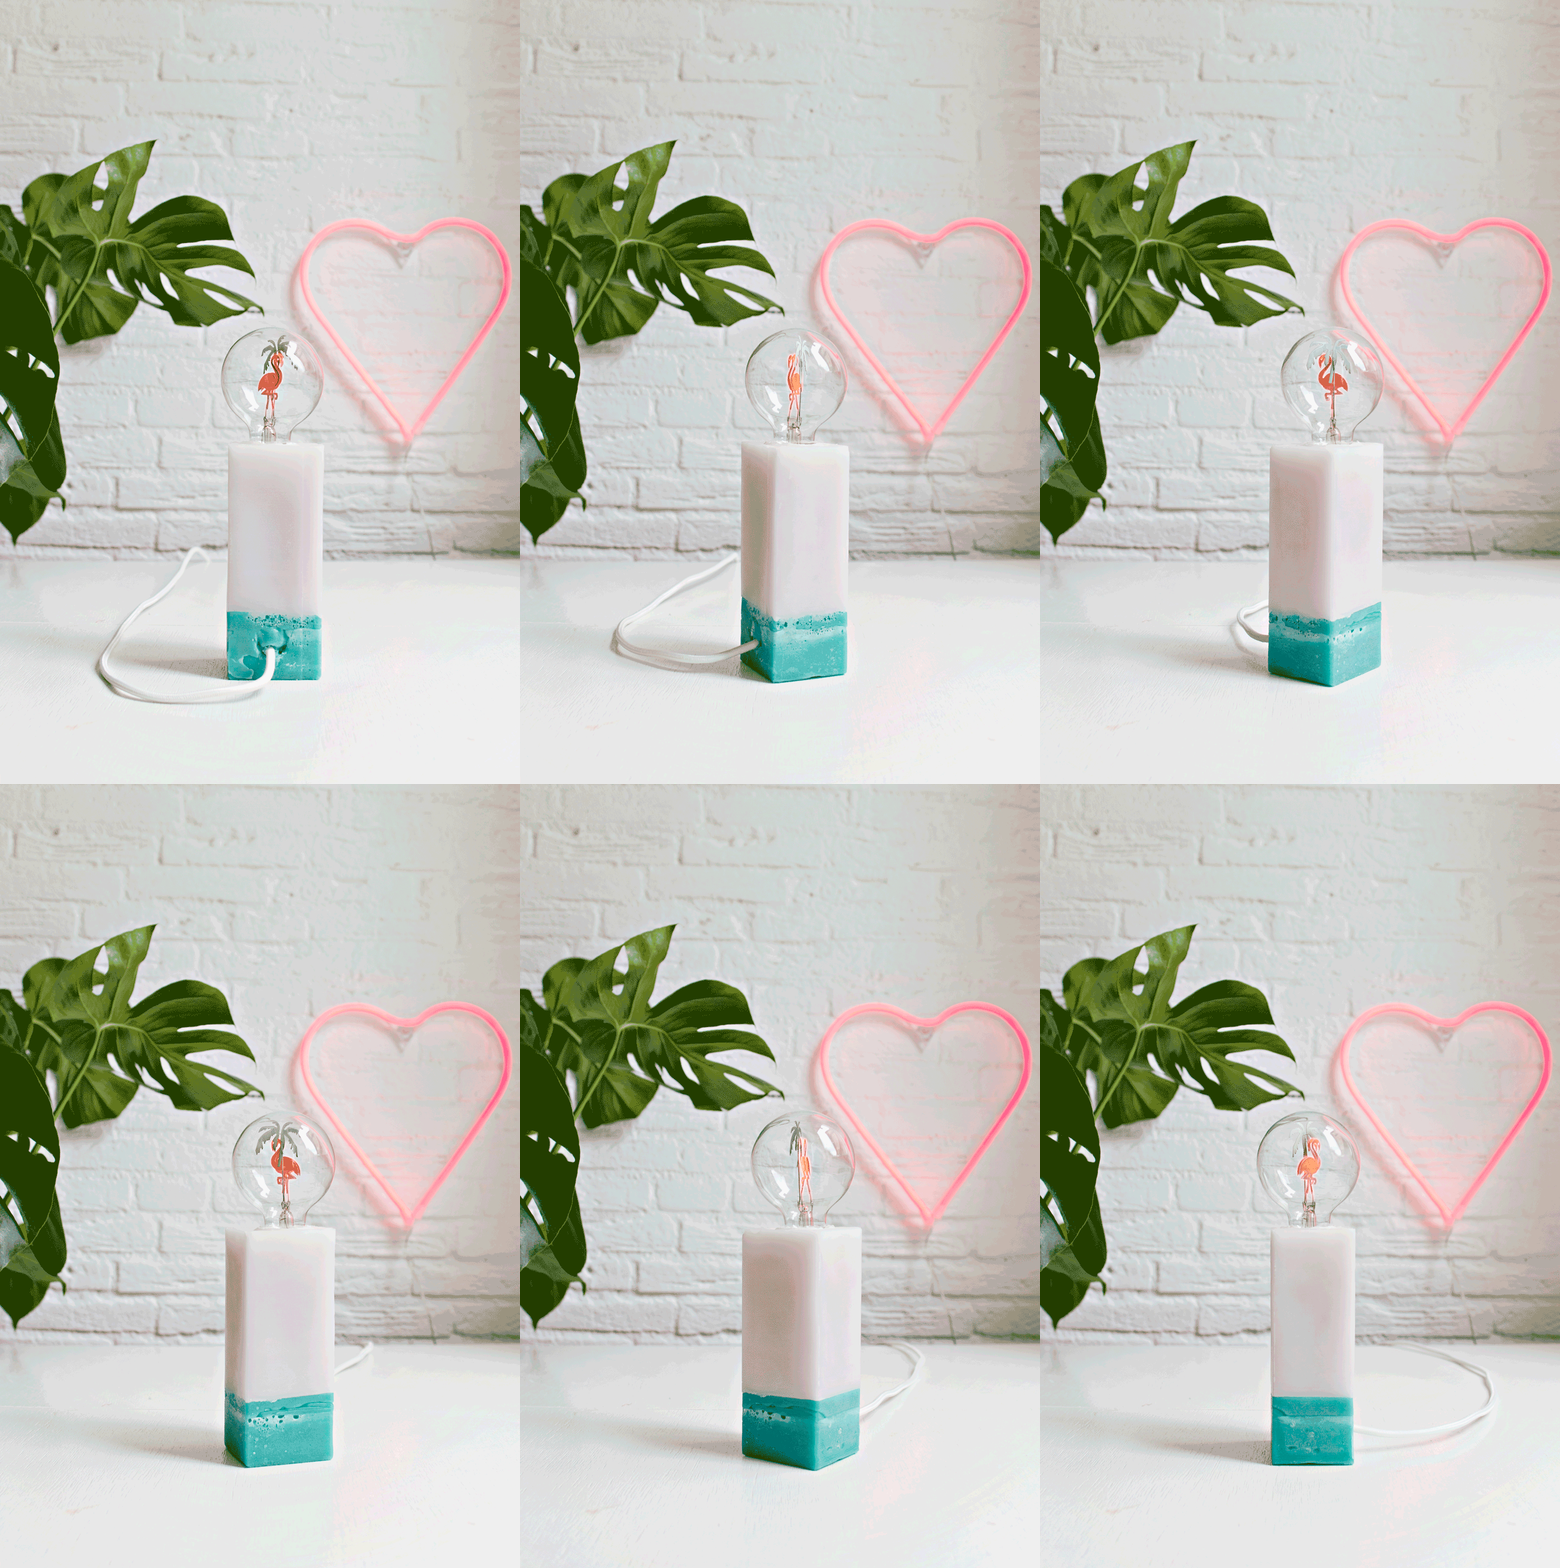
- You can mix and match with candle wax colors! Use 1,2, 3, 4, 5 different colors!
- Mix & Match with the candle wax lines. If you lean the carton mold against a wall, letting it slightly tilt. You can create some fun geometric lines.
- For this project, I used a tall square carton. But you can create a completely different looking lamp when you use a short triangle shaped mold.
CREDITS
– Flamingo Light Bulb – by Bitten-Design
– Neon Heart Light – by Kwantum
This blogpost is an original LRS Project and was not sponsored.

