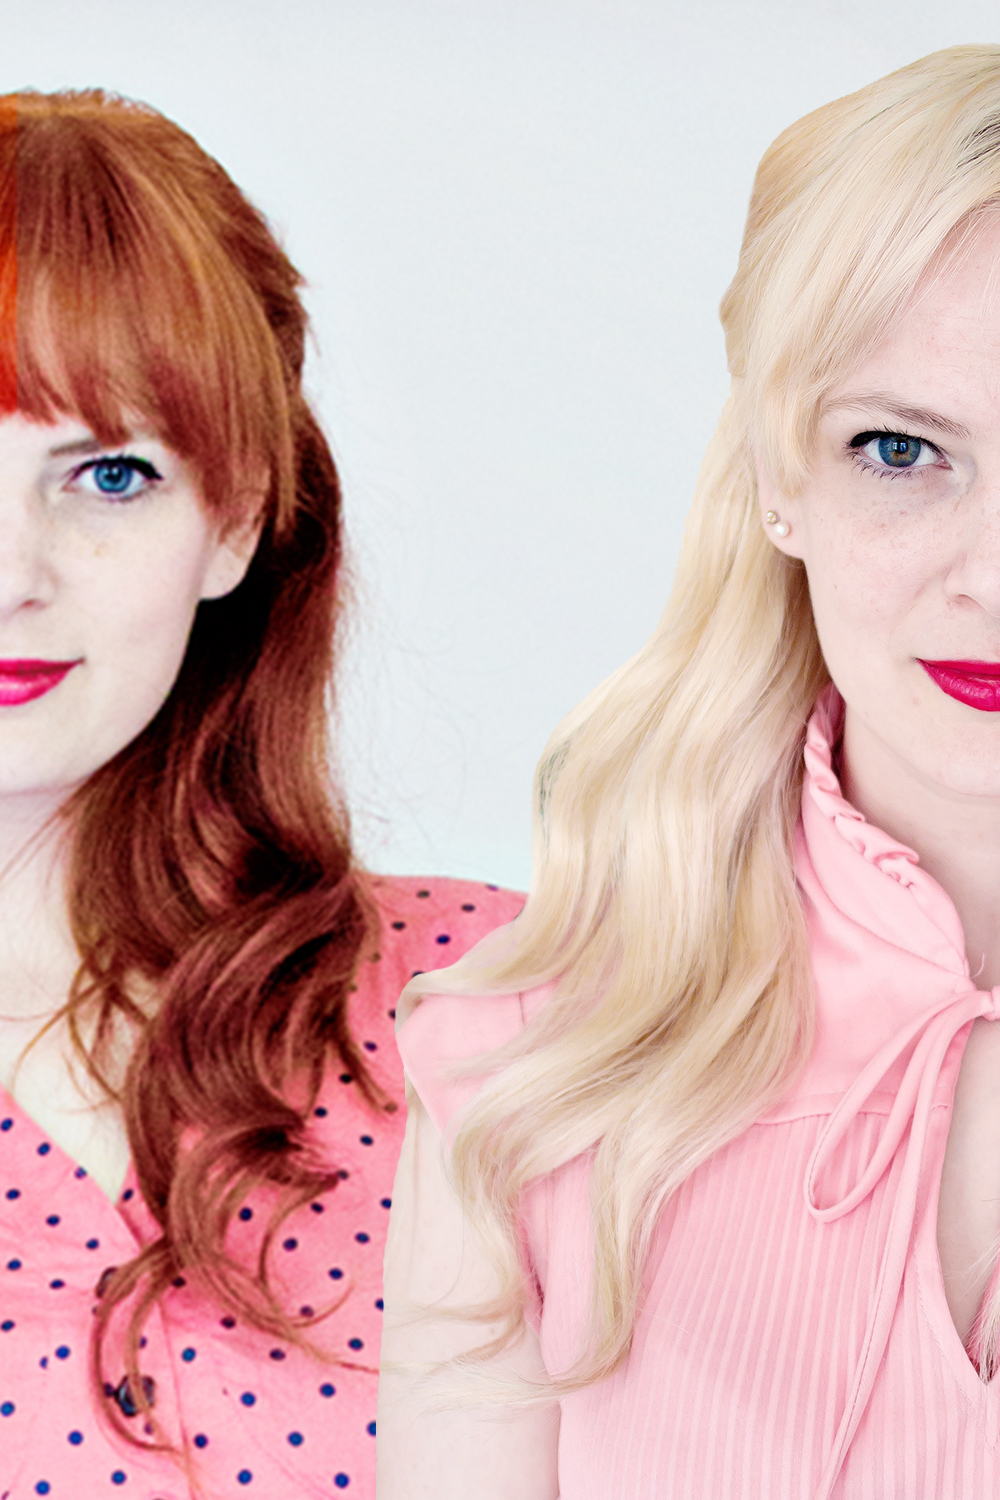
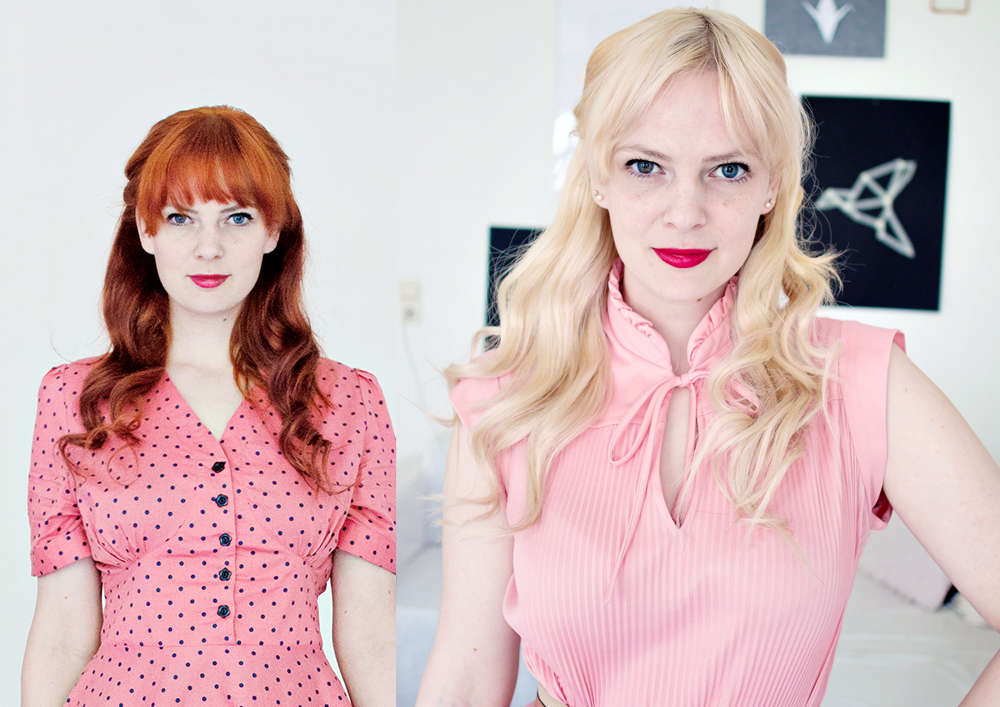
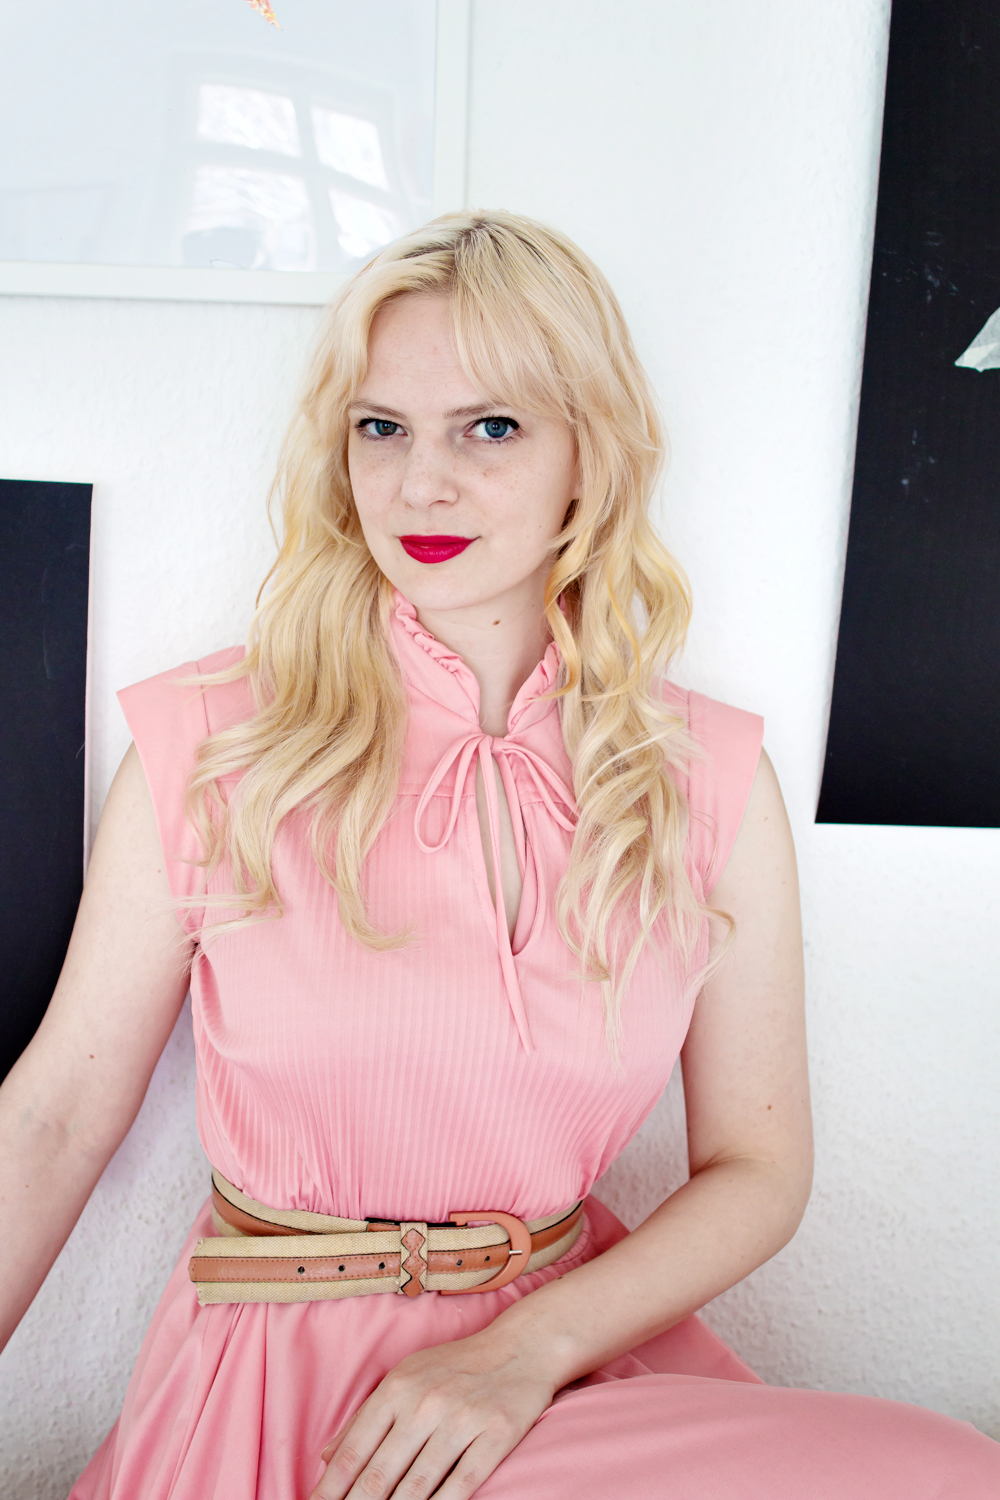
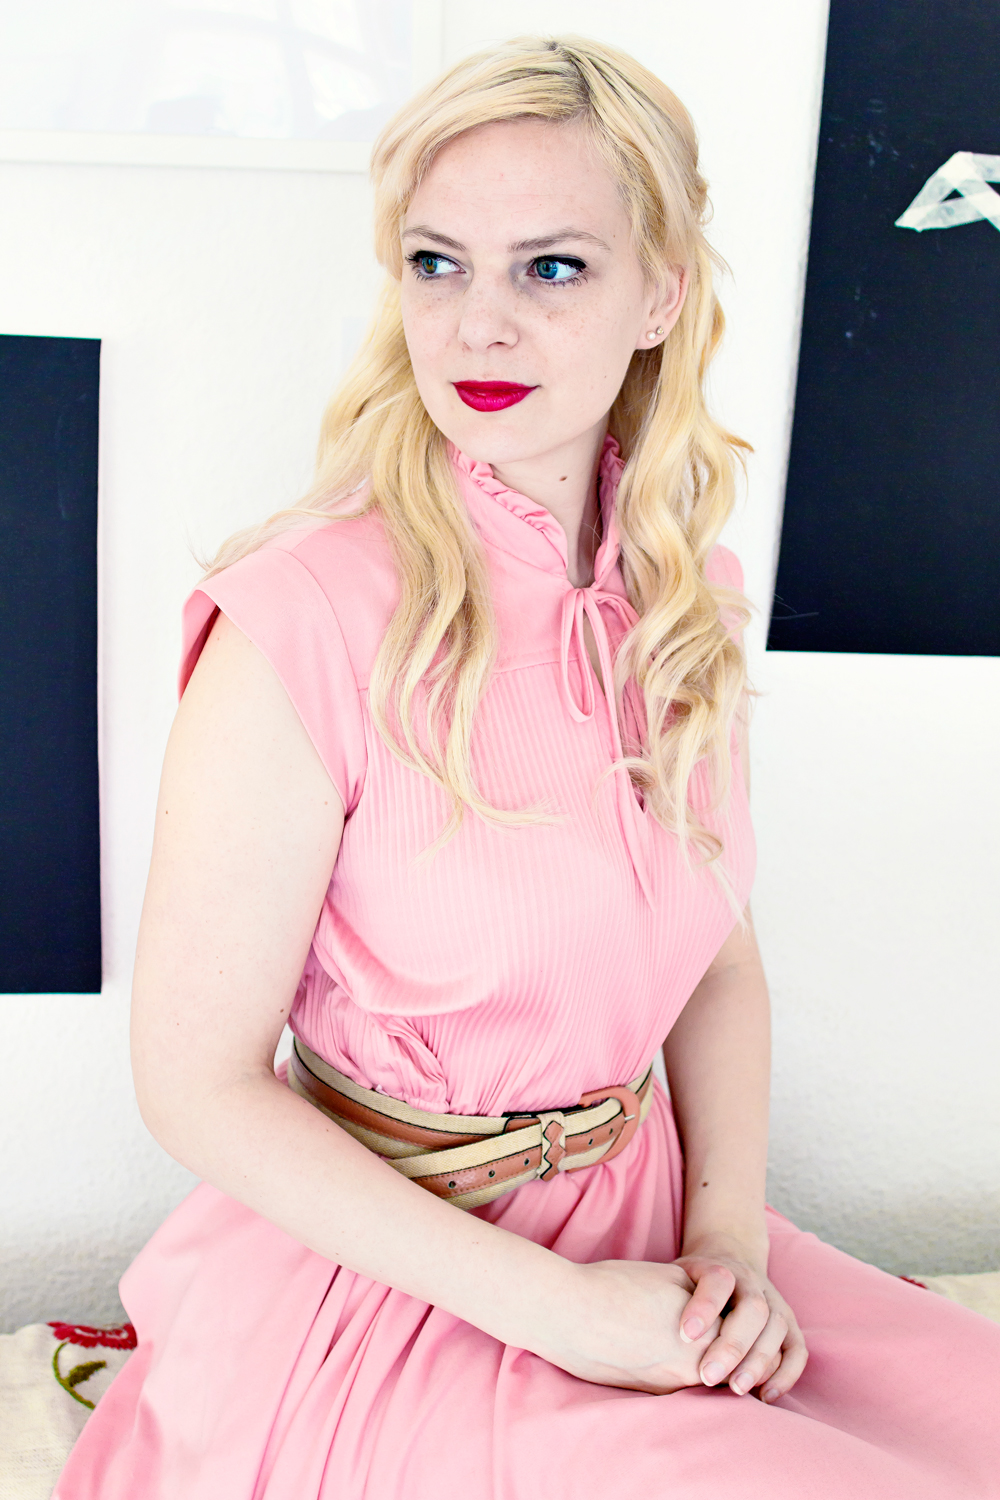
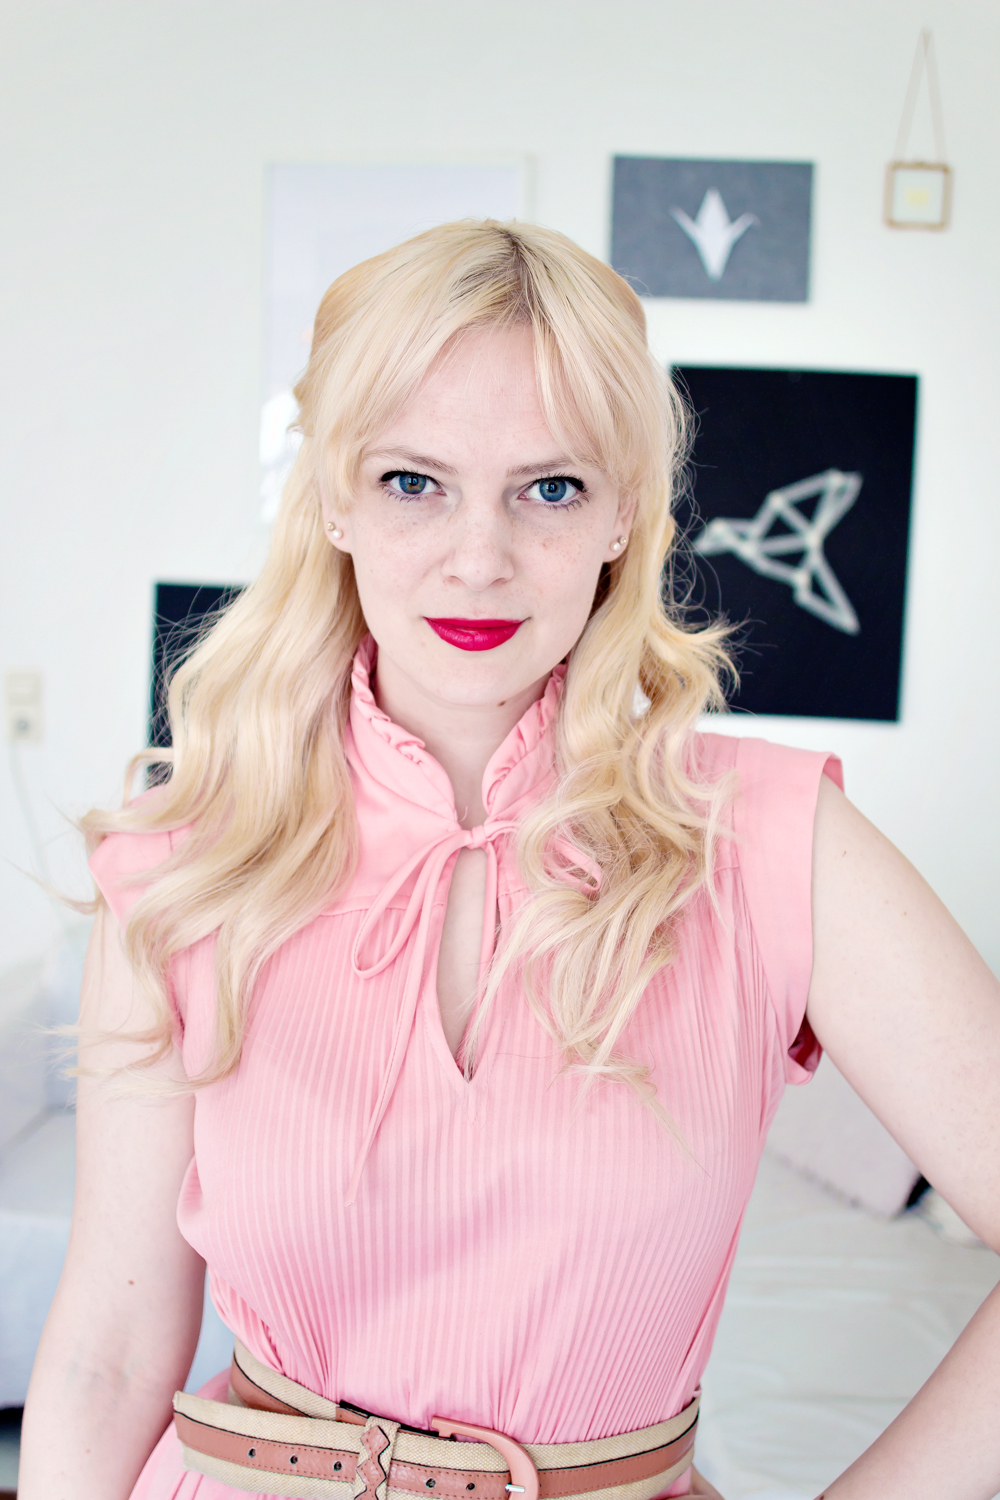
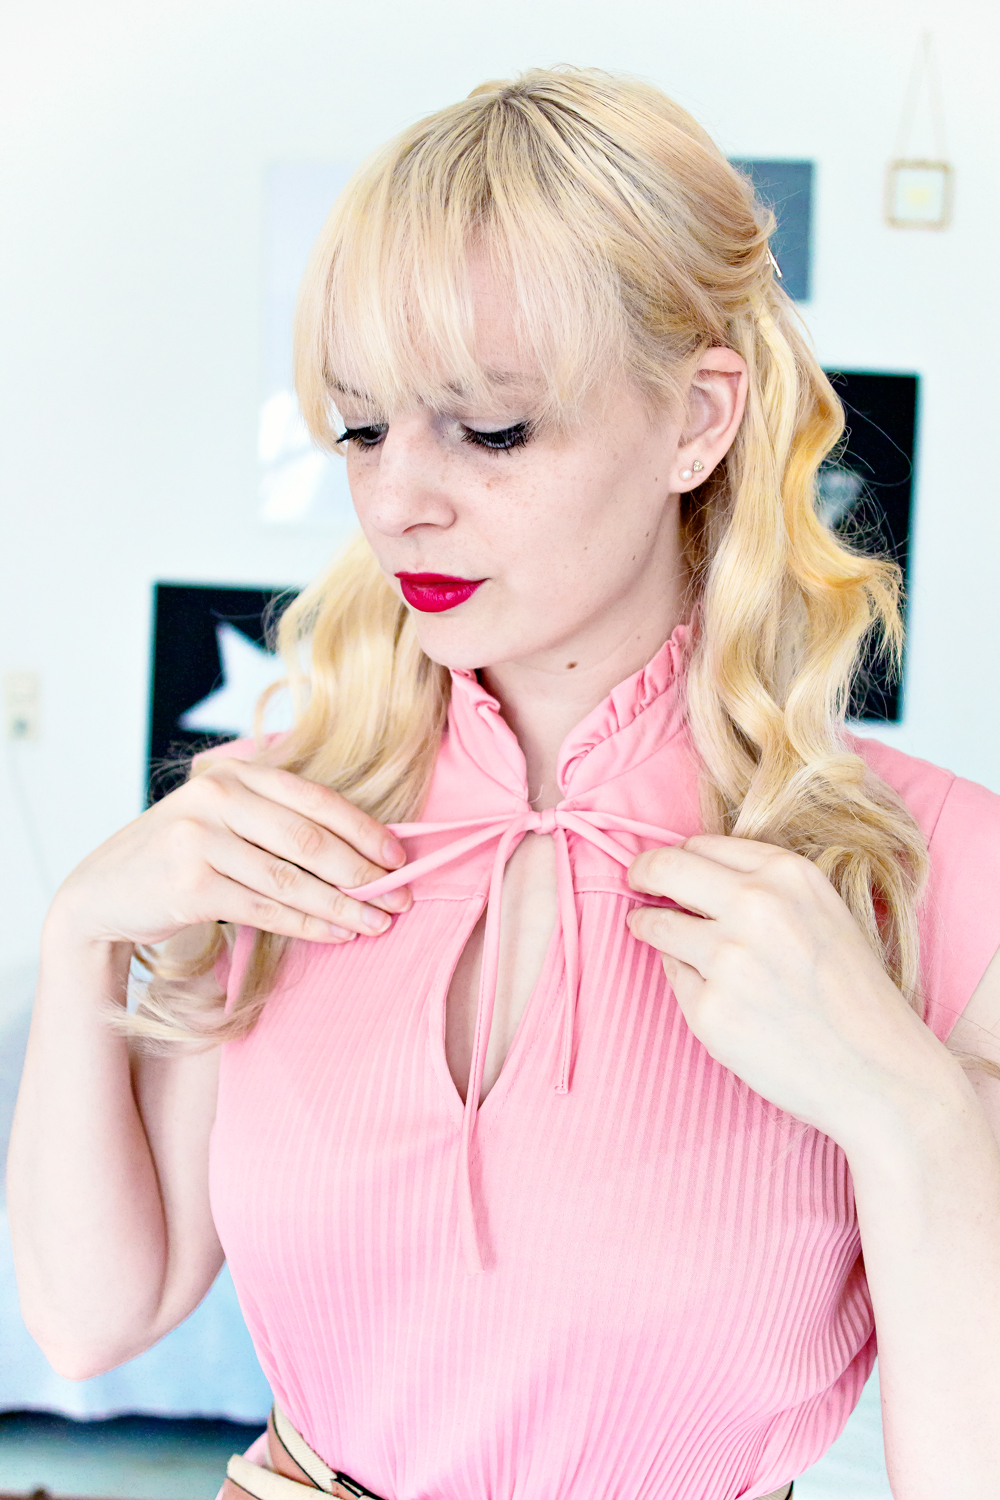
Surprise!! I am officially a blonde again! And what a journey it was! Read all about how I went from Red to Blonde:
Most of you know me as Lana Red, with red hair. But for those of you that have been with me since the beginning might remember that I used to be a blonde. I actually gave myself the alter ago Lana Red, because I always wear red lipstick.
Four years ago I dyed my hair red, because I have always wanted to see what it would look like. I was so happy and loved my hair! I actually still liked my red hair, but it was time for a change for several reasons:
– I am one of those people that moves the furniture around every 6 months to mix things up, and I am the same way with my wardrobe and hair. It felt like it was time for something new.
– Dyed red hair is one of the most difficult colours to keep up with. It fades really fast and since I wear extensions, I had to dye it every 3-4 weeks. This costs money and takes time.
– My hair was very unhealthy because of the constant dyeing to keep the color even, I couldn’t just do my roots, I had to dye all of my hair every month. I tried henna for a while, but after a few months it started to turn less red and more brown, forcing me to start using chemical dye again..
Here we are four years and a few very scary weeks of transforming into a blonde later! Since I see myself as a DIY person (aka stubborn and cheap;) I wanted to do the whole process of going from Red to Blonde myself. Unlucky for me because it was very scary and stressful, but lucky for you, because you can learn from my mistakes and stubbornness!
And as many of these extreme hair projects go, I can’t write this without a disclaimer. At first I wanted to write this as a DIY project, but since everyone has very different hair, I really can’t guarantee the same results. This is the story of how I turned my red hair into blonde at home and hopefully it is educational for those that are trying to do the same.
MY STORY
Please read the entire blogpost before you start to use any of the products or treatments that I recommend! Some things worked and others failed, so please don’t repeat my mistakes.
PRODUCTS
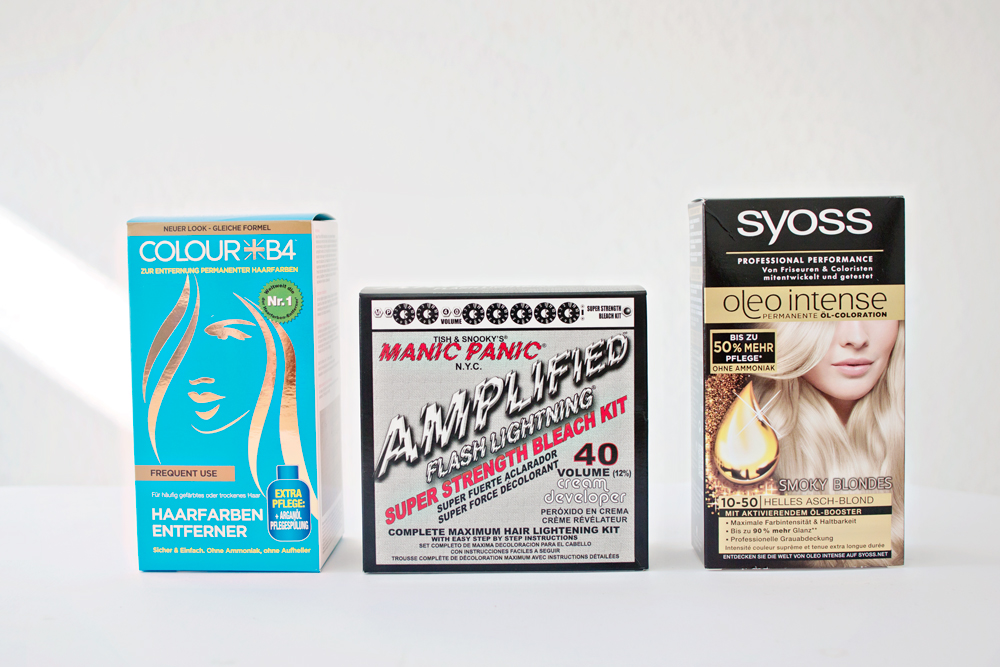
– Colour B4
This product is very non-damaging for you hair and will remove a big chunk of the red from your hair. It won’t make your hair lighter, but it will remove a lot of the added hair dye.
– Manic Panic Volume 40 Bleach Kit
This bleach is amazing. I mean it’s still bleach (meaning damaging to your hair) but is extremely effective for difficult colours like red hair dye. It also comes in volume 30 if you want to go less extreme.
– Syoss Light Ash Blonde
Since I wanted to get rid of the brassy/red tones I added an ash blonde color over my bleached hair. I am not very familiar with brands, but this color and tone was closest to what I was looking for.
PROCESS
Removing the red hairdye
Before I started the whole scary bleaching process I tried to remove as much red from my hair as possible. For this stage I used Colour B4. It is a product that is very mild on your hair and it will remove as much hair dye that you have applied to your hair over the years as possible. I was amazed by the result after using it on my very processed hair! My hair went from a bold red tone to a brassy brown color.
You can use this product 3 times to de-colour your hair. I used it twice and it felt like that was enough for me.
Since my hair is very thin, I managed to use one pack of colour B4 for 2 treatments. But I recommend using one pack for each de-colouring.
Bleaching
After using colour B4, I waited a few days before I started the bleaching process.
For the bleaching I used Manic Panic Volume 40. This is a very strong, but effective bleach. Since my hair is very thin and frail, bleaching truly scares me. I am always afraid of my hair breaking off and having to shave all of my hair off. Which is why I tested bleaching my hair a while ago when I dyed a blonde streak in my hair. This is when I used manic panic for the first time and it worked really well!
My hair did get damaged and I learned that I had to cut it at least 5 cm after I had bleached it to keep it looking healthy. So I suggest that you also mix a little bit of the bleaching product and try it on a small strand of hair before you do all of it.
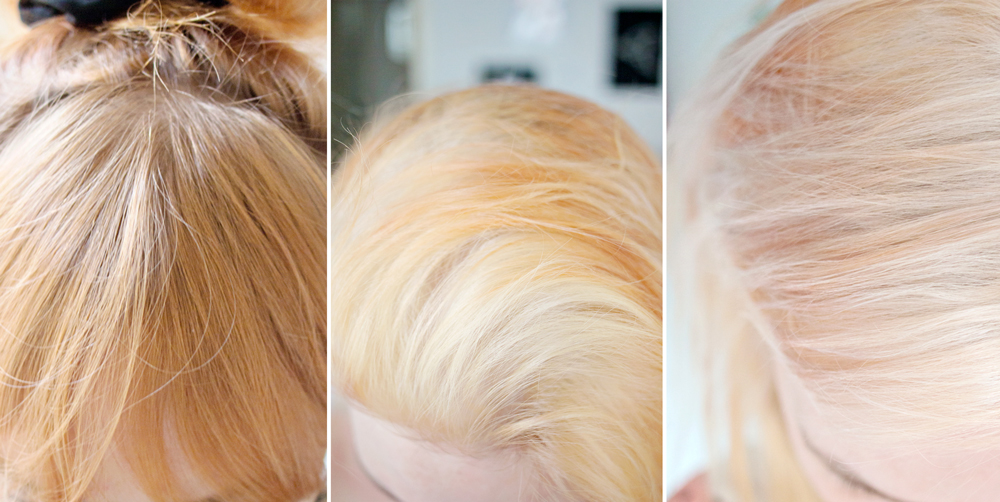
I bleached my hair twice, 20 minutes each time. After the first time it was still very orange. The second time, it took a lot better and it went from orange to brassy/blonde.
Now, I should have waited some time (weeks) before bleaching it again after the first time, but the vain person in me just really didn’t want to walk around with bright orange hair for weeks. So I waited a few days, was generous with my conditioner and bleached it again.
Rest and toning
It’s no surprise that my hair was damaged by the bleaching process. My hair was still not completely blonde, but it was as light as I wanted it. The only thing left for me to do now was to remove the brass coloured streaks that had appeared in my hair. After googling, I had learned that applying an ash coloured hair dye wouldn’t do the trick in this stage yet, because the streaks were too brassy and had to be more yellow before an ash colour would take. So for a few weeks I gave my hair “silver shampoo masks”. This means that twice a week I would apply a generous amount of silver shampoo on my hair and leave it in for 20-30 minutes, slowly removing the brassy tones.
I had to be careful with parts of my hair that didn’t have a red shade, because they could turn grey, so I didn’t apply the silver shampoo on my roots to prevent them from going grey.
I also treated my hair very gently these weeks, no brushing it when it was wet, trying not to wash it too often and always using conditioner. This is also the time when I cut my hair to remove the split ends.
Adding color
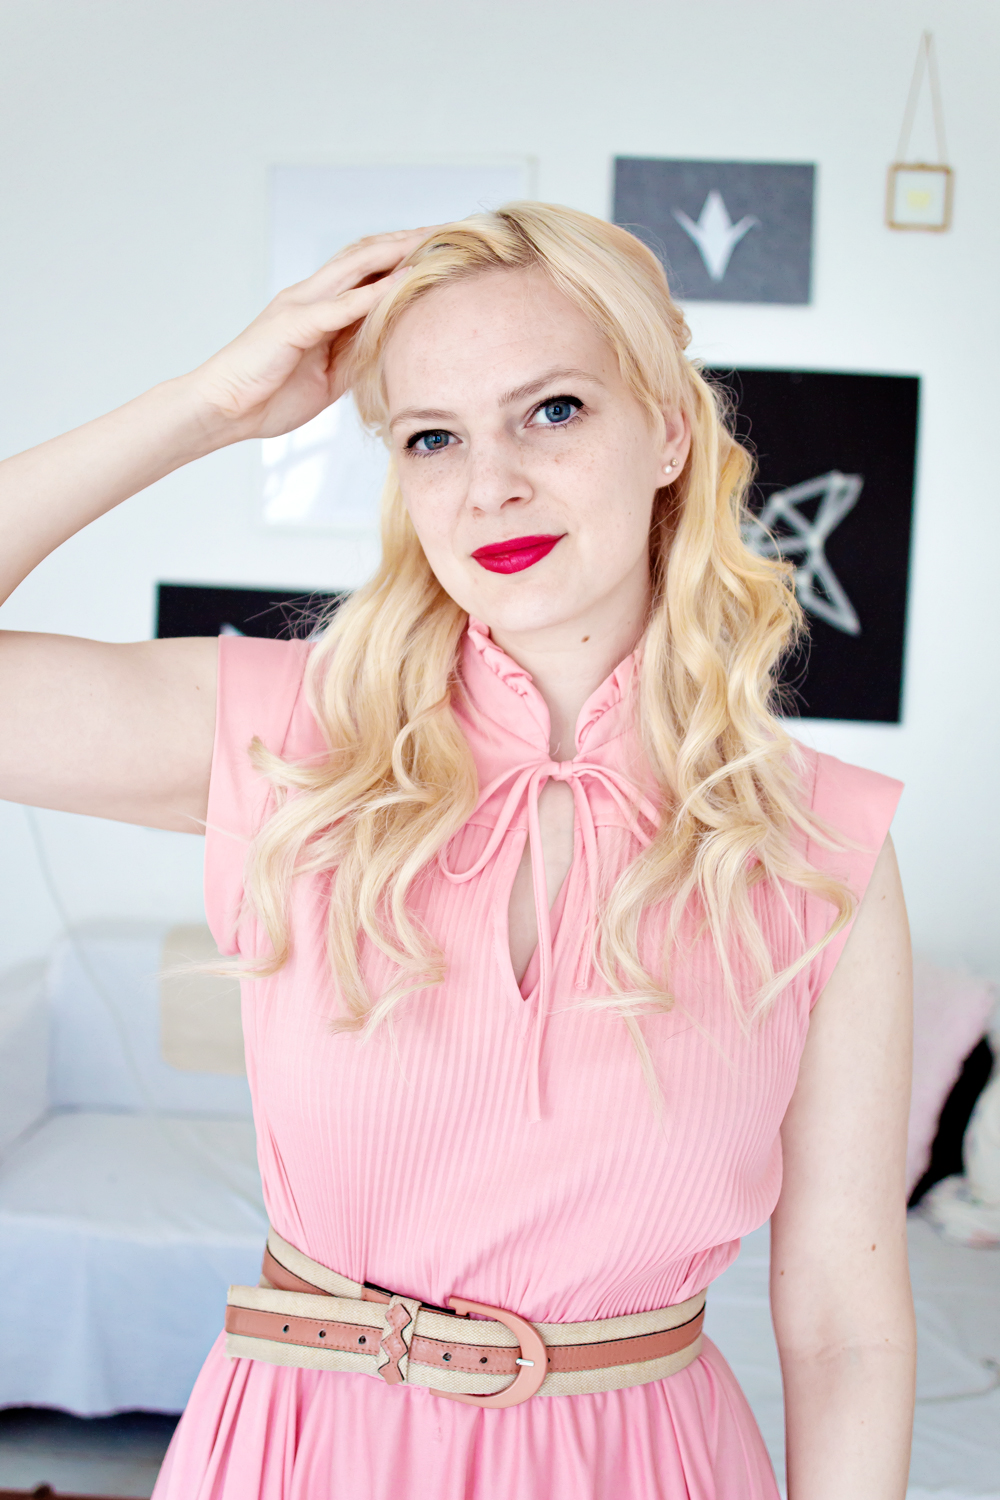
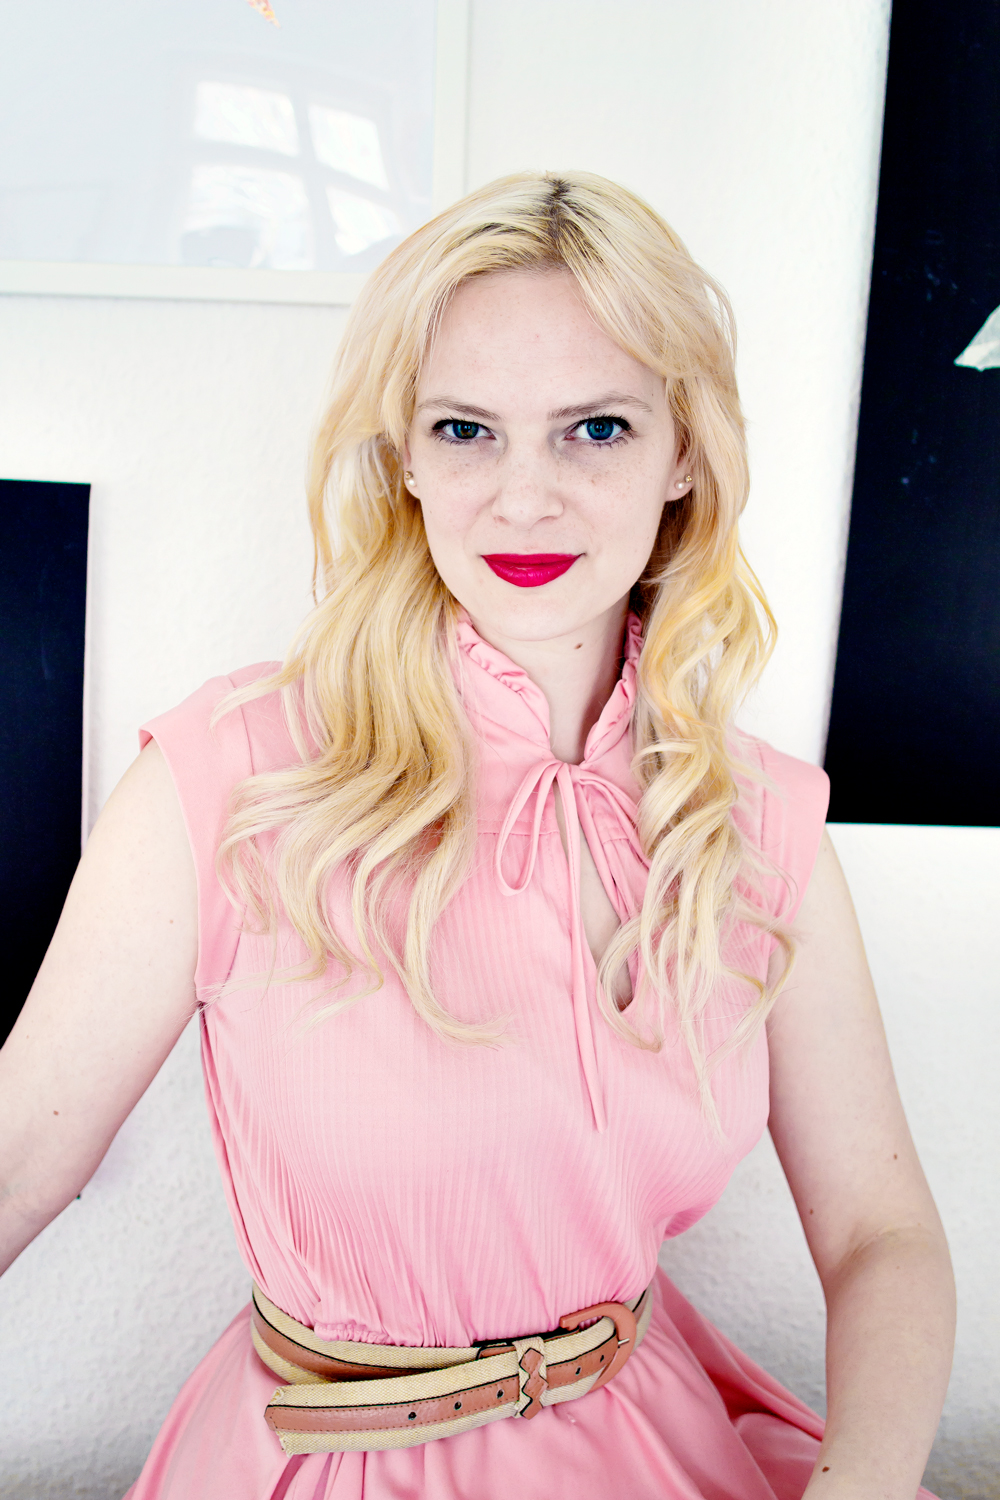
After a few weeks, I had managed to remove most of the brassy tones with the silver shampoo method. At this point I think my hair had 4 different shades of blonde, ranging from strawberry (the bottom of my hair) to platinum (my roots). Obviously not ideal and when it is wet it looks even worse. But I have to say that I was still very happy with how quickly my hair adapted to it’s new color.
In an attempt to even the different shades of blonde out, I dyed it with an ash blonde hair dye. This worked pretty well, the platinum on my roots turned less white and everything started to match more.
The strawberry blonde parts didn’t go away though, and I still have a few brassy streaks, but I can definitely live with those for now until my hair has had some rest.
ADDING LENGTH
Since bleaching is so damaging to my (and I guess everyones) hair, it almost always involves sacrificing a few centimeters of your ends, leaving you with shorter hair. And for those of us that have the slowest growing hair, it is the worst. My hair has never been able to grow much past shoulder length, because it is so thin and frail and it also grows very slow, it always has. So a few years ago I embraced the girly girl in me and I decided to try out clip-in hair extensions. And wow, the effect was amazing! I had been dreaming of having long wavy hair ever since I was a little girl (I actually started wearing a blonde wig when I was 5 years old).
There seems to be this big taboo around wearing extensions, but to me it is a dream come true. Every time someone compliments me about my hair, I excitedly start telling them that even my hair is a ‘DIY project’!
So one of the first things that I did when deciding to go blonde was to look for the best way and place to replace my red extensions. I found an amazing company called Cliphair and we decided to collaborate for my big hair project!
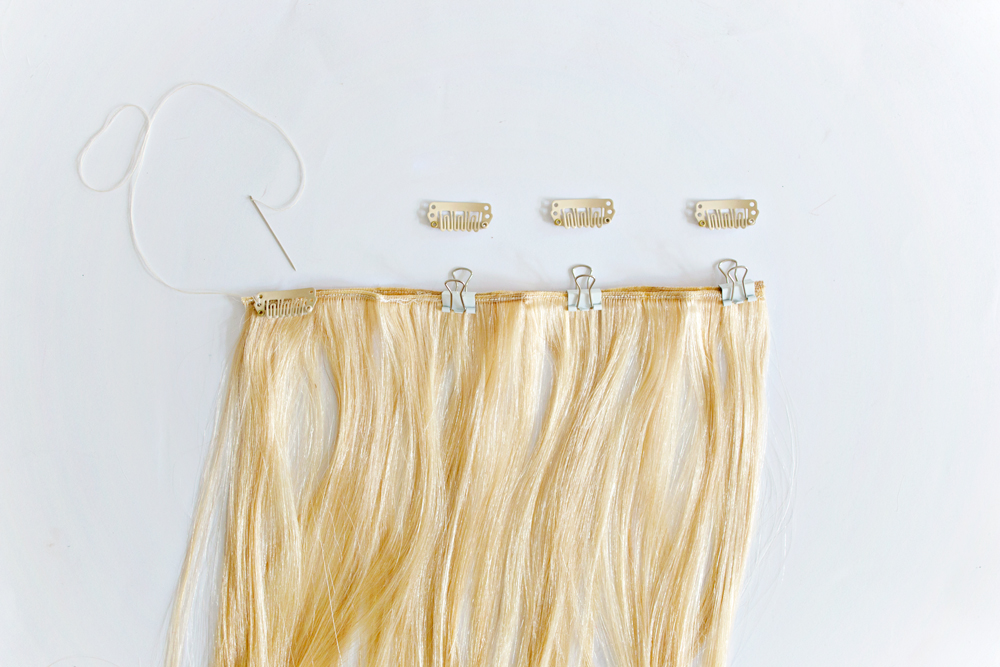
The reason why I wanted to work with Cliphair is because they offer something that I haven’t found anywhere else yet: a DIY set. Normally you can buy ready made clip-in extension which work for a lot of people, but my head is pretty small and they never really fit that great. So I would always have to buy a piece of hair weave, separate clips and calculate how much hair I would be needing for my tiny head.
With this DIY set you receive a generous amount of hair weave and clips in one package. You can measure your head and sew the clips in the weave according to your hairstyle.
I usually make my extensions with a double layer and attach the clips to both layers. You can go to my hair extension DIY project to learn how to make your own hairextensions.
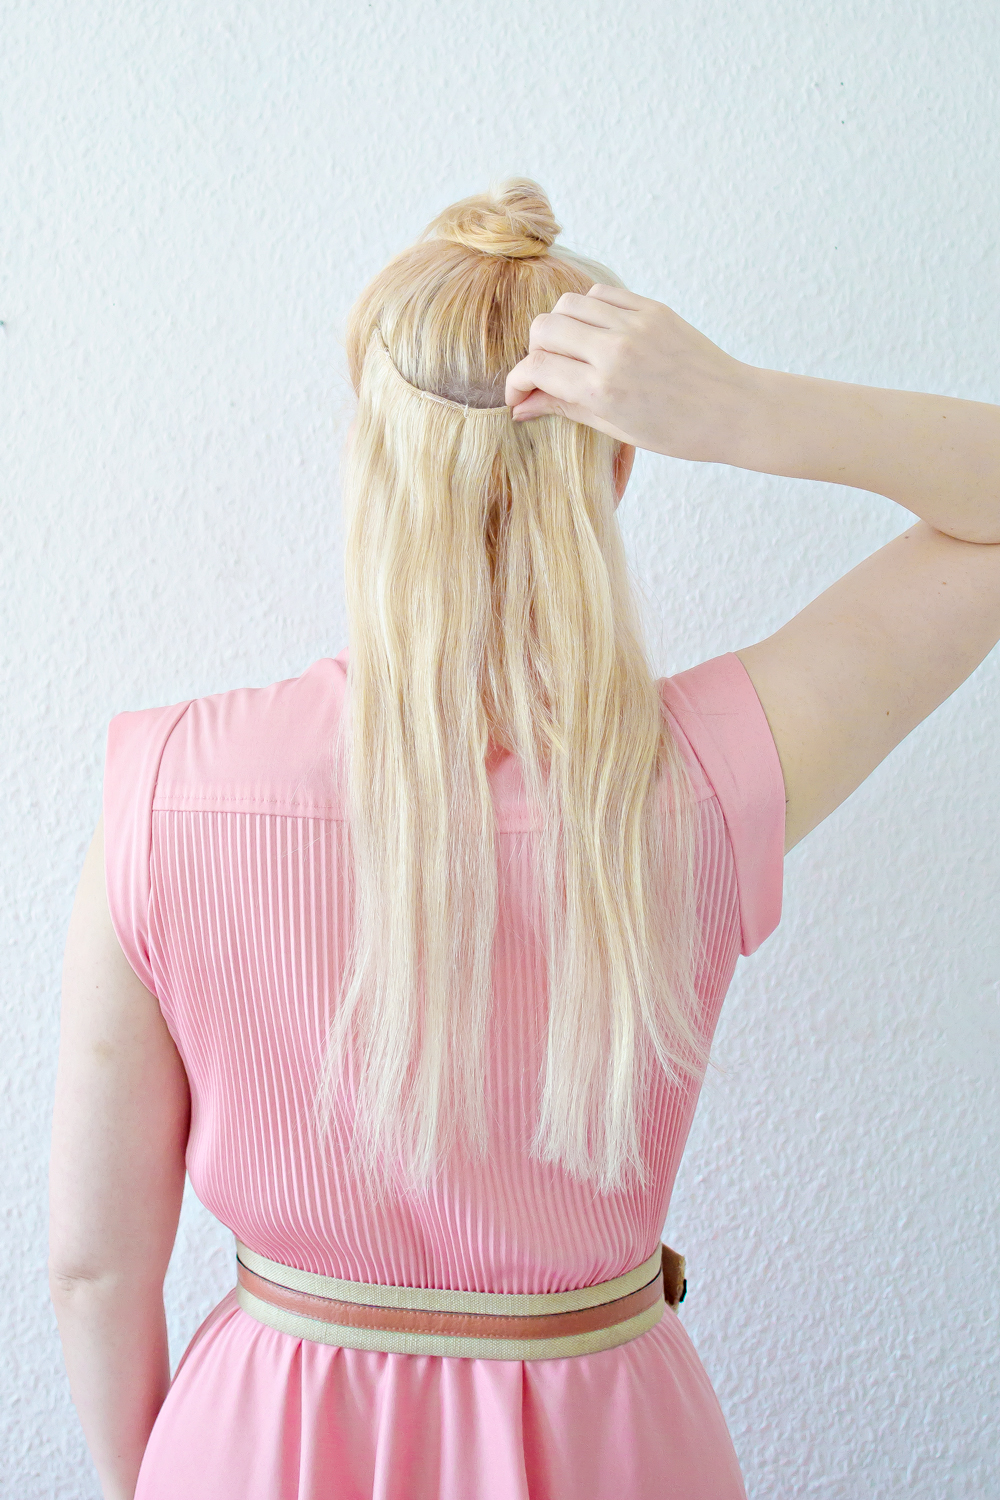
After I have sewn the clips to the extensions, I put them in my hair and decide the length of the hair. I usually go for three pieces/strokes of extensions and cut them all in different lengths. The bottom one the longest and the top one the shortest to make the transition from my own hair as less visible as possible.
You can also color the extensions to match them more to your own hair and try different hairstyles to mix it up!
I usually wear my hair in a half ponytail, but I have been experimenting with different hairstyles lately, so get ready for a new hair tutorial soon!!
NEXT UP
So my hair is (sort of) blonde, what is the next step?
Since there are still a few brassy streaks in my hair, I think that I will continue using the silver shampoo for a while and see how that goes.
The biggest decision now is what I should do with my roots. Color them, grow them out or ‘tone’ them? I haven’t decided on that yet. Do you, me dear friends, have any experience with this?
But for now, getting used to my new look is my main goal. (oh, and having to take a lot of photos to update my red hair pics;)
Do you have a similar story? Questions? Or do you have any advice for me and other fellow hair experimenters? Please let me know in the comment section or shoot me an email!
I would love to know if my story was helpful or if you have an extreme hair story that might educate others!

4 comments
Thanks for your colour story! I am a red head myself, thanks to many layers of henna :)
And no hairdresser dears to paint it lighter/ blond. Or its super expensive. So I will definitely try your methods and tips!
How exciting that you are also changing your hair! I hope that my post will be helpful during your colouring process. Please let me know how it all worked out!xx
I have to know where your adorable pink dress came from!
The pink dress with the dots and buttons at the front is from Lindybop: https://www.lindybop.co.uk/ionia-must.html
And the plain pink dress was bought at a thrift store, so I am sorry that I can’t help you with that one.