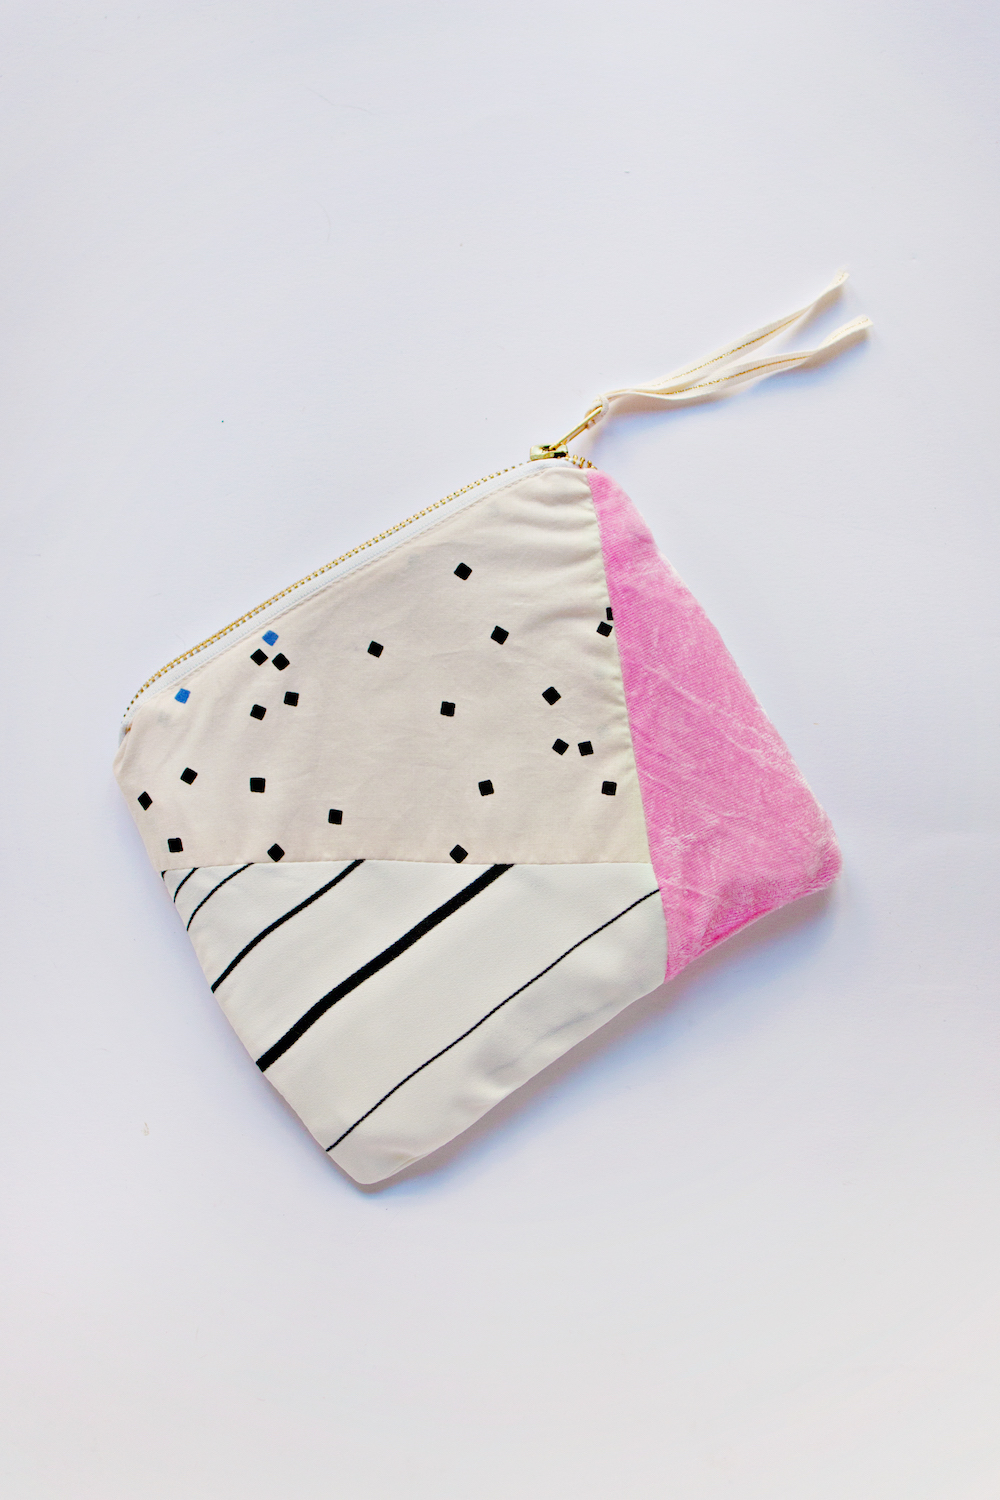
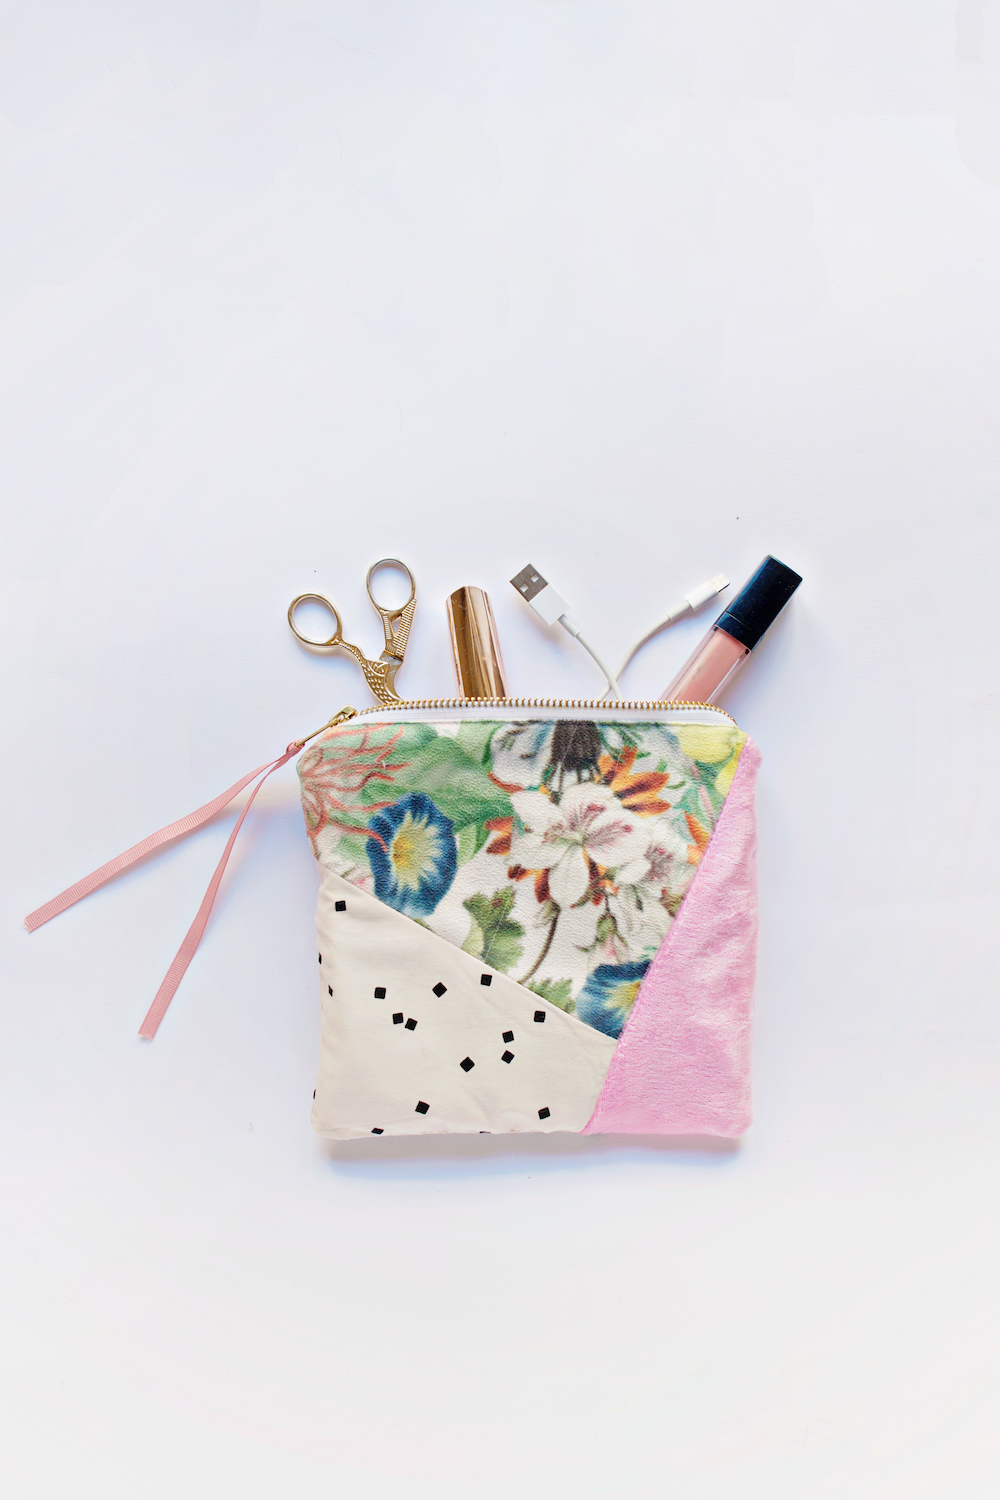
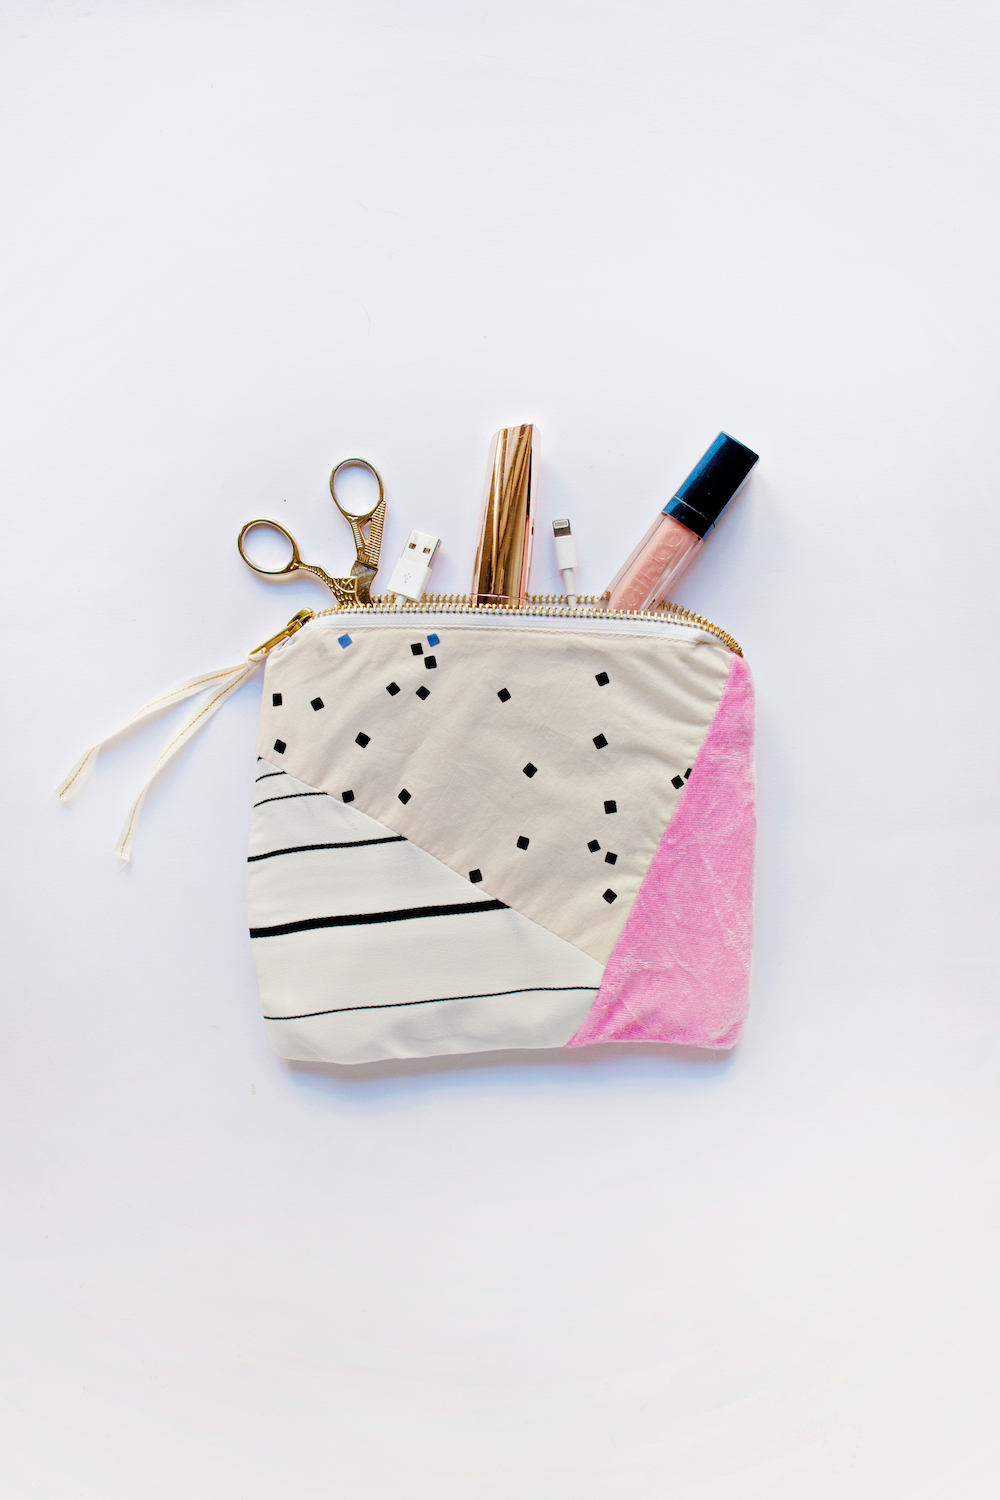
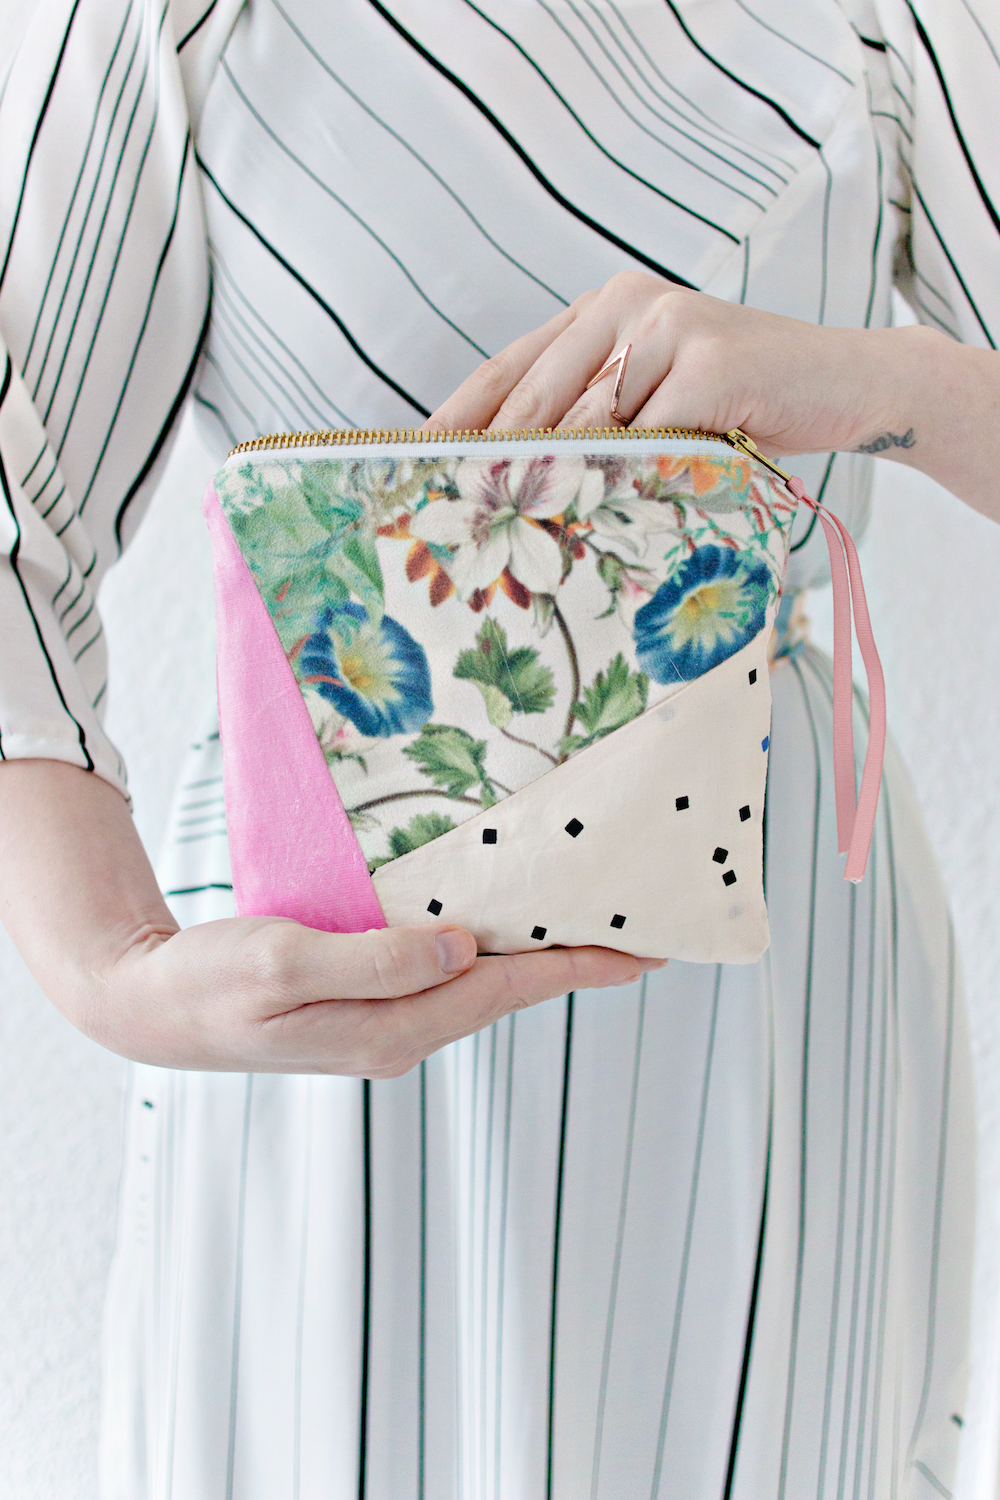
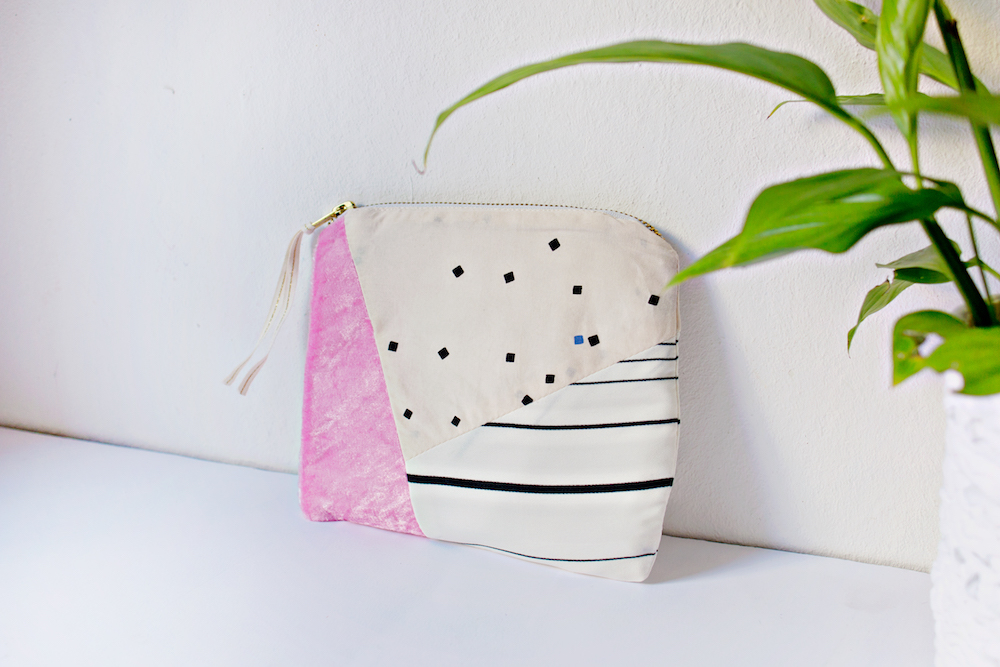
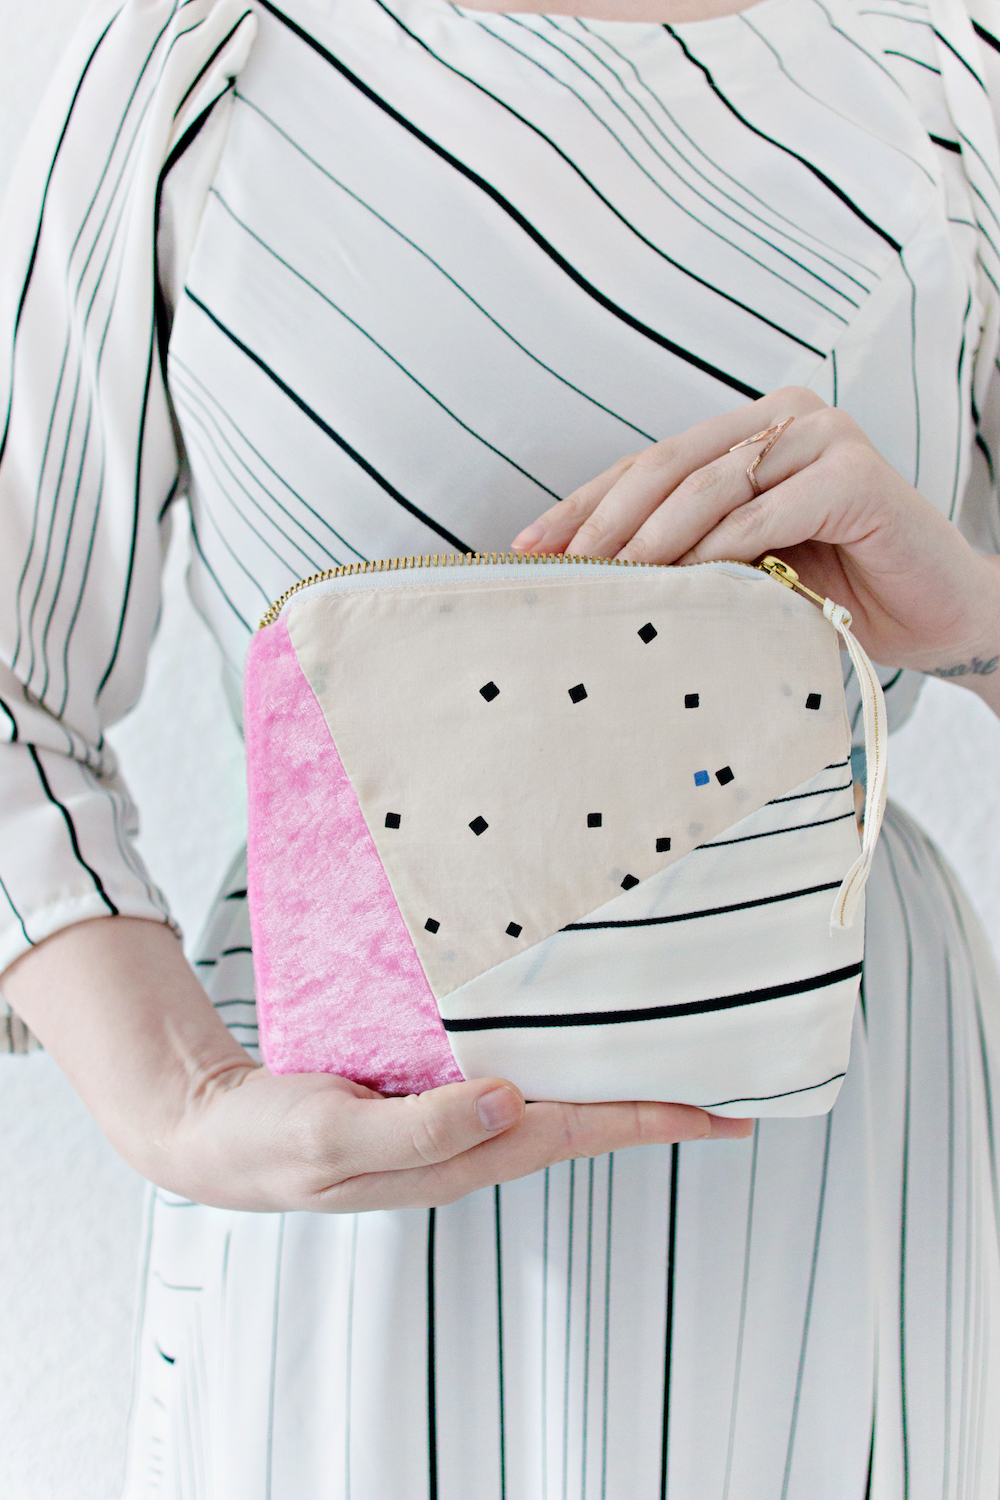
And no, by patchwork I don’t mean a granny style purse, but an on-trend geometric zipper clutch that is both practical and pretty.
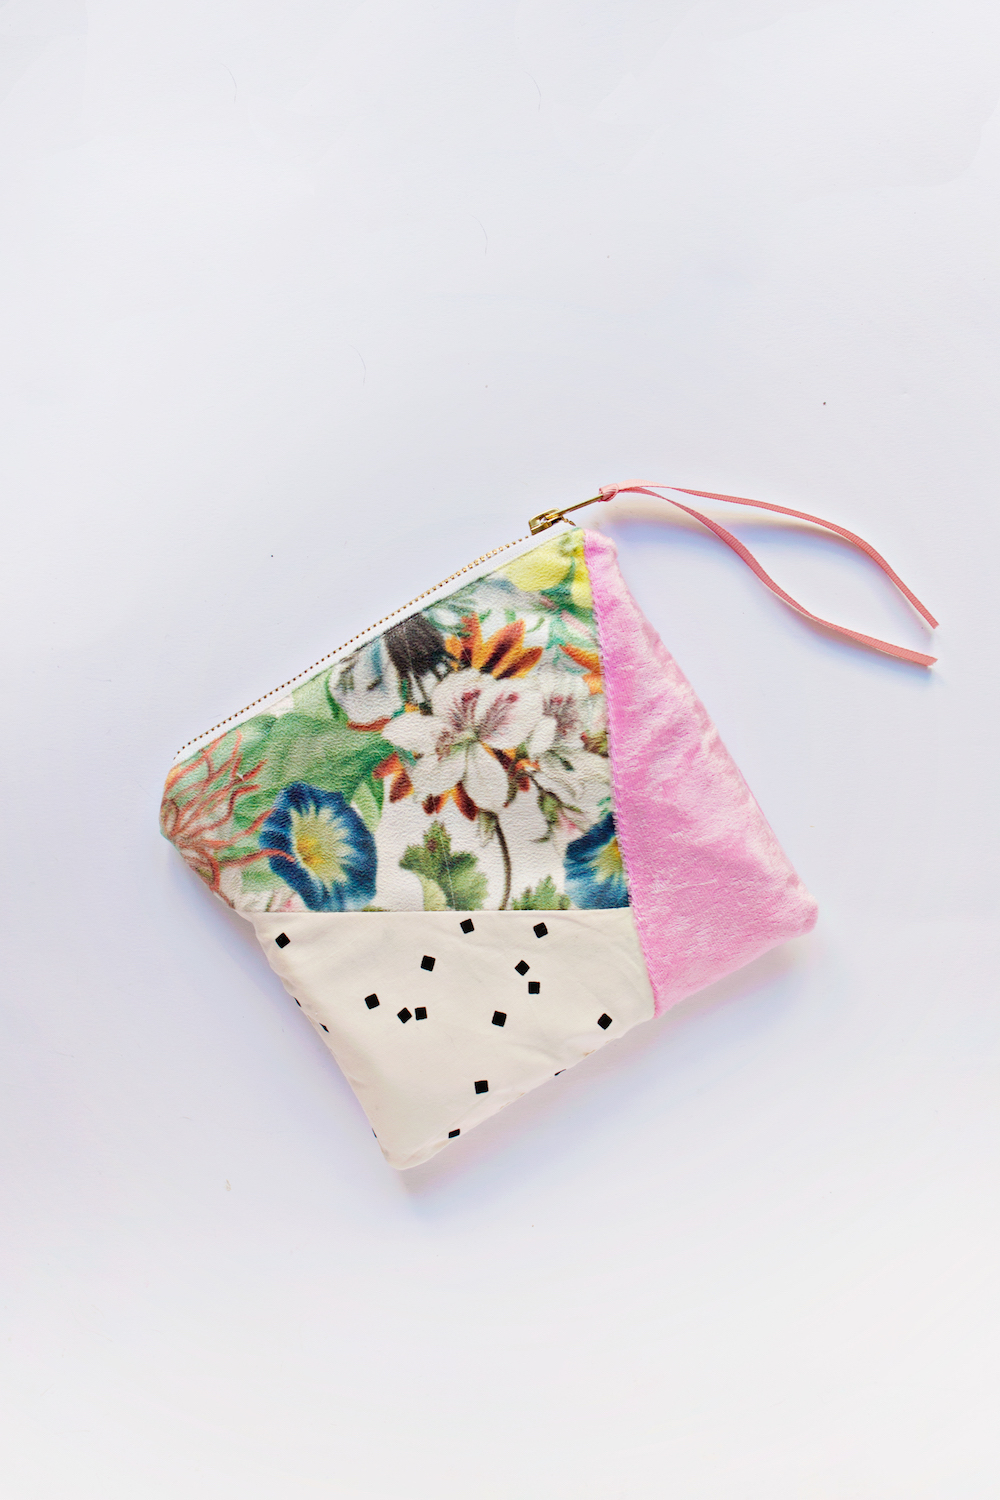
I have made a bunch of these in a variety of fabrics and they always turn out wonderful. You might recognise the fabrics from my Mollie Makes projects or my latest collaboration with Spoonflower. The combinations are endless and you just simply can’t go wrong here.
DIY
This project is a part of the LRS DIY it / BUY it collection.
Make it yourself, or buy it today!
SUPPLIES
– 3 pieces of scrap fabric
– Lining fabric
– Zipper
– Piece of paper
– Ruler or measuring tape
– Scissors
– Pins
– Sewing Machine
STEP 1
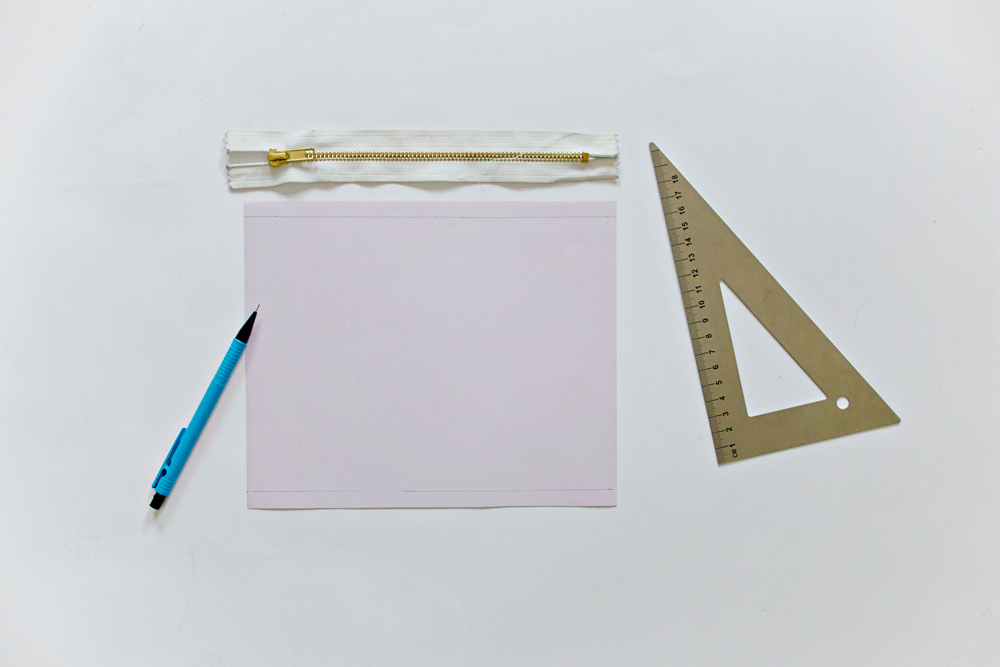
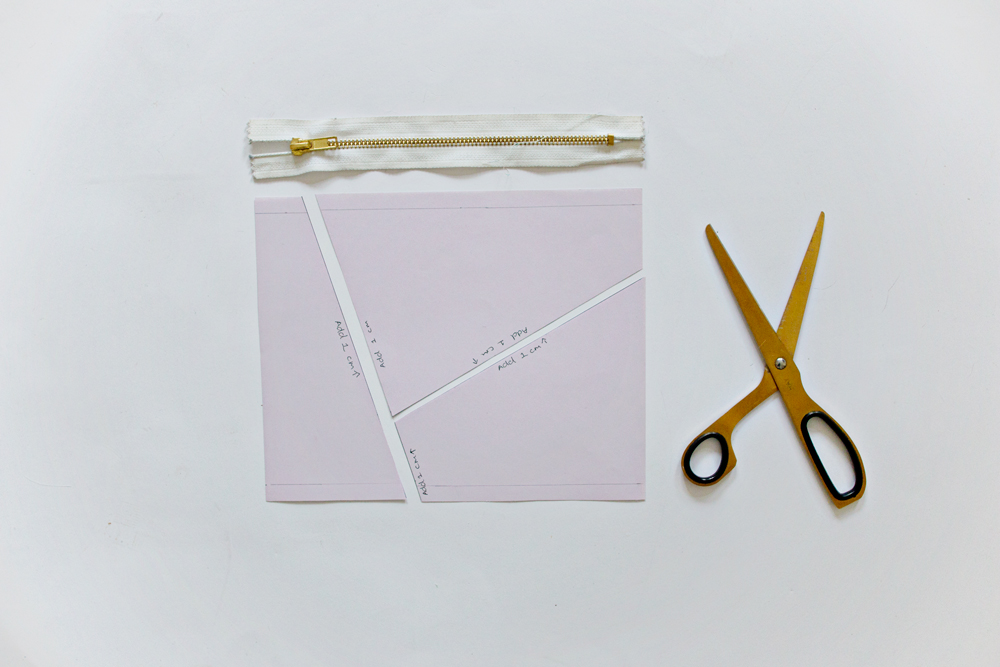
– Take your piece of paper and place your zipper at the top. Cut the paper in the same width as the zipper.
– Decide the length of your clutch and add 1 cm at the top and 1 cm the bottom of that size.
– Cut the piece of paper.
STEP 2
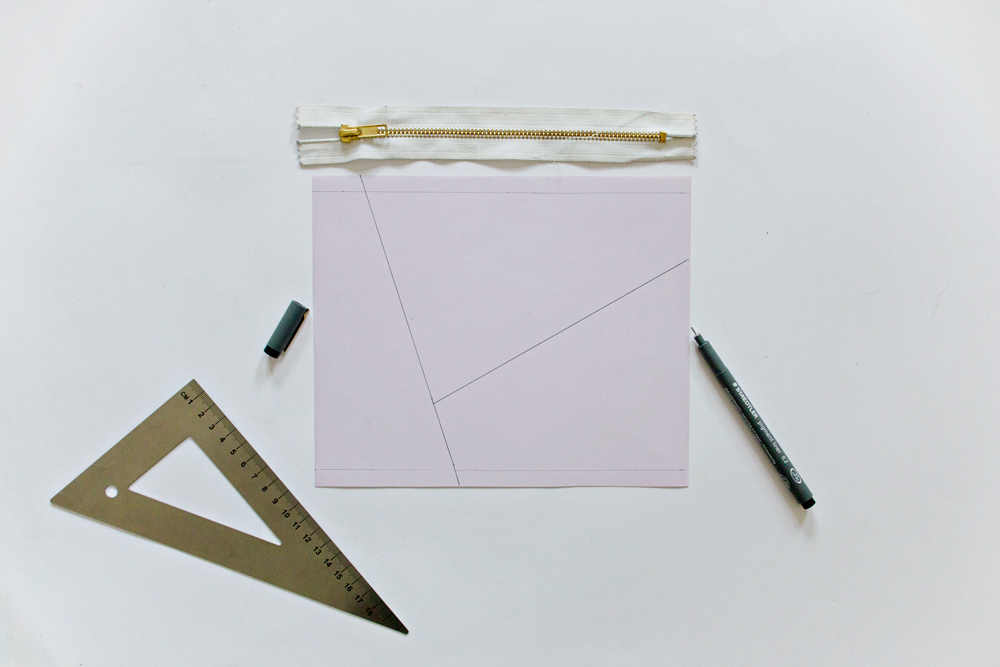
– Draw 2 lines within your clutch template to create the patchwork look.
STEP 3
– Cut the patchwork pieces out of the paper. Mark the individual pieces to remember where each goes.
STEP 4
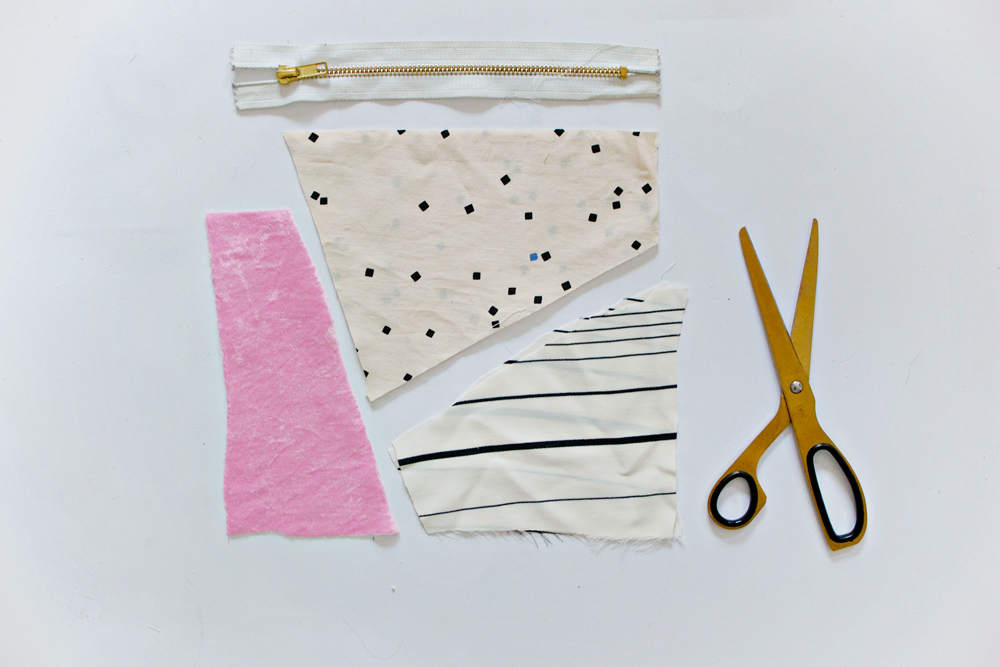
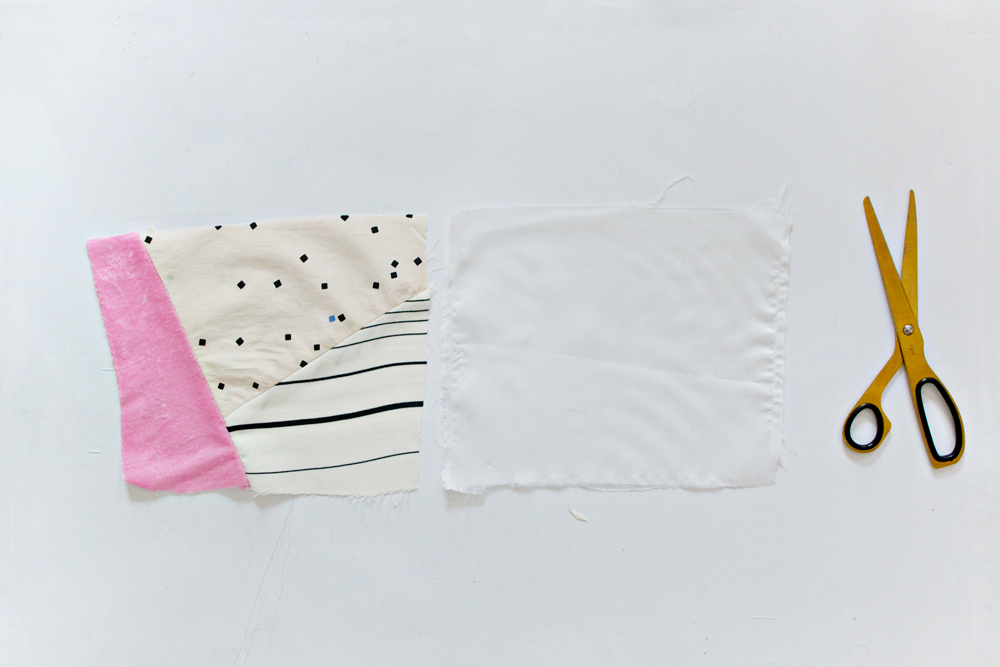
– Place the patchwork template pieces on your pieces of scrap fabric and cut them out.
STEP 5
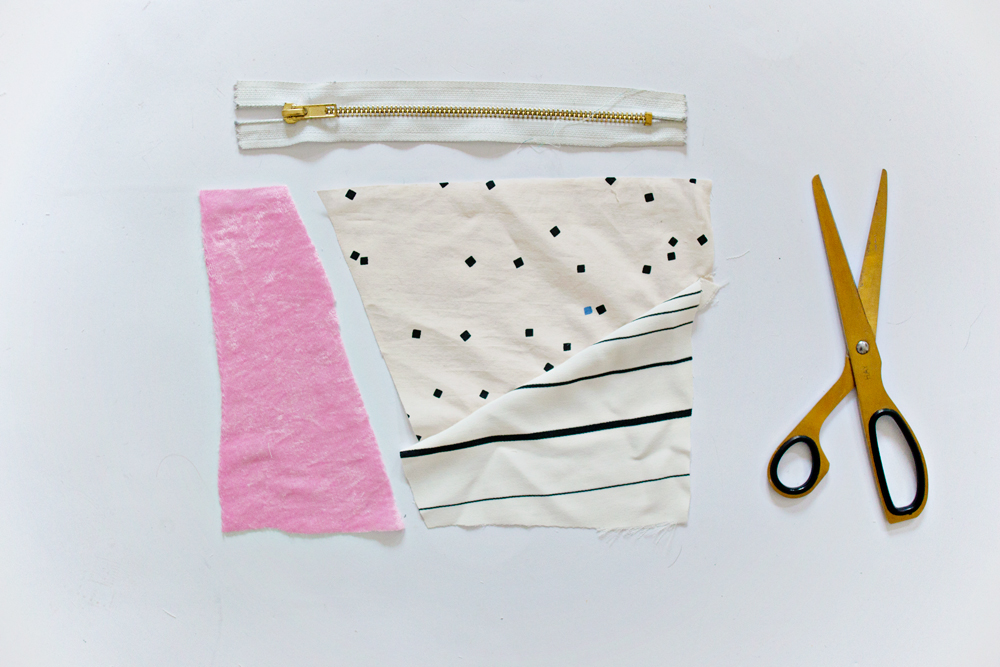
– Sew two of the fabric pieces together. And fold the crease at the back open.
STEP 6
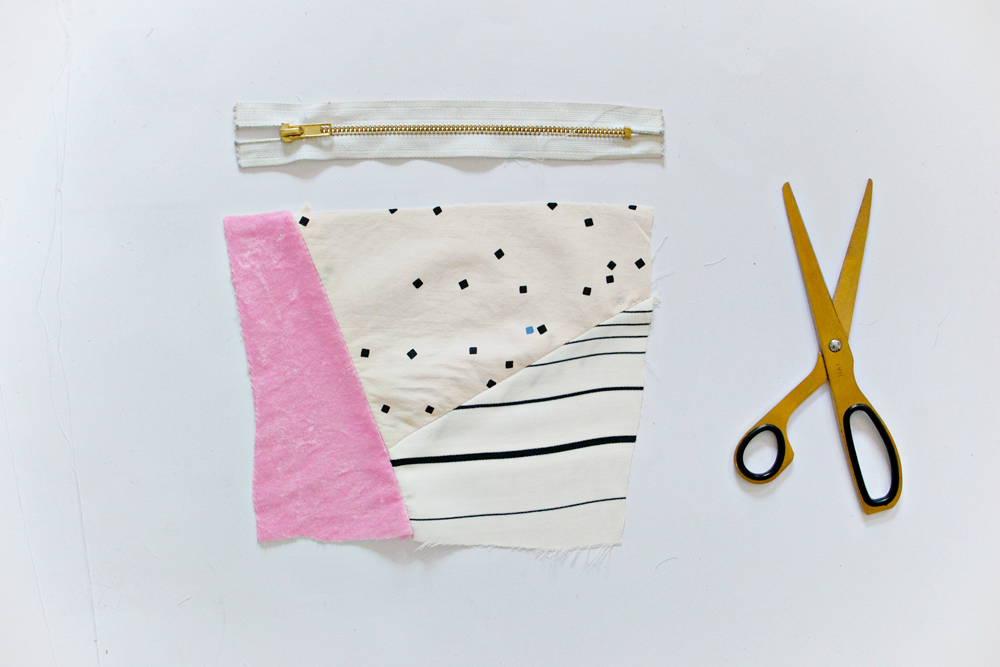
– Attach the last piece of fabric to the rest and fold the back crease open.
– Repeat step 3 to 6 for the back of the clutch.
STEP 7
– Place your patchwork piece on top of the lining and cut the shape out twice.
STEP 8
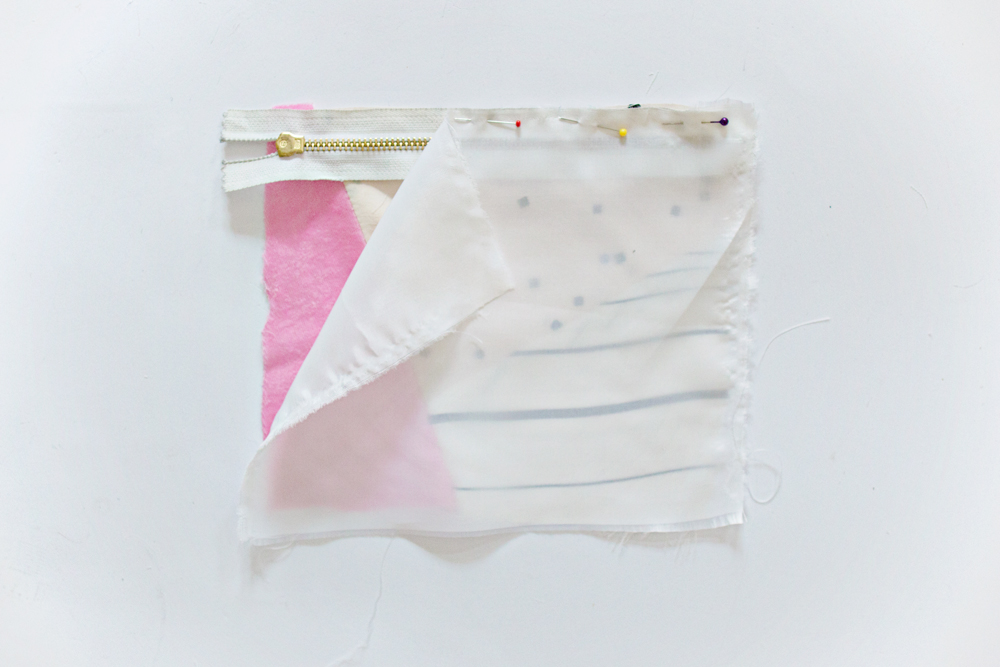
– Place your zipper along the length of the patchwork piece of fabric. with right sides together.
– Position a piece of lining fabric on top of the zipper with the right side facing down and raw edges aligned.
– Pin and sew along the top of the zipper.
STEP 9
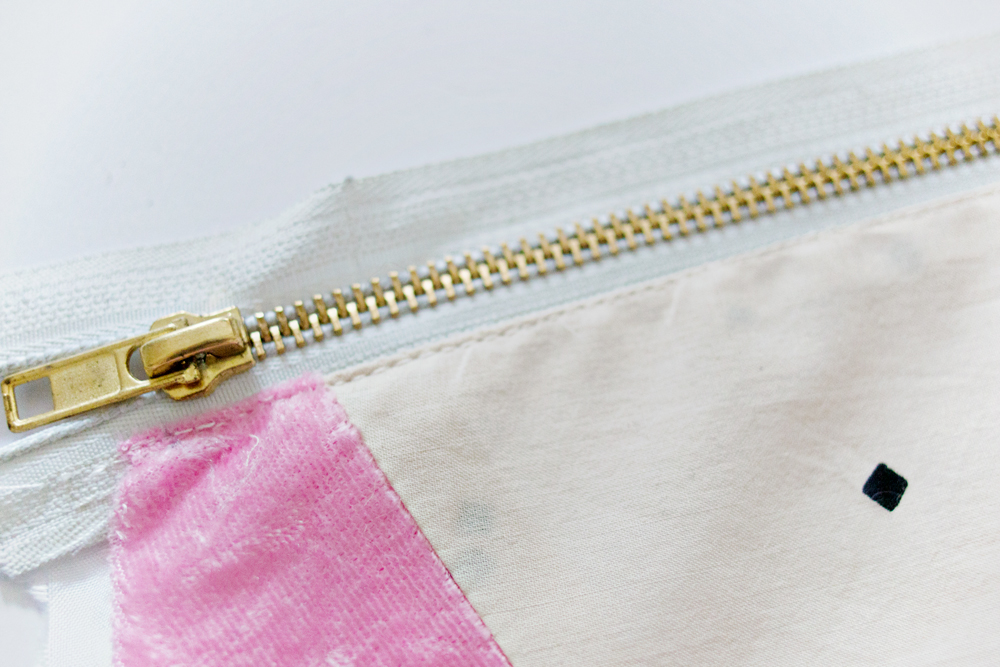
– Fold your layers open so the patchwork fabric and zipper are right sides up, with the lining fabric layered underneath.
– Top stitch along the seam, close to the edge of the zipper.
STEP 10
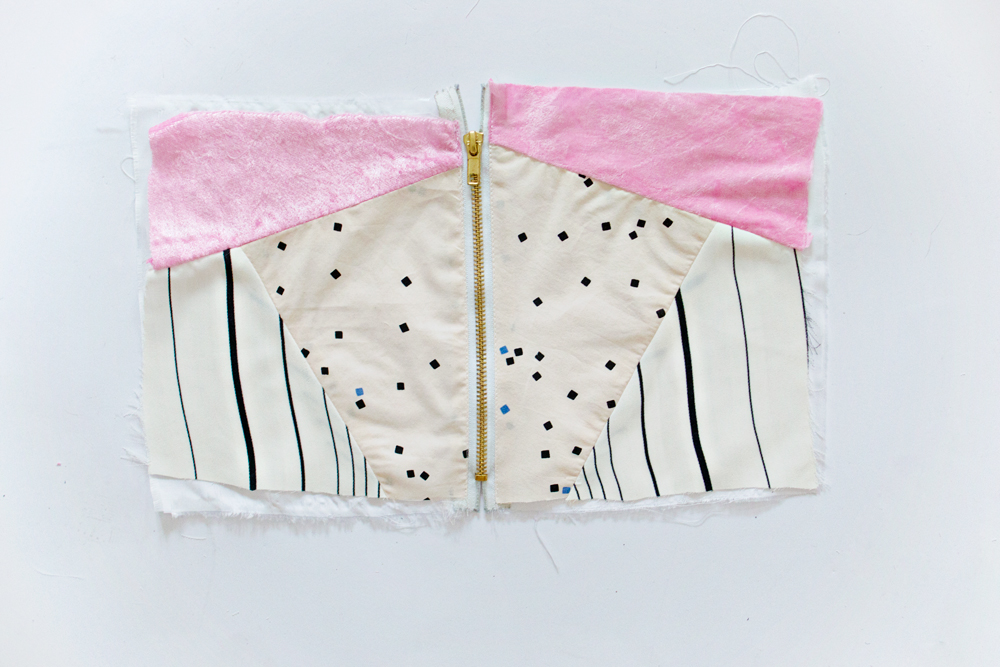
– Repeat step 8 and 9, with the remaining pieces of fabric.
– Open the zipper
STEP 11
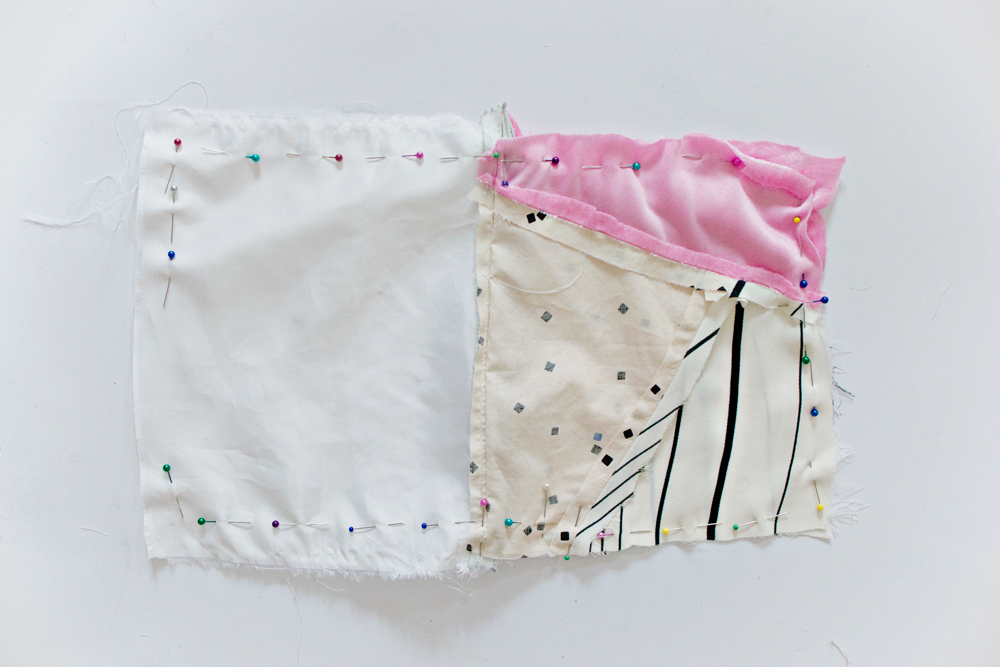
– Pin both the patchwork pieces and the lining pieces right sides together.
– Sew around all four edges leaving a small opening in the bottom of the lining.
STEP 12
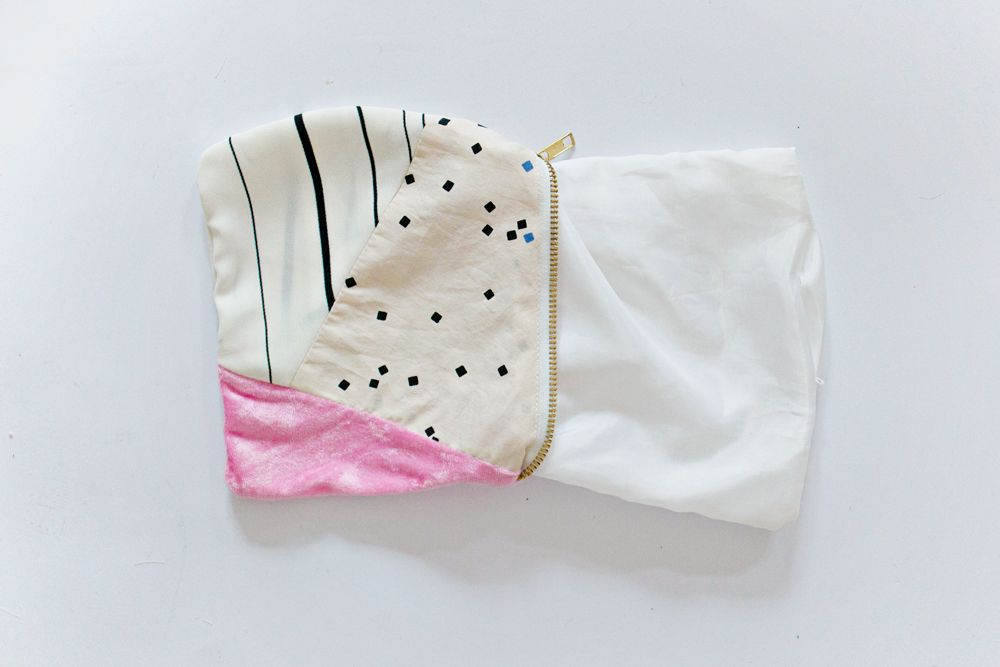
– Turn the clutch right sides out through the opening in the lining.
– Sew the opening in the lining shut with a straight stitch along the seam.
– Push the lining neatly inside the clutch.
* Styling tip: attach a ribbon to the zipper for a finished look
Once you have made your template in steps 1 to 3, you can make as many clutches as you want in a variety of styles.
Mix and match different types of scrap fabric and make your own clutch collection! They make great gifts!
Or.. if you are not feeling crafty, don’t have a pile of fabric scraps that are suitable for this project or you just like the one that I made?
No worries! You can actually also purchase one (or 2 or 3..) in my Etsy shop! Get your brand new handmade clutch today!
DIY it, BUY it, it is up to you.

7 comments
Omg it’s so beautiful il love it !
Thank you!!
It’s gorgeous!