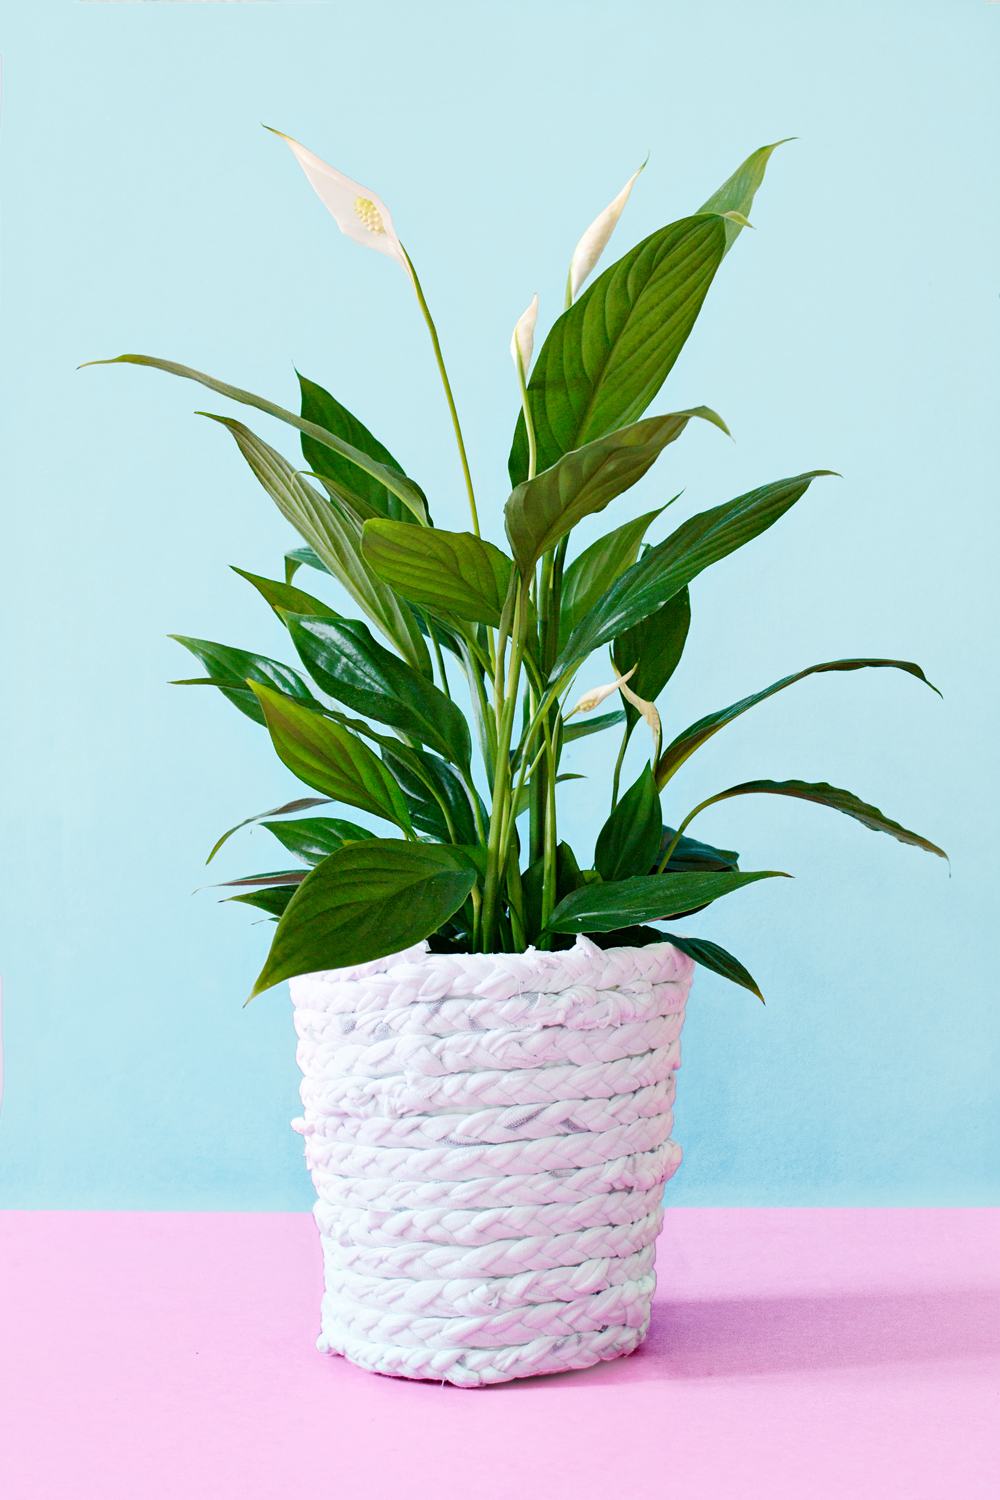
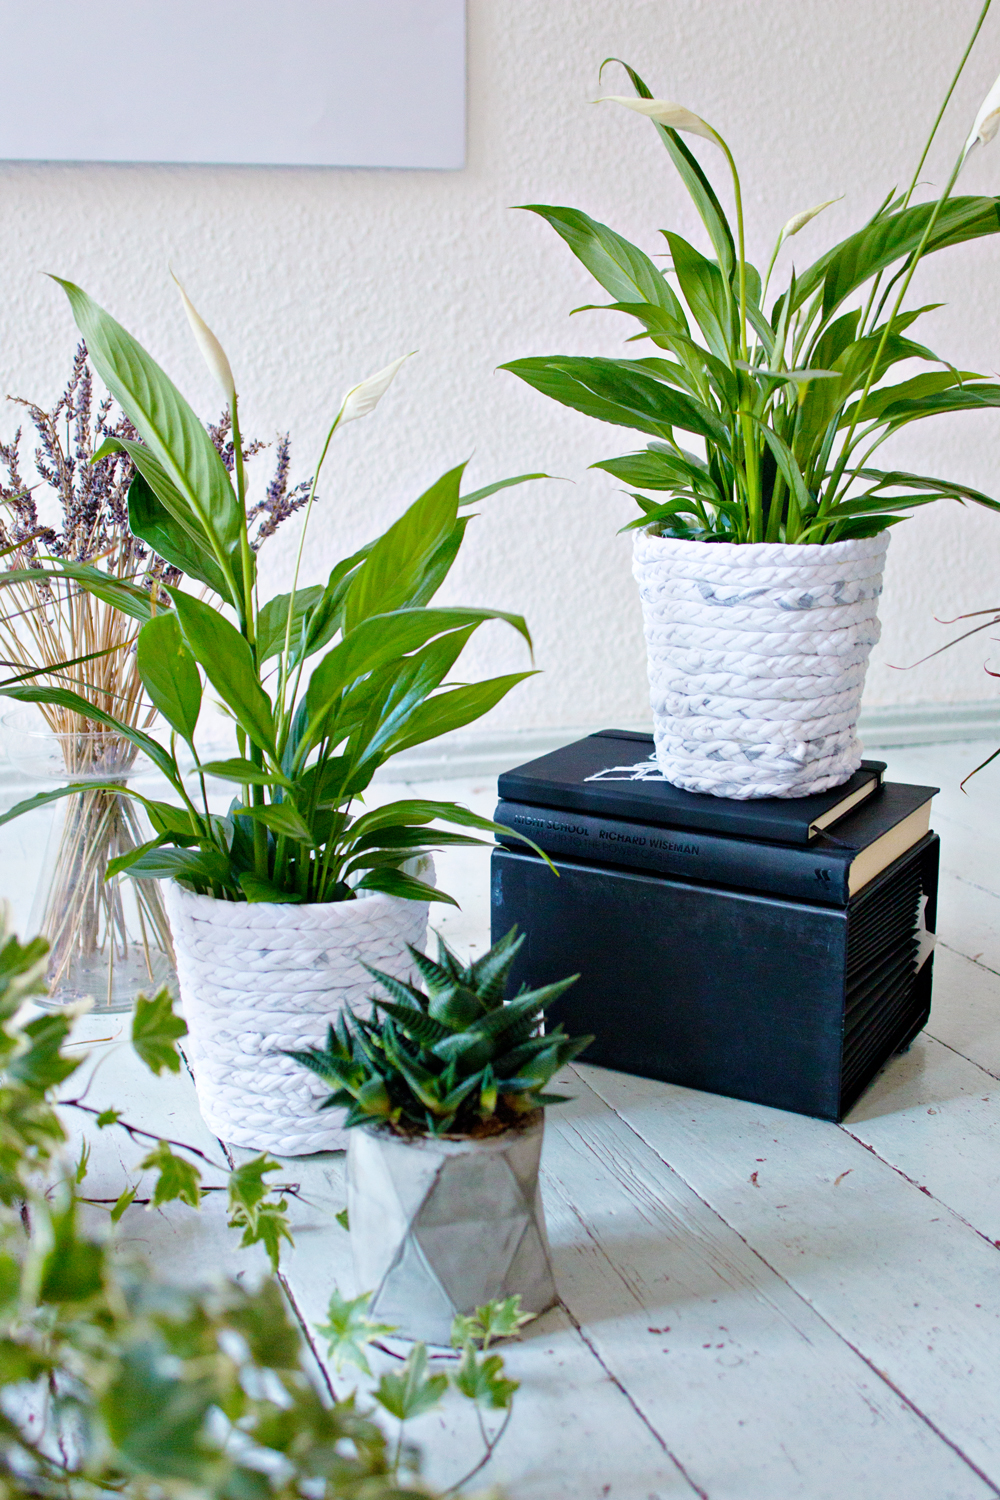
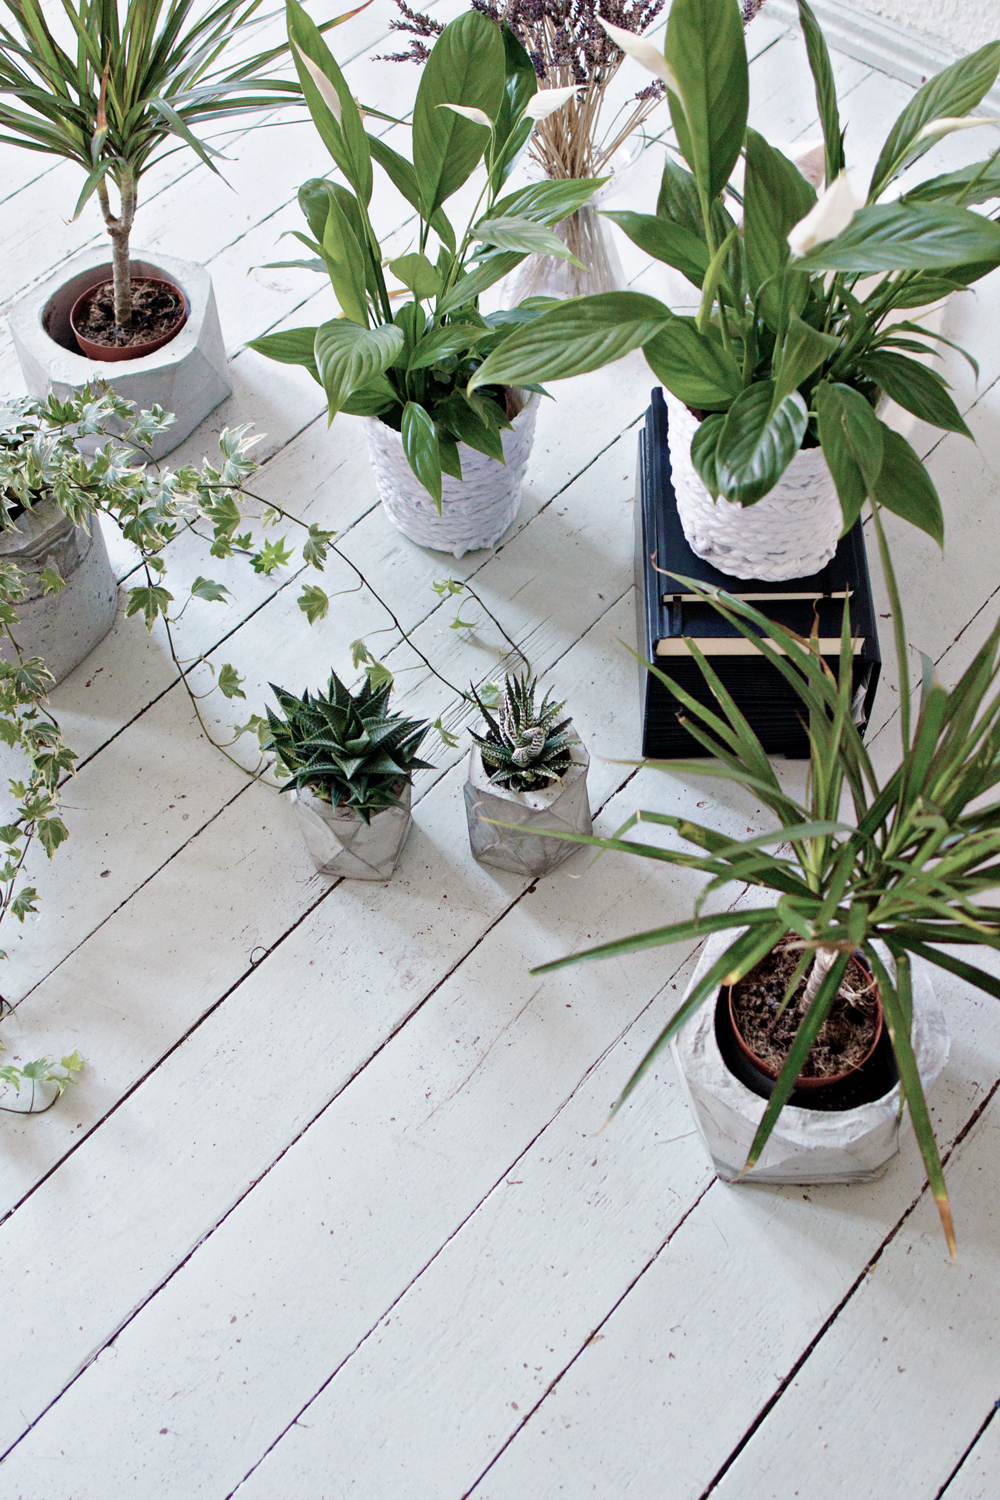
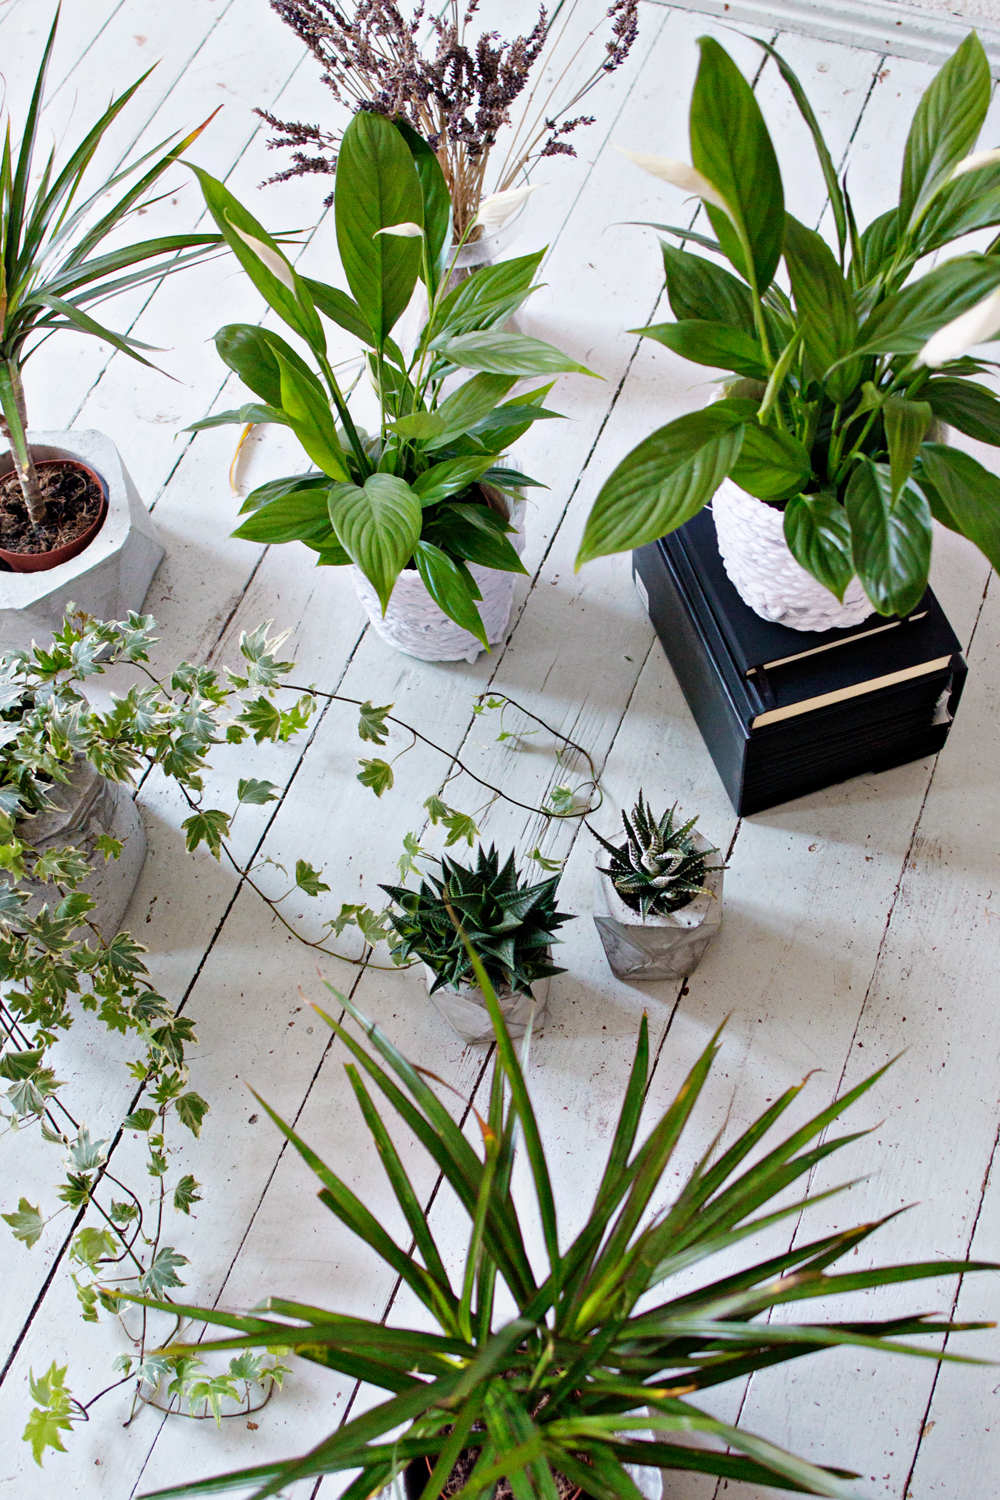
I am a big fan of green in my house. As I mentioned in an earlier post, my temporary home already felt more like a proper home after adding plants in my living room. But as usual I craved more and wanted to add plants in other rooms as well, like my kitchen and bedroom.
Finding affordable plants was pretty easy, but finding affordable planters that look nice was a completely different story. Not to mention that I didn’t want to be wasteful, since I am living in a temporary home and don’t want to hoard stuff that I have to throw out later.
My solution: using old materials to make something new and make an upcycling project!
Normally I would thrift planters for projects like this, but the local thrift store didn’t have any.. Luckily, Ikea has the cheapest flower pots that are perfect for this tutorial.
Add a few old tees or shirts and you have all of the main supplies for this very easy and quick DIY!
Are you ready to make your own braided planter?
Here’s how:
DIY:
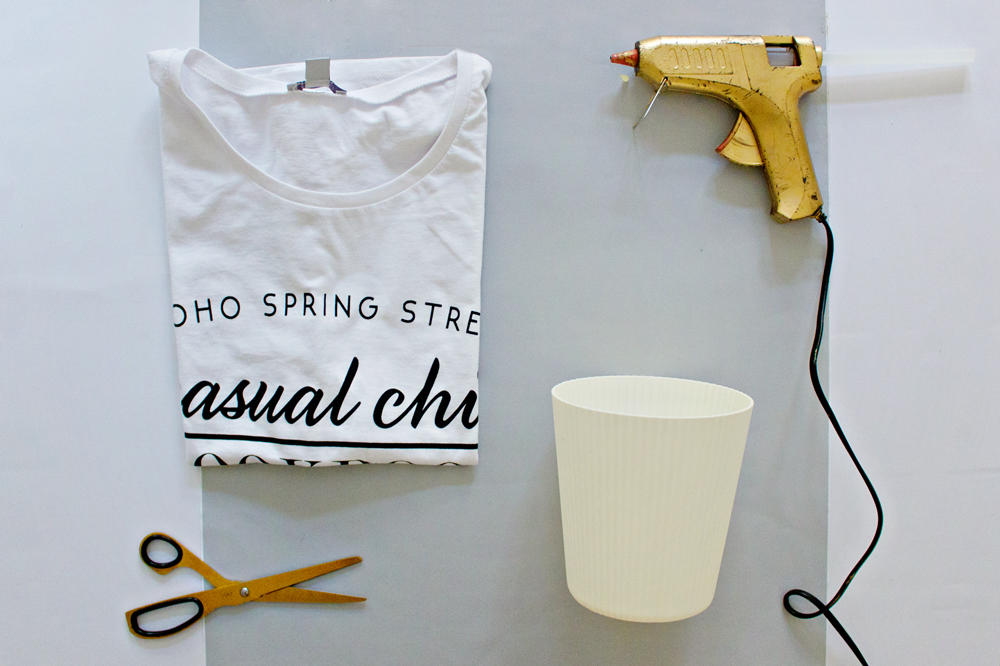
MATERIALS
– Old shirts
– Flowerpot (I used the cheapest Ikea planter I could find)
– Glue Gun
– Scissors
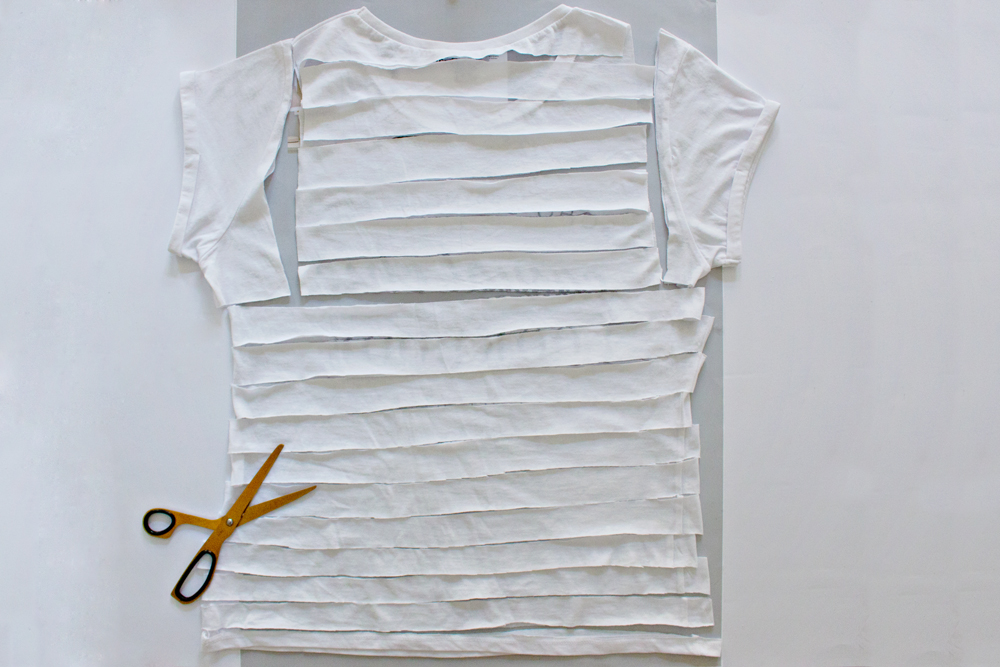
STEP 1
– Place the tee on a flat surface and cut horizontal strips of fabric with your scissors.
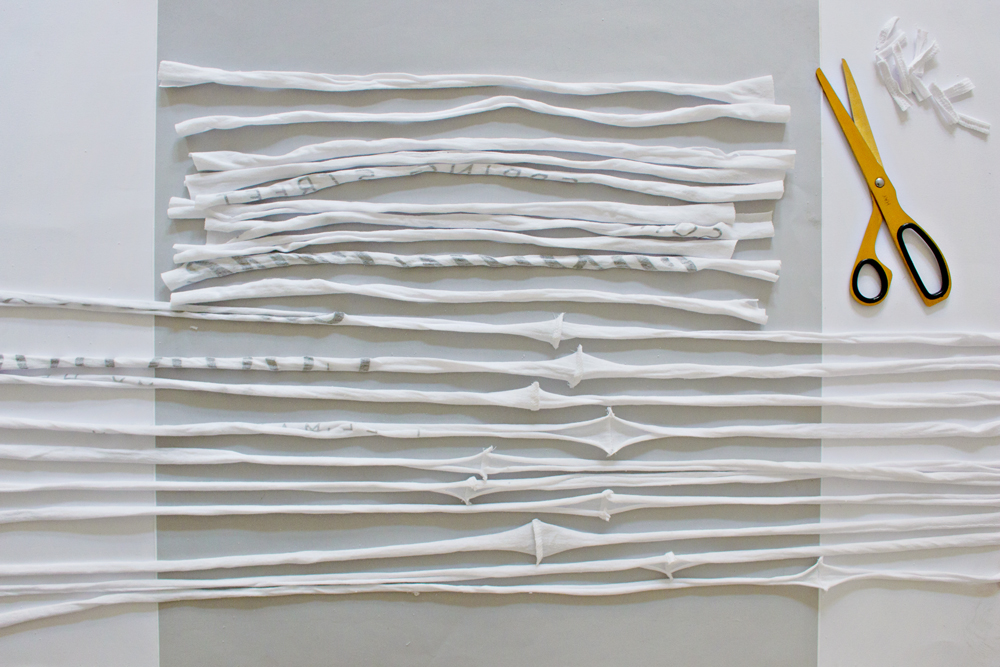
STEP 2
– Pull on the strands of fabric, this will make them curl up.
STEP 3
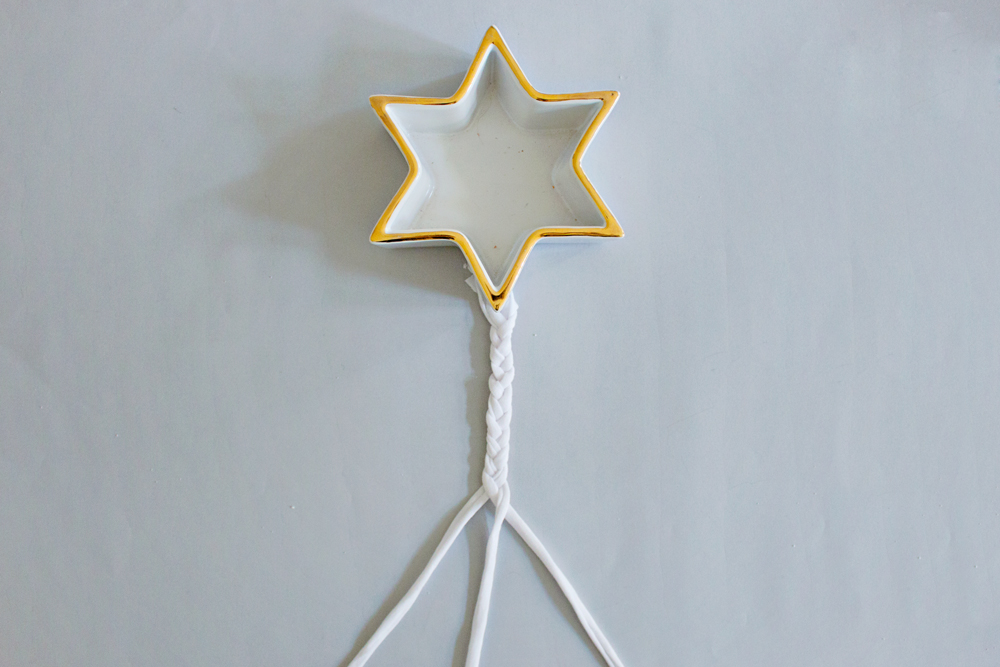
– Take 3 strands of fabric and place something heavy at the top. Start braiding a regular three strand braid.
STEP 4
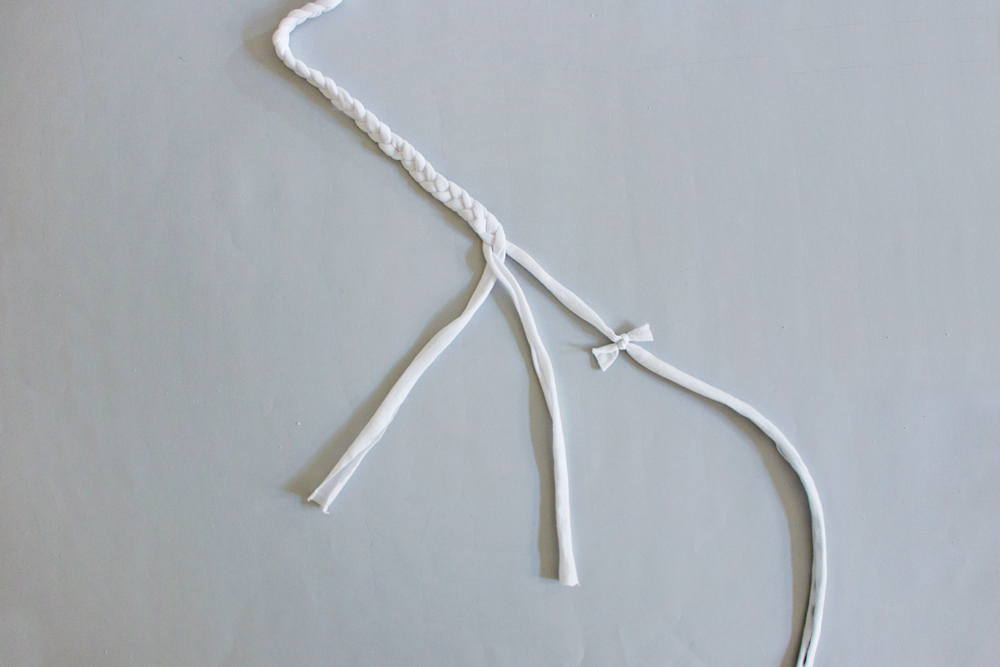
– Once you reach the end of the strands, add a new piece of fabric to the end by using a simple knot. And continue braiding.
– Repeat this until you have enough to cover the entire planter.*
– Add a drop of glue with your glue to the end of the braid to secure the braid and stop it from unfolding.
* You can wrap the braid around the planter every once in a while to see if you have enough.
STEP 5
– Once you have finished braiding the strands of fabric it is time to attach it to the planter.
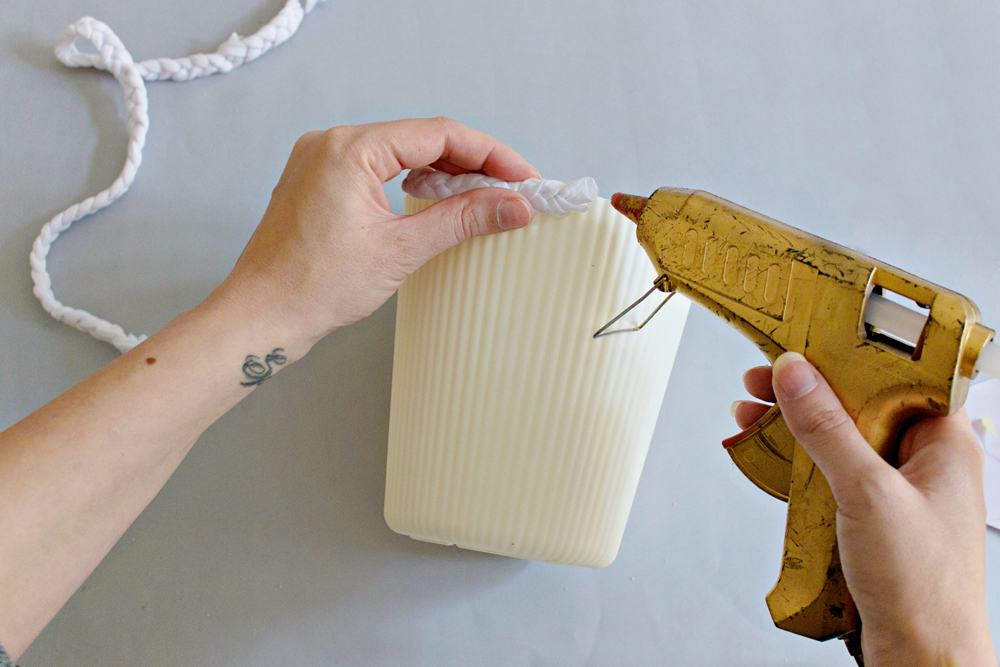
– Add dots of glue to the top of the planter with your glue gun and press the braid against it.
STEP 6
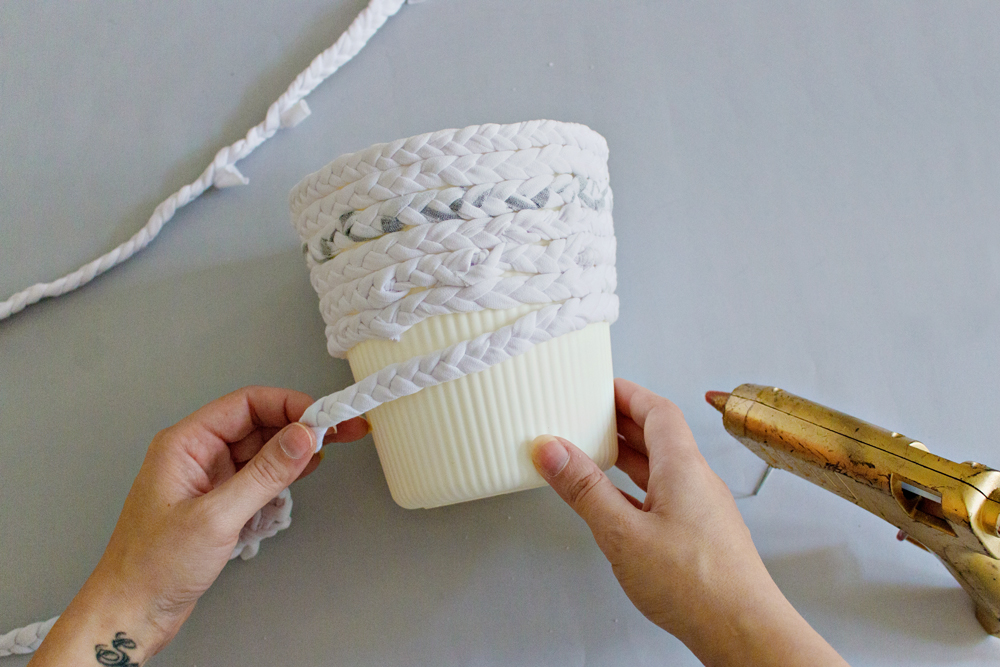
– Repeat step 5 for the entire planter, glueing small parts* and attaching the braid until you have covered the entire pot.
* Since the glue from a glue gun cools off pretty fast, it is best to do this process with small steps.
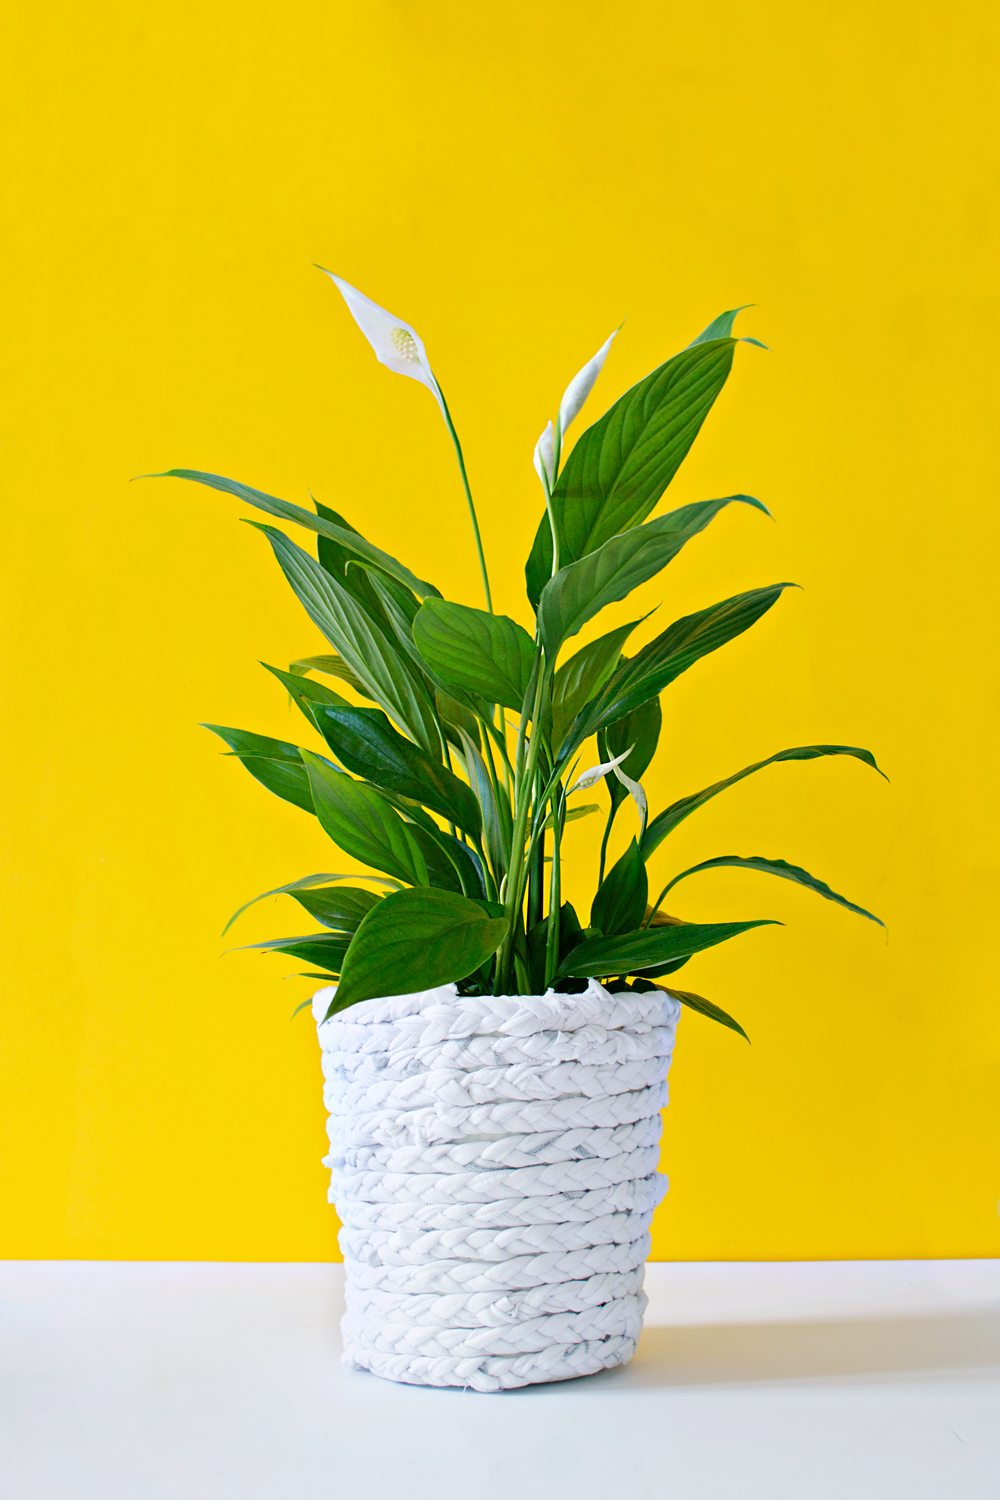
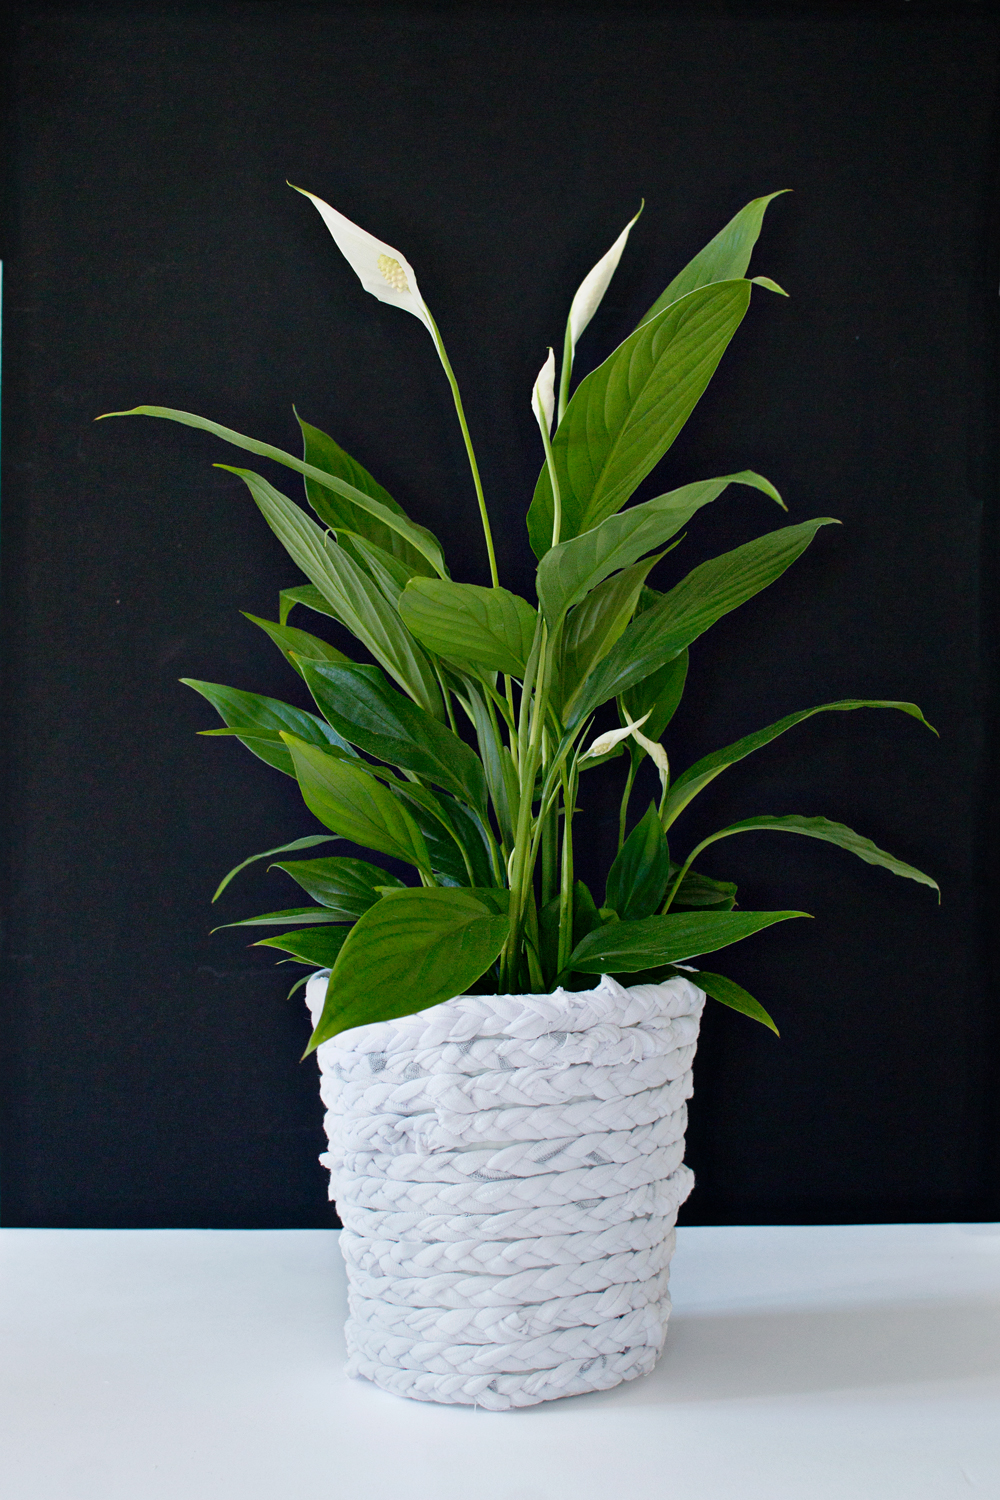
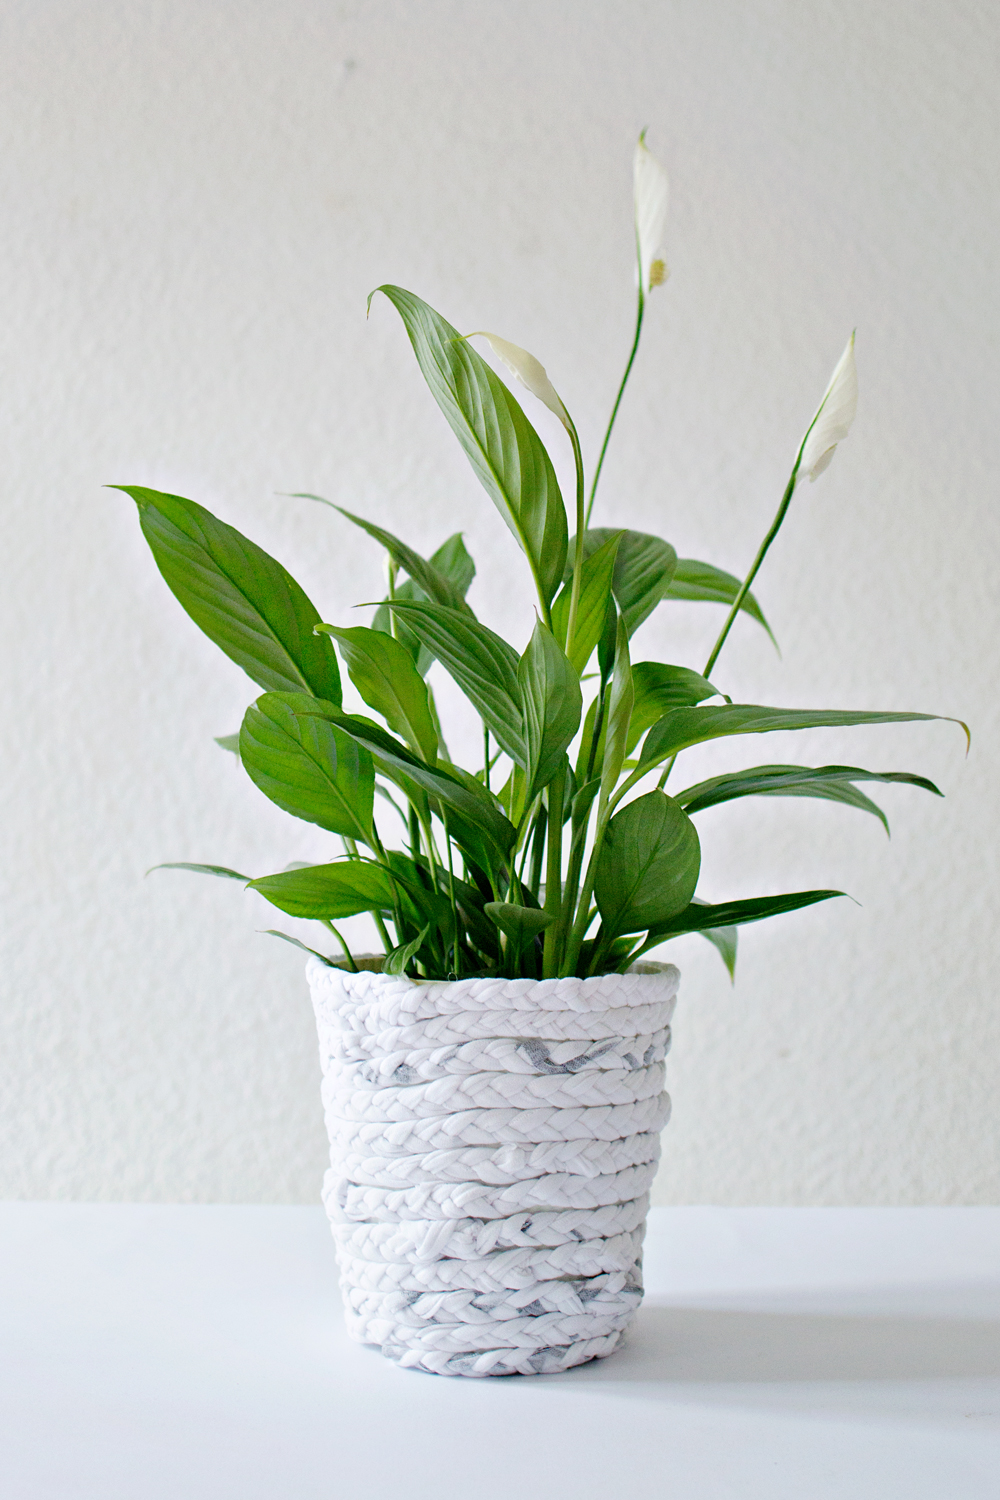
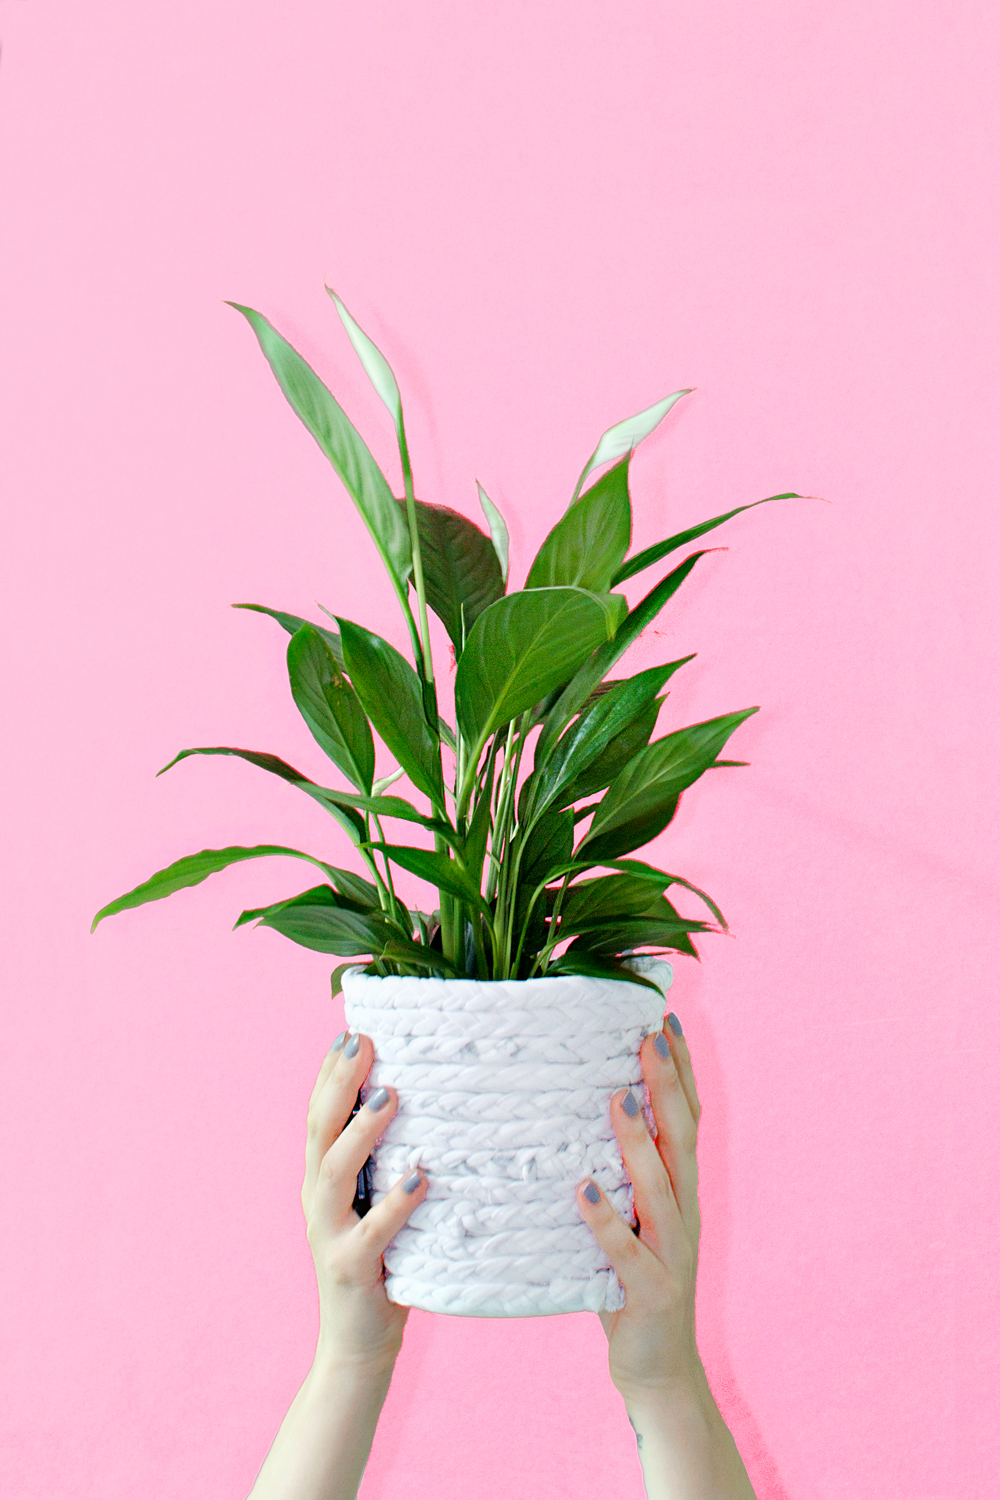
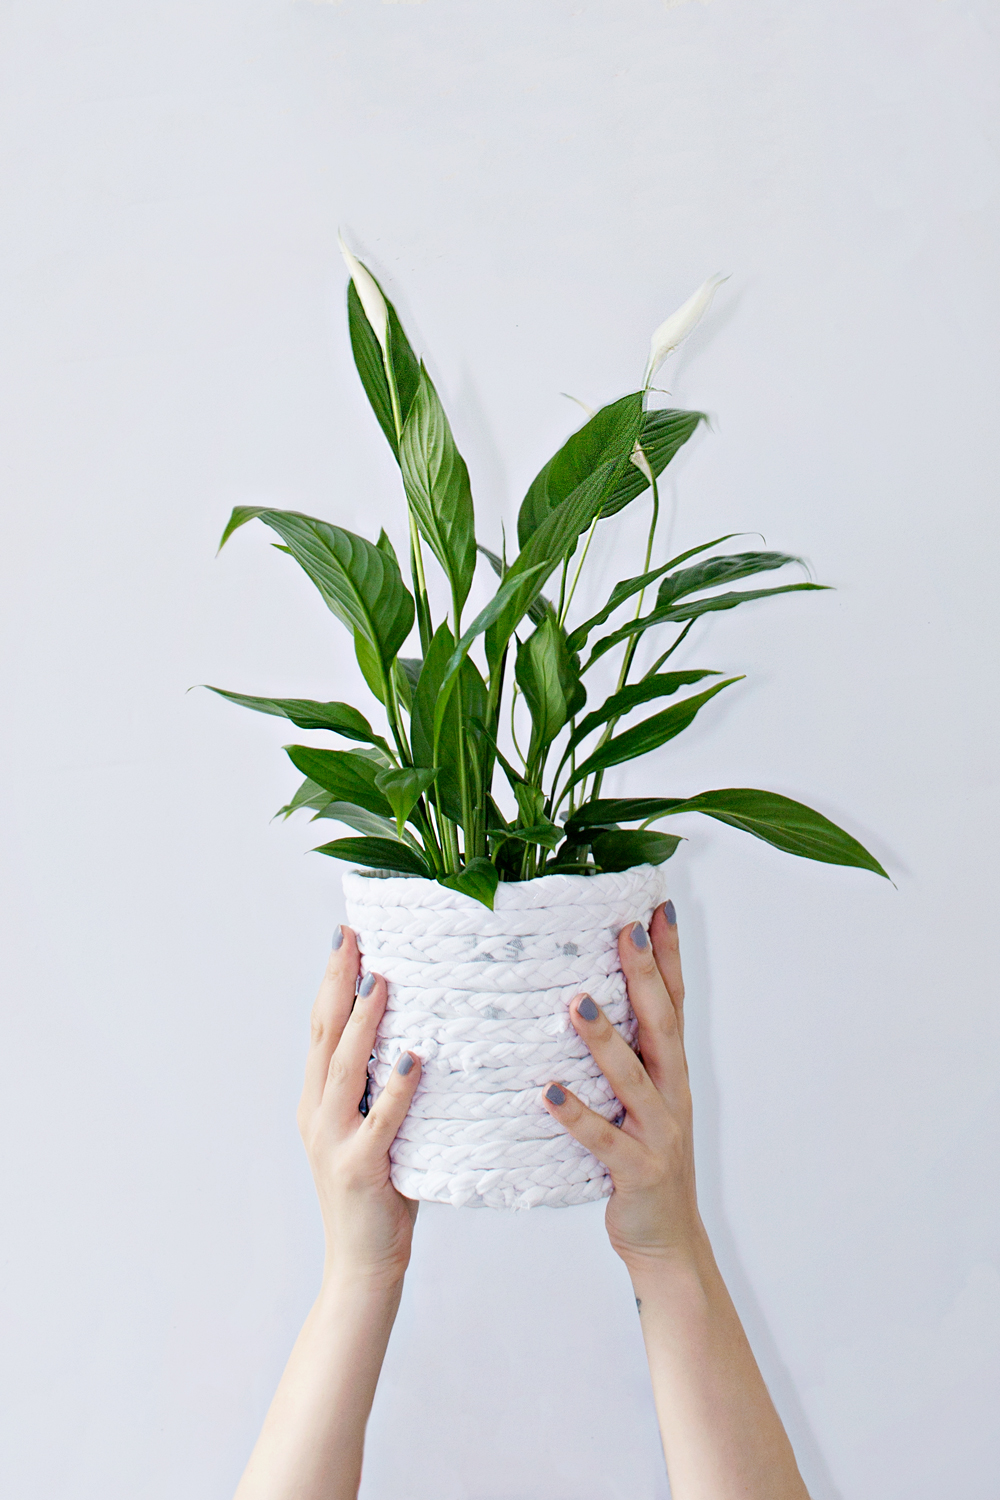
And that is it! You now have a very inexpensive fabulous looking planter!!
Tip: If you have an old tee in a different color, you can spray paint the planter in a similar color before attaching the braid to get an even and finished look.

