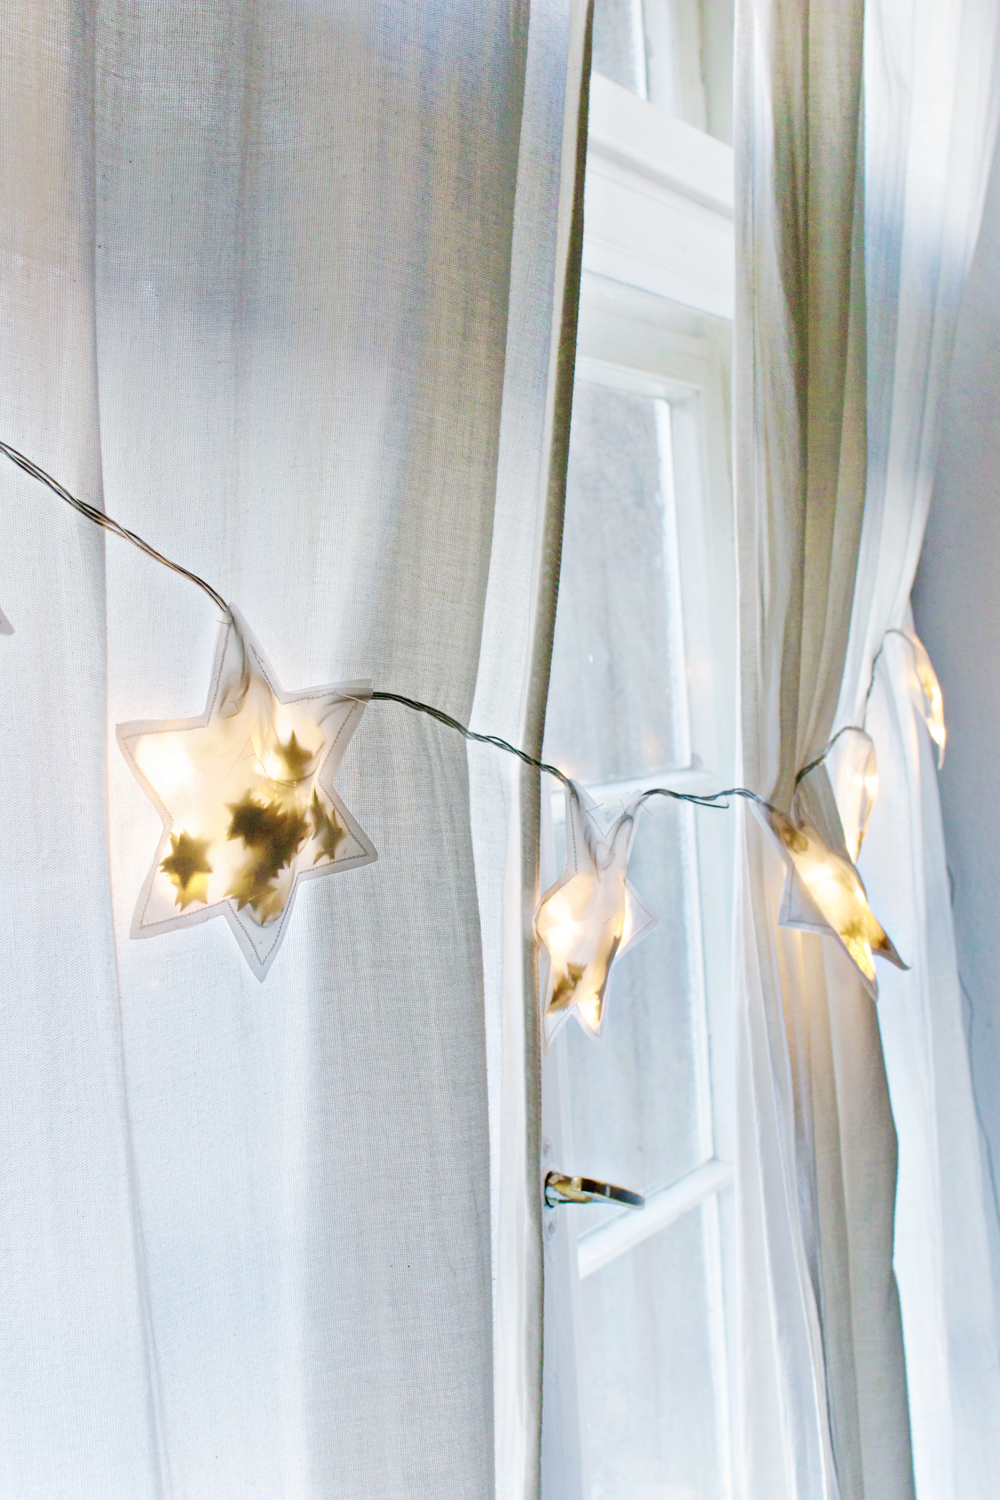
It’s that time of the year, when my living room is craving a few extra light sources!
Because I usually don’t have a Christmas tree (see my Alternative Christmas Tree version here) I like to overcompensate with fun and festive string lights and other DIY projects that involve Christmas vibes.
This year I really wanted to make something that is adjustable to everyones taste and doesn’t take up too much space. I got the idea for this project when I was walking through a Berlin craft store and thought: I could make that!
DIY
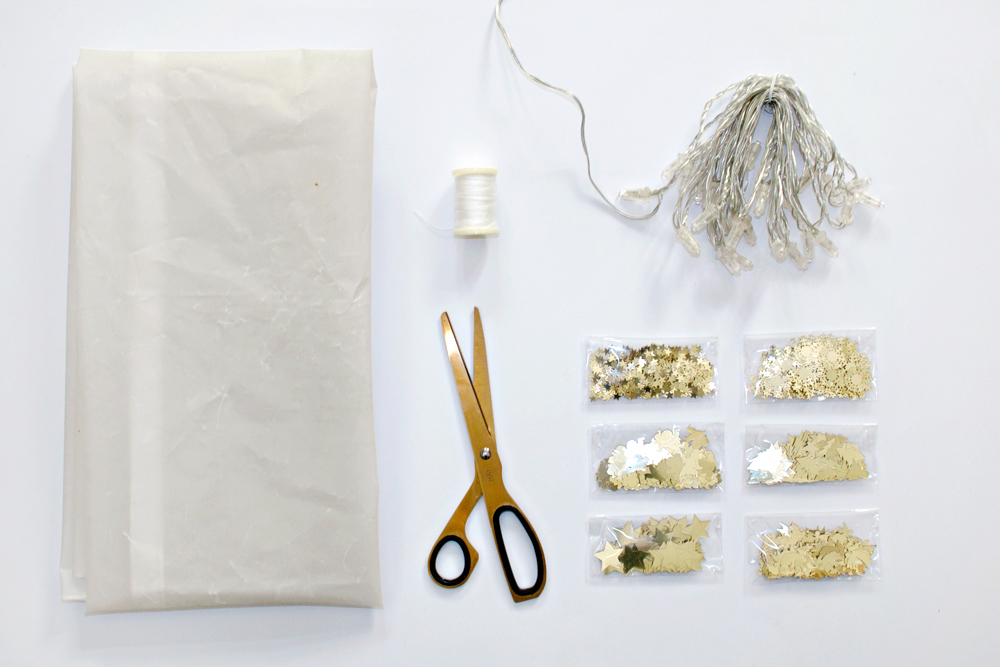
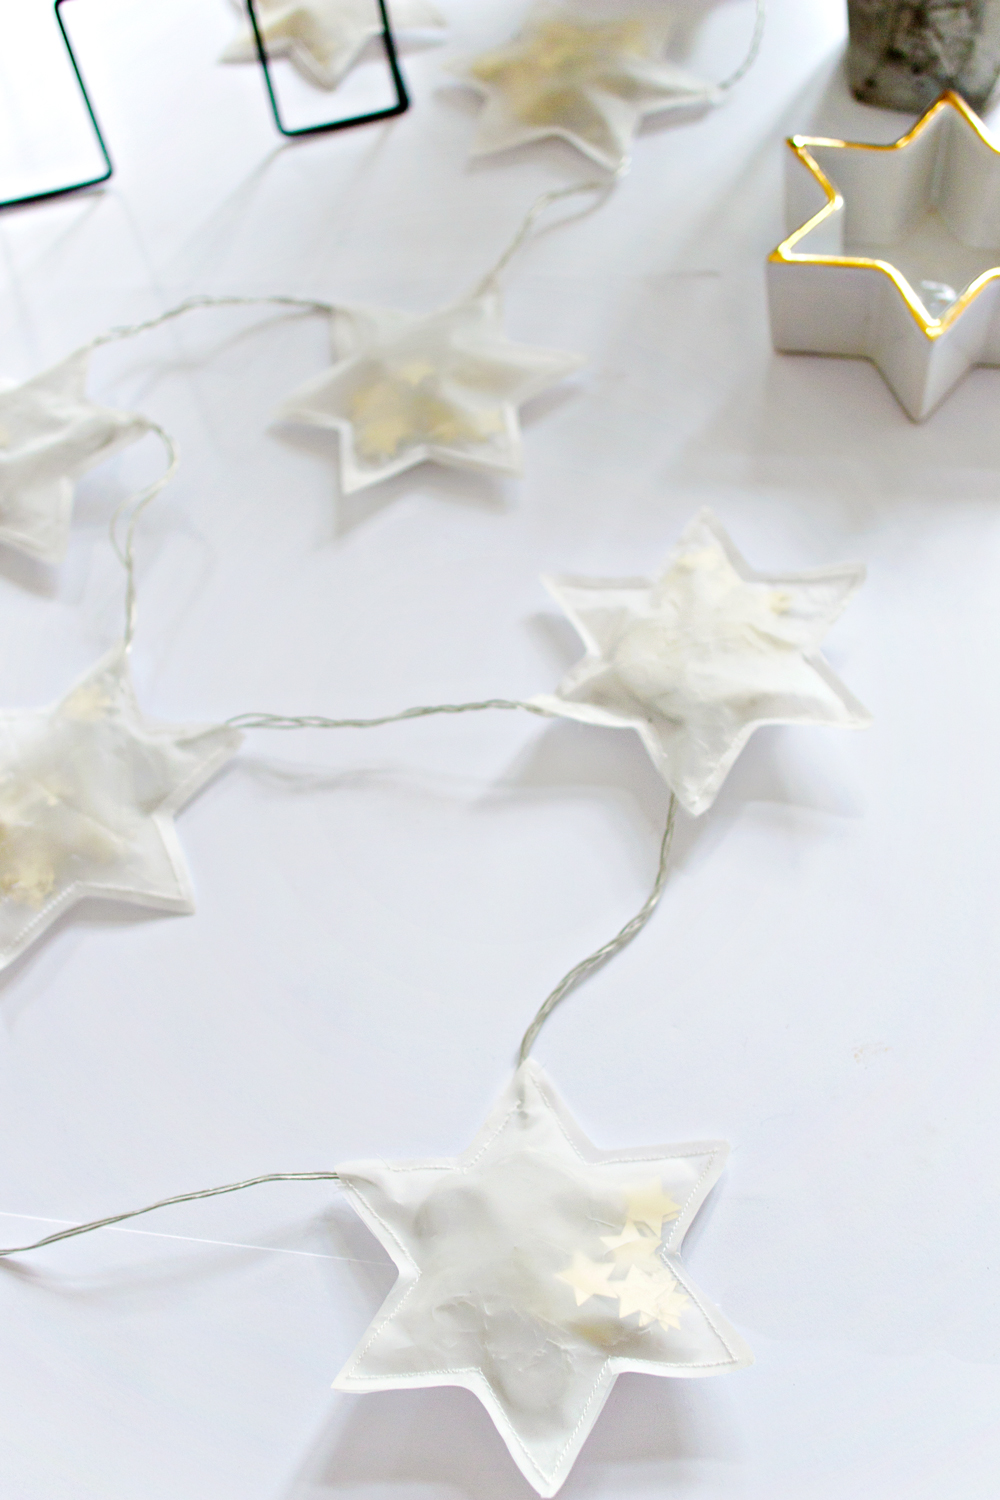
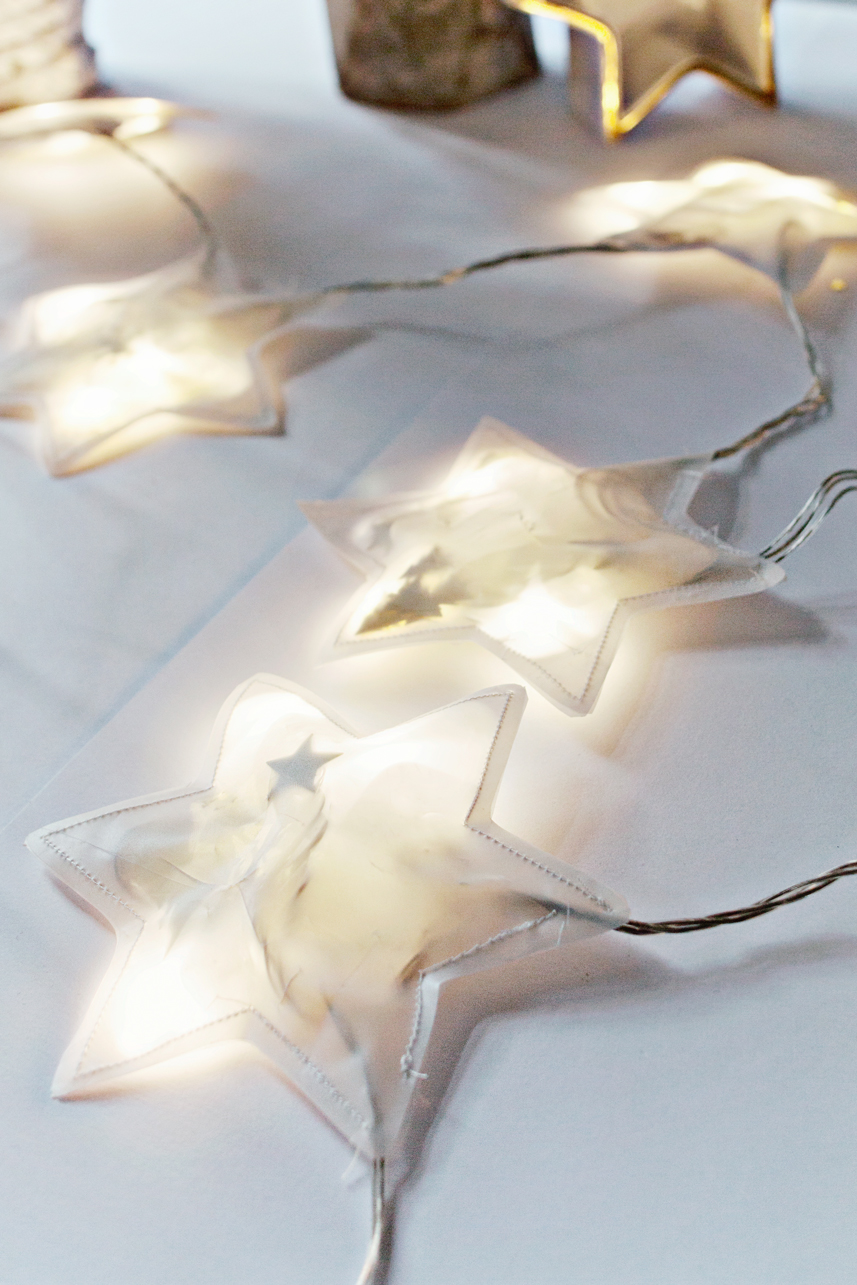
This project doesn’t involve many items, I even used an old Ikea hamper for the fabric of the stars, but you can easily use something else like thick transparent paper, since the LED lights don’t give off any heat.
The amount of lights is up to you and you can even use a different shape if you are not that into stars, like: a tree silhouette, a heart shape or you can mix different shapes along the garland.
SUPPLIES
– Led Strings Lights
– Transparent fabric or paper (I used an old Ikea Hamper)
– Gold sequins
– Scissors
– Sewing machine or Needle & Thread
– Paper or cardboard to make the star template
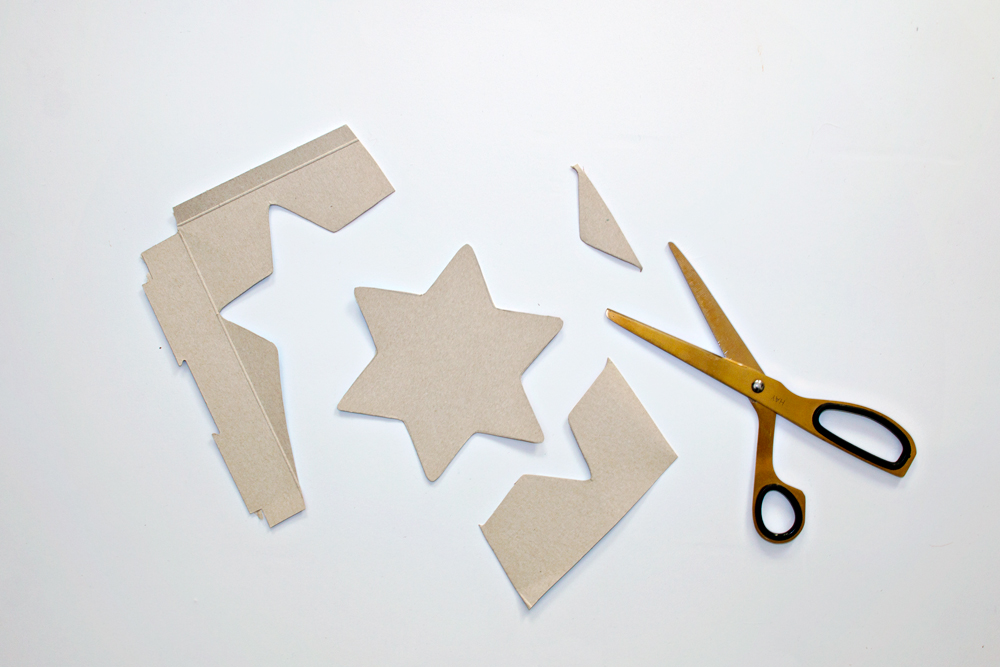
STEP 1
– Draw a star shape onto a piece of paper or cardboard and cut the shape out.
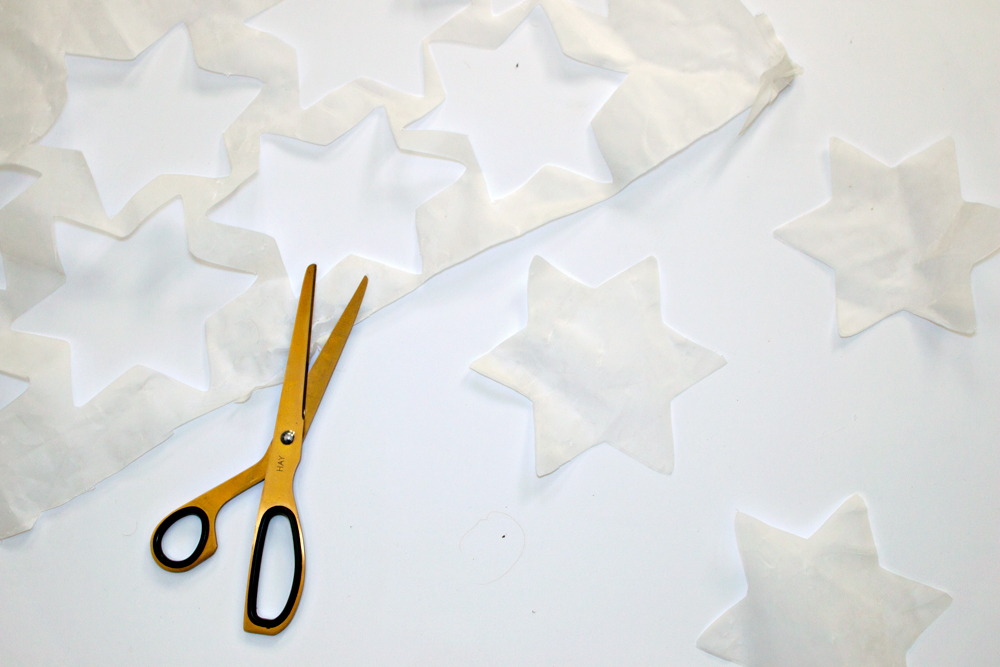
STEP 2
– Place the template star onto your transparent fabric and cut it out.
– You will need two star pieces (for the front and the back) for each star. Cut as many pieces as you will need for you garland.
* I calculated the amount of stars by how many lights I had. I made one star for every three lights on the LED string.
STEP 3
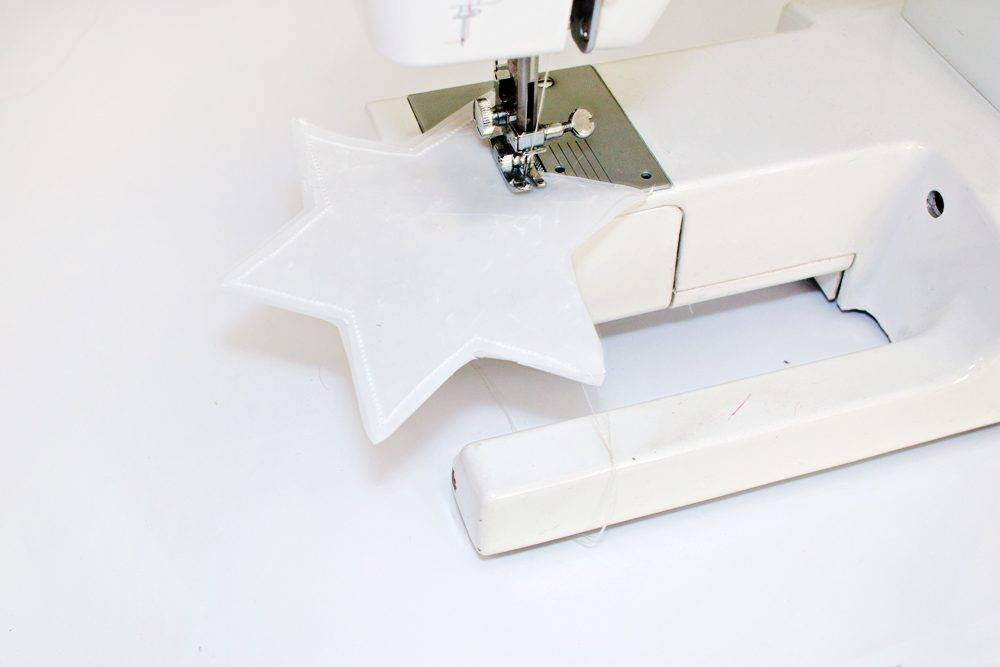
– Place two star piece on top of each other and sew along the outer lines with your sewing machine.
– Sew all around the star, leaving one corner open.
STEP 4
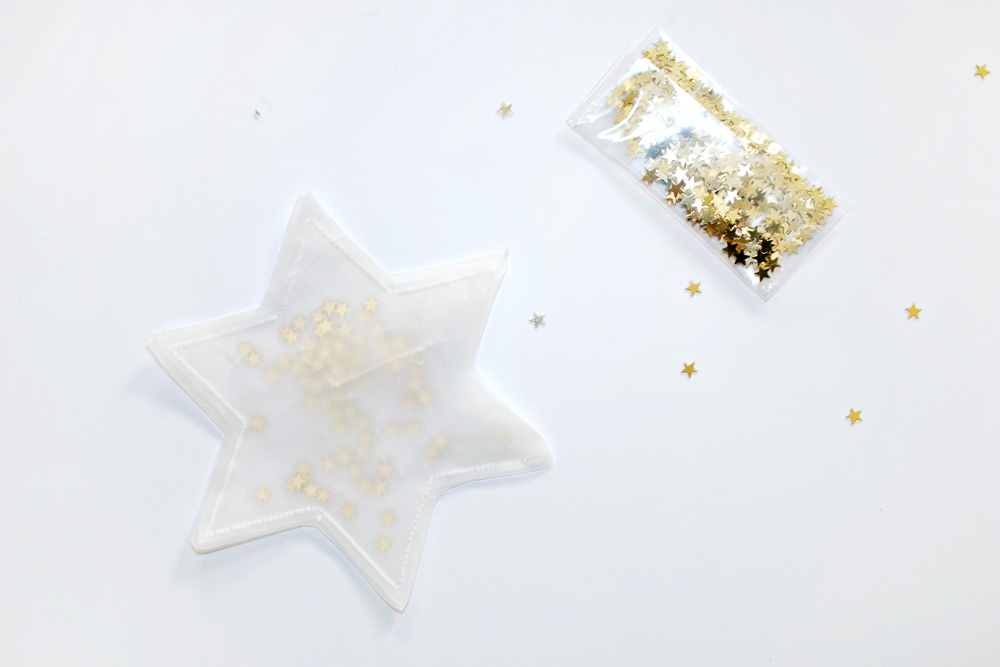
– Add the sequins to the star through the opening.
STEP 5
– Arrange your LED string lights and decided how many lights go into one star. (I added three lights into one star)
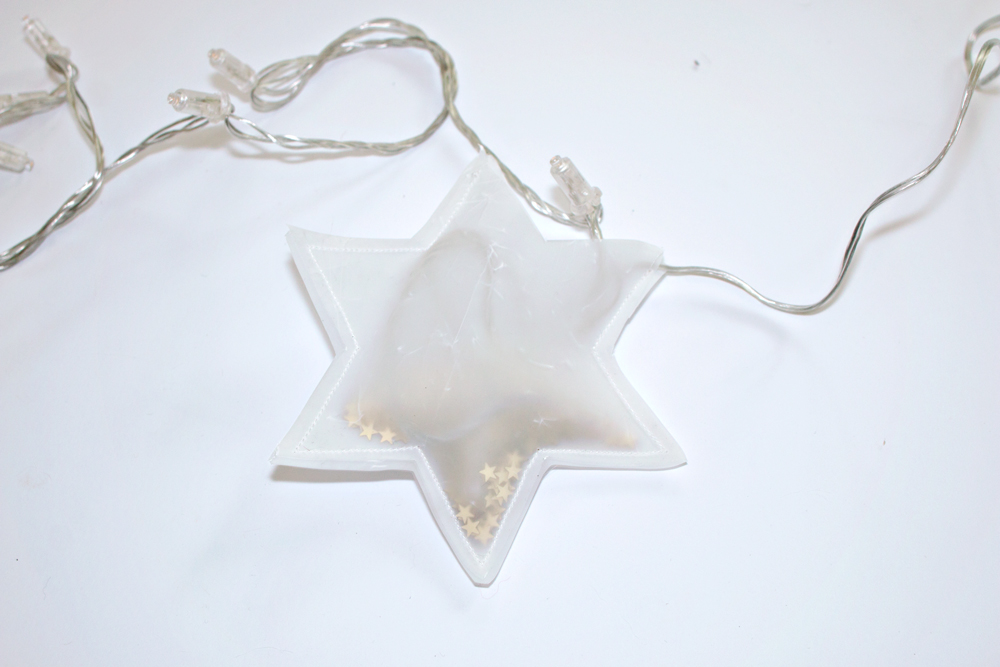
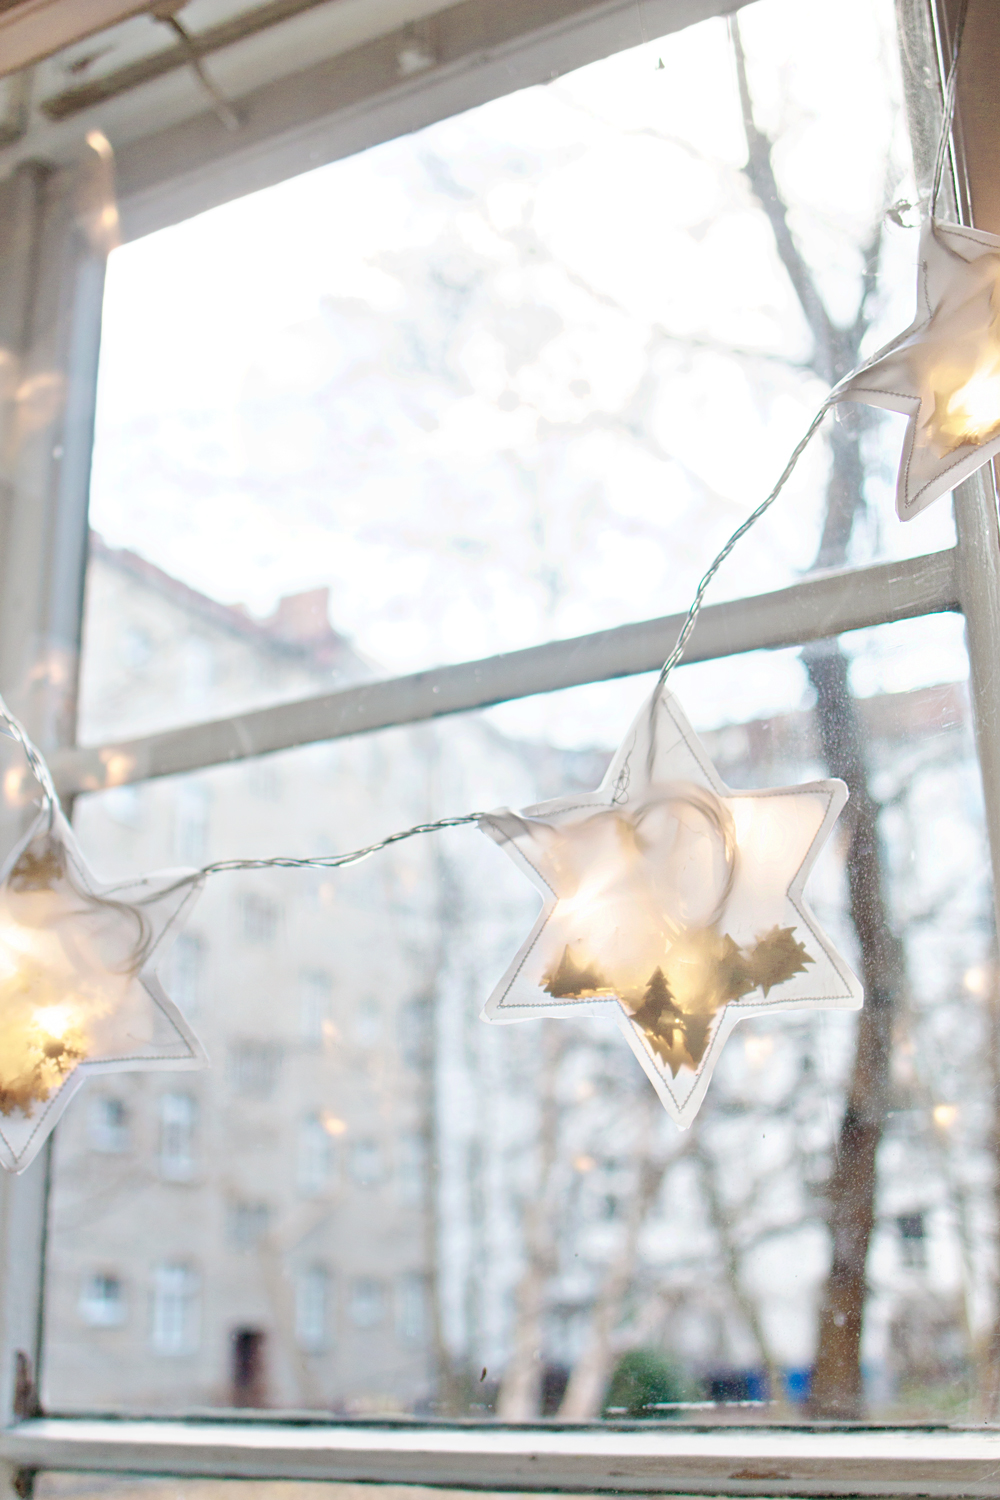
– Take your chosen amount of lights and push them through the opening inside the star. Arrange them across the star to make sure that the lights are spread over the star.
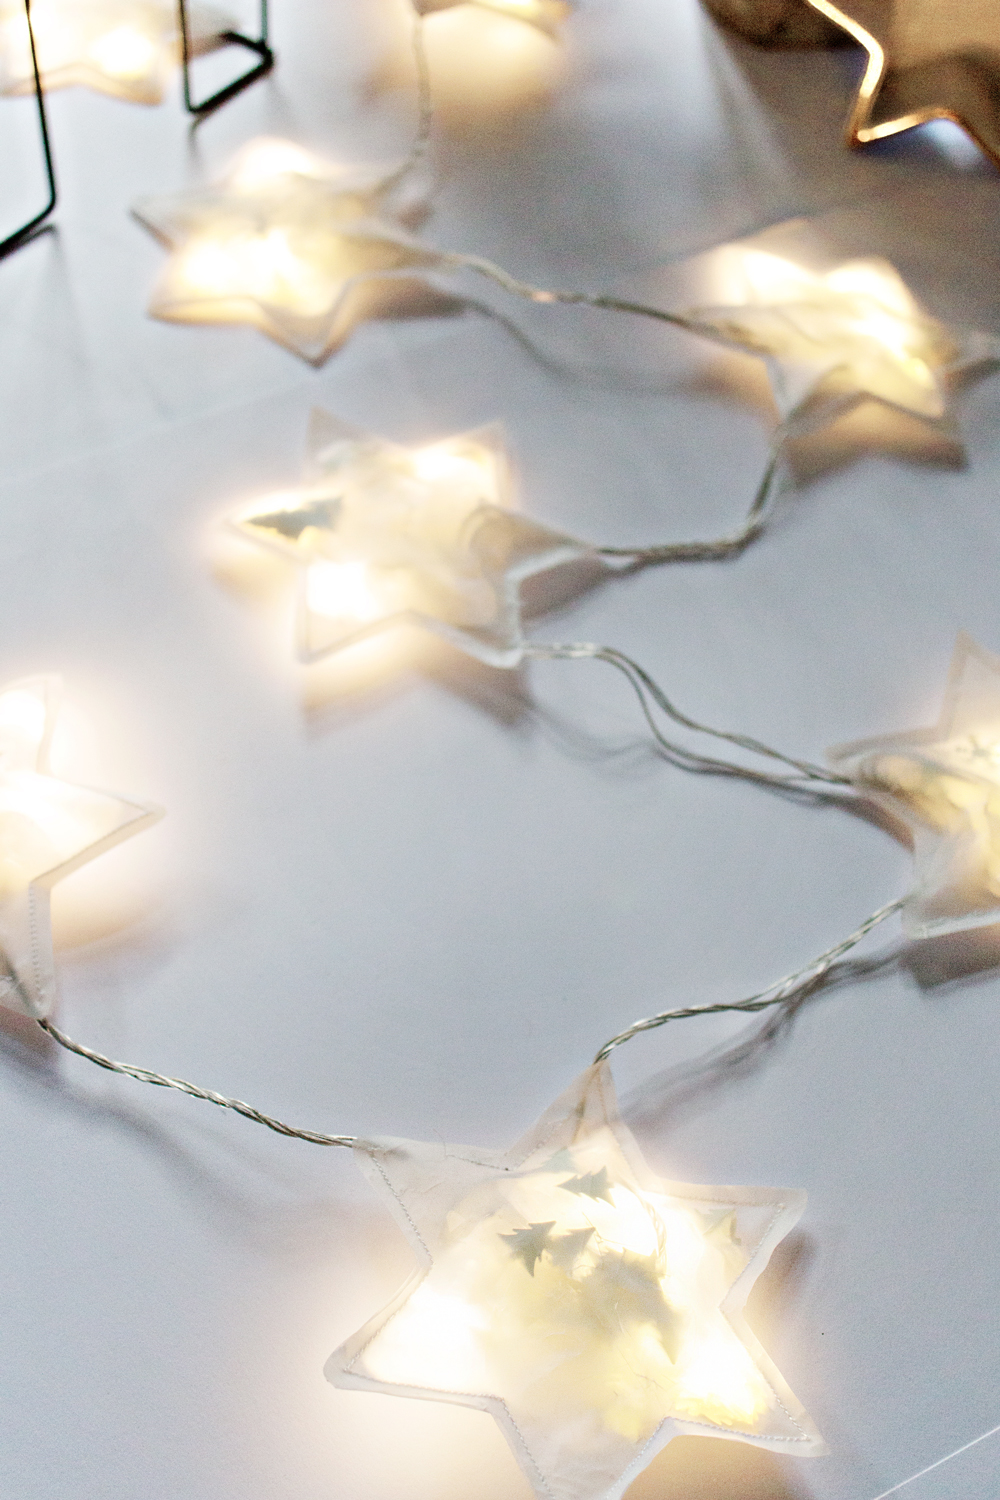
* You can turn the lights on to see what they will look like inside the star, when arranging them.
– Close the opening by sewing it by hand (or carefully by sewing machine), making sure that you don’t sew over the light chord.
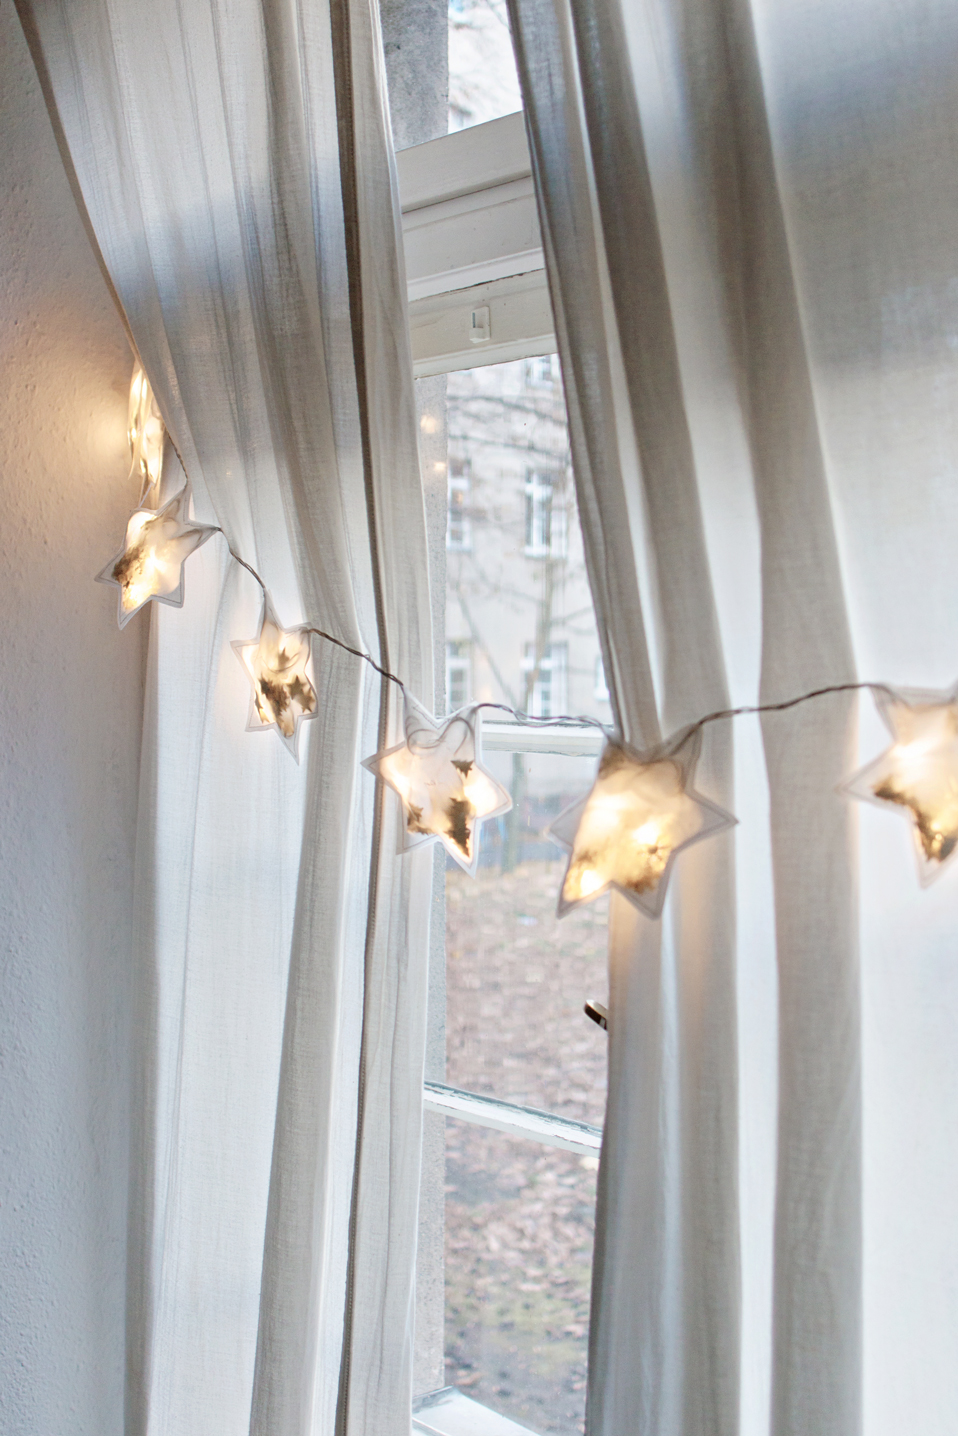
– Hang your star lights garland.
All done!
There are so many ways to display your new made string light garland (especially if the LED lights come with a battery pack):
– Place them on your Christmas table and incorporate them with your place setting.
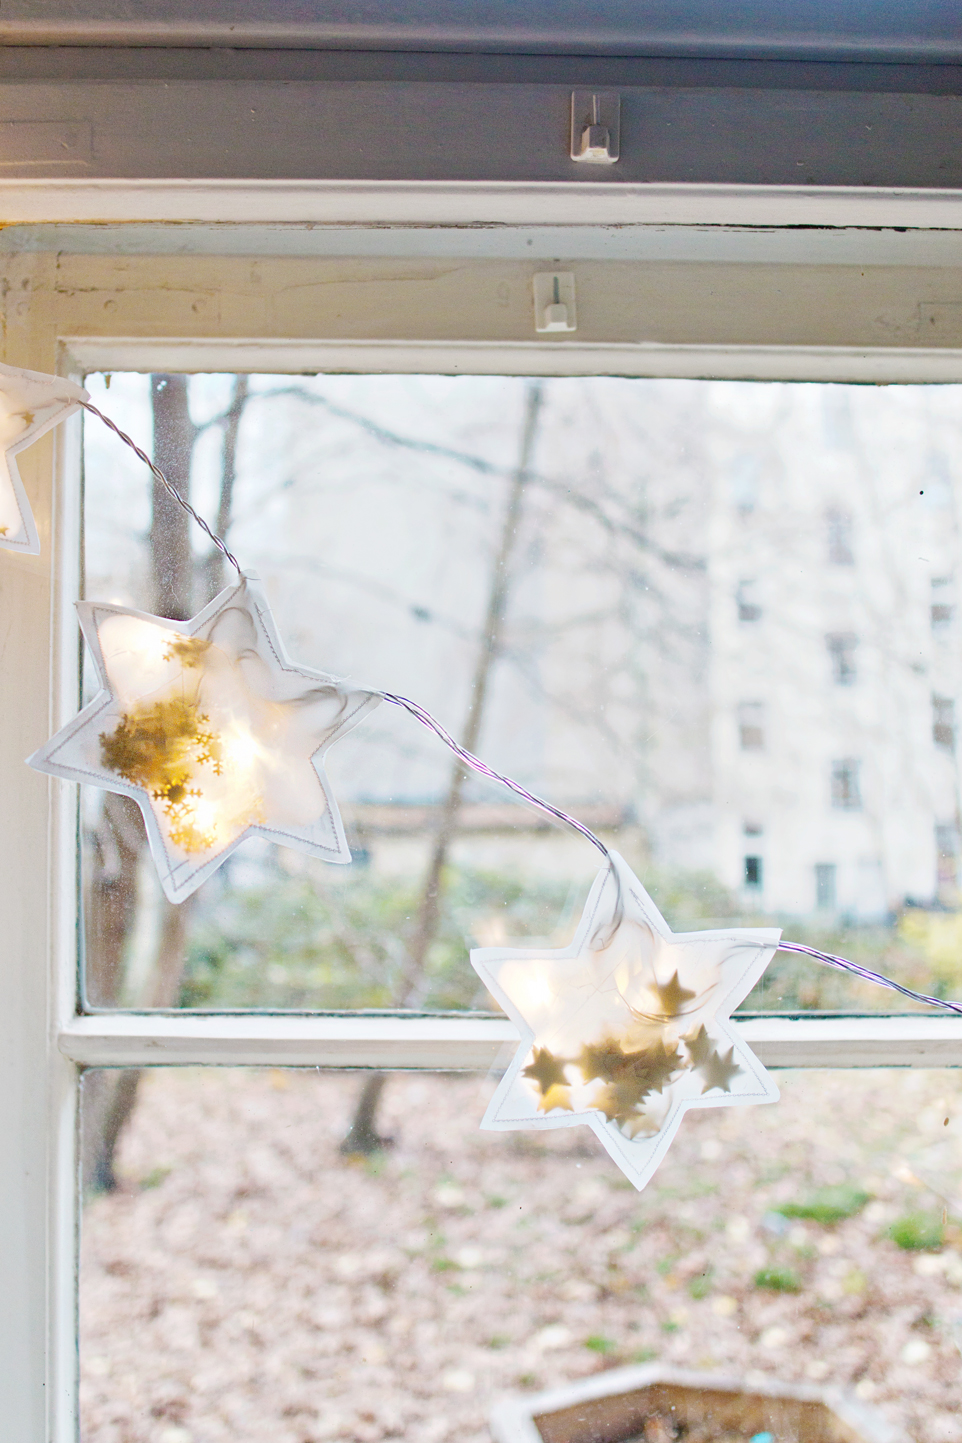
– Hang them in front of the window and let the neighbourhood see your Star light project.
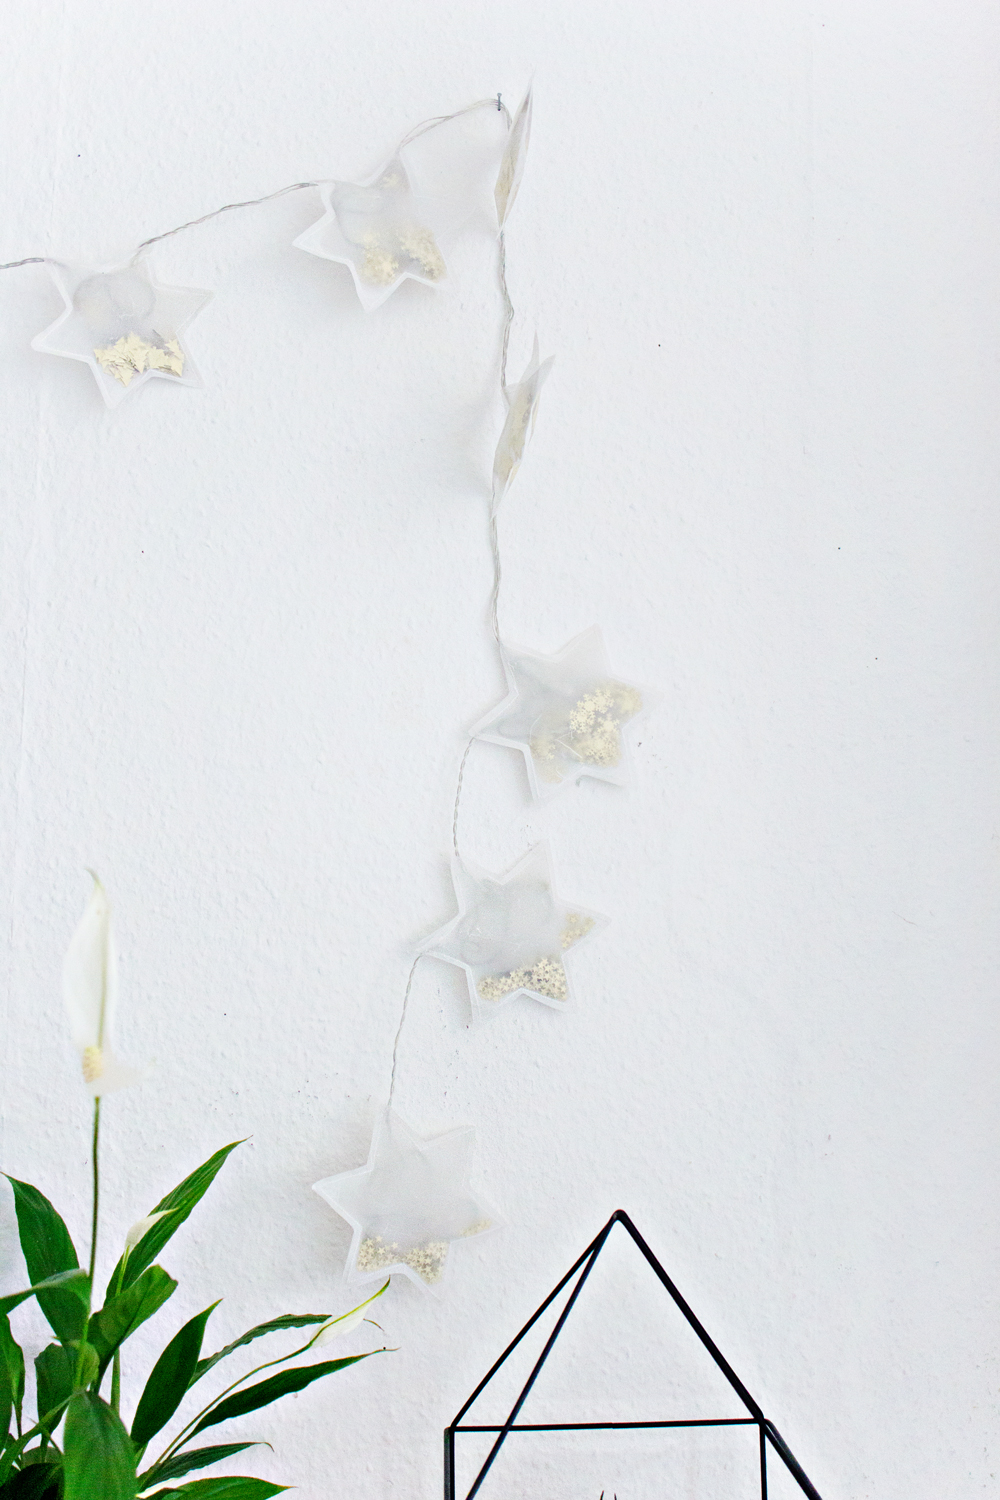
– Decorate your wall, by hanging the lights as a garland.
– And if you do have a tree, I bet that these stars will look pretty good with green!



6 comments
Absolutely lovely idea! I really like how you stitched the opening close to make the star more secure.
Thank you!!
wowowo.. beautiful and amazing star string light.
happy new year. Enjoy!!
Thank you so much!! And a happy new year to you too!!x
I tried these and they look so cool! xx
Hi Eva! It’s so great to hear that you made them! Thank you! xx