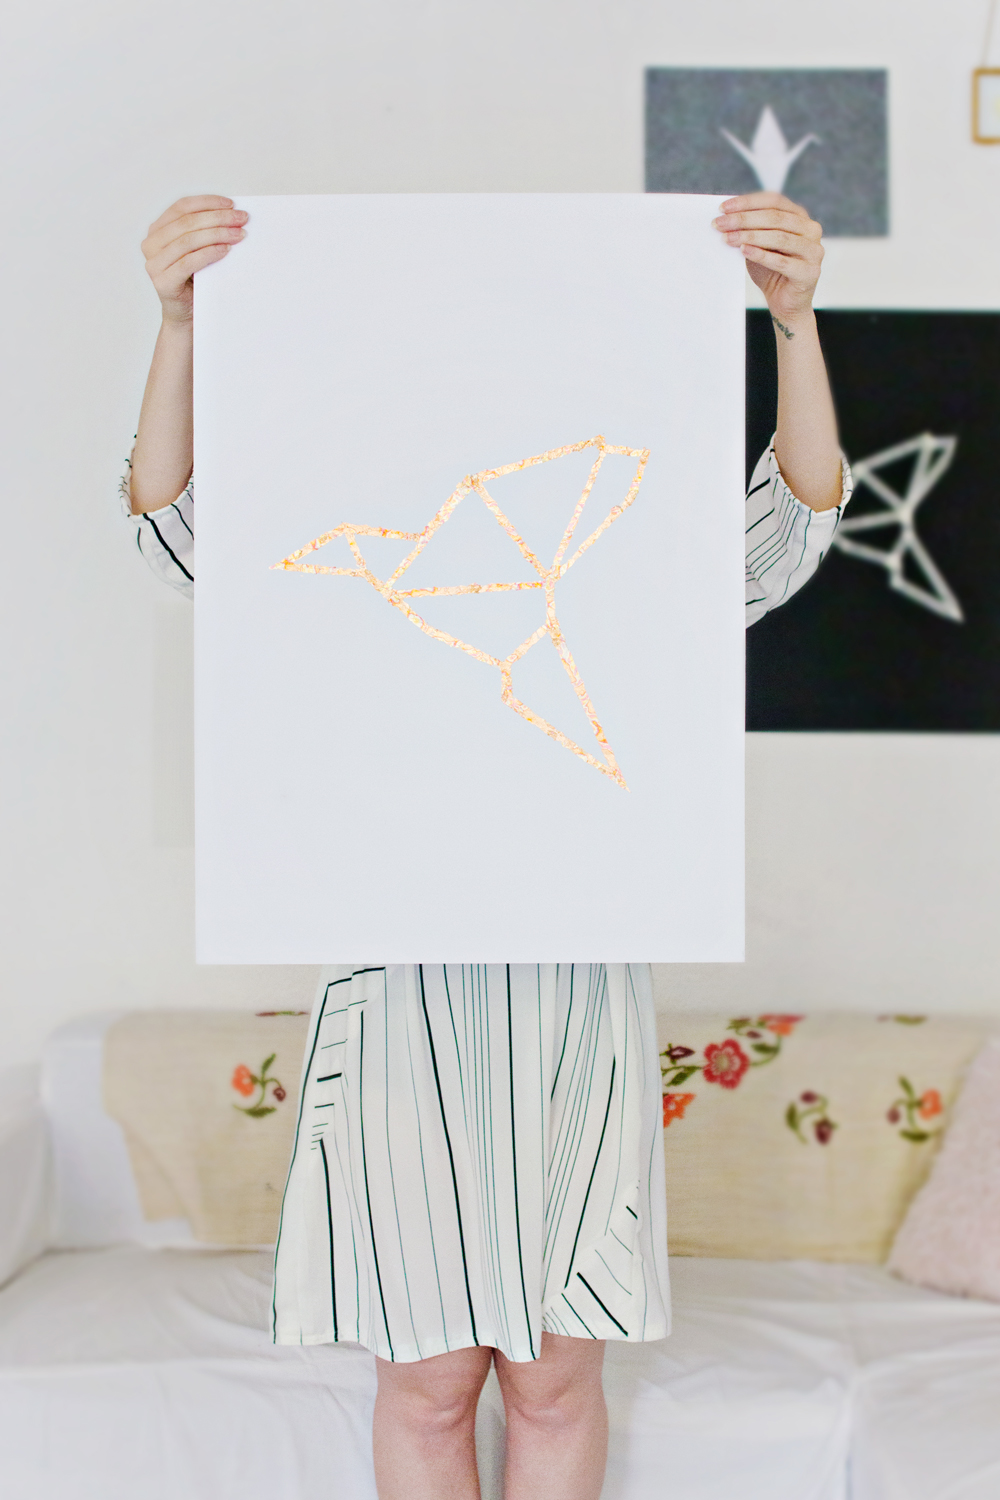
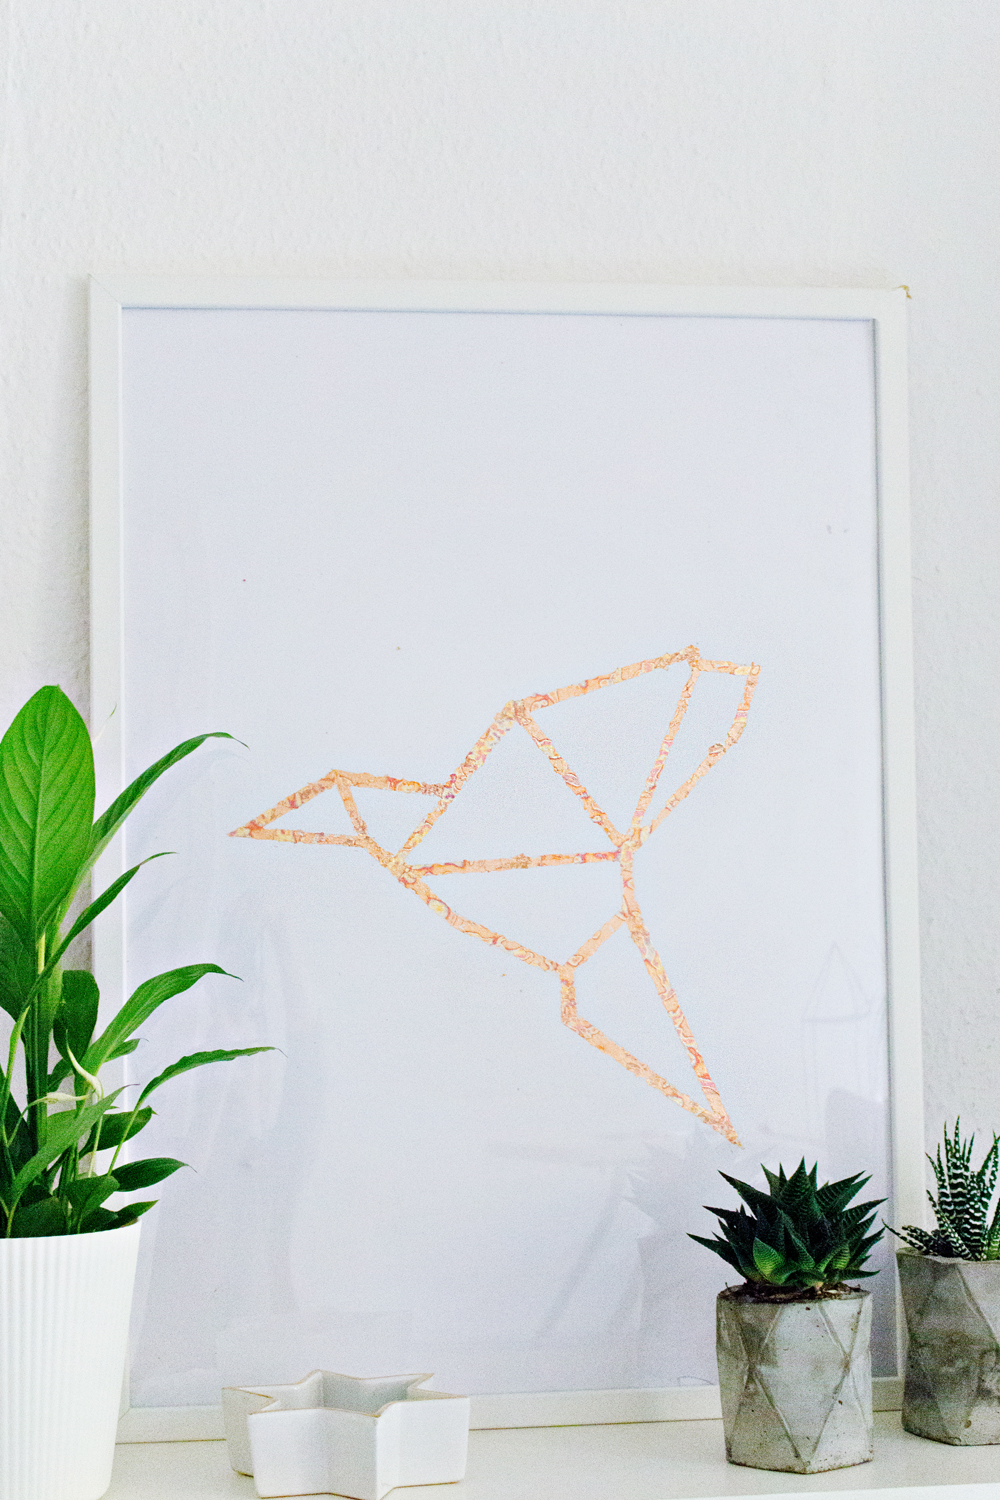
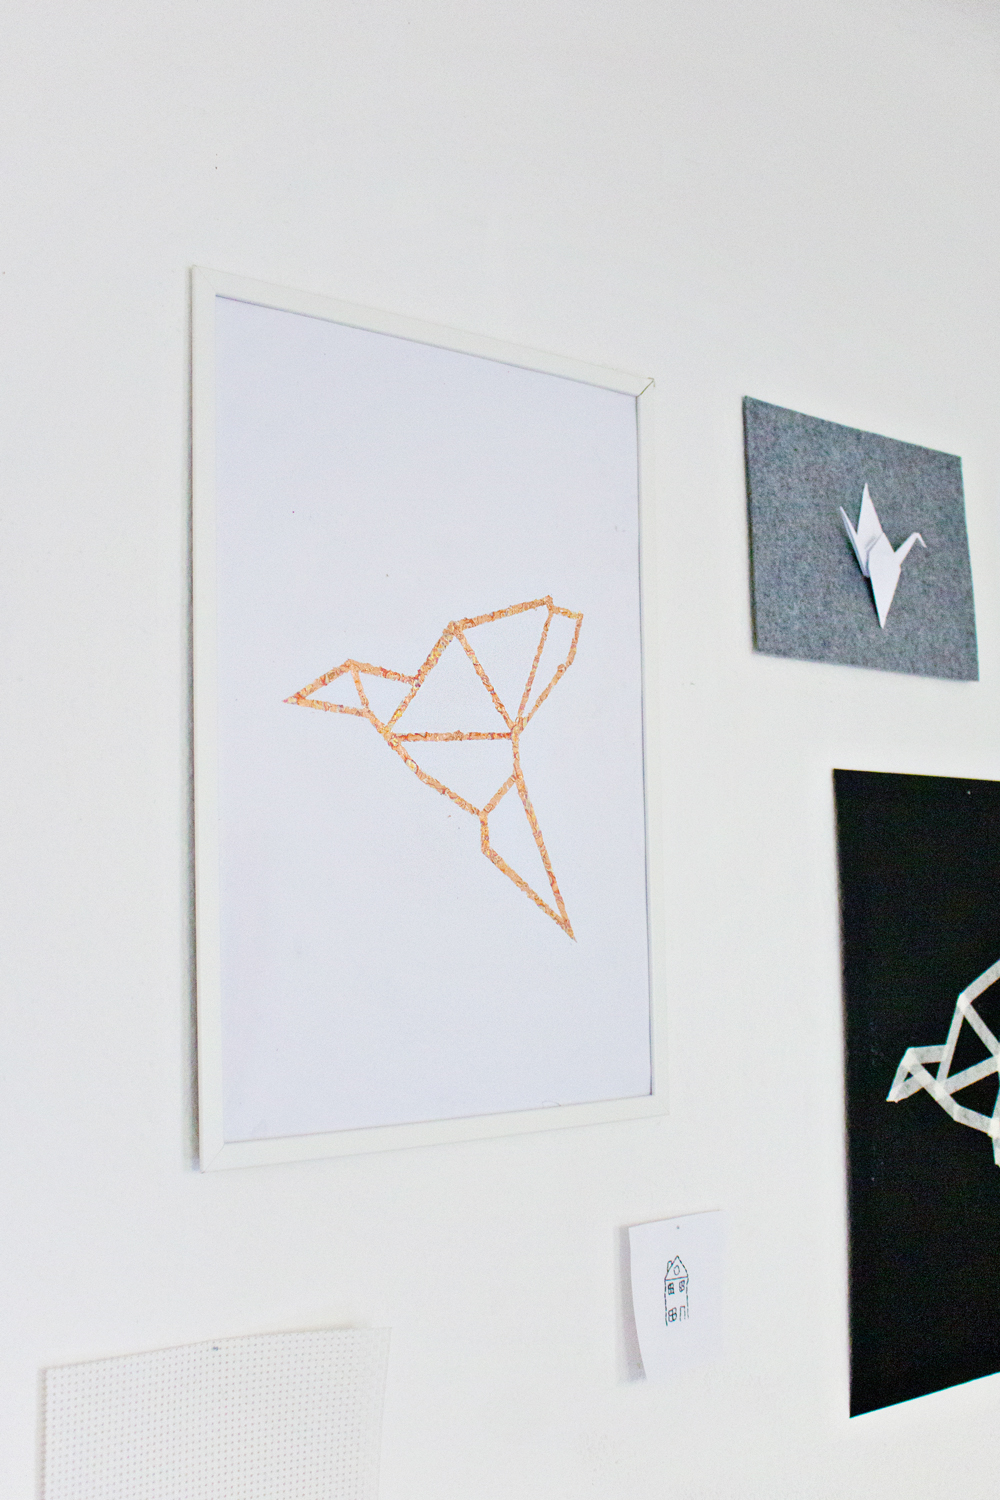
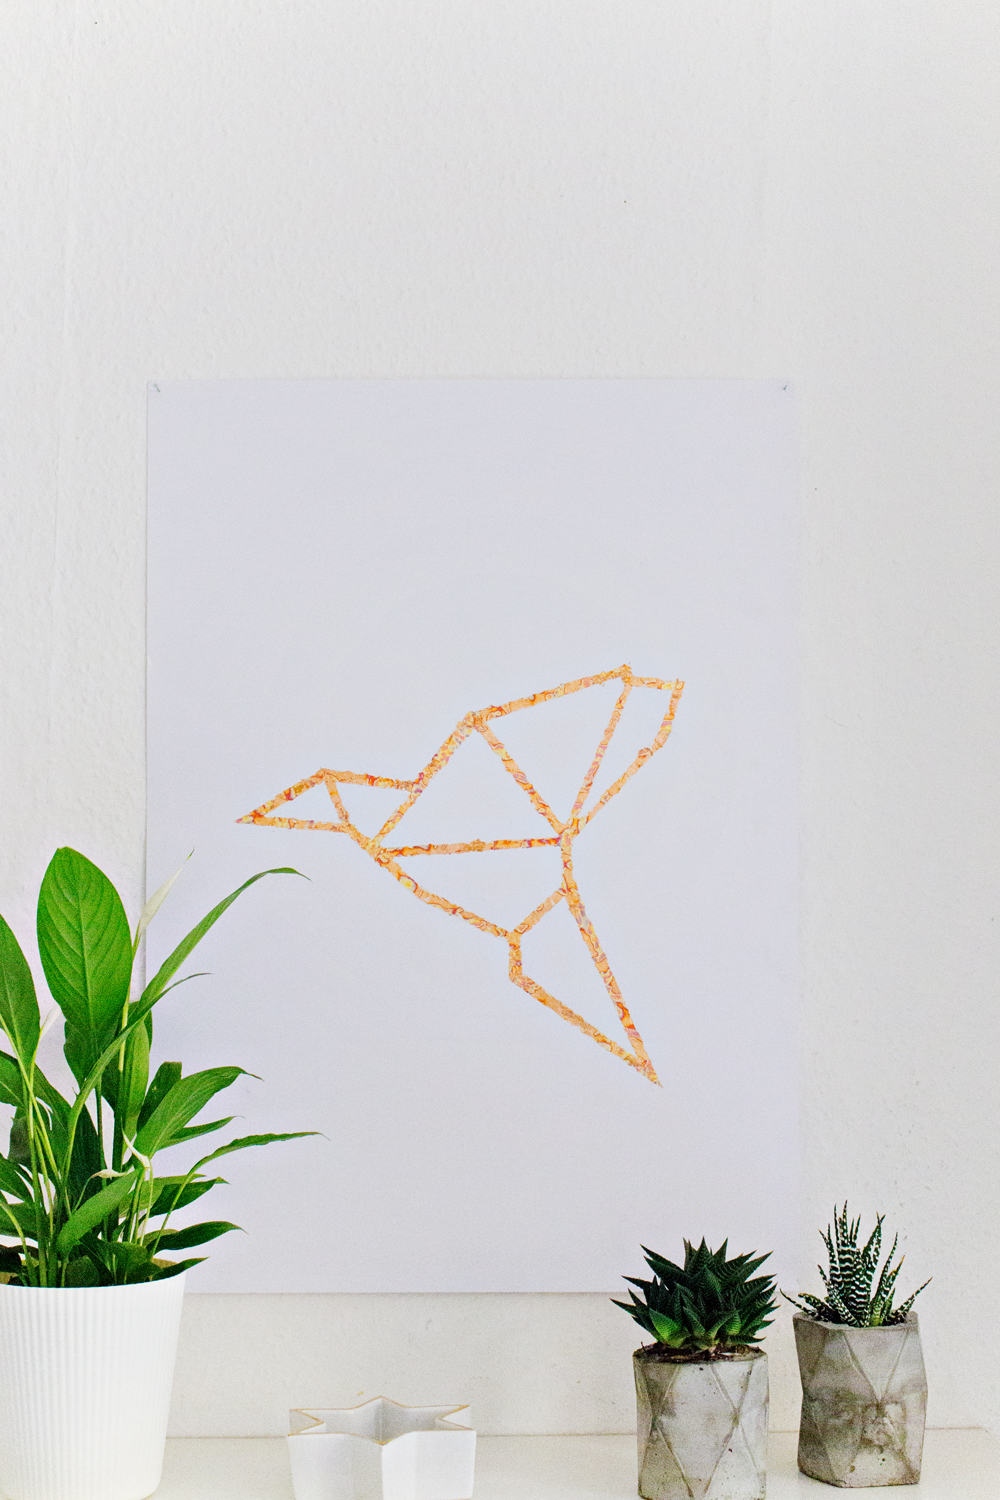
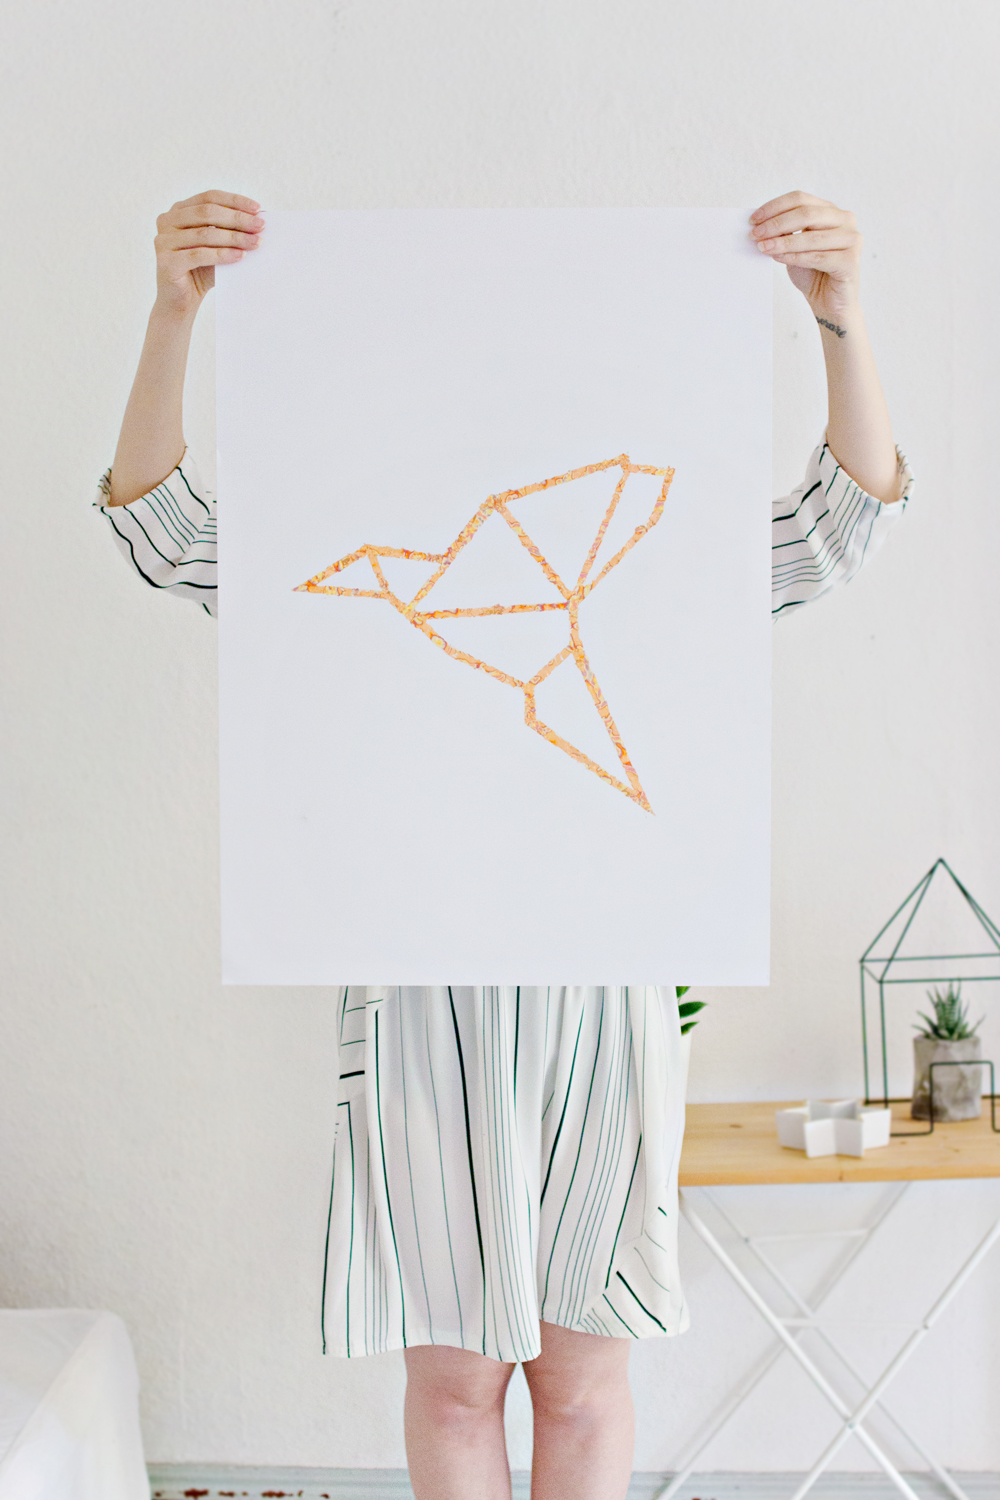
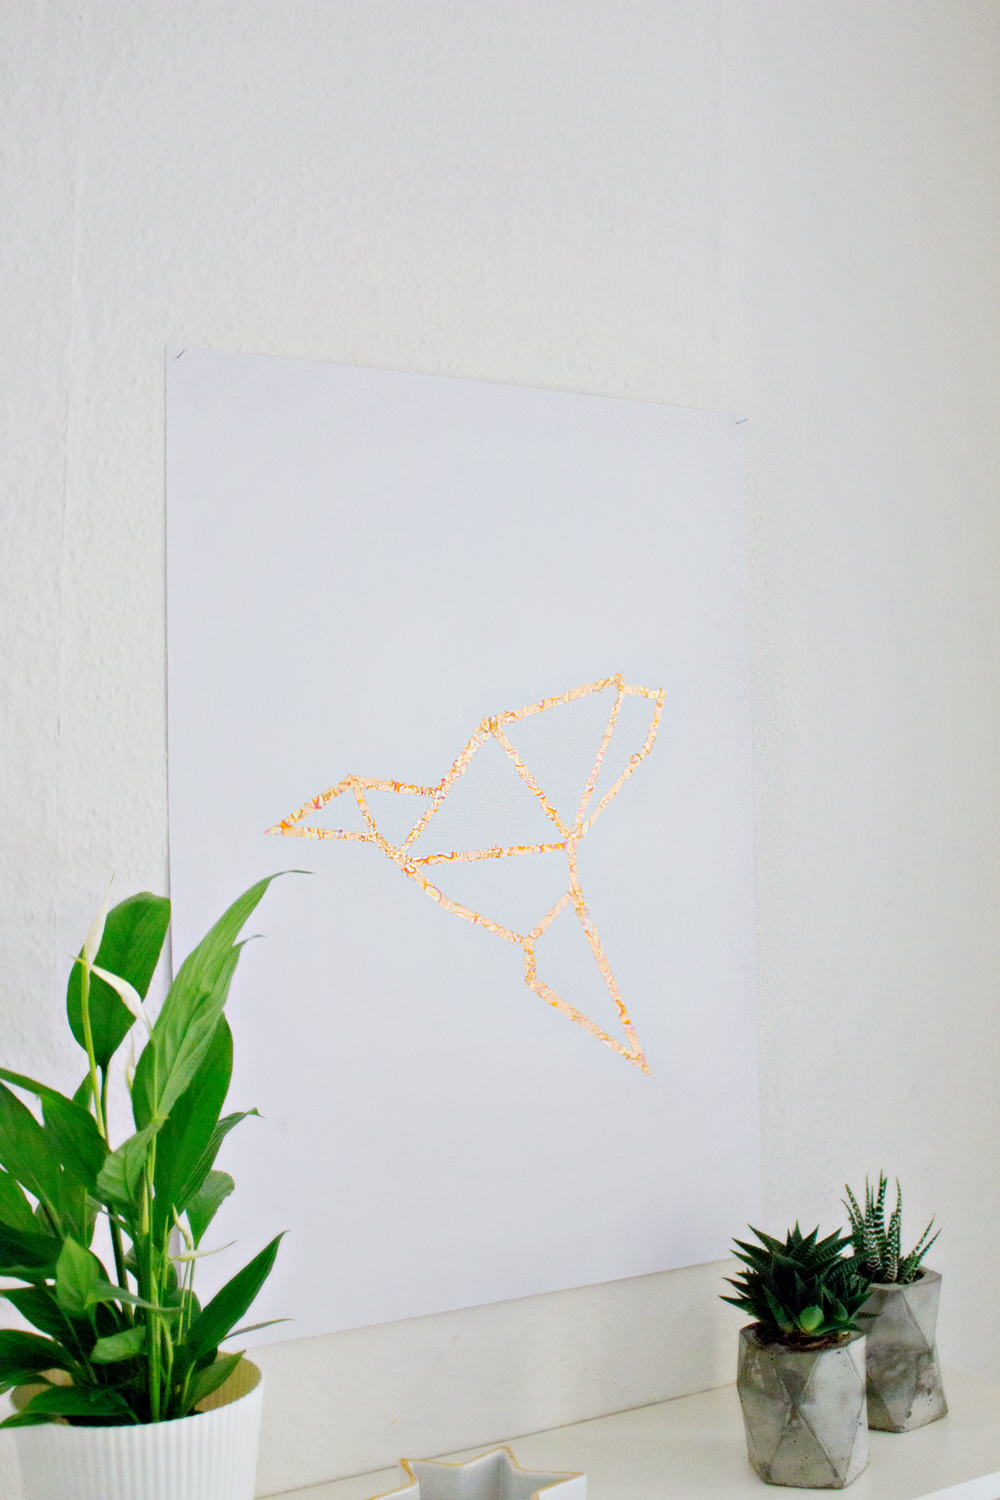
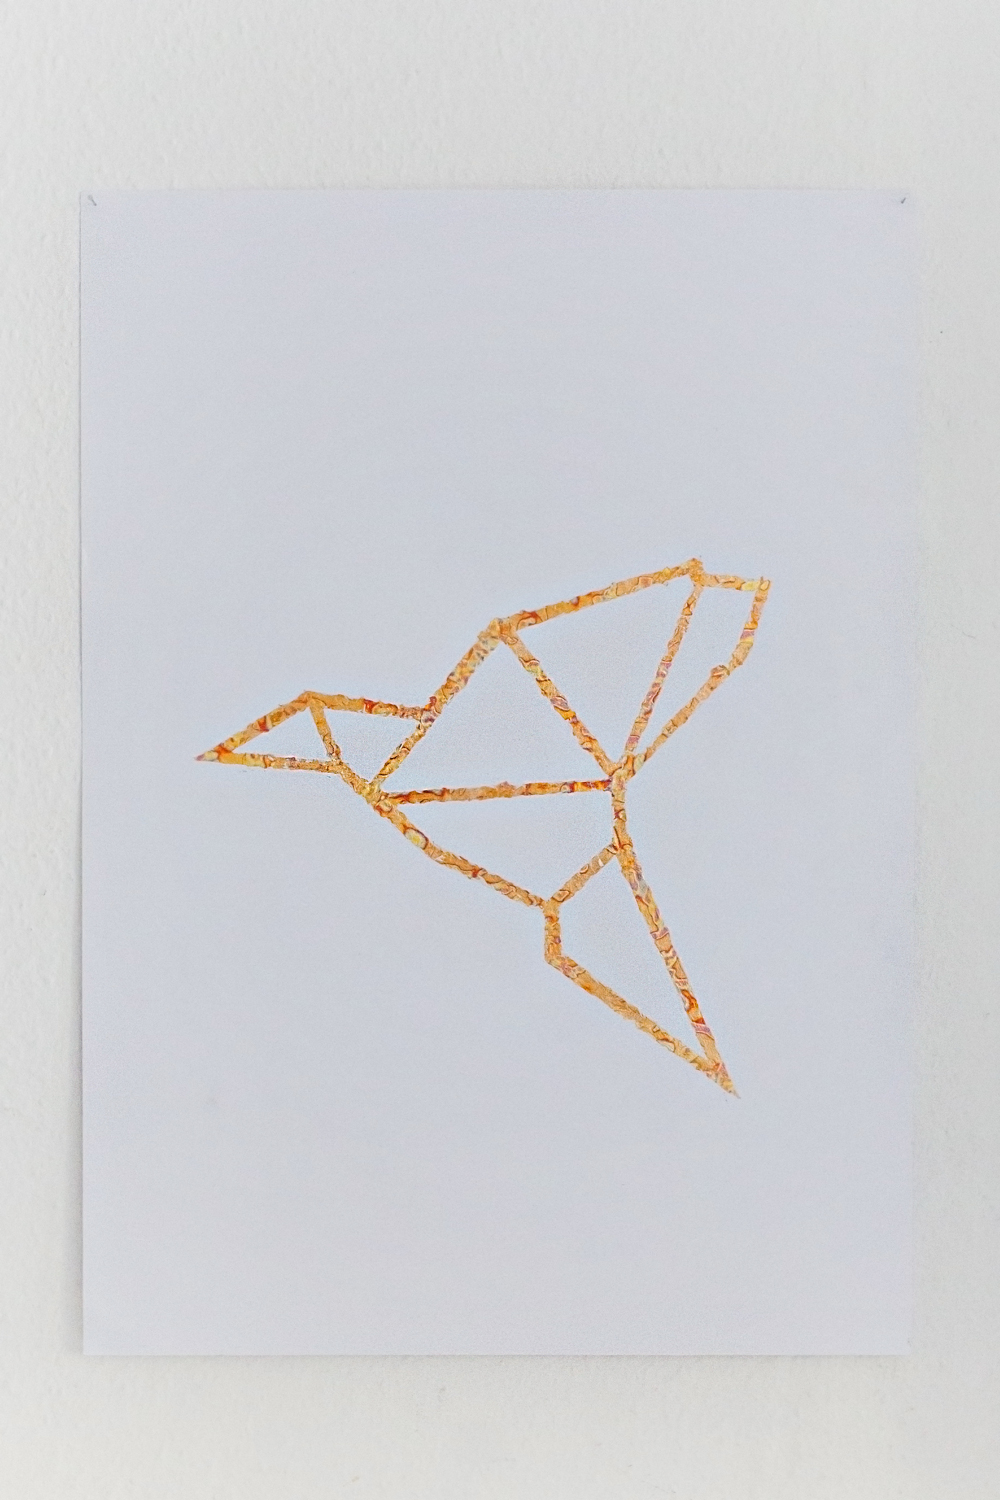
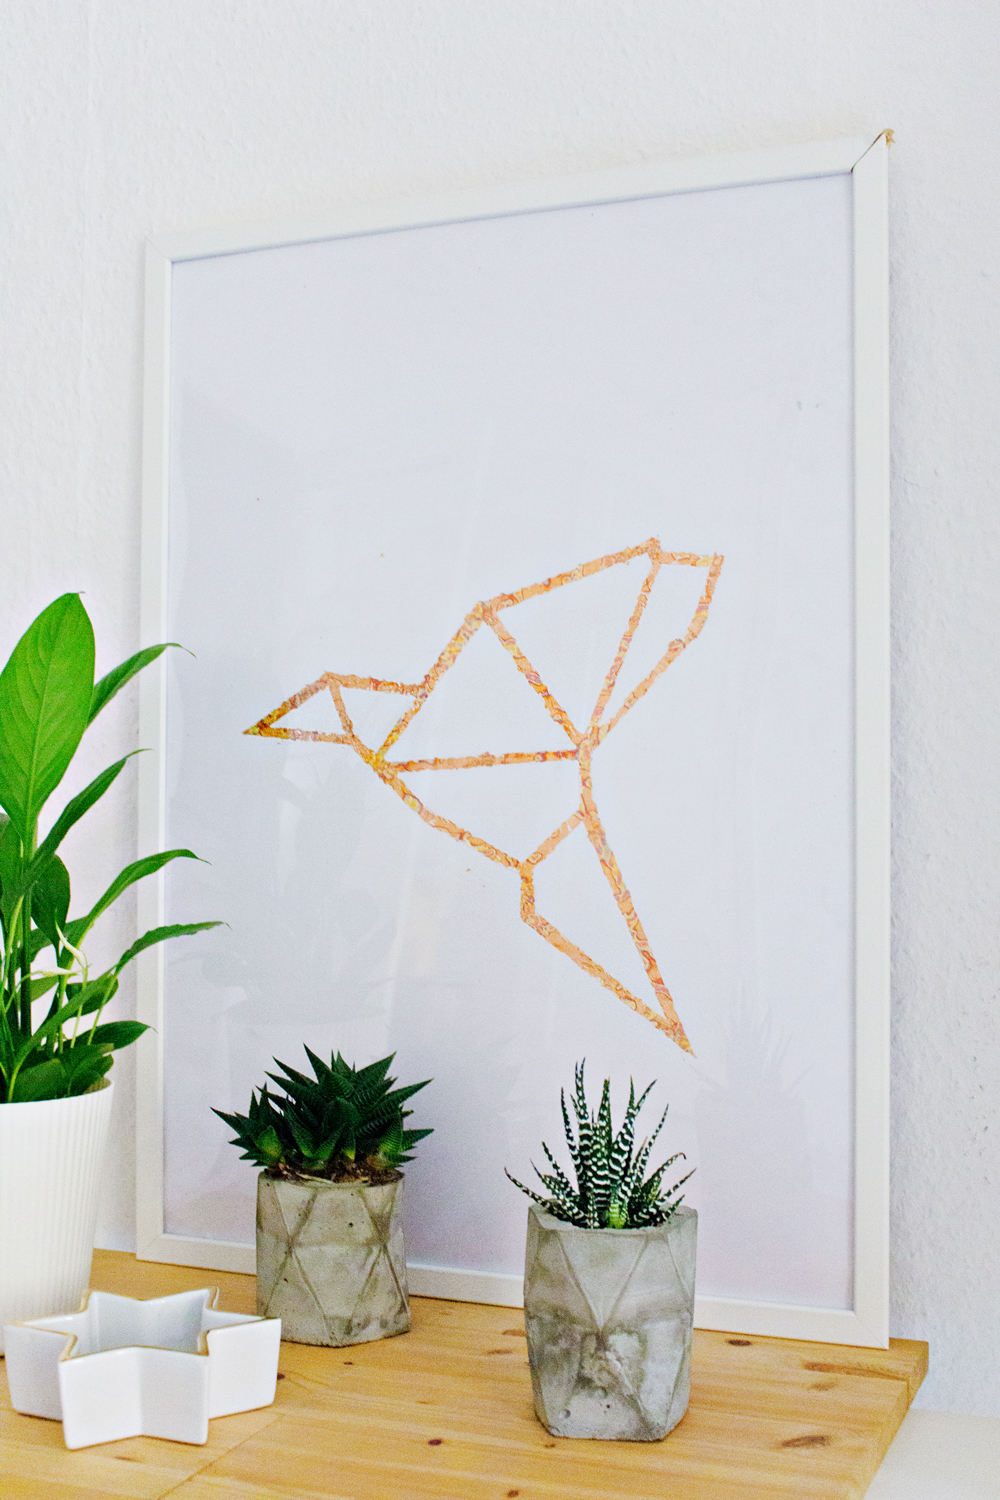
The origami craze on the LRS blog has definitely not reached its end yet! Instead of folding paper, I am showing you how to use an origami silhouette and use it for this minimalistic piece of art.
The special ingredient for this project: Copper leaf!
I found this pack of copper leaf sheets on sale and I have been thinking of what to do with it for a while now. And after looking at the bare walls in my temporary home, I decided to take a big sheet of paper and turn it into an ‘art piece’ for my wall with the help of the copper coloured metal leaf.
The fun thing about this material is that you can use it in any way you like. You can also cover up a silhouette like I did, use it for a journal or even metal leafing objects like flower pots is a great possibility!
DIY
It is the first time that I have worked with metal leaf and it really adds a special look to whatever you are using it for.
I went for a copper metal leaf and instead of using adhesive sizing (which is the special glue used for metal leafing) I experimented with mod podge which I am sure every crafter has lying around. It worked really well, and I think it is a great affordable alternative.
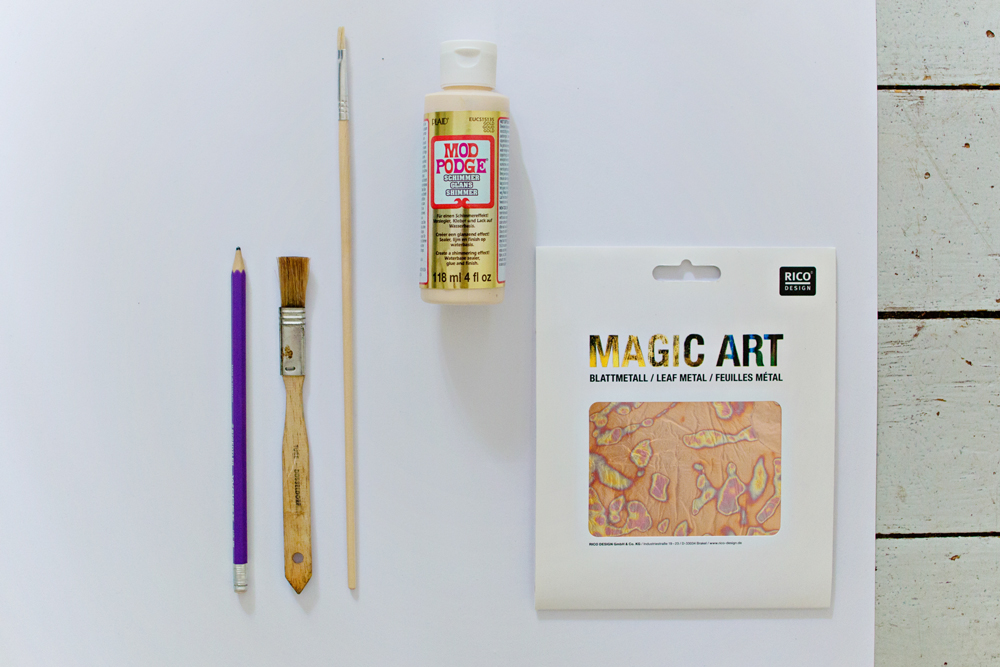
SUPPLIES
– Free Origami Crane stencil.
– Metal/copper Leaf Sheets. You have this in different colours and patterns. I used the ‘copper’ leaf.
– Mod Podge (or ‘adhesive sizing’ which is actually special metal leaf glue.)
– 2 Brushes
– Pencil
– Large sheet of paper
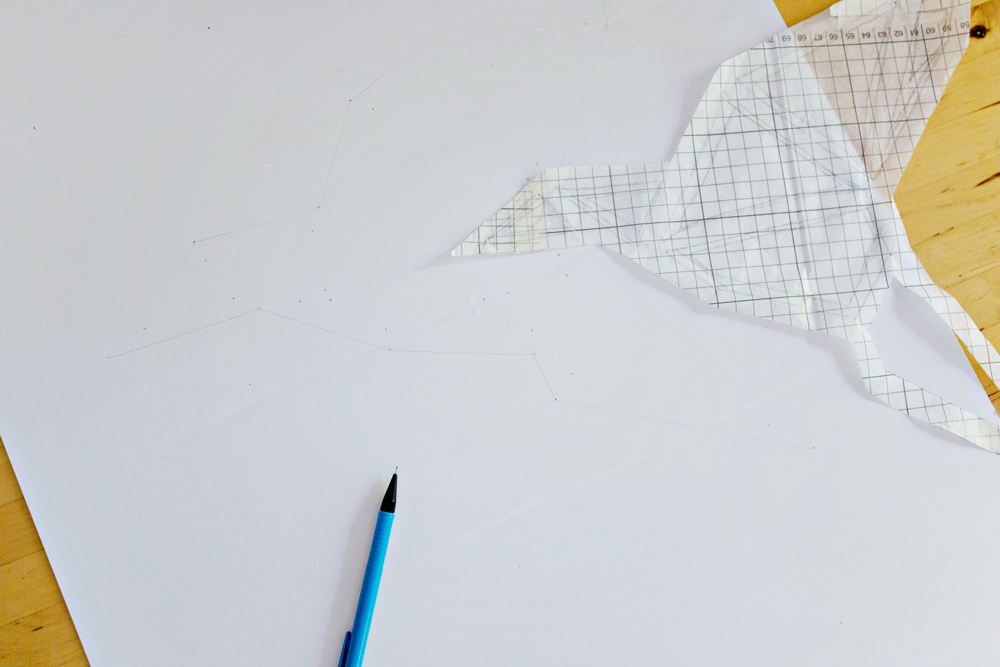
STEP 1
– Print or copy* the free origami crane stencil in your desired size.
– Trace the crane onto you sheet of paper or cardboard with your stencil.
*I actually don’t have a printer at the moment. So what I did was place tracing paper on my laptop screen and carefully traced the images with a VERY soft pencil (try not to press too much or you will damage your screen)
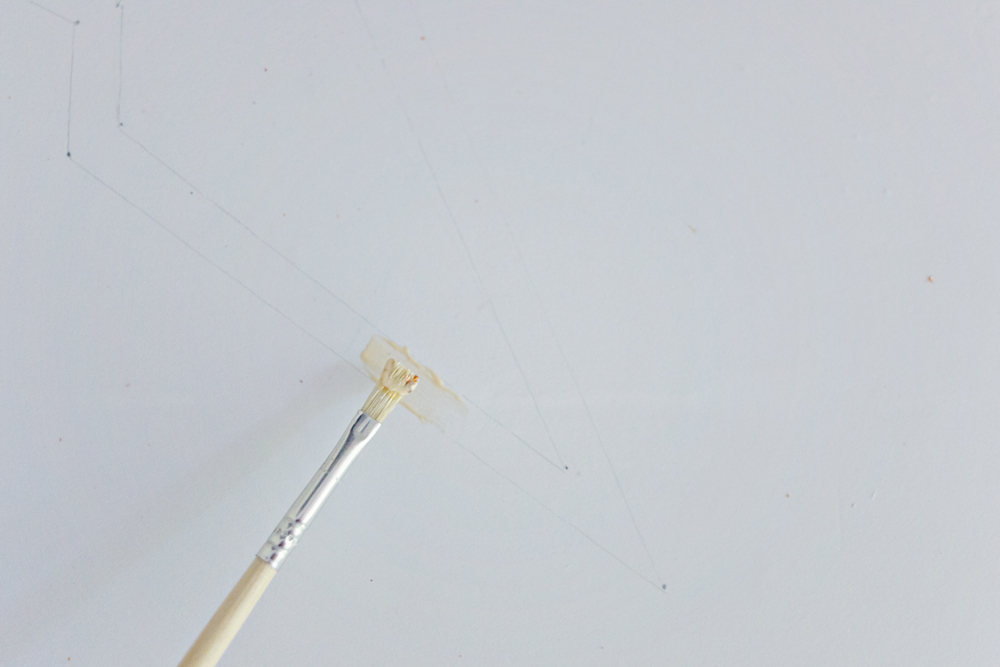
STEP 2
– Apply a small amount of mod podge within the drawn lines.
– Let the podge sit for a minute, it shouldn’t be too wet, but also not too dry.
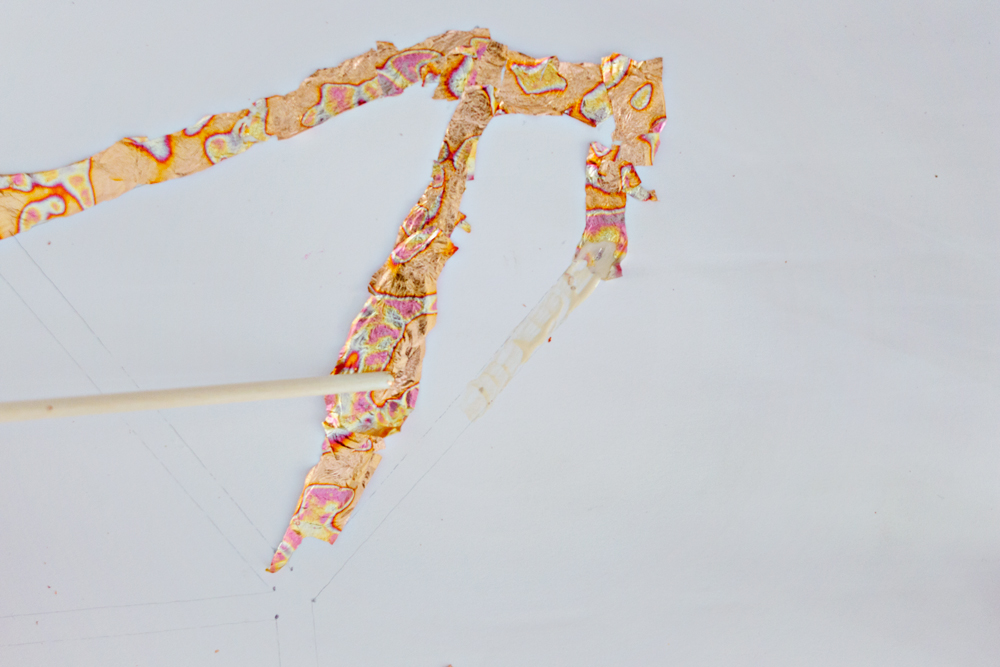
STEP 3
– Place small pieces of metal leaf onto the glued parts.
– Use the back of your brush to press the metal leaf and to make sure that it is properly glued to the paper.
– Repeat these two steps: applying glue within the lines and covering it up with the metal leaf, until you have made the entire crane.
STEP 4
– Let the glue dry for about an hour.
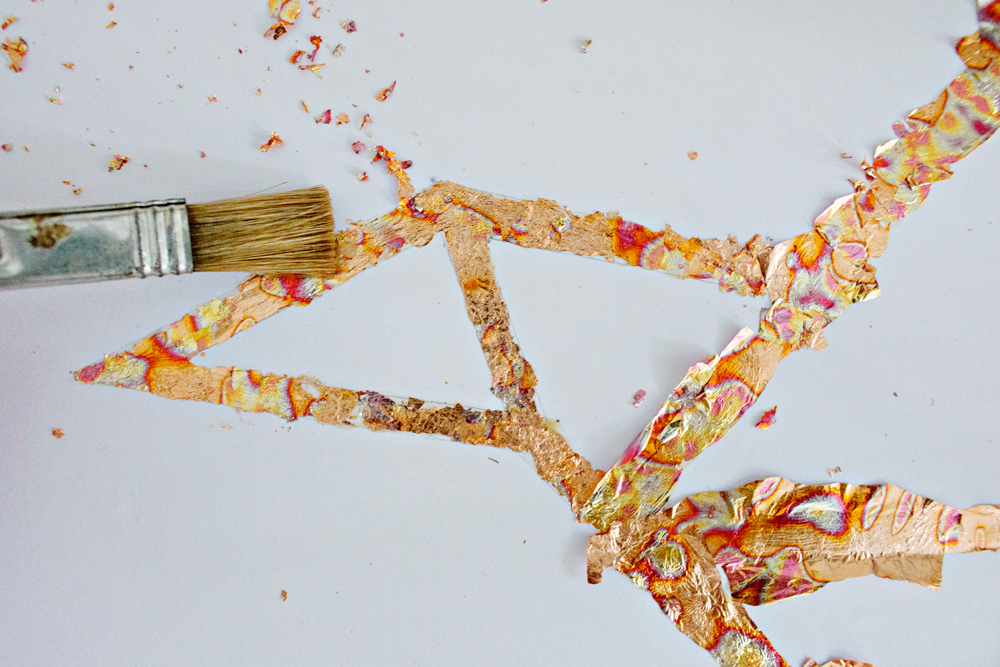
– Use a dry brush to brush and gently brush away the metal leaf that isn’t glued to the paper.
– In case some parts within the shape are not covered completly, simply apply a small amount of glue and add more pieces of leaf metal until it gets your desired look.
And that’s it! Now let’s think of more fun ideas to use metal leaf!
Concrete flower pots by Lana Red Studio
Picture Frame by Ikea



2 comments
I’ve never tried foiling by hand because I thought it would be too tricky but this has really opened up a load of options – thanks!
– Natalie
http://www.workovereasy.com
It does involve a certain amount of patience:) But it is definitely possible to do! Happy crafting! x Lana