So many firsts in this blogpost! Get ready to experience:
– The first LRS stop motion DIY video
– An easy peasy concrete mold invention
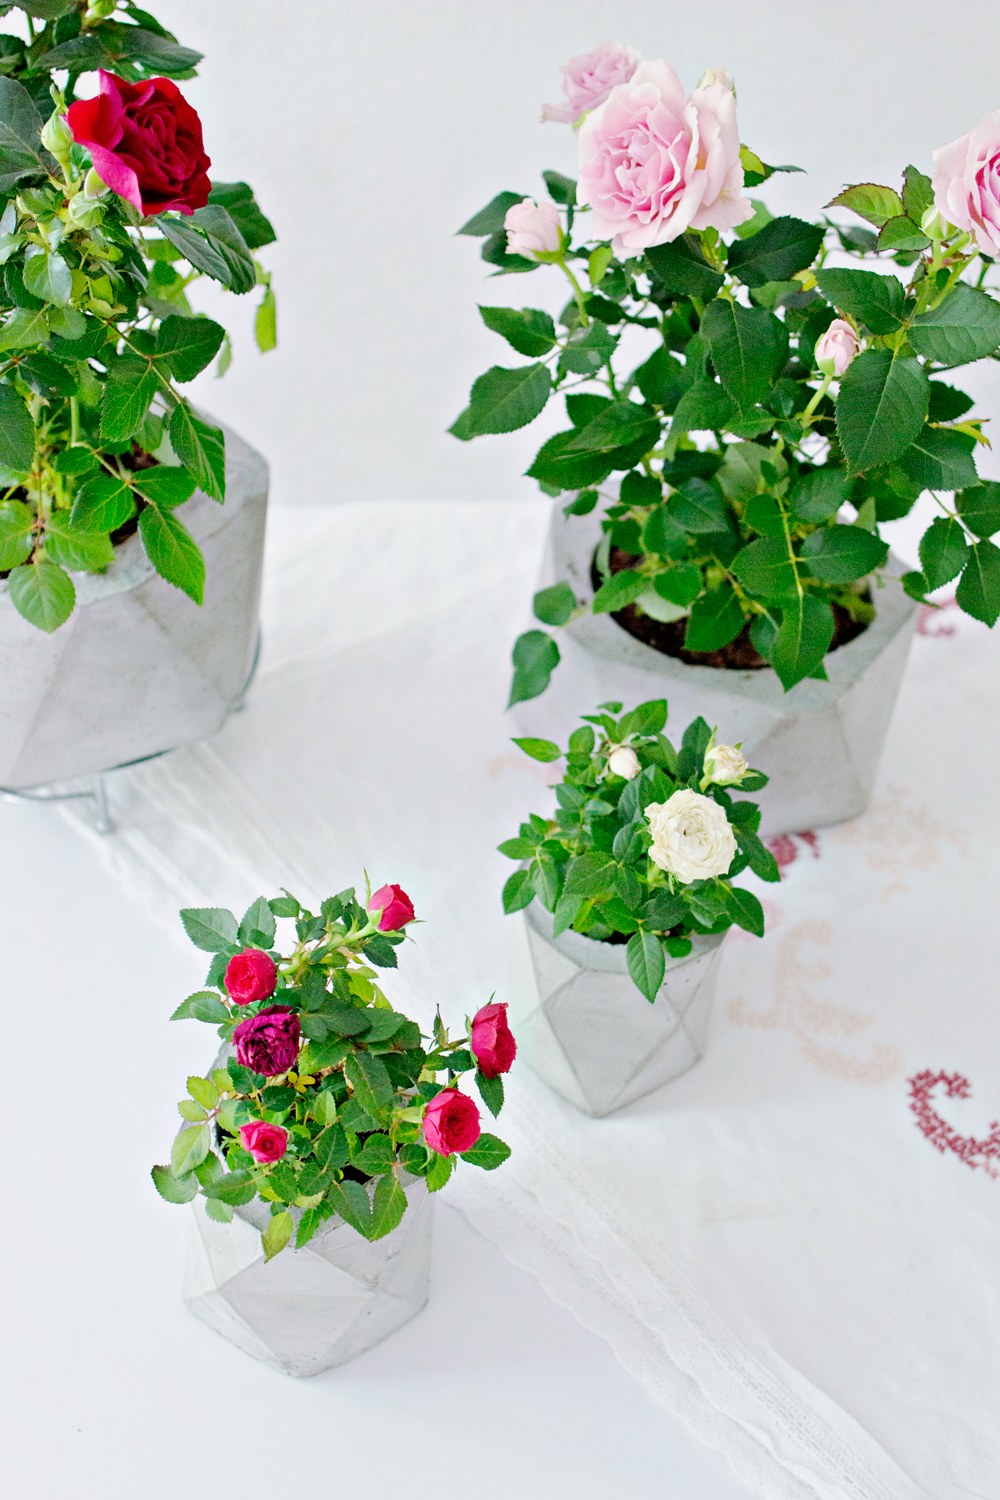
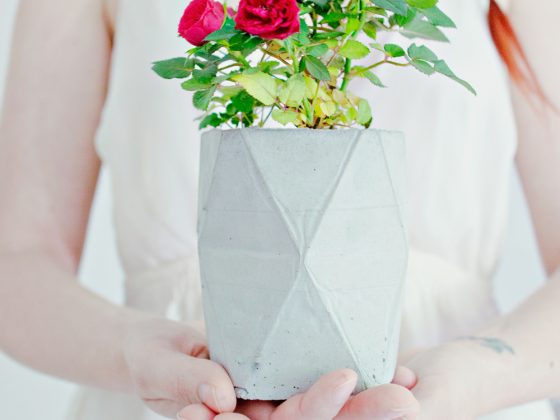
– My new favourite plant: the Pot Rose!
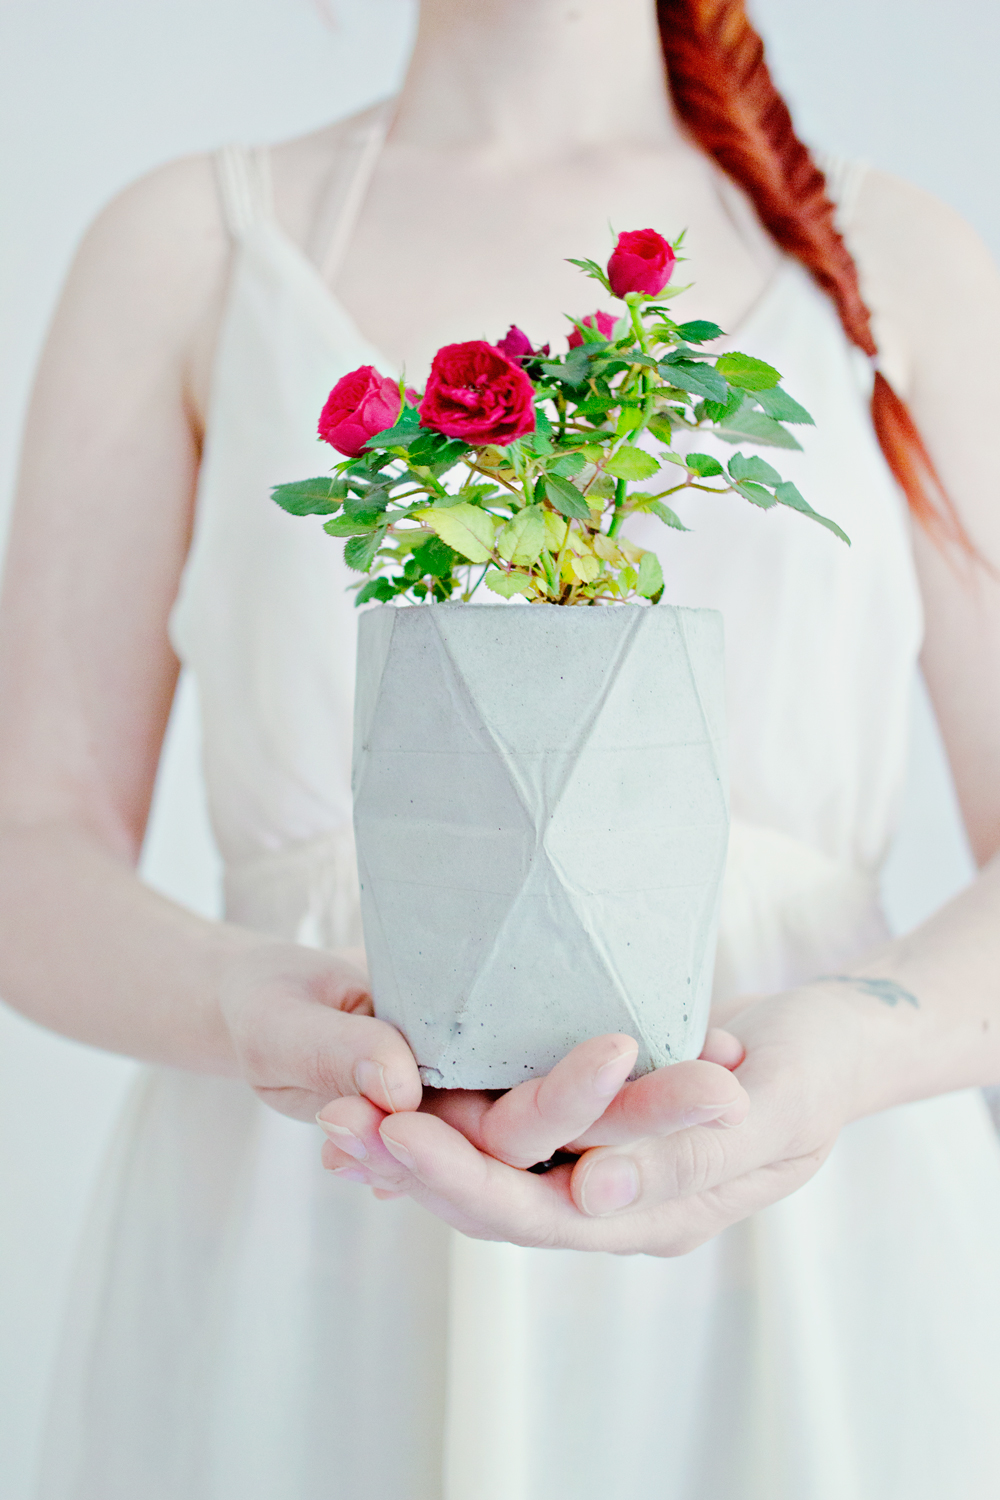
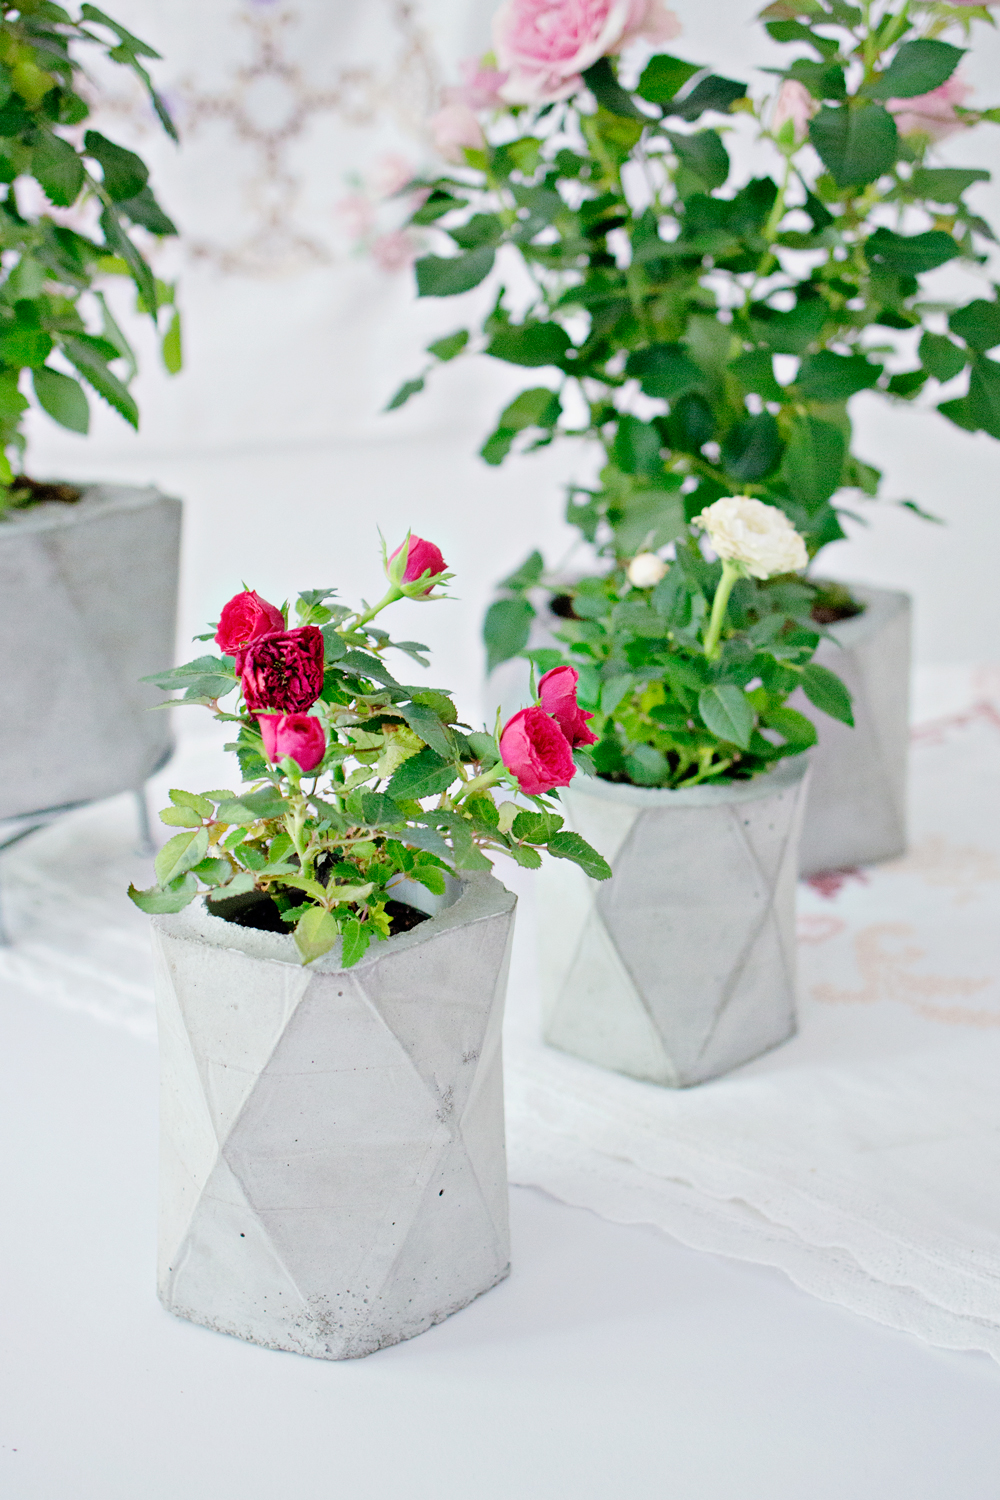
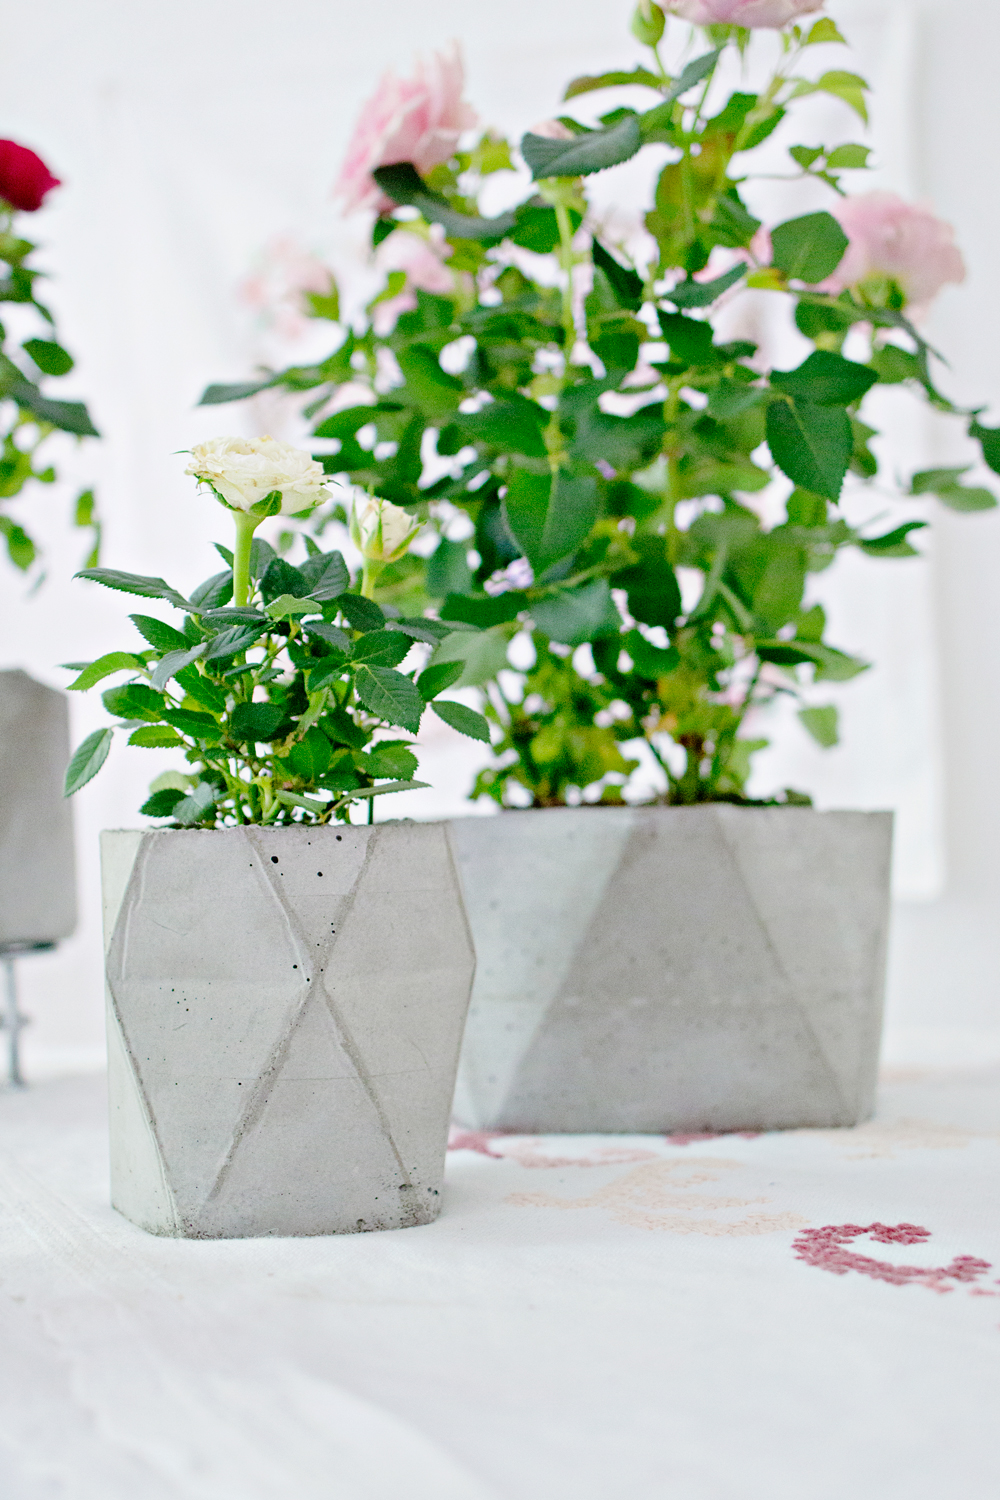
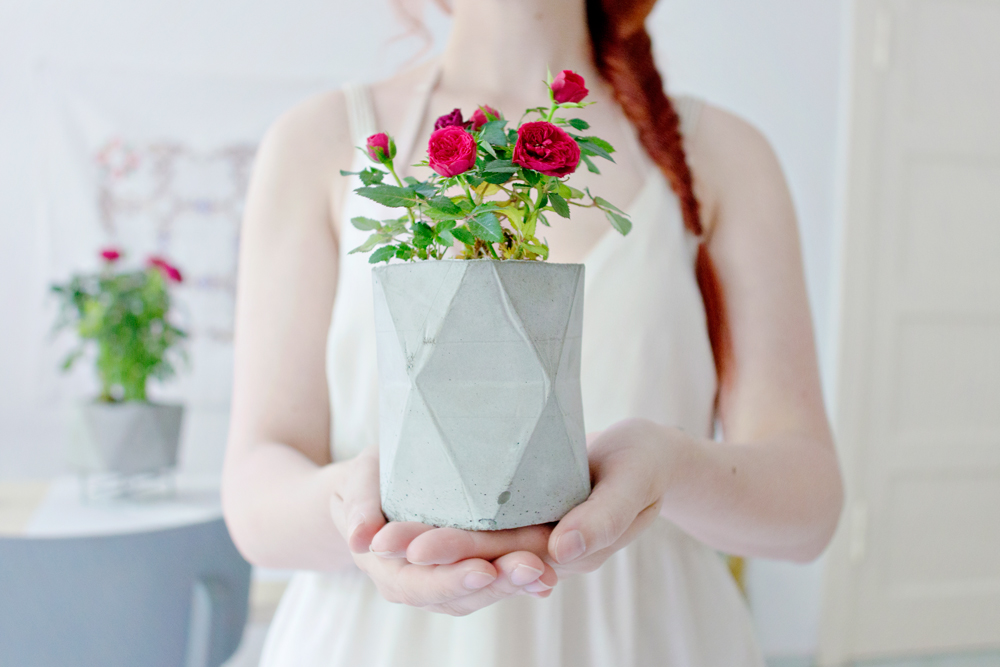
Today I am showing you my new Green DIY: a Geometric Concrete Planter!
(click here for the Dutch version)
I have seen a few concrete planter DIY’s before and I was always amazed by how well they would turn out ( I guess I thought that pouring concrete would involve building-a-house-kind-of-skills ;).
Besides it being scary to work with a new material, I also want to keep the projects on this blog as basic as possible. So starting a project and asking you to buy a million products just to create a planter seems a bit crazy.
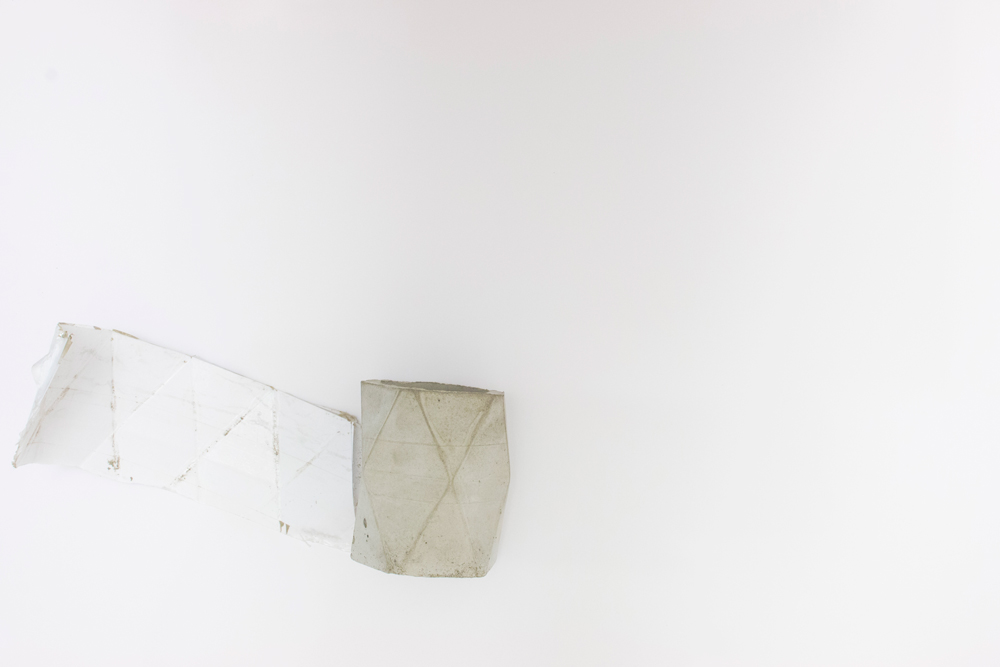
Because I wanted to be in controle of the shape of the mold, it had to be something that I could bend and fold. And after experimenting (a lot!) with mold-like products, I thought: why not just use thin hobby cardboard? And you know what? It worked!
The trick is to use clear tape to seal the inside of the mold and prevent the concrete from wetting the paper. I think that this might be the coolest thing that I have ever made from scratch.
And I love that because it is a cardboard mold, you can make a million different shapes!
Combine the minimal planter with a delicate plant
As you probably noticed already, I am a big fan of green in my home. Plants give a space that extra detailed touch without being too prominent. Combine that green with girly colours and I am sold!
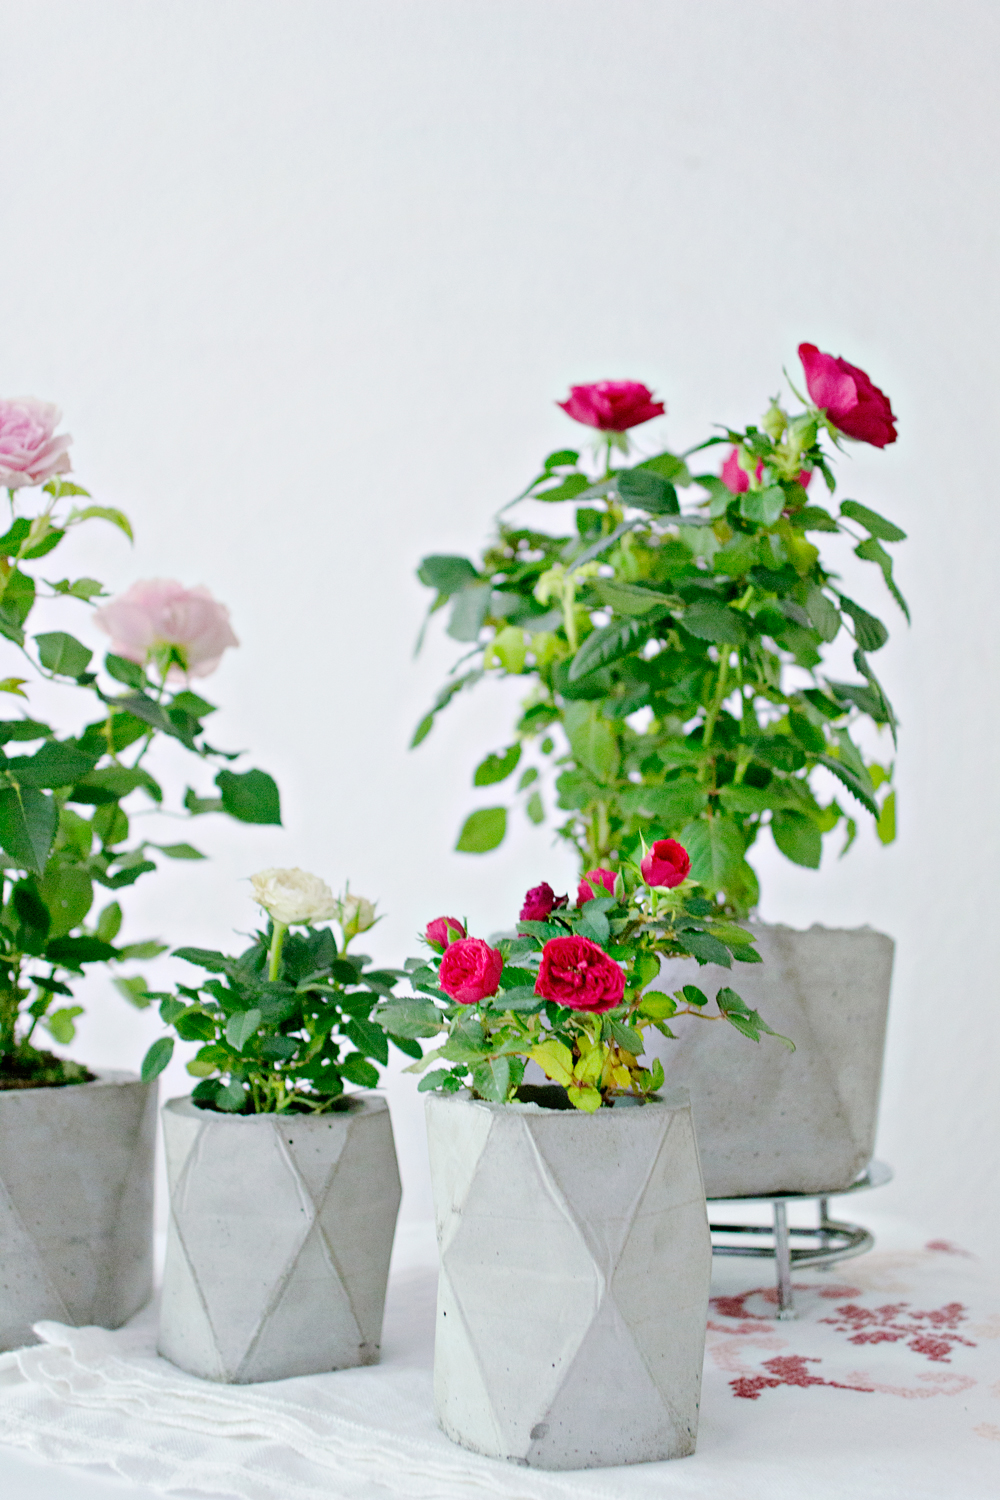
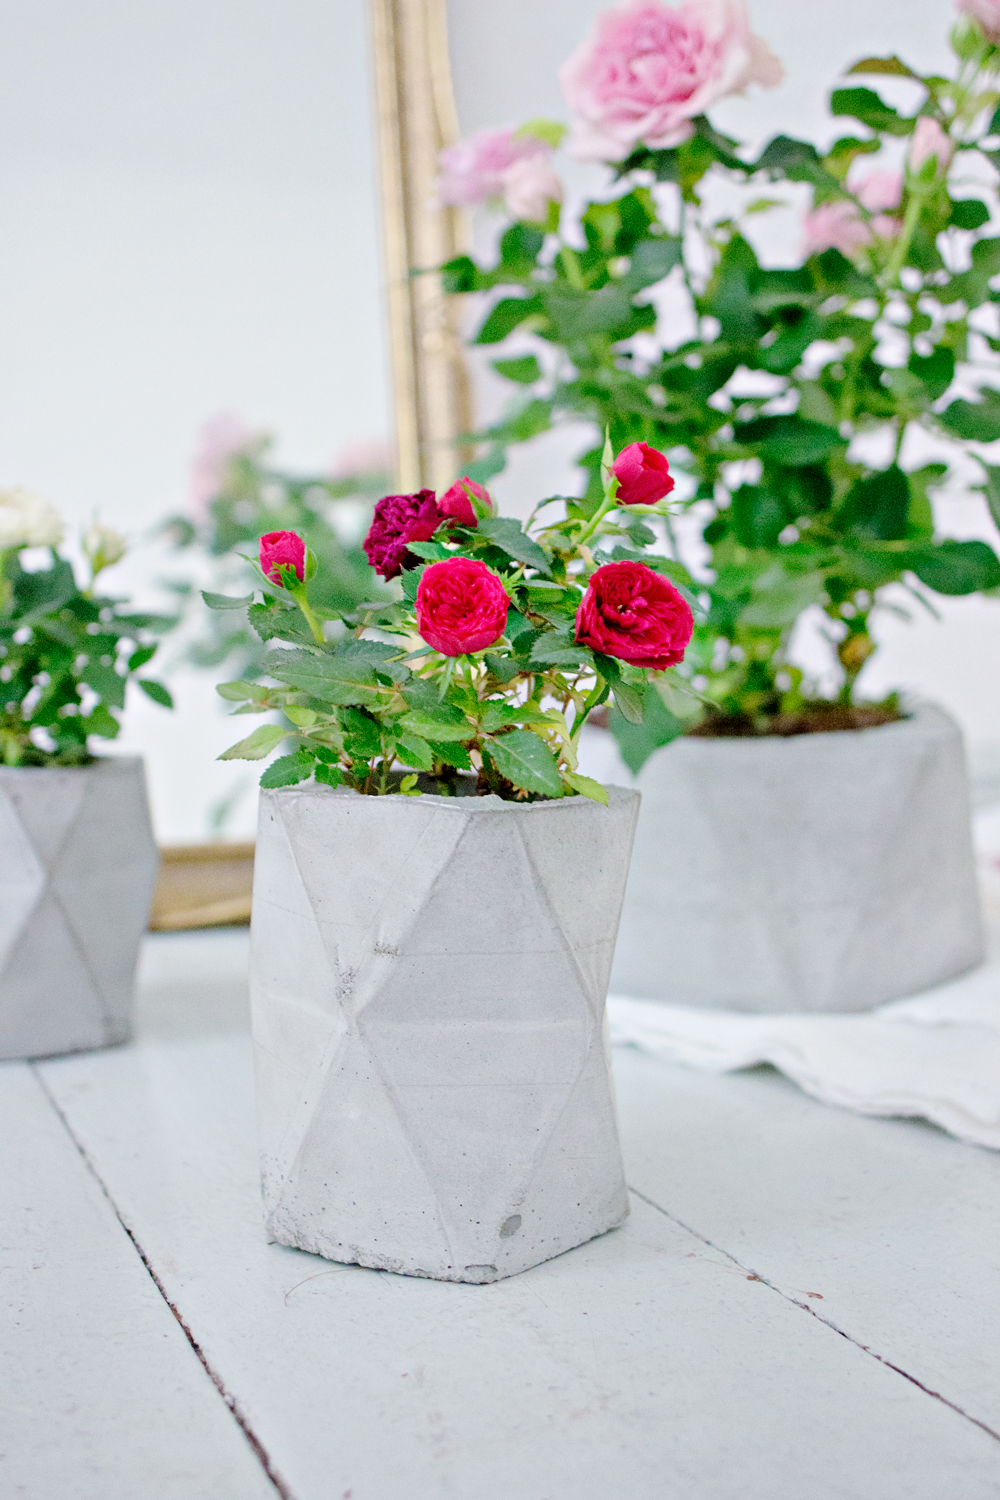
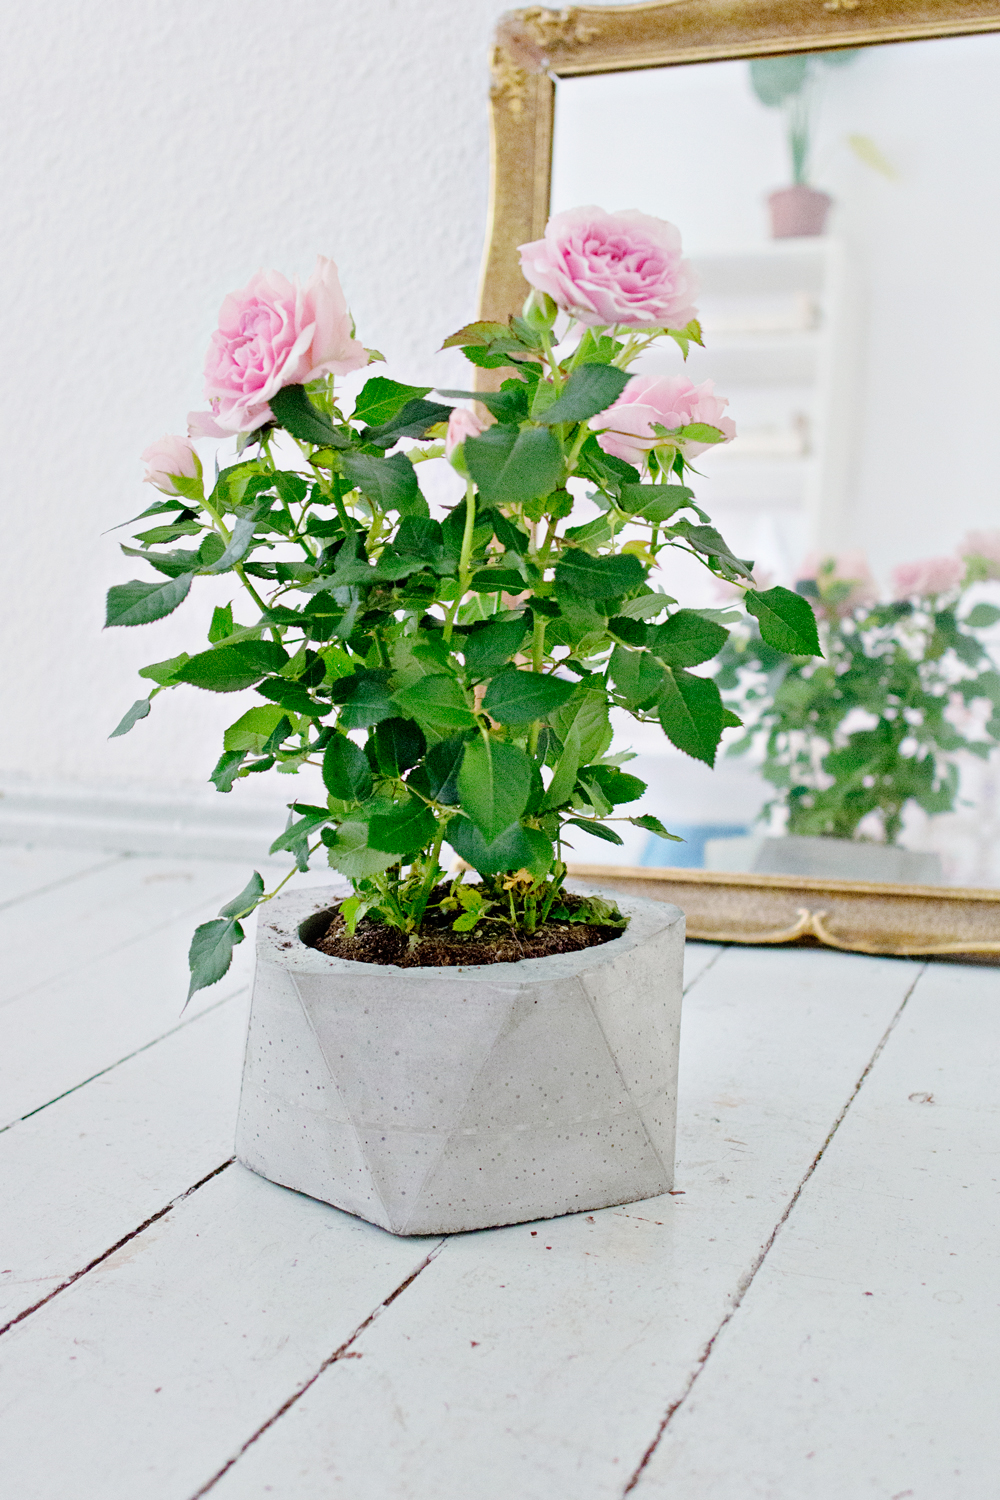
Mixing styles to create a new look is my main goal, and this project is perfect for that. I combined the minimal concrete planter with my new favourite plant: the pot Rose.
The crisp shapes of the concrete and the delicate roses, mix so well. And the pot rose comes in a whole range of colors. So you can pick a white rose, if you want to keep things minimal or go all out and fill the planters with the prettiest colours that you can find!
For more information about the pot rose visit : mooiwatplantendoen.nl ( thejoyofplants.co.uk )
Video DIY
Photo DIY
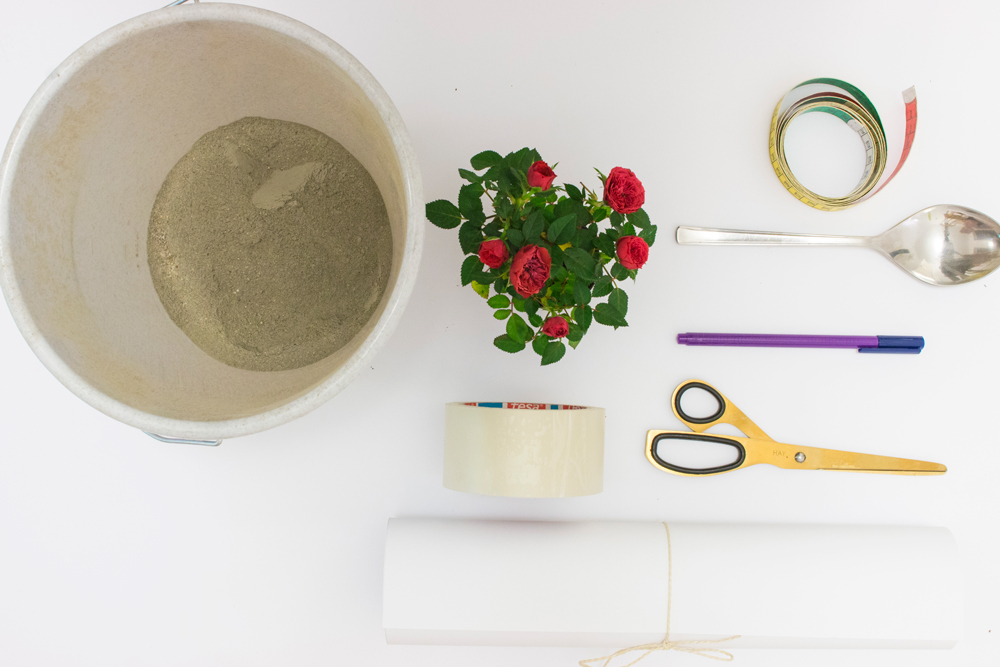
SUPPLIES
– Concrete mix (preferably one without pebbles)
– Bucket, Water and something to mix the concrete with
– Cardboard
– Scissors
– Tape
– Ruler or Measuring Tape
– Pencil
– Plant ;)
STEP 1
For the outer mold:
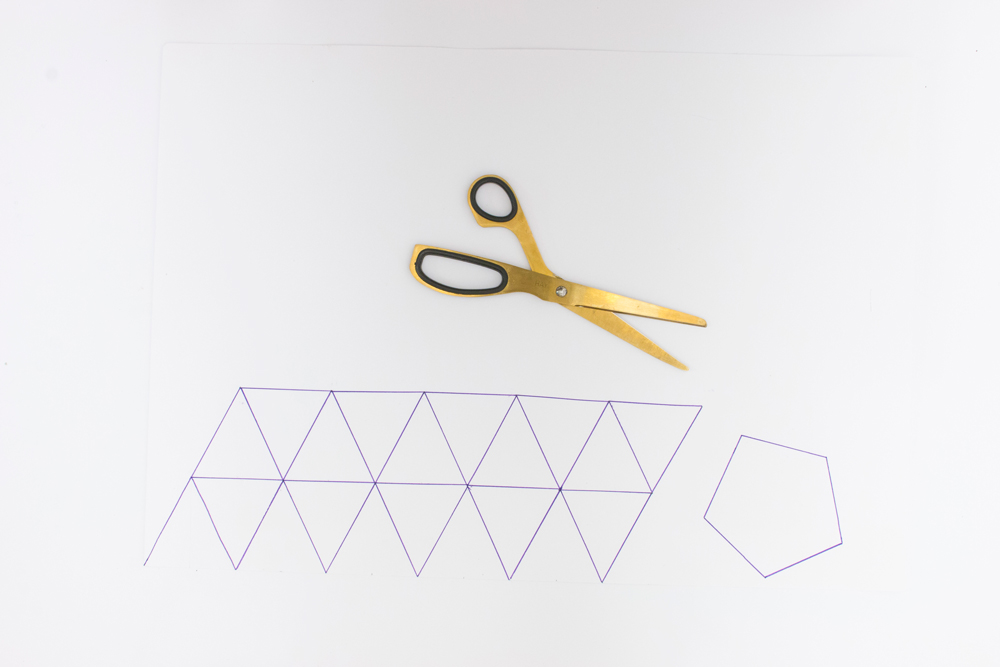
– Decide the shape* of your planter, you can all out here! I found this shape here
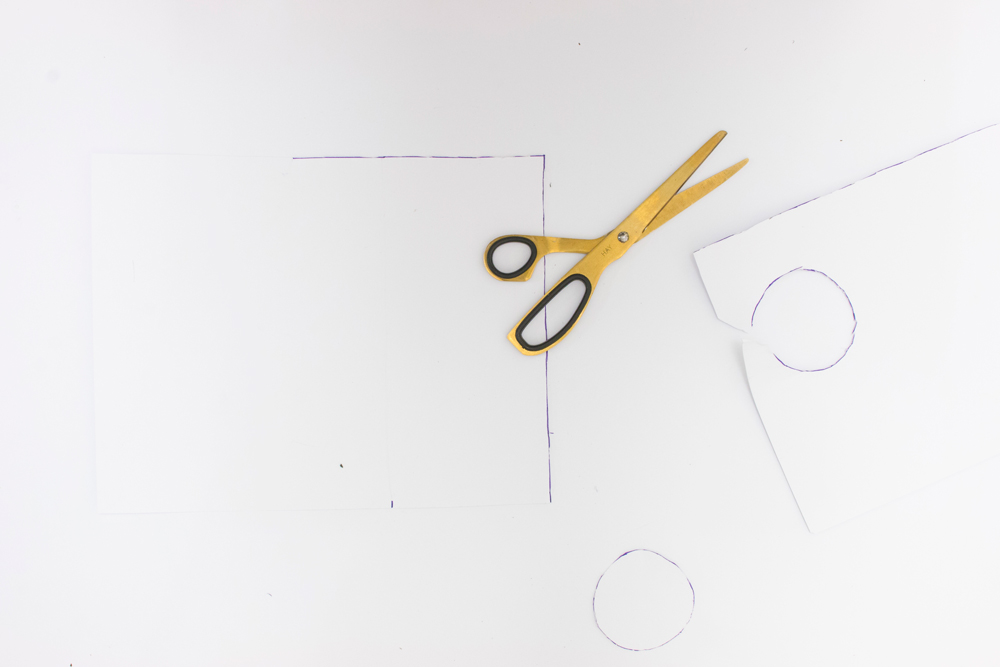
– Draw the shape onto the cardboard and cut it out.
– Create the shape by folding the creases, following the drawn lines.
* The cardboard can hold quite a lot, but the bigger and higher the planter, the more chances that the weight of the concrete will ‘push’ the folded creases out.
STEP 2
For the inner mold:
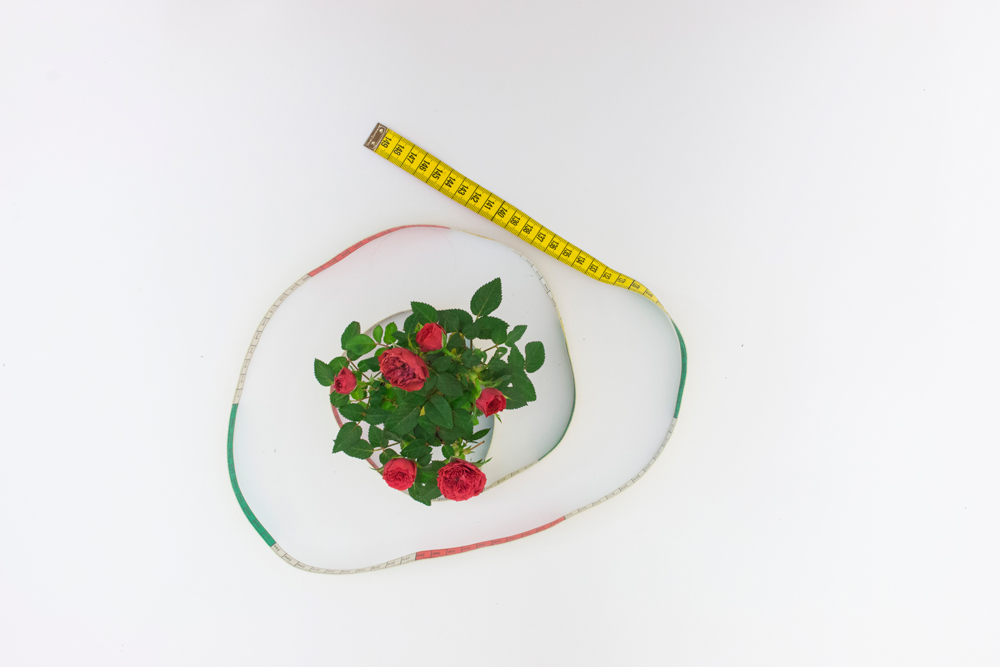
– Measure the width and hight of the plant and add an extra cm.
STEP 3
– Draw a shape onto the cardboard in the width and hight of the plant you just measured.
– Draw a circle in the correct size, this will be the bottom of the inner mold.
– Cut the shapes out with your scissors.
STEP 4
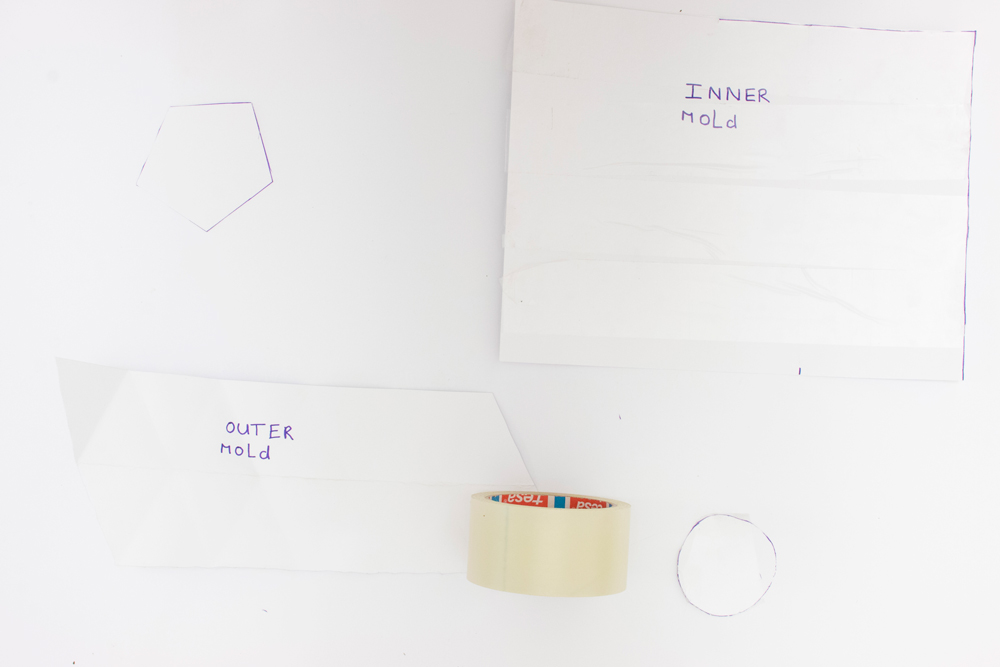
– Place your pieces of paper onto a flat surface. We will now be ‘waterproofing’ the paper.
– Add strokes of tape onto the pieces. For the outer told, tape the inside* of the paper. For the inner told, tape the outside* of the paper.
* To simplify: everything that will be touching the wet concrete needs a layer of tape.
STEP 5
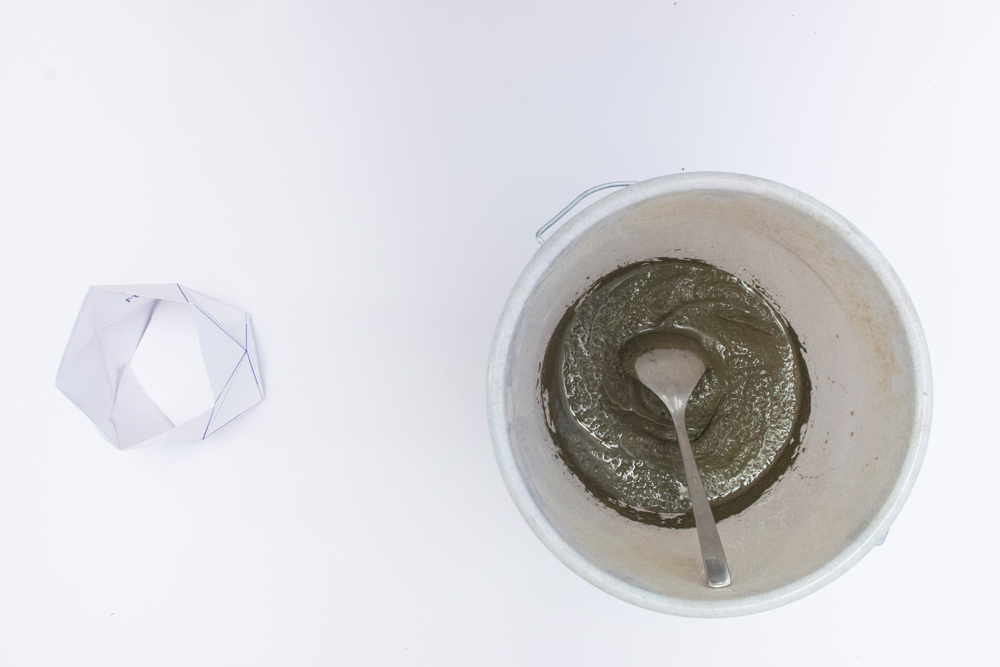
– Fold the mold into shape, securing it with tape.
– Mix the concrete* according to the instructions on the bag.
* If the concrete contains any stones, pebble, etc. use a sieve to remove them.
STEP 6
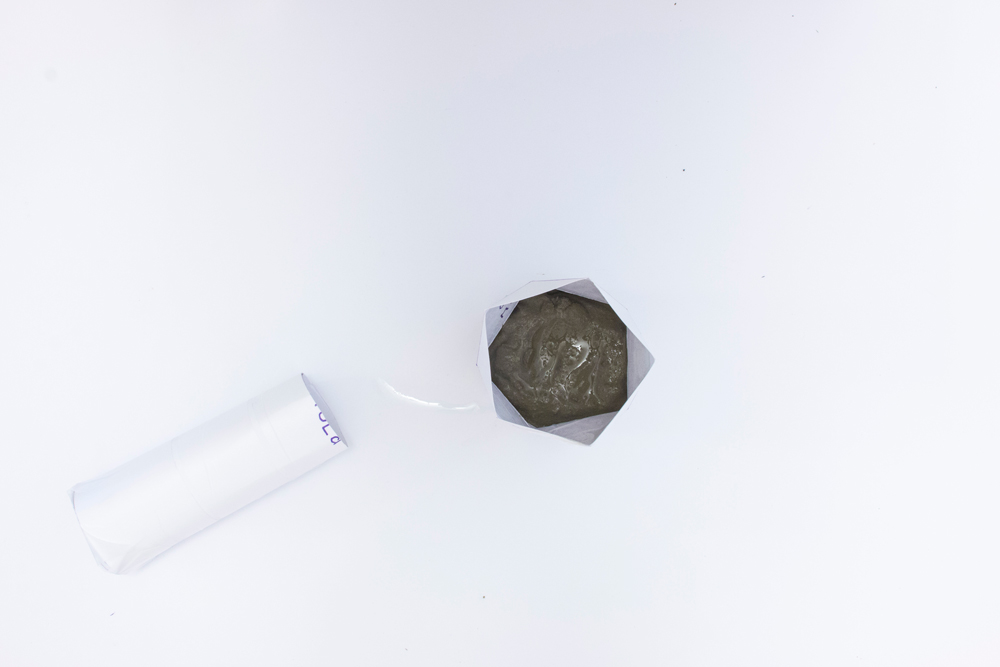
– Pour the concrete it the outer mold. Fill it up to about 3/4.
– Take the inner mold and press* it into the concrete. Placing it neatly in the middle of the outer mold, until about a cm from the bottom.
*In case the inner mold comes back up, because of the pressure of the concrete. Place something heavy on it, like a bottle of water.
– Let the mood dry for as long as the bag says.
– After it has dried, remove the paper from the planter.
All done!

