What to do when things in your life are getting a bit chaotic? Organising! There are some big changes going in my personal life (more about that later this week) and I have discovered that when I start to organise one simpel thing, it really calms me down.
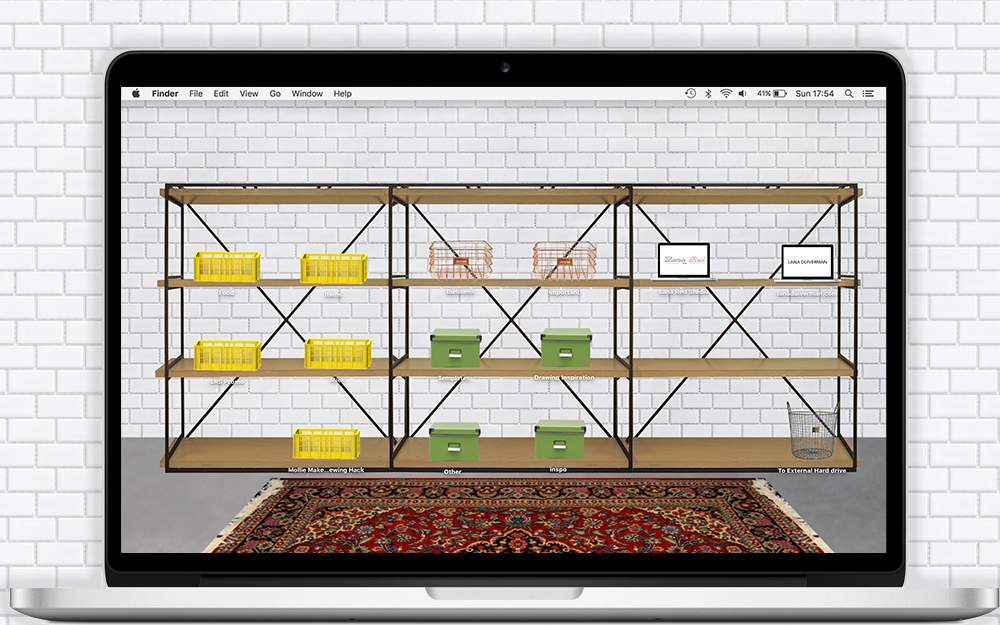
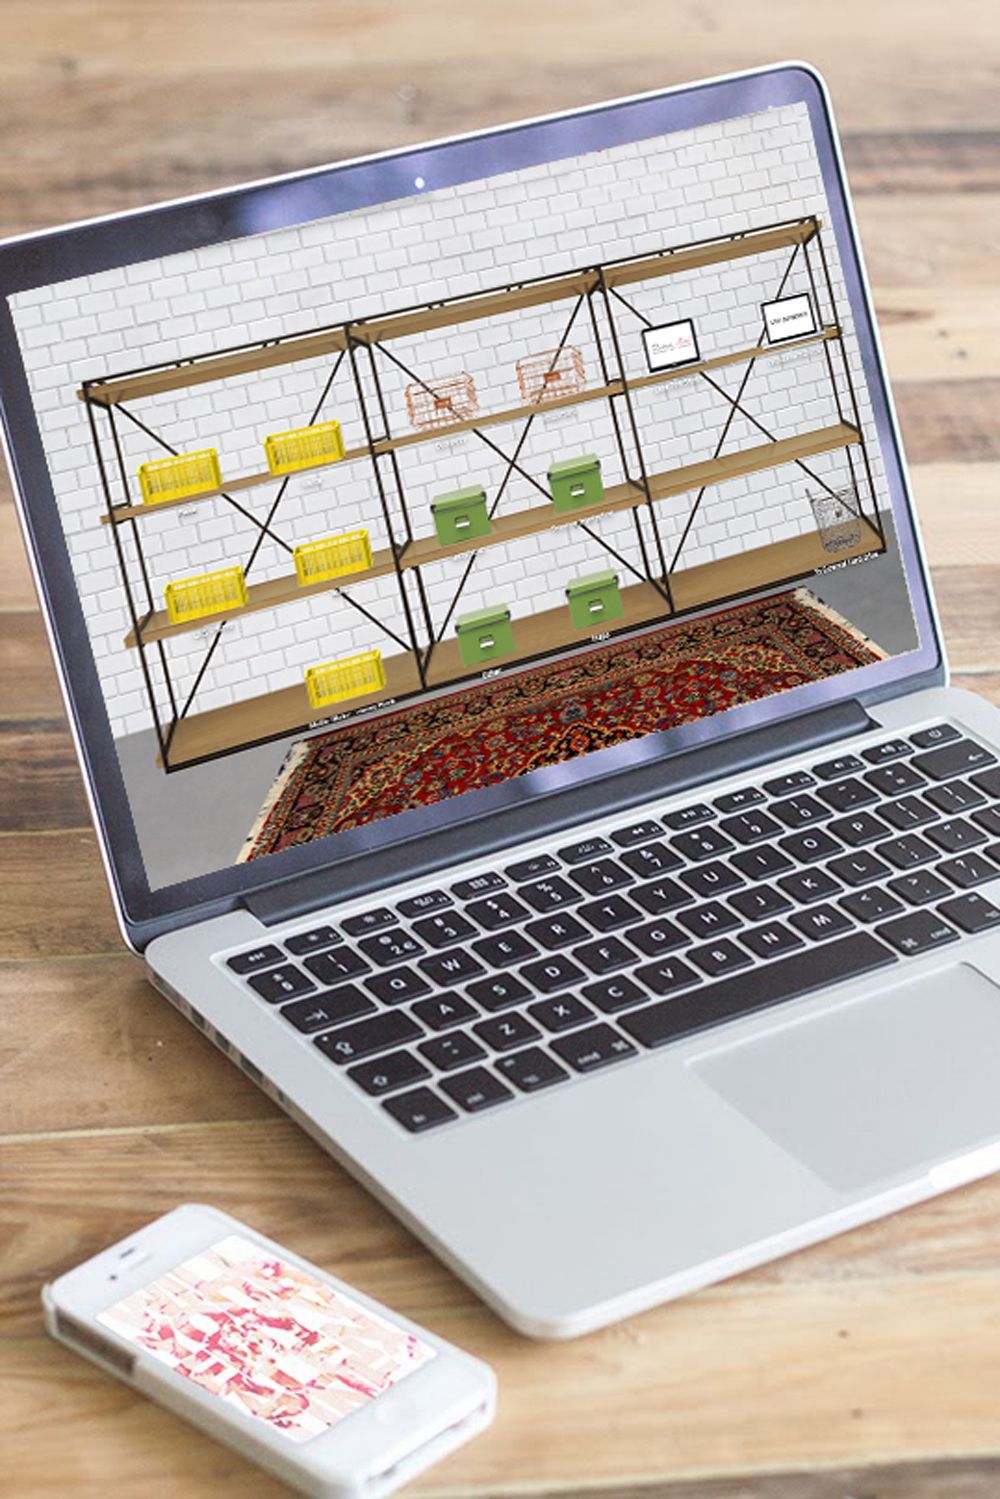
After cleaning out a big part of my closet (I do that in stages, because getting rid of pretty dresses even though I haven’t worn them in years is still crazy difficult;), I have restyled my laptop! And no not the outside with a pretty sleeve, but the screen that I am looking at so very often: the desktop!!
You regular readers and friends of this blog might recognise this DIY from older blogposts, because I have showed you how to customise your desktop including the icons in 2 previous tutorials. You can find the first one here. And the second one over here.
I felt that it was time for a new look on my computer and went back to my first concept: a closet system. I was inspired for this idea a few years ago, because Ikea made this amazing cool variation with their own products. It was so clever, because it looks organised and they get to show off their products.
I really like Ikea, but felt that I could do a similar thing in my own style. So I went for an industrial look with a vintage touch.
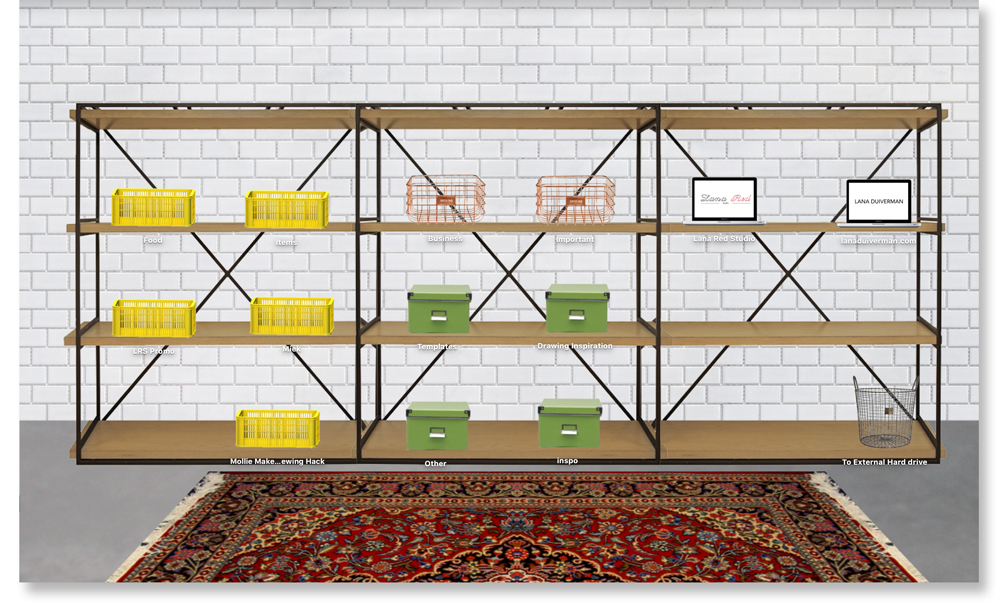
The open closet has three parts and three shelves, so you can organise your folders in sections.
And the icons are really pretty and give the whole look a personal touch.
But what is all this talk about icons and folders you ask? It’s actually really simpel. You know that when you create a new folder on your computer? The computer has a default picture that you use. For mac users it’s a blue file like image. For windows users it’s a yellow file like image (depending on your version, but you get the point). Well, I never liked the look of those files. I would make a pretty desktop wallpaper and those blue file images would still occupy my pretty background.
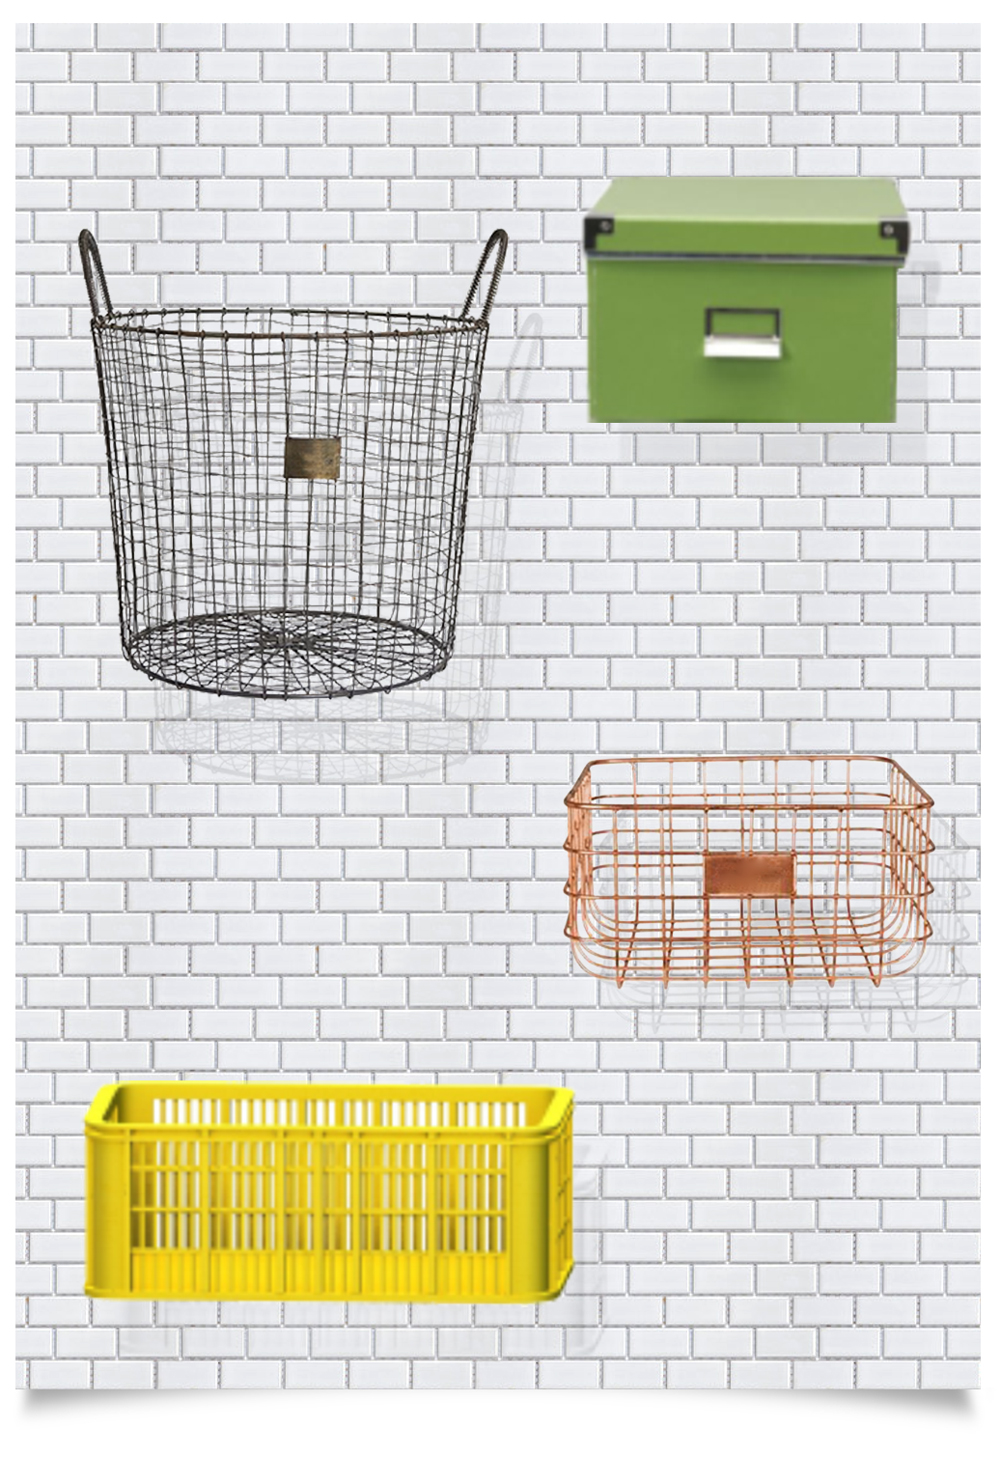
This DIY let’s you change the file icon into a different image! This way it can match your background and make things more organised and pretty!
DIY: Because I dedicated a big step by step guide in my previous desktop/icon blogpost, I am referring you to that one to personalise your computer.
You can find the complete tutorial through this link.
Full Tutorial
Download your desktop icons here:
Desktop Icons
Download your matching wallpaper here:
Matching Wallpaper
For the icons, I decided to go for practical objects. The green box is originally from Ikea. And the wire baskets are from Sissy Boy. I am actually thinking of buying them, because I love the look!
The desktop has a clean and industrial look with a subway tile background. You can place as many objects onto the shelves as you like and keep it minimal or fill them with the folders that you use the most!
Please let me know what you think:
Do you have questions or awesome designs that you made? Leave a message in the comment section!!



4 comments
I love that wallpaper. Can you fix the link?
So sorry for the wrong link! It should be working now:) xx
Thank you!!
I absolutely adore the idea of personalizing the desktop in such a unique and aesthetically pleasing way! It reminds me of the time I tried to give my workspace a vintage makeover, and although it didn’t turn out as organized as this, it definitely added some character. The industrial look with a touch of vintage really stands out, and I’d love to try this DIY myself.