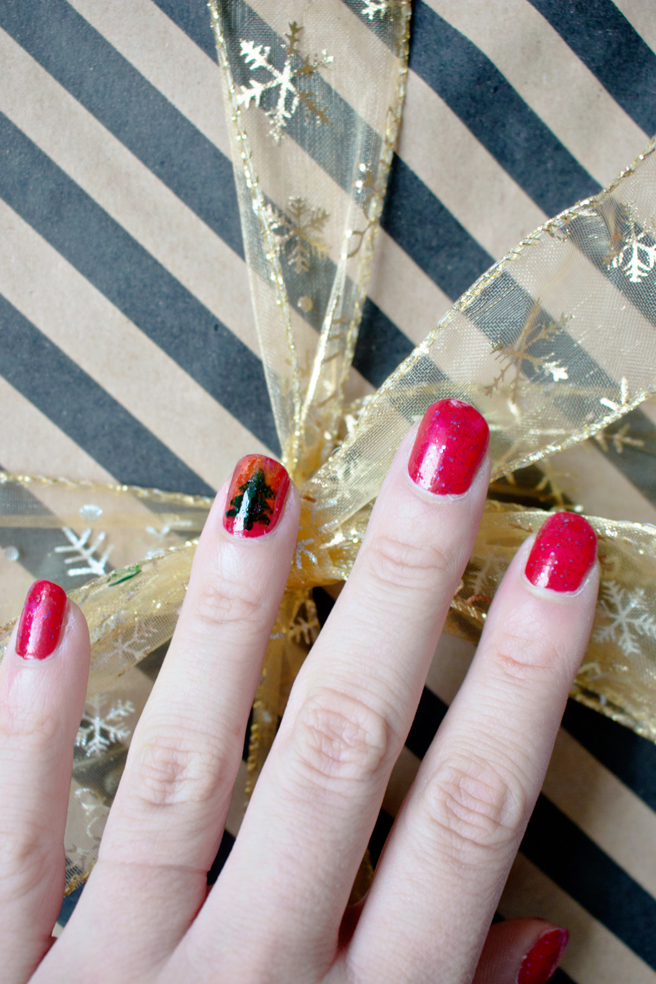
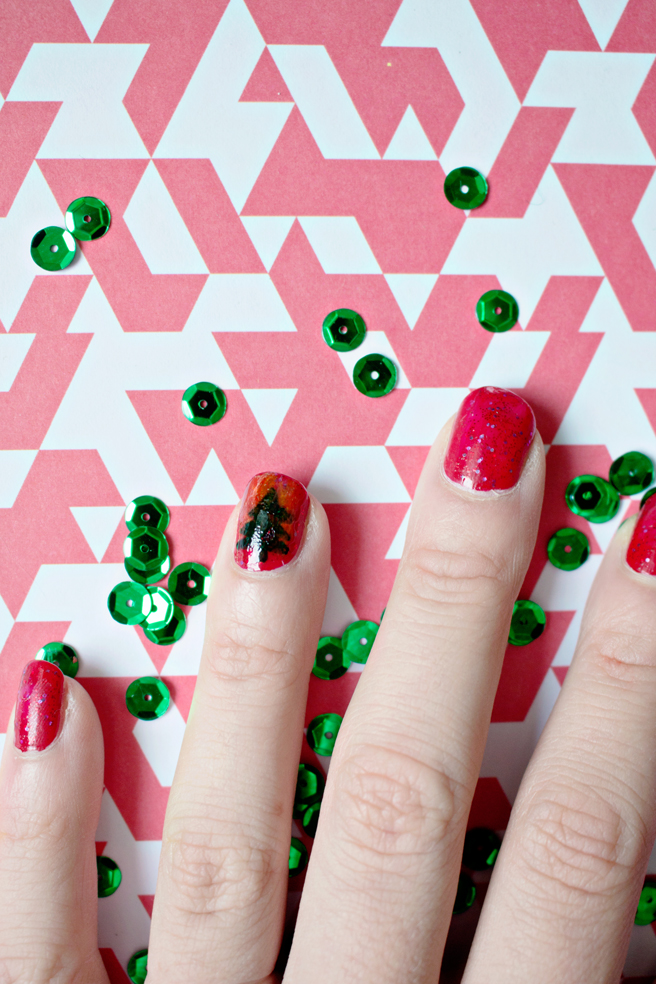
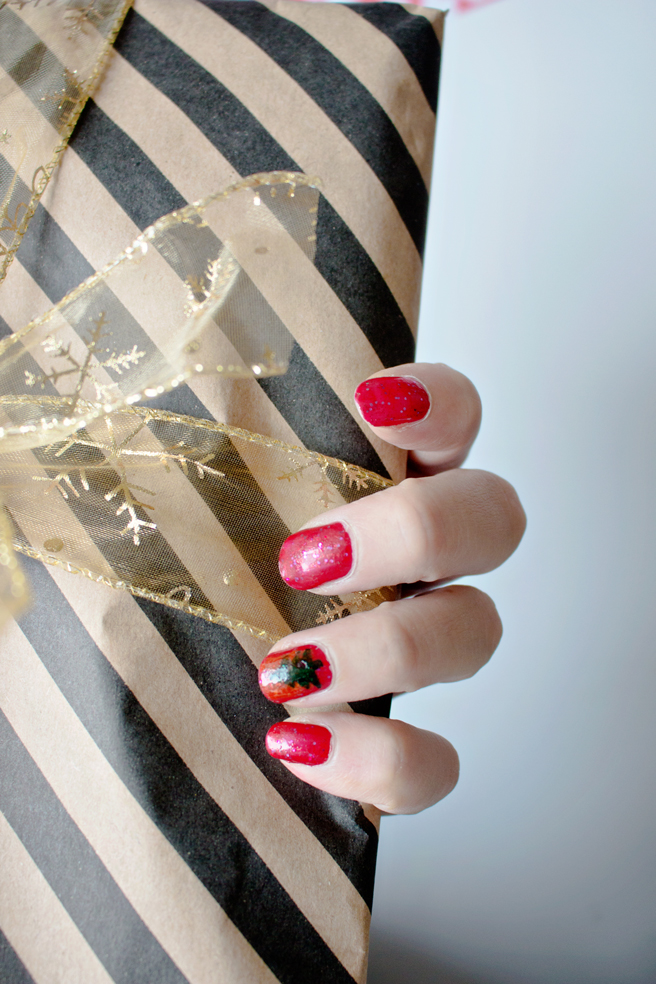
Red, glitters and christmas decorations. What more to expect for some festive christmas nails?!
It’s been a while since my last nail tutorial, and I have had all of these crazy nail decoration ideas, like applying scrapbook pictures onto your nails, or dipping them into gold. And even though I am definitely still going to try those ;) I think that it’s time for something simple.
In Holland, this seems to be the week of finally getting those decorations out, setting up the tree and oh yes, buying gifts! Who has time for an over the top nail DIY?
So let’s keep it simple! A marker, and some glitter, easy right! DIY:
Supplies:
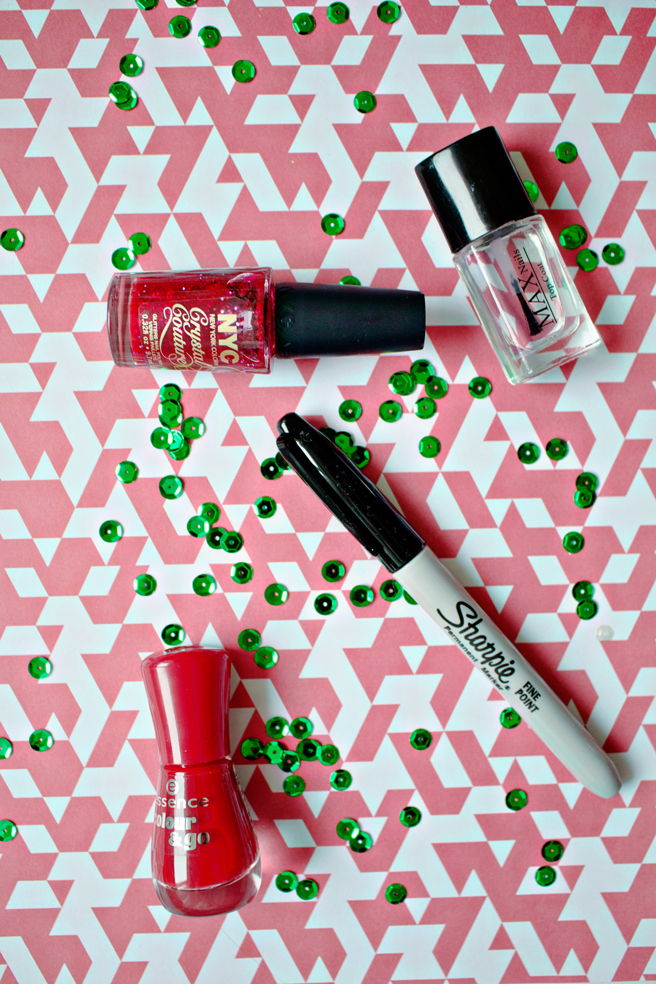
Red Nailpolish | Glitter Nailpolish | Top Coat Polish | Sharpie Marker
– Apply your red nail polish and let it dry.
– Apply the glitter nail polish, let it dry.
Tip: After dipping the brush in the polish, let it drop some excessive polish back in the bottle. It’s easier to apply the glitters without too much polish this way.
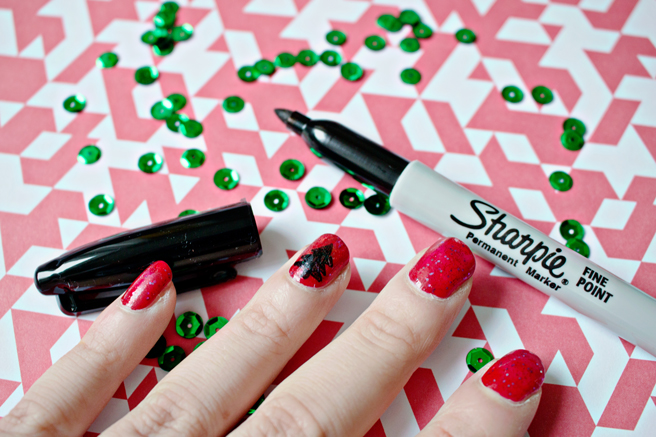
– Take your sharpie and draw your favorite christmas decoration (or just the easiest one:)
Be careful not to smear the drawing.
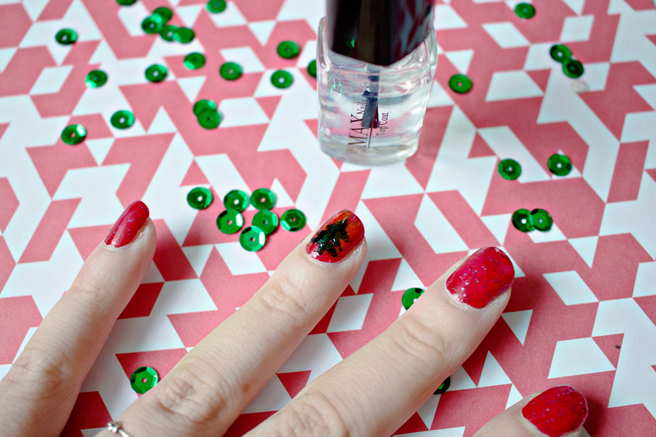
– Secure the sharpie drawing with some clear nail polish. Don’t brush the polish on, but let some drops of polish fall onto the nail. (this will prevent smearing)





2 comments
I don’t even understand how I ended up right here, however I assumed this publish was great.
I do not recognize who you’re but certainly
you’re going to a famous blogger when you aren’t already.
Cheers!
What a great comment to receive! Thank you so much ♥