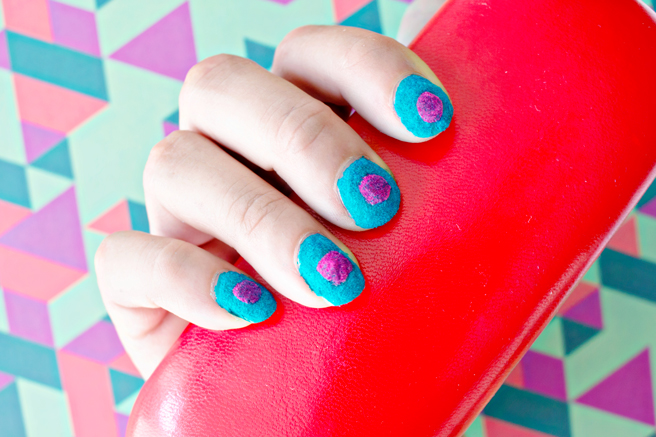
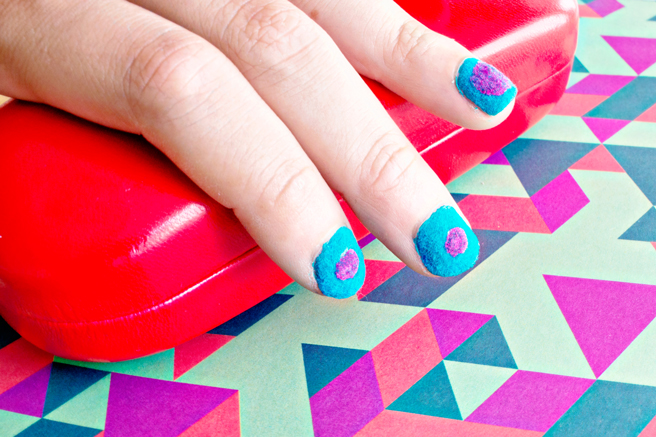
Have you heard of the velvet nail trend? No? No worries I only discovered it about a week ago and I am already completely obsessed with it!
I always love it when new discoveries are made, especially when it involves fabric, colors and nails!
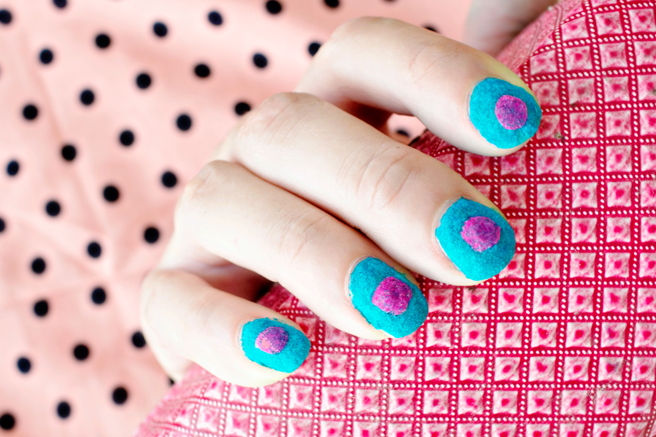
So, what are velvet nails, you say? It means that instead of nail polish, you are wearing velvet fibers on your nails. It makes them feel fluffy, soft and gives them a nice matte look.
I bought myself a velvet nail set (at Hema, for all the Dutch folk) which doesn’t cost much and experimented a lot! I found out that you can make simple circles and combine the velvet colors**.
Here’s how to make your own velvet nails:
**Warning: your carpet/clothes/cats may experience that the velvet loves to stick to everything when you are applying it to your nails. But the upside is: my cats never looked better in pink ;)
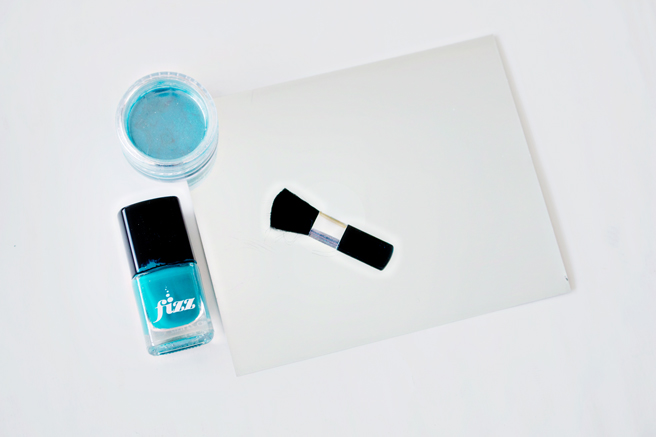
Supplies:
Nail Polish | Velvet powder | Tiny Brush (you can also use a make up brush)
Nail DIY:
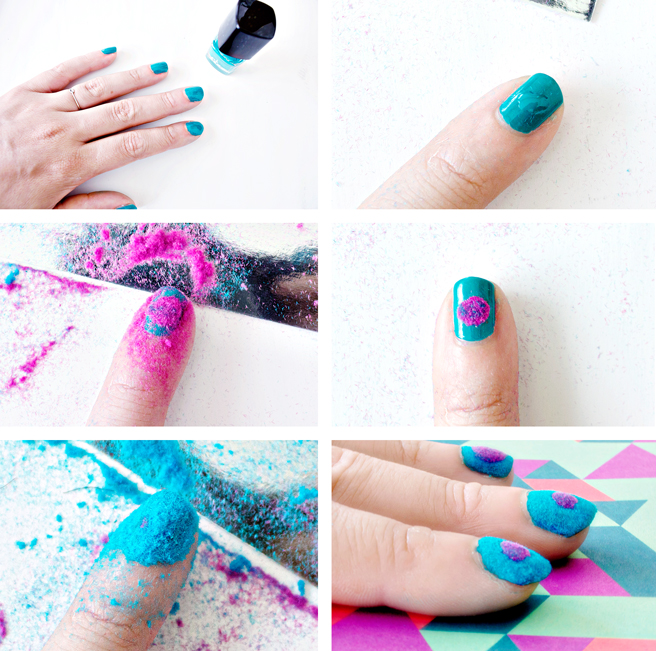
1. Apply a thin layer of your base color polish. Let it dry.
1. Apply a thin layer of your base color polish. Let it dry.
2. Place a thick drop of nail polish in the centre of your nail. Try to make it as round shaped as possible.
3. Sprinkle the powder on top of the polish. Press* on top of the applied velvet while the polish is still wet to secure the velvet onto the nail. Apply some more velvet if necessary, and keep pressing it onto your nail afterwards.
* When applying pressure, try not to move your finger, or you will lose the circle shape.
4. Use your brush to remove the excessive velvet. Apply a thick layer of nail polish on the smooth nail parts (not on the velvet!)
5. Sprinkle the velvet over the wet applied nail polish. Press the velvet onto your nail. Repeat until it has covered your whole nail.
Use your brush to remove the excessive velvet.
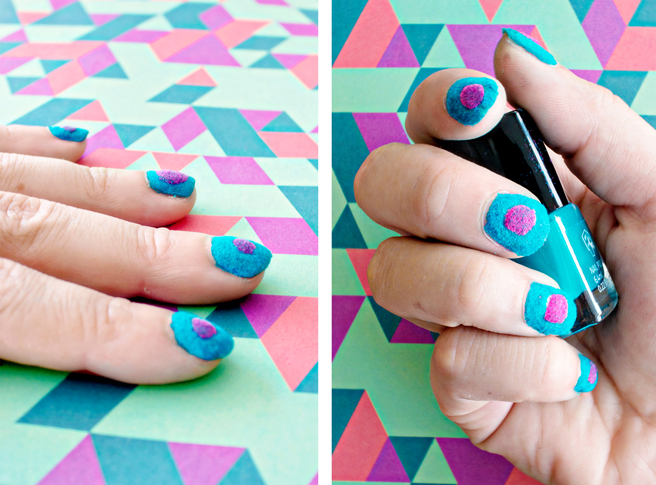
All done!
Even though the velvet is a kind of fabric, it’s still possible to wash your hands. The velvet also stays on very well for a couple of days.

