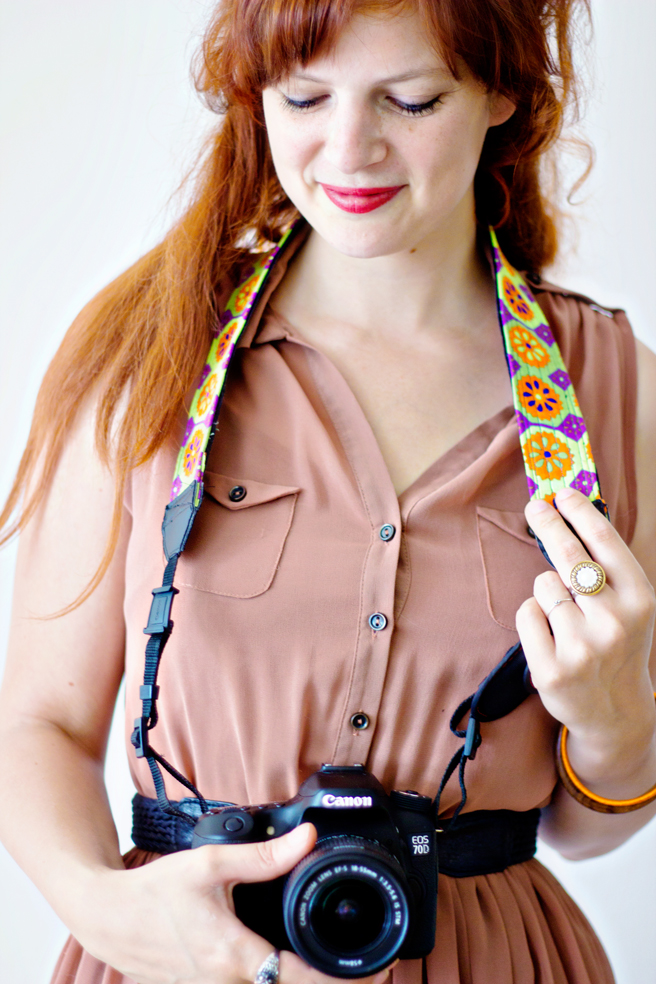
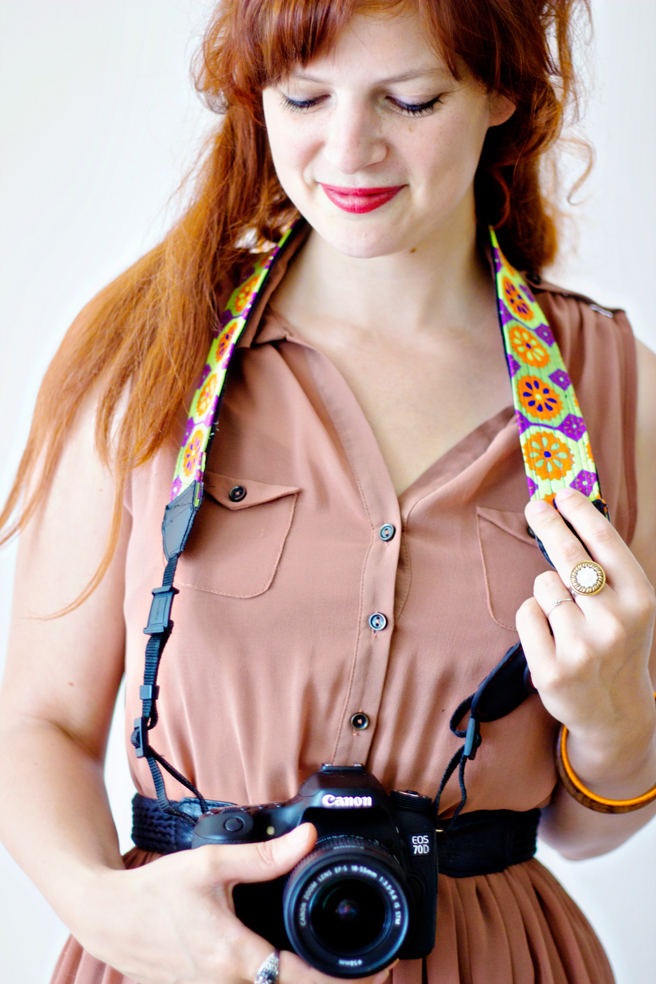
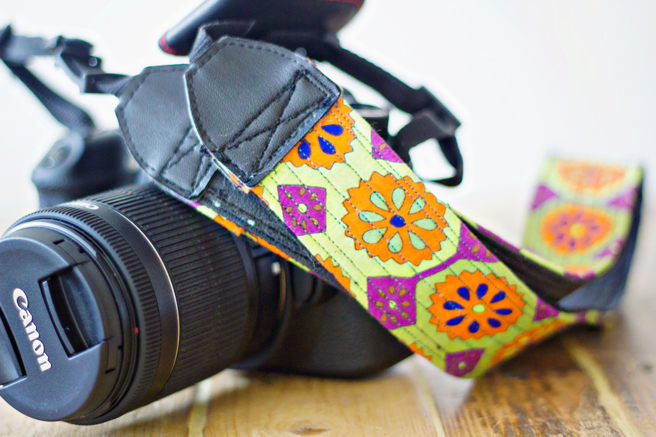
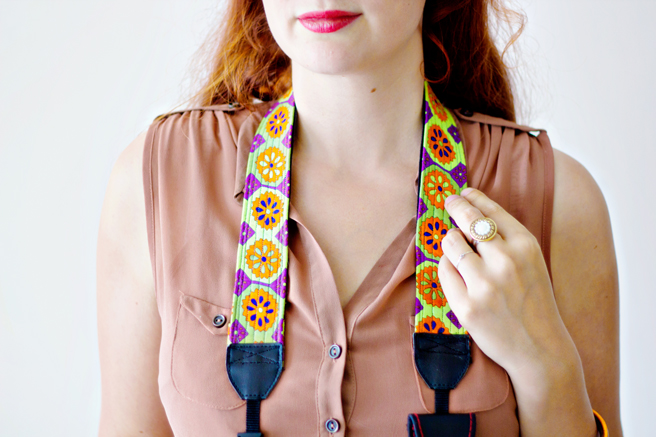
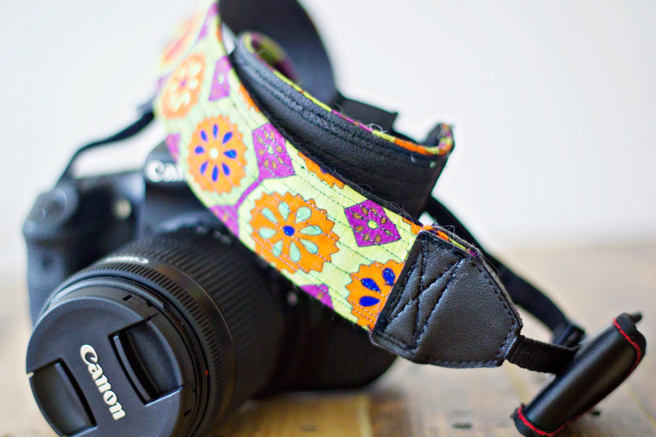
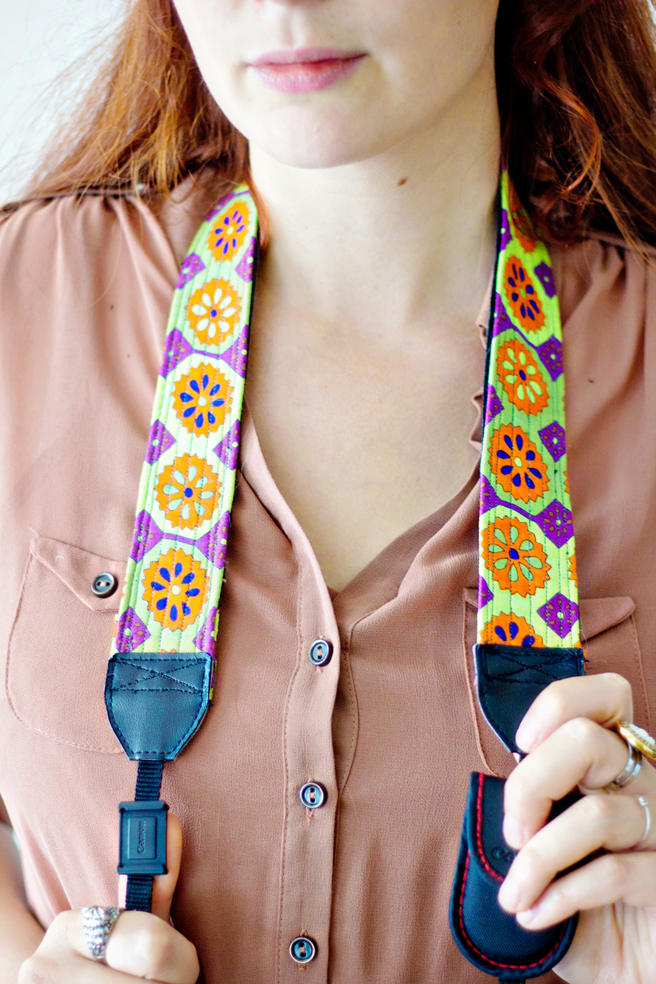
I know that there are many camera strap DIY’s on the internet already, and even though I like a lot of them, I never tried them because they often don’t seem as strong enough as the original camera straps that come along with your camera.
I did this camerastrap upcycle right before I started my blog in 2012, because I had just bought my first camera and wanted to give it a personal touch. Then soon after when I started my blog I totally regretted not using the strap as a tutorial, because I noticed that nobody used the same technique as I did.
Well, I just bought a brand new camera (which I am completely in love with!) and that moment called to make up for missed opportunities and show you my camera strap tutorial! The trick is to use the strap that comes with your camera and use the technique that is used by the big camera companies. And a little vintage fabric of course, because the most important thing is to make it look pretty!
Here’s how:
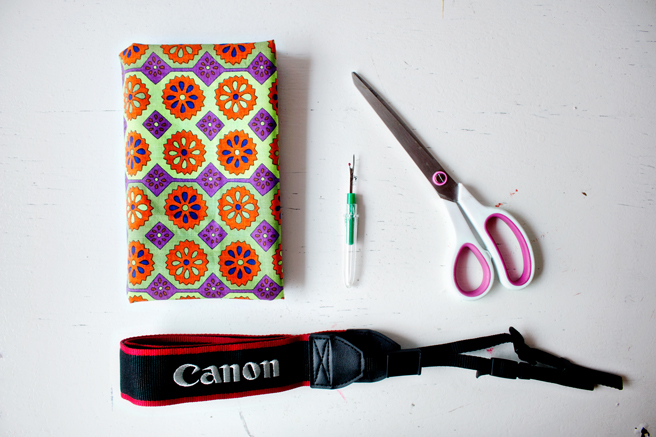
Supplies: Fabric | Scissors | Seam ripper | Old/original camera strap | Sewing Machine
DIY:
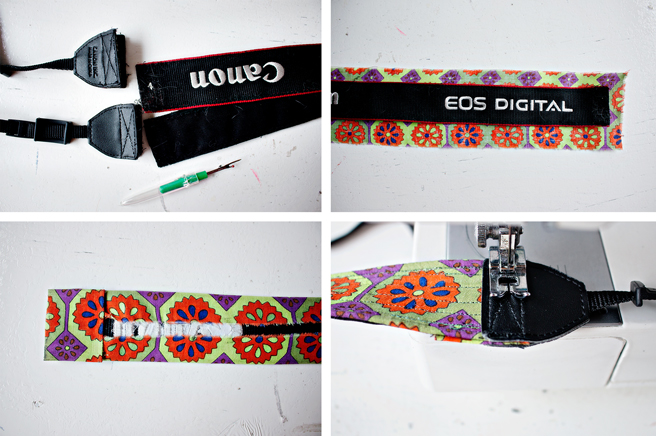
1. Use your seam ripper to remove the leather from the original camera strap. Remove the end parts and the back.
1. Use your seam ripper to remove the leather from the original camera strap. Remove the end parts and the back.
2. Cut your fabric in the length of the camera strap. Fold the fabric around the removed band (not the leather!), if the fabric is not as heavy, you can iron it to flatten it and keep it in place.
3. Fold the ends of the fabric to the inside.
4. Place the long removed leather piece to the back of the strap. Attach the two parts by sewing** along the length of the fabric. First sew one side, than the other. If you want to go for a more ‘sturdier’ look and feel, than add more sewed lines in the middle.
** extra tip: If the leather is hard to sew because it sticks to your sewing machine, then try sewing with the leather facing downwards. If this doesn’t help, just google ‘sticky leather sewing’ and you will find a variety of helpful tips.

