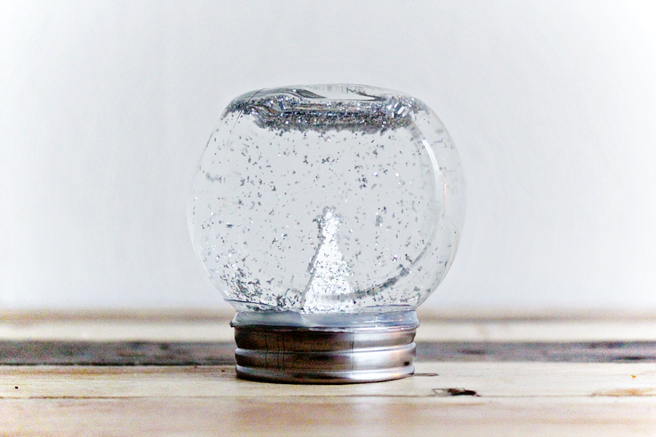
I have always wanted to make my own snow globe but figured that it would be impossible to make. Until I found these snow globes on Anthropologie, and thought: ‘I can do that!’
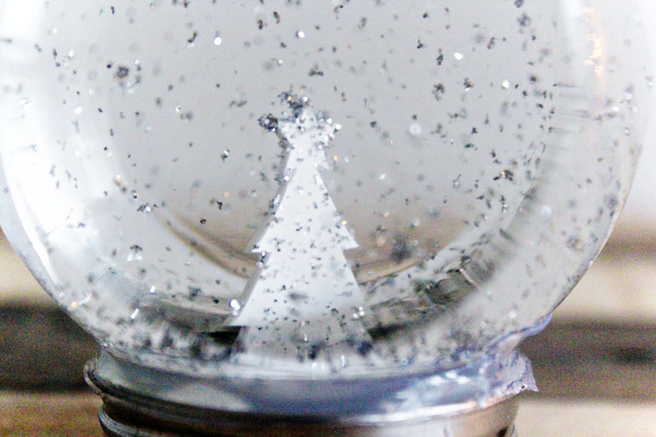
I bought a tiny jar and decided to use shrink plastic for the tree to give it a more personal touch.
It was so much fun to make and I love shaking it and watch the pretty glitters swirl!
Supplies:
Tiny jar, shrink plastic, glitters, glue, Free Template
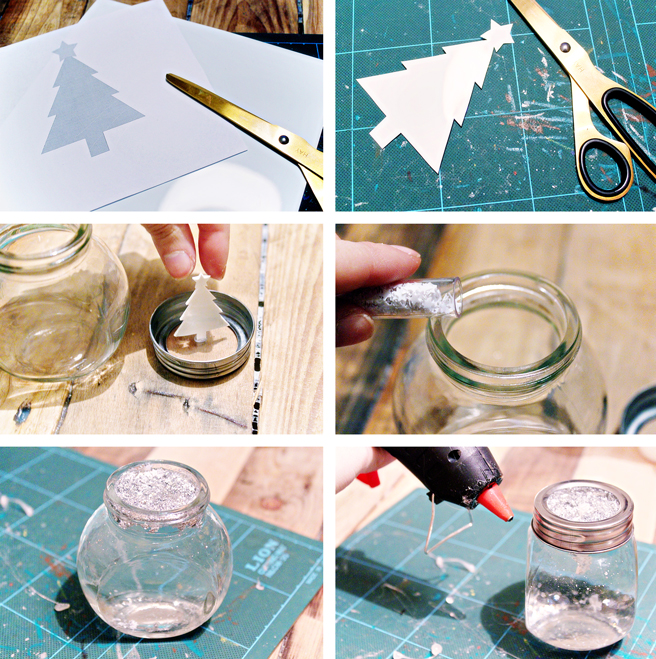
1. Download the Free Printable Template and trace the shape onto the shrink plastic.
2. Cut the shape out of the shrink plastic and place it in the oven, follow the instruction on the shrink plastic pack.
3. Use some glue to attach the tiny tree to the lit of the jar.
4. Put your glitters into the jar.
5. Fill the jar with water.
6. Place the lit on the jar and use your glue gun to seal the edges of the lit to prevent from leaking.
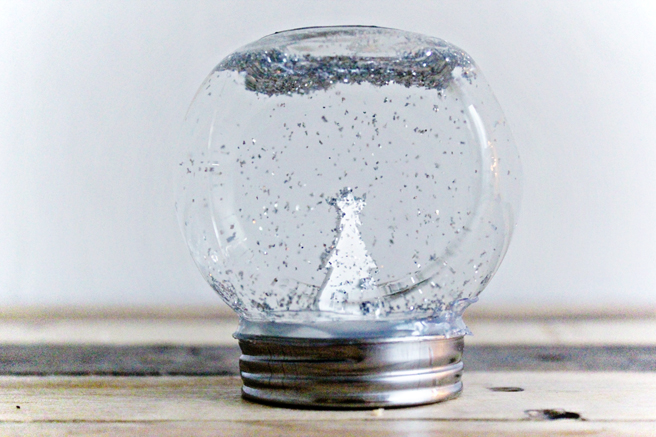
All done! Now let’s Shake Shake Shake!

12 comments
That is a cute idea! I love the little tree!
Thank you!
The photography is amazing (as is the craft of course). What a lovely snow globe.
Thank you so much! It’s always nice to hear something about my photography!
Happy holidays!
x
Hi how long would last surely the water goes green with algae after a while
It’s still standing non-green in my living room, so it’s still good so far:)
My Grandbabies love snowglobes. We will have to make these. Thank you so much for the idea and instructions, I will be a big hit with the girls.
You’re welcome! And I hope you had fun crafting!
Very nice! But I have read that others use a “dash” of glycerin to keep the “snow” from falling too fast. Is that a problem when just using water? (be nice not to have to spend money on glycerin ;-) ). Thanks for sharing!
PKae
The glitters in this globe didn’t fall too fast, but maybe it also depends on the kind of glitter that you use, and it just turned out that I was lucky. So I am not sure to be honest. Maybe it’s worth trying out first just to be sure? xx
Cute Idea
Thank you!