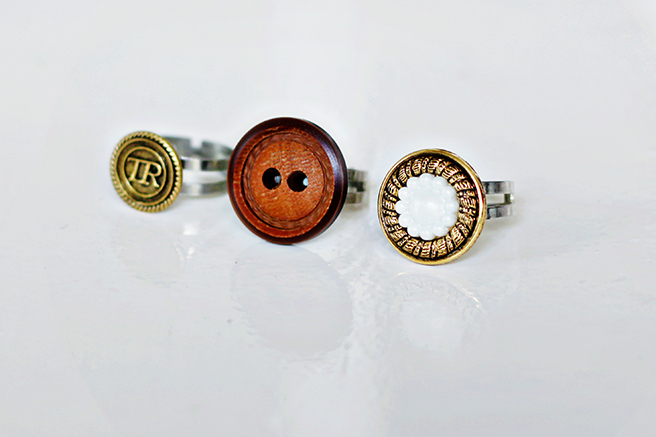
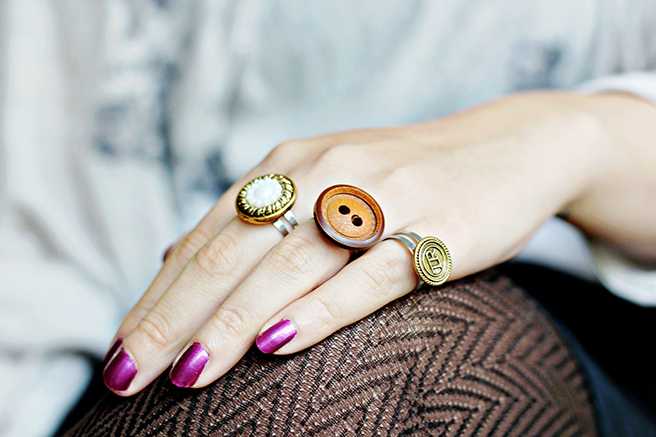
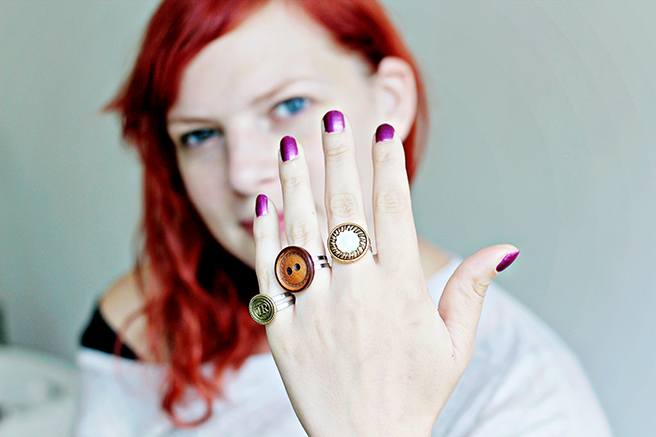
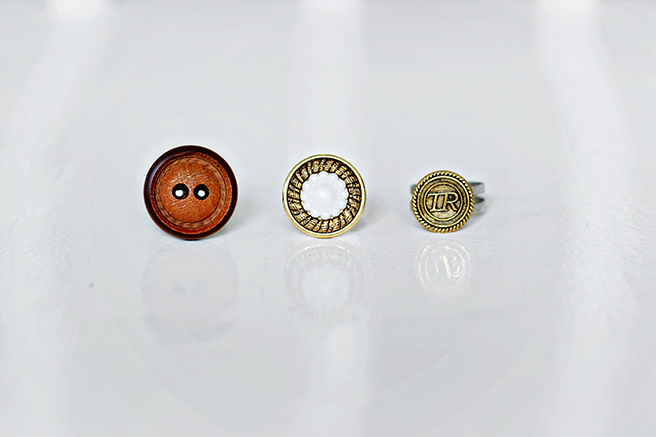
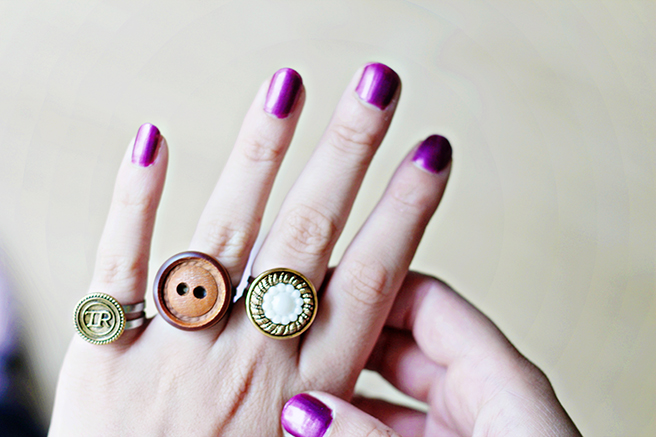
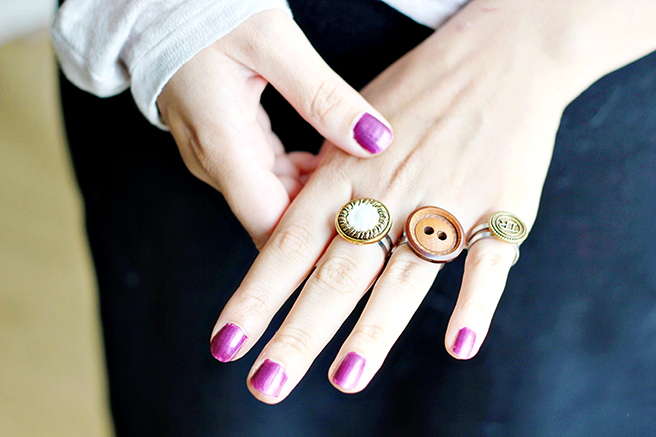
My supplies of buttons just doesn’t seem to get any smaller. After making the Bow button shirt, I still had loads left. And because I’ve seen some button ring DIY’s on Pinterest and Craftgawker, I felt like making my own button rings!
Here’s how:
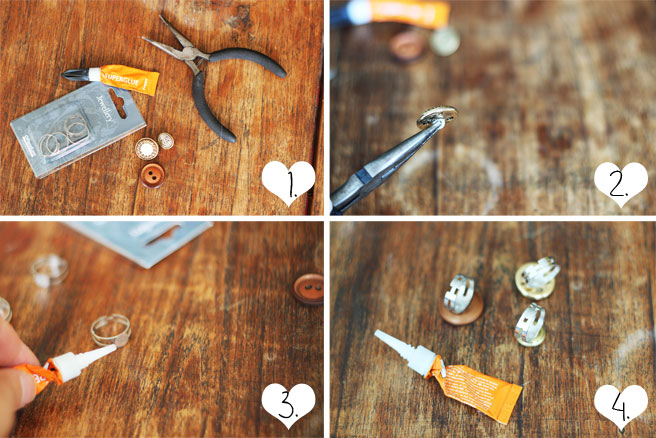
1. Get your supplies: Buttons, adjustable sizes rings, super glue, pliers.
2. Take the pliers and remove the ring on the back of the button. (If this doesn’t work, you can also get a hammer and try to make the back as flat as possible.)
3. Put some super glue on the part of the ring where you want the button to be.
4. Place the button on the ring and let it dry.
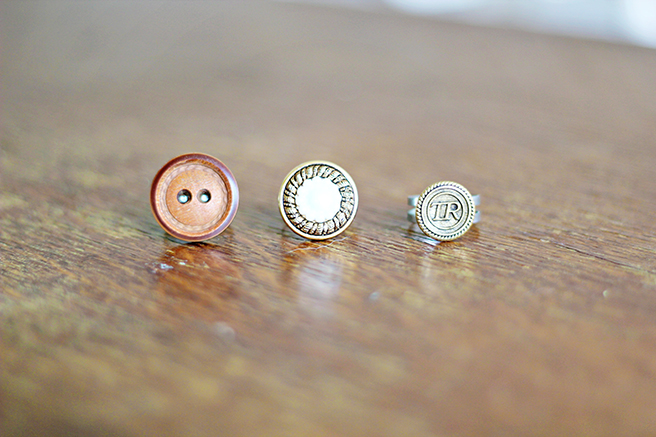
All done!

39 comments
These look super cute.
xx Tanya
http://aciddreamsandsugarhighs.blogspot.com/
Thank you!
Have tons of buttons (many of them are vintage buttons). Love your diys! Keep on the awsome work!
Thanx!
Simy
Good luck with your button projects! If you have any questions, please feel free to ask. And thank you for commenting!
Hola
Los botones dan mucho juegos, yo tengo hechos pasadores anillos y pendientes
quedan genial.
saludos pilar
Such a pretty project and I love your styling!
Thank you!
I’ve tried to glue buttons on metal bands before, but they always seem to fall off. Any tips for making sure the button holds? Thanks!!
My buttons are still holding on strong :) I used the cheapest super glue I could find and that worked for me. But I don’t know if there’s a difference in types of super glue. I guess the only way to find out is by trying them out.
I hope it works, and please let me know how they turned out!
xx Lana
I use E600 epoxy when gluing metal to anything … most glues will have a suggested material listed and if our material is not listed on the tube – it will probably fall off. I used it to attach thousands of metal to wood pieces and 6 years later they are inseparable. I really like this project and hope you have some success!
Thanks for the tip! Epoxy is something I complexly forgot to think off, thank you for the reminder and I will definitely try it with future projects!
I LOVE THIS! You have a great blog, I am a new follower. Feel free to check out my blog and maybe follow me back.
Much Love,
http://amyklundt.blogspot.com/
Hi Amy, and thank you for the compliments! I saw my buttonpost on your blog, thank you so much for featuring me!
x Lana
I was trying to make button bracelets but they never turned out right, so this will be my next project. They are darling!
Thank you! And I hope this projects works out for you :)
love your blog and this idea is amazing!
now i’m following you! :D
greetings,
http://amelielaine.blogspot.de/
Hi, and thank you so much for following me! I tried to click on your blog link underneath your comment, but it didn’t work by clicking on it (it referred me to my own blog). But I like your blog, and your pictures look very nice!
x
supercute! i love this idea. sometimes i find buttons i have no immediate use for but i’ve just fallen in love and have to have. now i know what to do with them!
Come visit us over at http://www.thesitsgirls.com!
These are great, love the wooden button one, that is sooooo cute!
Thank you!!xx
These are soooo pretty! I am totally going to make some for my step daughters for Christmas! They will love them!
Thank you!
And have fun making them! Please let me know how they turned out!
x
Where do you find the ring bands?
I bought them at a craft shop here in Holland. But I am sure that you can find them online to :)
Oh wow! These are so super cute!! Love this idea! :)
Ngaio xx
Thank you!x
thanks for share.
These are so cute! :-)
Thank you!
What nail polish are you wearing? I love this color.
Almost a year late… (so sorry!) But I am actually wearing magnetic nail polish in this picture. I bought it at a local euro-store (it’s the same idea as a dollarstore).
Fantastic idea.
Thank you!!
Thanks for sharing handicraft button, we are also manufacturer of wooden button.
Hey Lana, Its great piece of work with button and make stylish button ring and its also unique idea and enhance the beauty of hands.
Hi! Thank you so much for the lovely comment!!