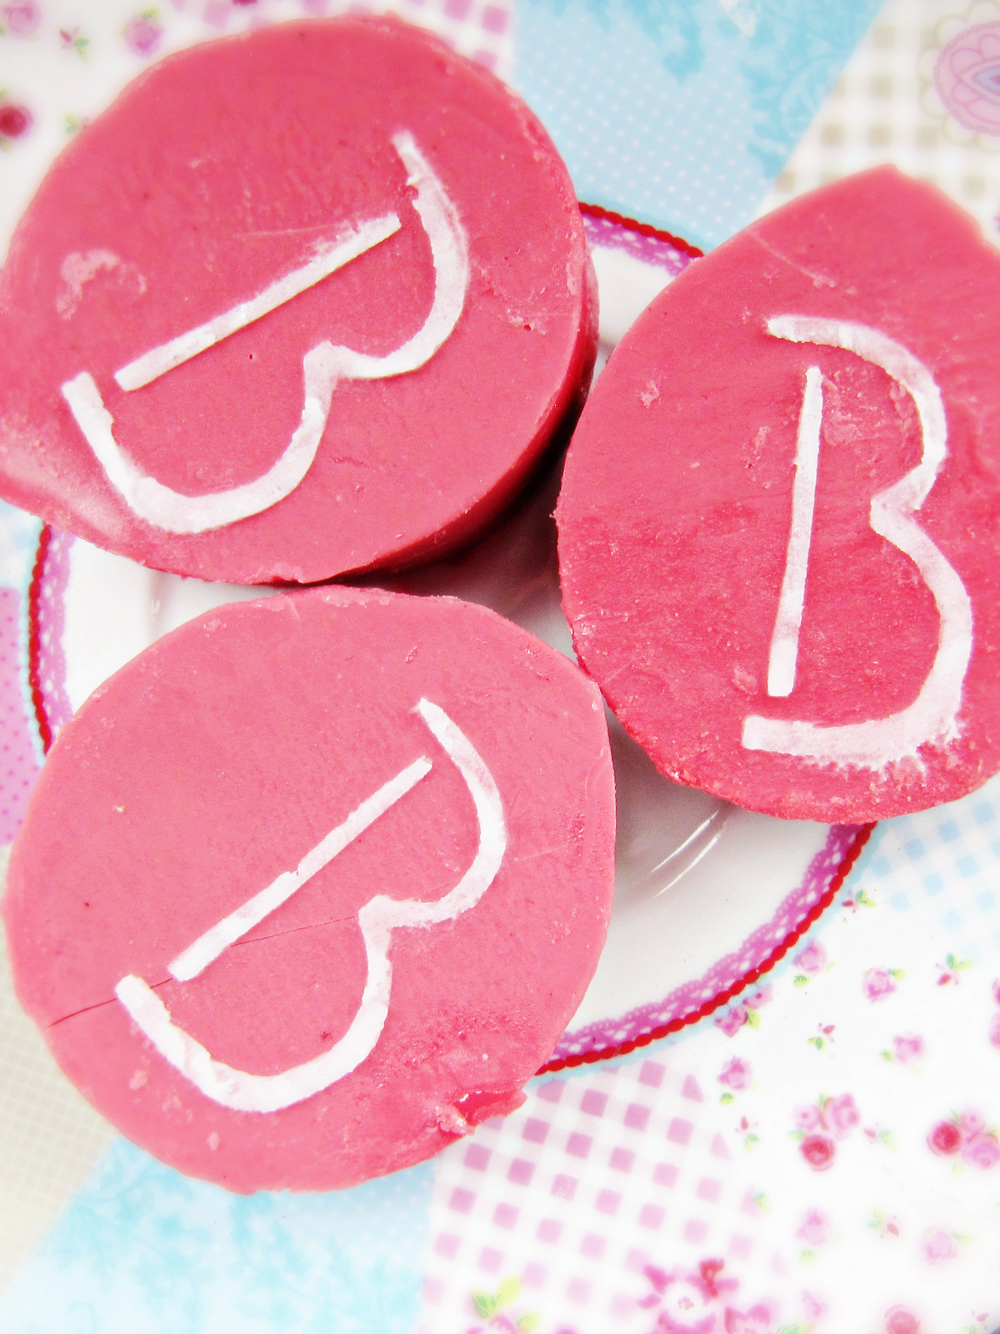
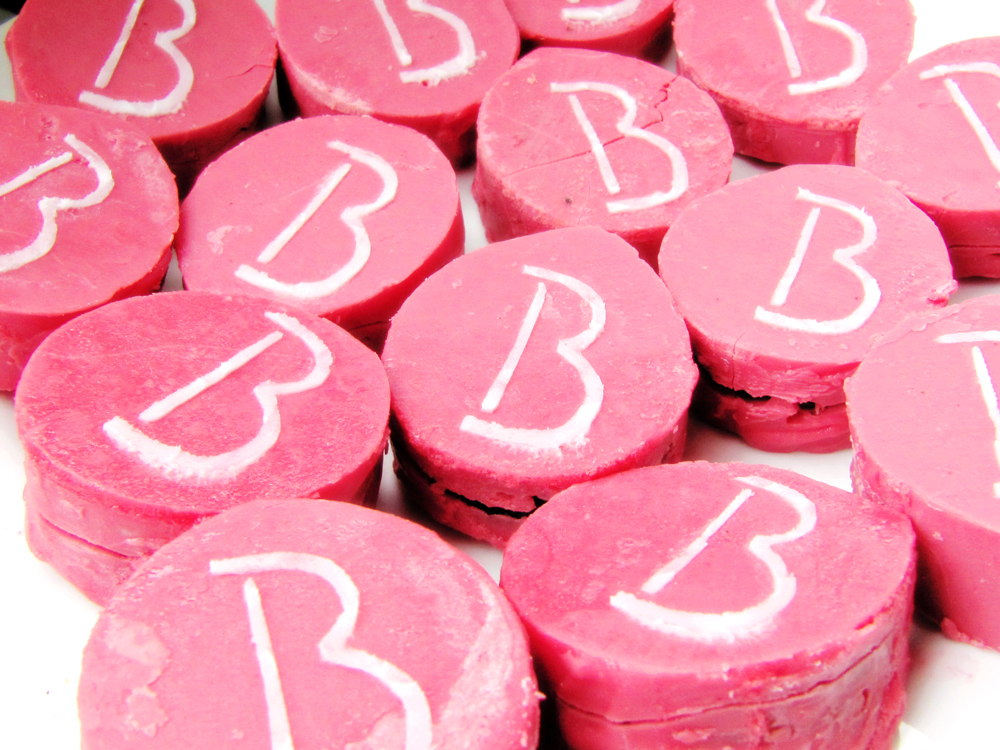
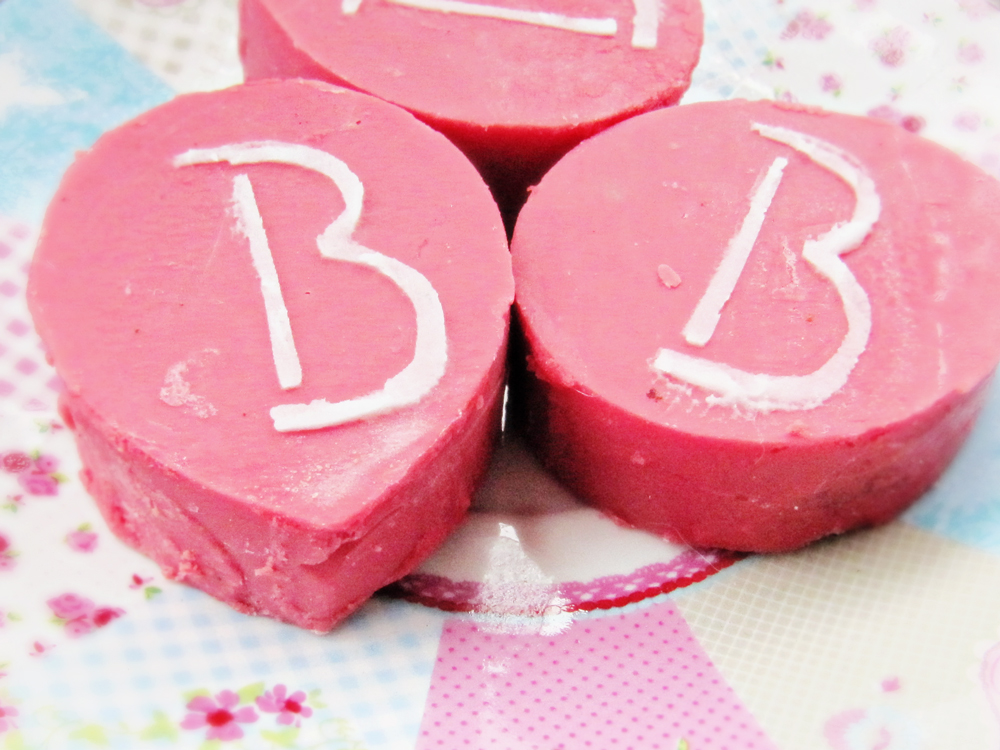
My sister is celebrating her birthday today and she mentioned some time ago that she really liked the chocolate covered oreos made by Tikkido. So I decided to make my own version as a birthday present to her! After I covered the oreos with chocolate, I personalized them with applying the letter B. (B stands for Barbara, my sitters name)
It was a lot of fun and it seems like a lot of steps, but it’s very easy to do! I also made my own cookie mold, since I almost never bake and it worked pretty well, and it’s a lot cheaper!
1. Get your supplies:
– Melting chocolates in the color of your choosing ( I used 400 grams, which will cover about 15 oreos)
– Oreos
– Icing
– Some plastic sheets, or anything similar to make the mold with
– Tape
– Scissors
– Spoon
– Baking paper
– Hobby knife
– Bowl
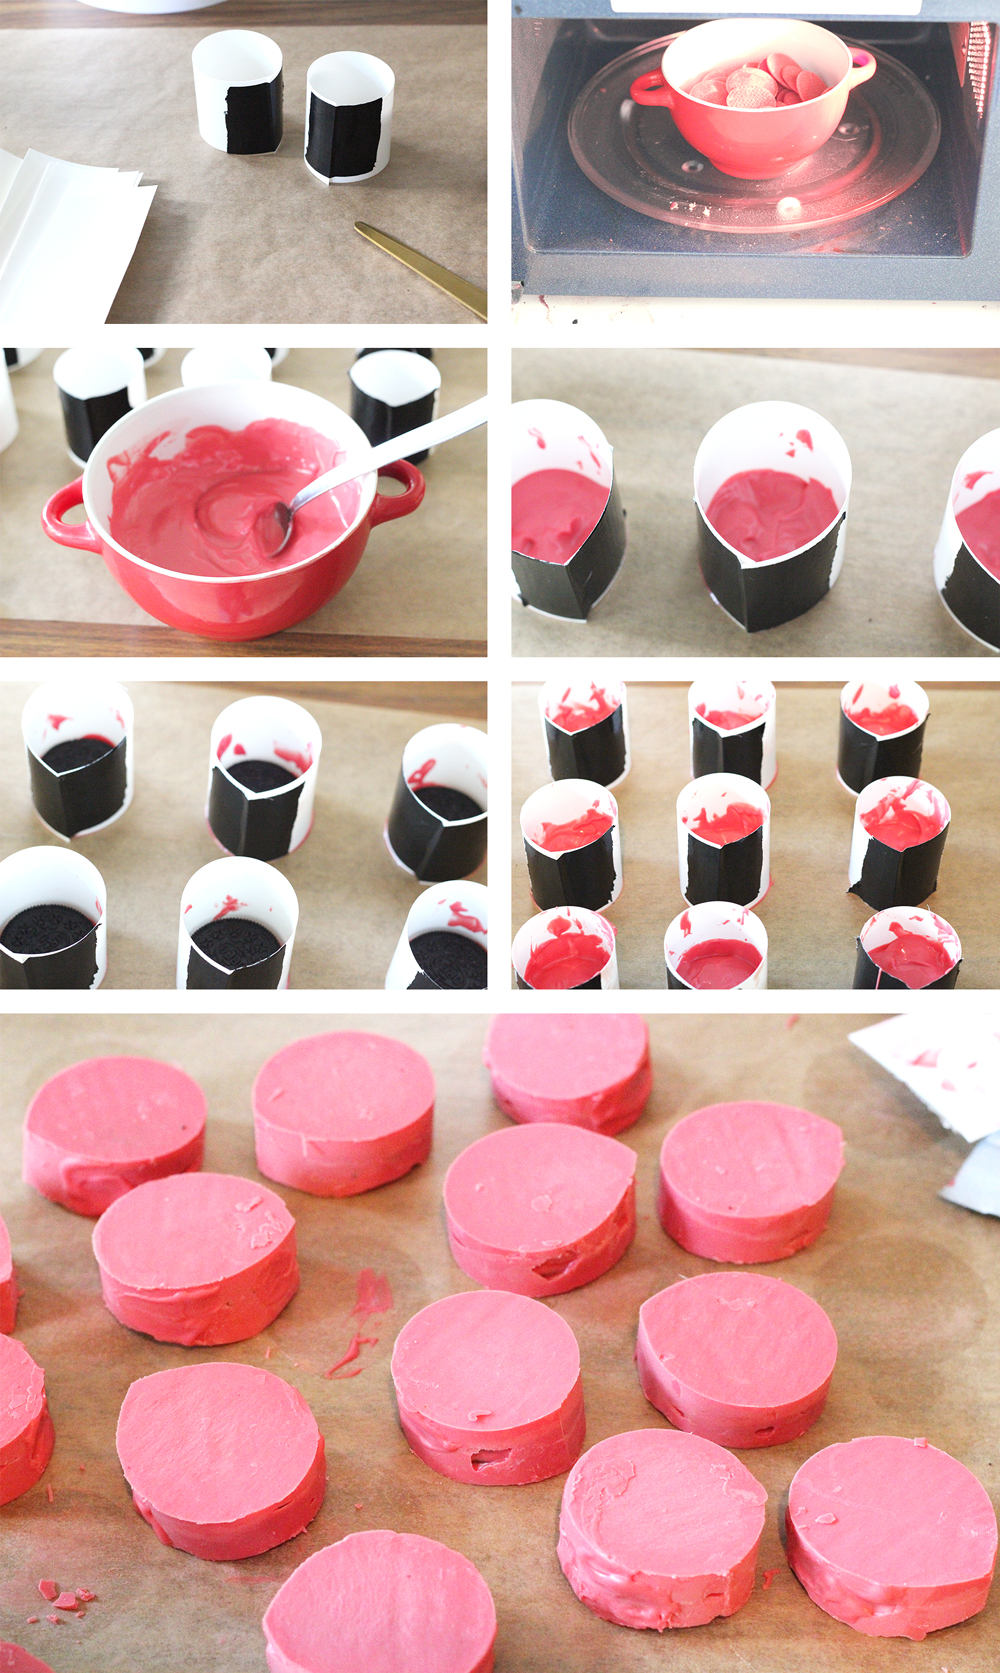
2. Cut the plastic into strips. You want it to be slightly bigger then the oreo’s.
3. Fold the plastic strips into circles like in the picture and tape the sides.
4. Put the melting chocolates in the bowl and put the bowl in the microwave.( I put mine in there for 30 seconds, stirred them, and put it back in for another 30 seconds)
5. Stir the chocolate.
6. Place the baking paper on a flat service and put the plastic molds on top of it. Pour a small amount of the chocolate into the molds. Make sure the mold stays in place.
7. Put the oreo’s inside the mold, on top of the chocolate. Do not press it to the bottom!
8. Cover the oreo up with another layer of chocolate. Make sure that the side are also completely covered.
9. Let the chocolate cool down. When the chocolate is cooled down, you can remove the mold.
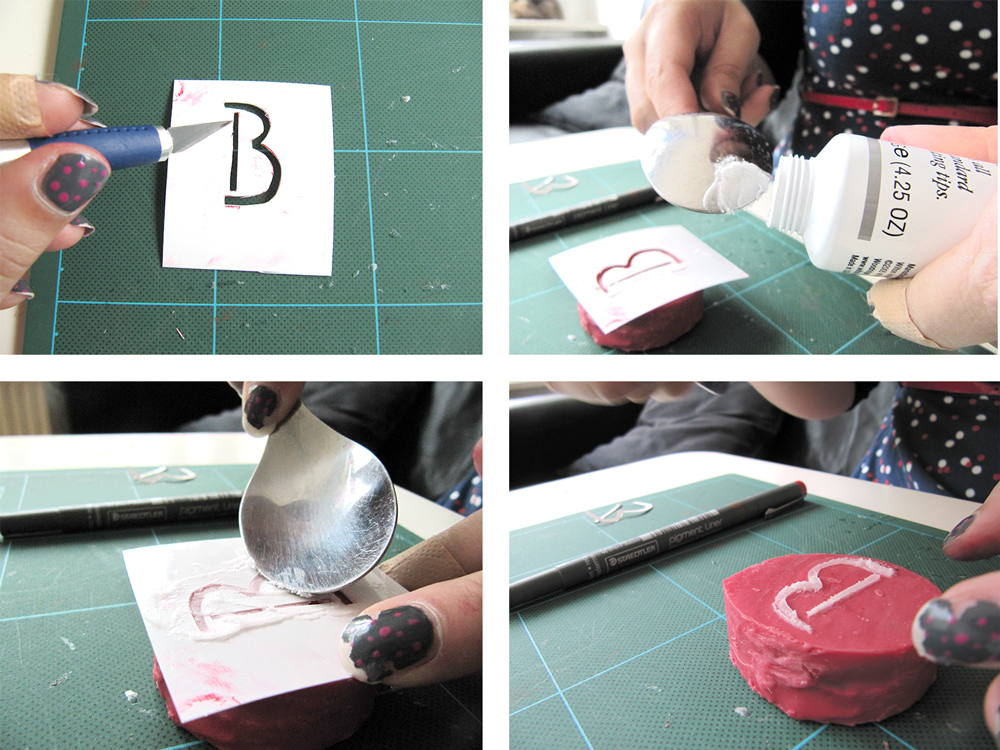
10. Take a piece of plastic in the size of your oreo and draw the symbol or pattern on there that you want to appear on the oreo.( I made a ‘B’ because my sisters name is Barbara:)
11. Use you hobby knife to cut out your pattern.
12. Take your spoon and apply a small amount of icing on the back of the spoon.
13. Place your pattern on the chocolate covered oreo and swipe the back of the spoon with icing over the stencil. Make sure the stencil stays in place!
14. Take the stencil of and place the oreos in the fridge to late the icing harden.
All done!


2 comments
Love the way you made your own molds! So clever.
Thank you, I hope it helps you with making your own chocolate oreos:)