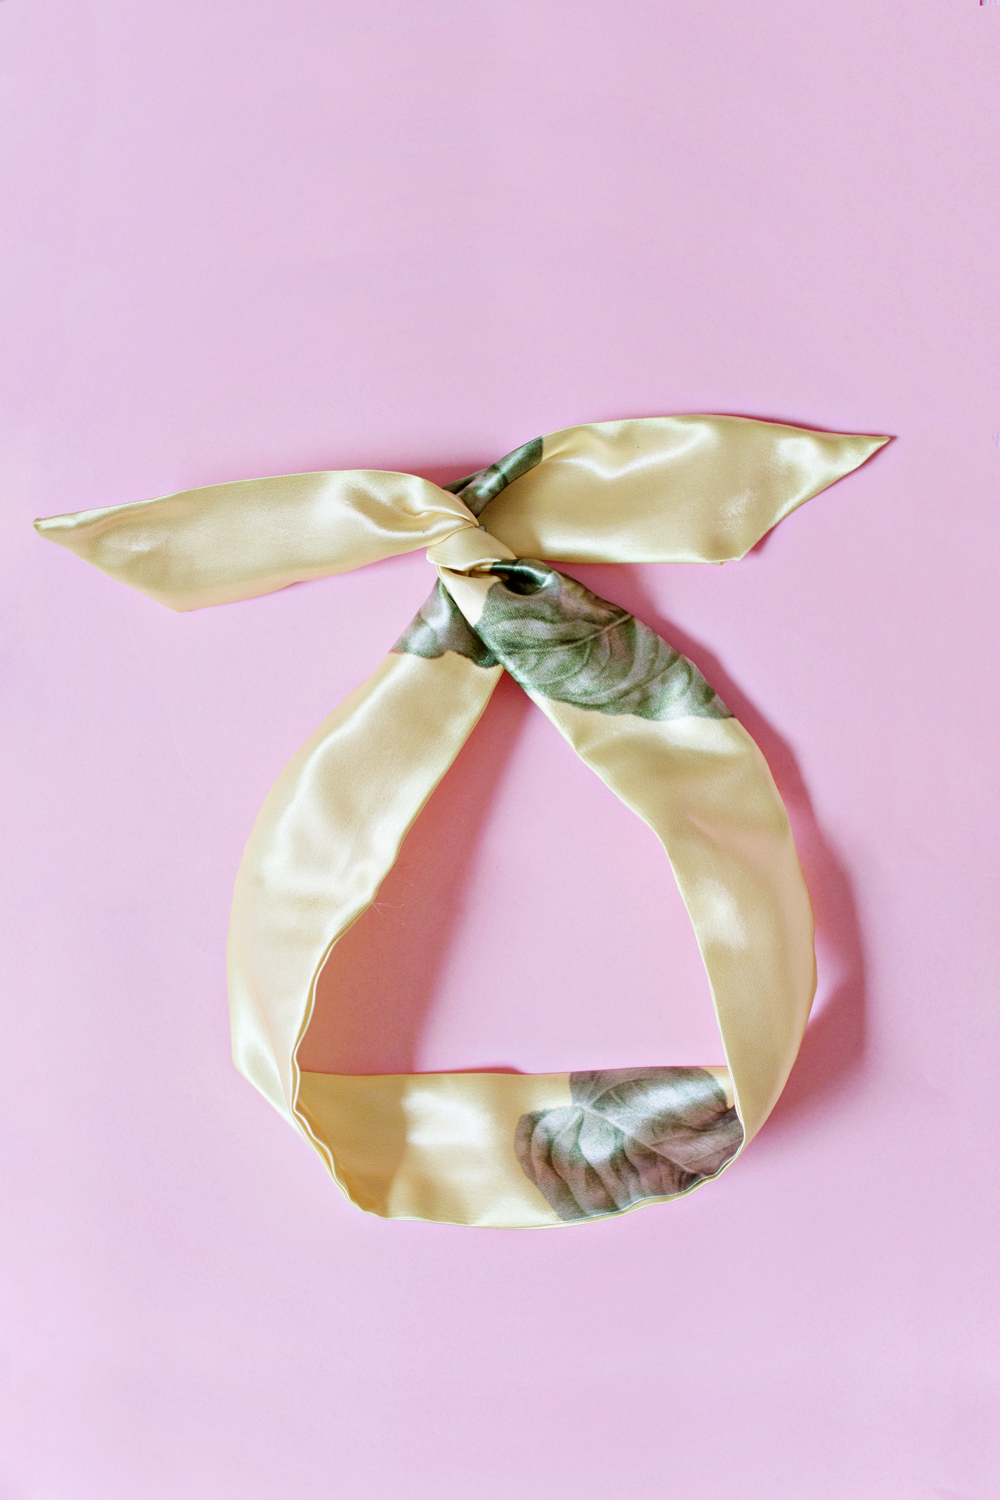
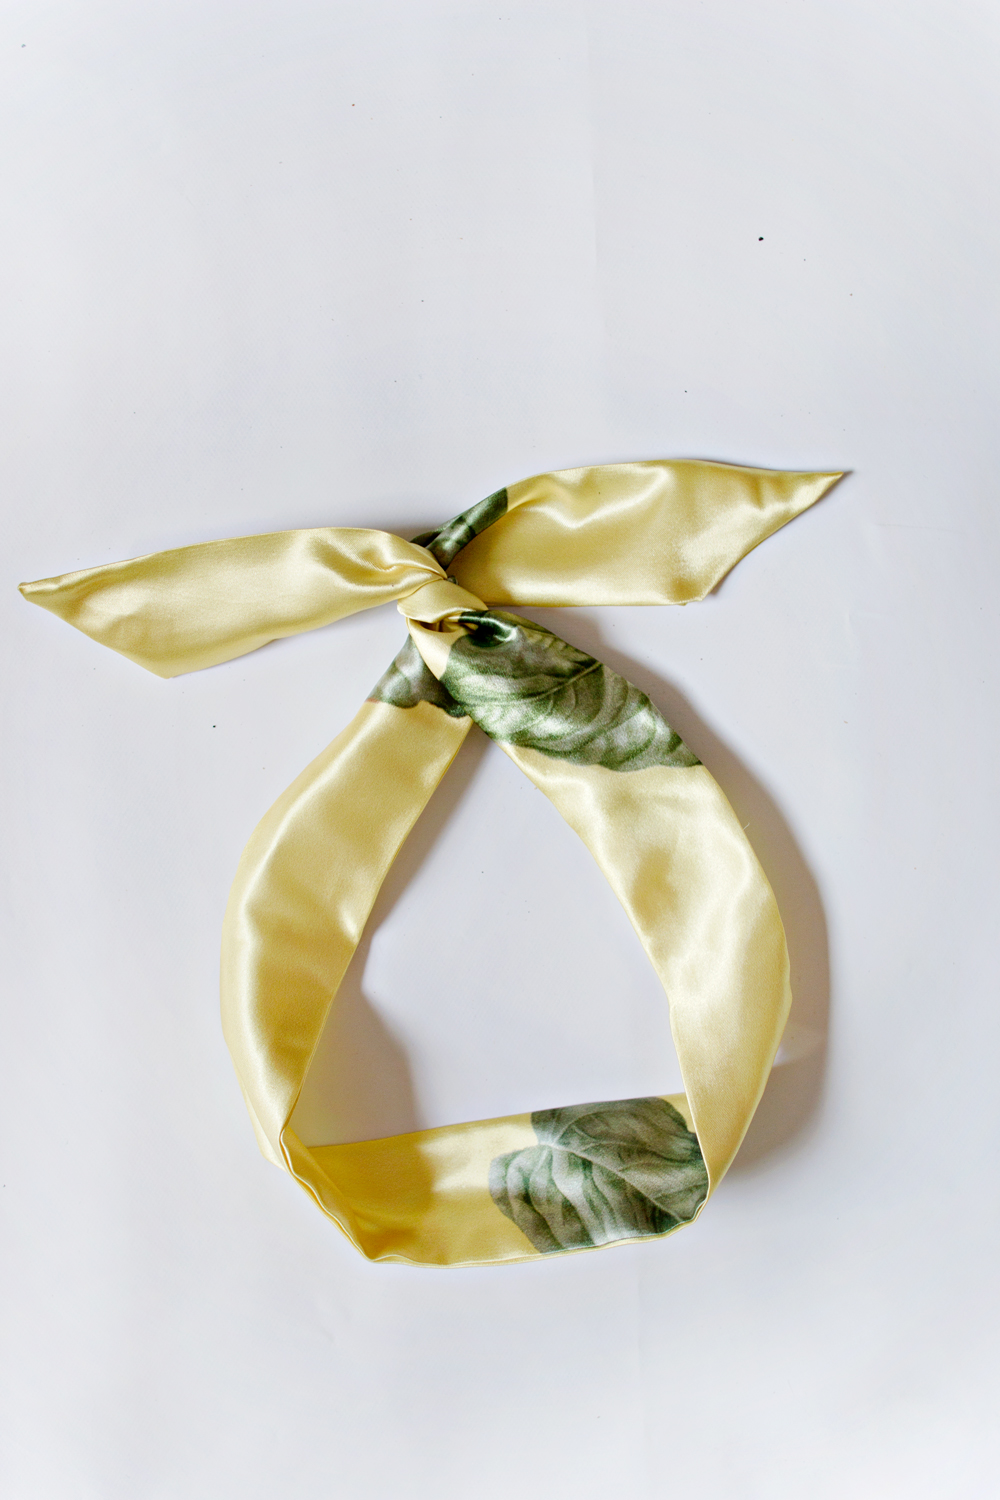
Get ready for this 15 minute no sew wire headband project! Yes, you read that right: this headband tutorial is not only super fast to make, it also doesn’t involve a sewing machine, hurray!
How did I come up with this project you ask? Well here is:
A short history of my winter frustrations, resulting in a fun headband project
Ever since the winter has arrived in The Netherlands, I have been going crazy because of all the static electricity in my house. I am not able to wear 80% of my dresses because they will stick to my legs, my cats are giving off electric vibes when walking near me and my bangs have a new found crush on my forehead… And after buying a humidifier, using hairspray on my tights and following every single how-to-remove-static tutorial there is, I have given up and decided to play along.
I haven’t found a solution for wearing long dresses without them sticking to my legs yet (any advice anyone?) But my hair problems are officially over, now that I have made this wire headband!
As of today I can keep the sticky hairs out of my face and still have a fashionable ( and retro! ) hairdo.
Besides it being perfect for keeping your bangs and hairs out of your face, this headband is also very suitable for any season: just imagine you sitting on the beach in your pretty bathing suit, sporting a headband that is made out of your favourite piece of fabric.
Because before I forget: this project is one of those opportunities to clean out your closet or fabric stack: You can cut up that skirt with the stain that will never go out, or use the piece of fabric that has been too small to actually make anything with it.
I used a leftover piece of lining fabric that I designed for my robe coat project. Which means that I can also match my coat now, so fun!
Are your ready to make your own wire headband? Scroll down for the full project!
DIY | No-Sew Wire Headband
SUPPLIES
– Long piece of fabric
– Textile Glue
– Long Wire
– Iron
– Measuring Tape or Ruler
– Scissors
STEP 1
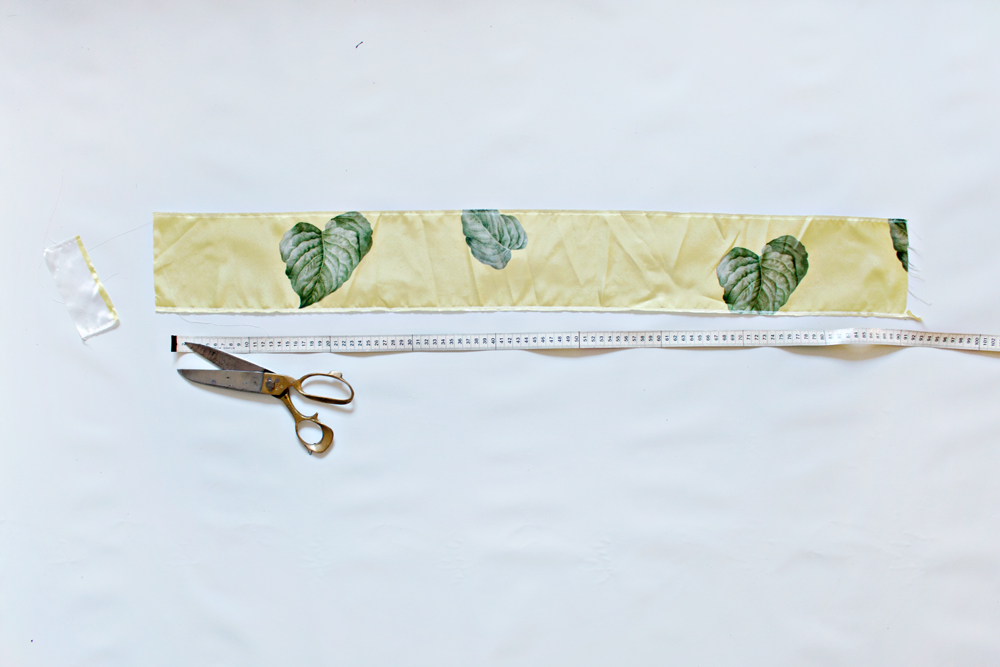
– Cut your fabric in the size: 90cm x 10cm.
– Iron the fabric to create a smooth canvas.
STEP 2
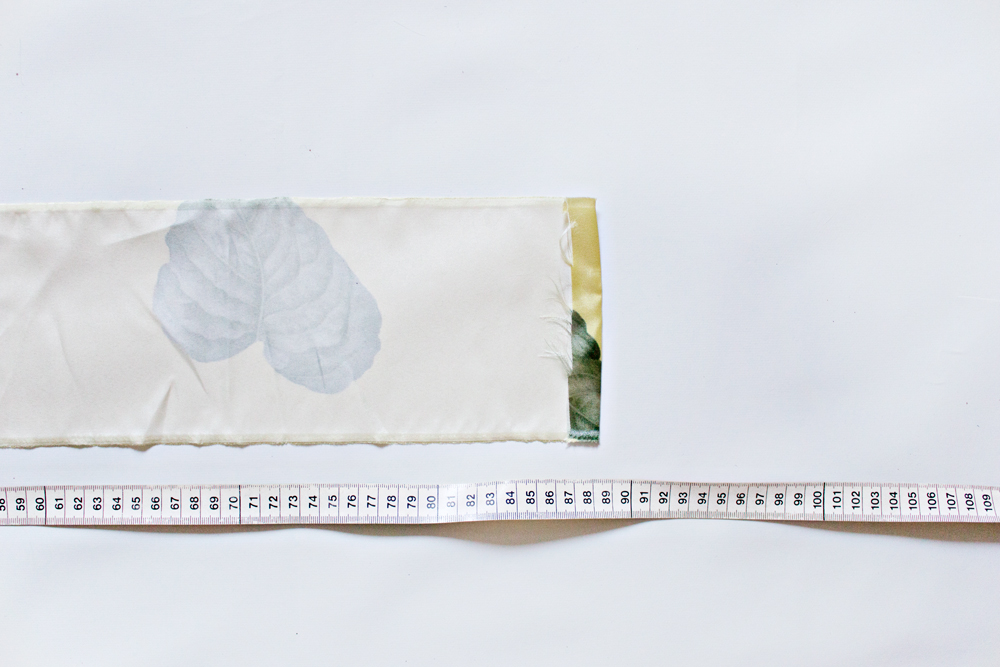
– Place your fabric wrong side up.
– Use your iron to fold the outer left and right edge. Fold the fabric approx. 2cm.
STEP 3
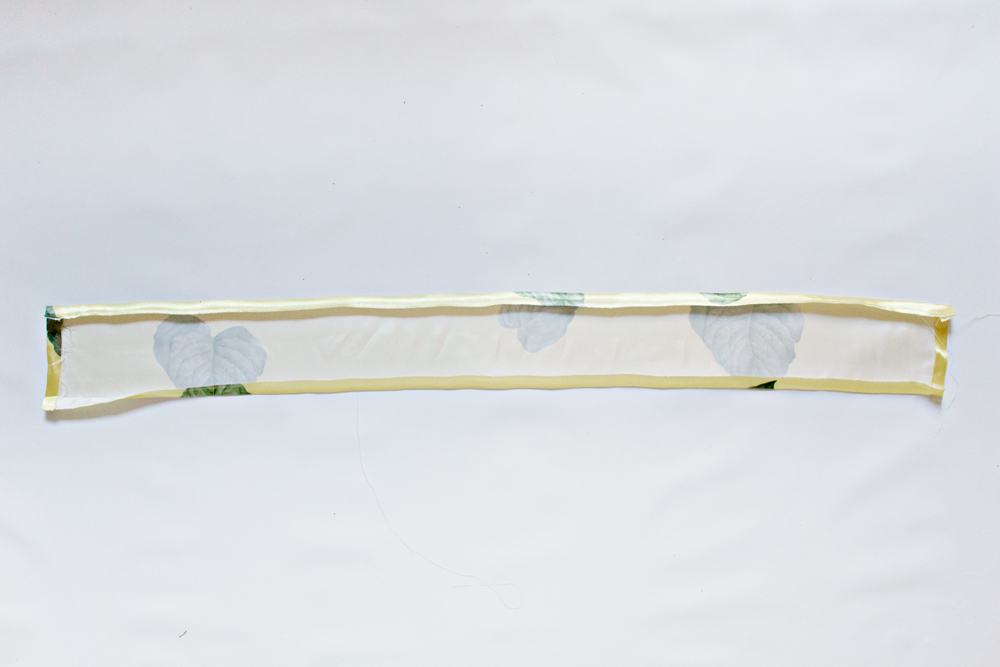
– Use your iron to fold the outer top and bottom edge. Fold the fabric approx. 2cm.
STEP 4
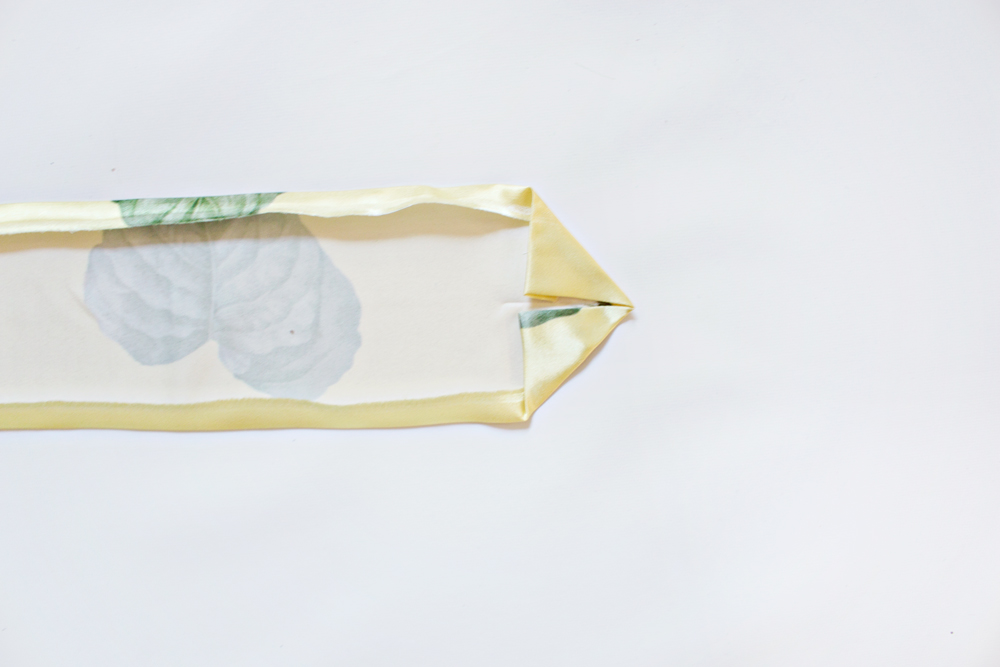
– Starting on one side, measure the vertical middle of the fabric with the top and bottom folded inwards.
– Fold the outer edges inwards to the vertical middel, creating a triangle shape.
– Use your iron to keep the fold in place.
– Repeat this for the other side.
STEP 5
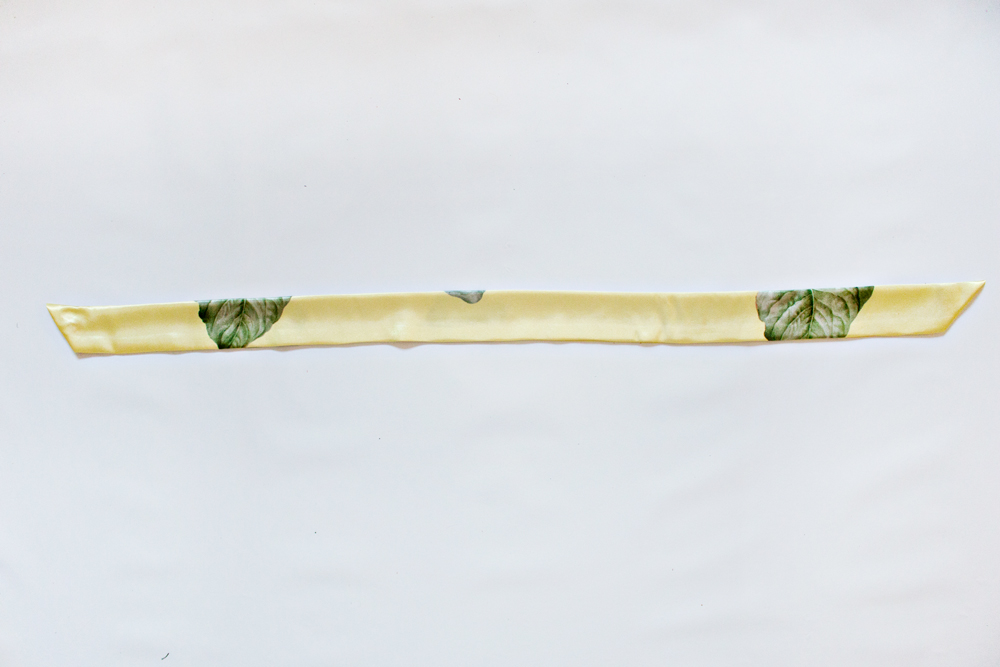
– Fold the entire piece of fabric horizontally double.
– Use your iron to make a crisp fold.
STEP 6
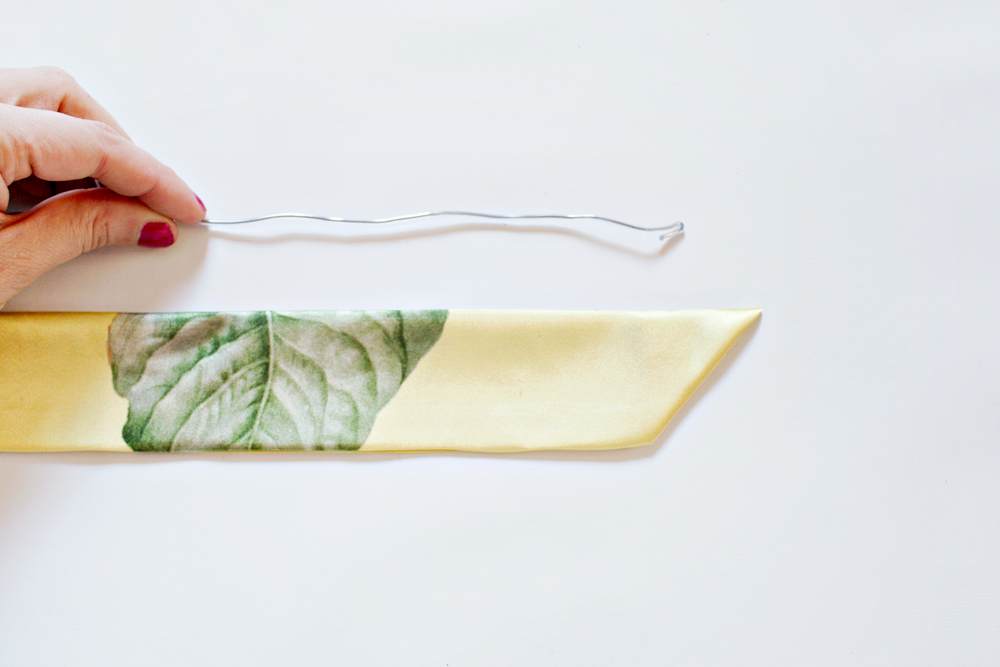
– Take your wire and place it on top of your fabric.
– Cut the wire in the size of the fabrics widest edge + 2 cm
– Fold one side of the wire 1cm inwards*.
– Fold the other side of the wire 1cm inwards.
* This will prevent the wire from piercing through the fabric
STEP 7
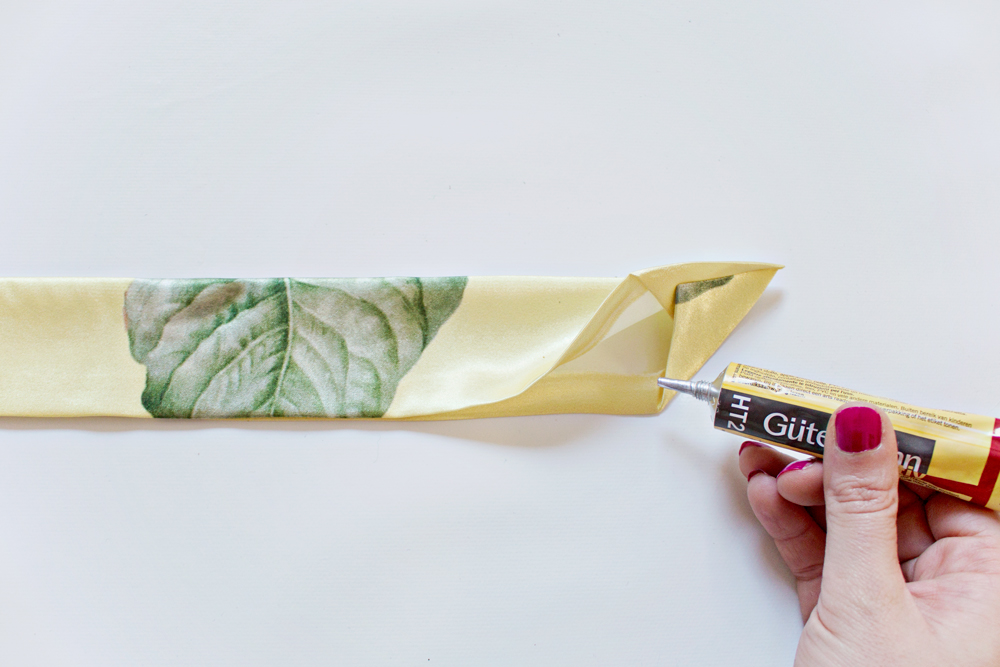
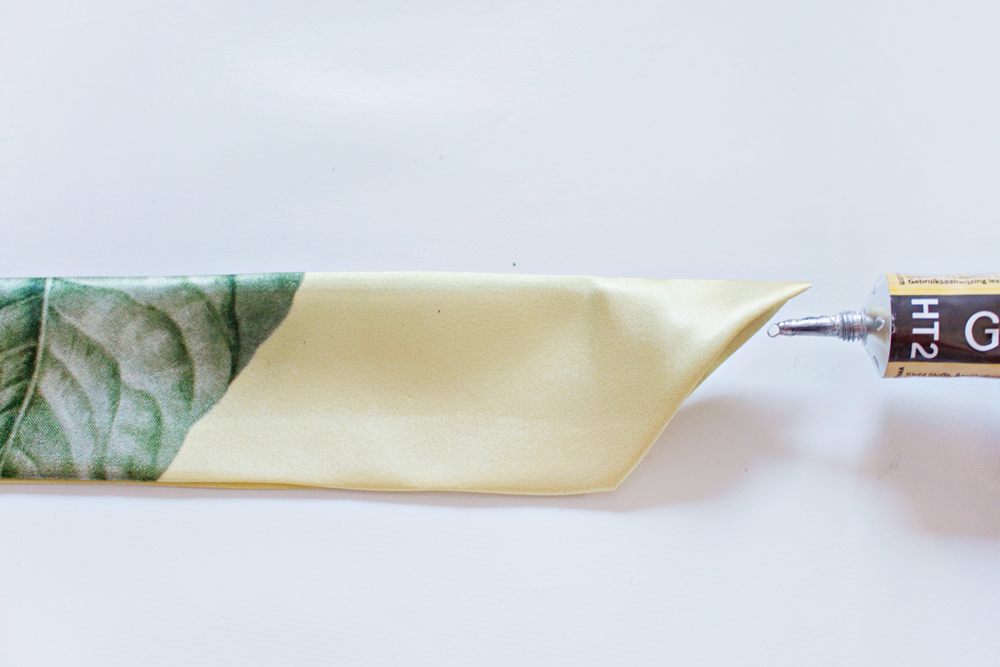
– Glue the edges of the fabric together with your textile glue*, leaving one side open.
* Try out your glue on a piece of scrap fabric first to see if it might bleed through.
STEP 8
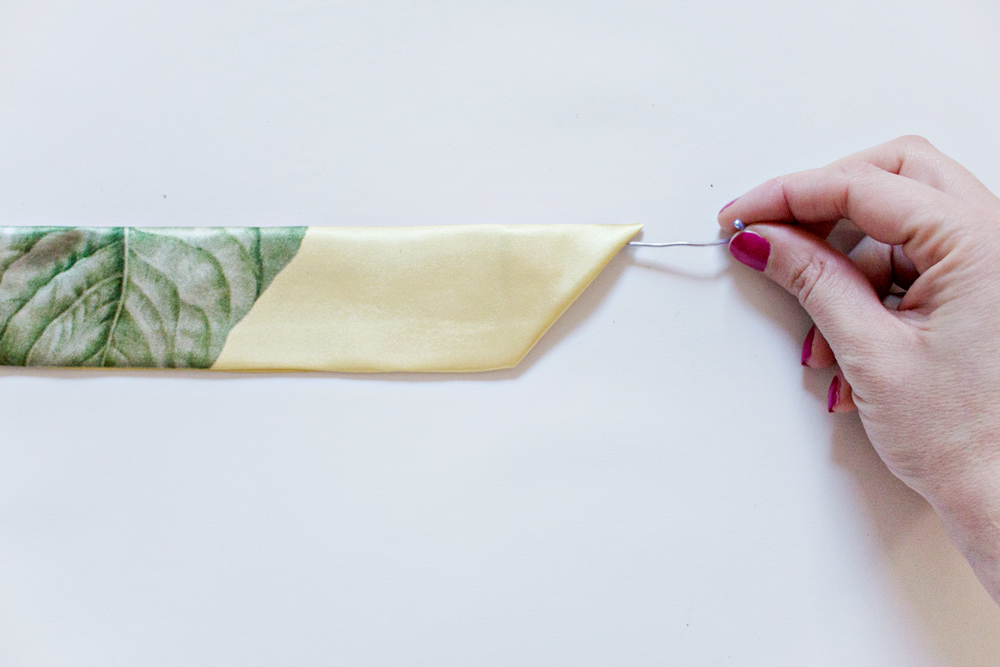
– Place the wire inside the headband through the small space you left open in step 7.
STEP 9
– Apply a small amount of textile glue to close the entire headband.
– Let the glue dry according to the instruction on the tube.
And thats it! You will now have your very own no-sew headband!
What I love most about this project
- The inserted wire let’s the headband stay in place. (I am one of those people that can’t wear regular headbands, because they will slide off within minutes)
- It’s practically a FREE piece of accessory. I had every single one of the supplies laying around at home!
- Use the same fabric for a skirt or top and you will have a very matching outfit.
- Make a bunch of these with your fabric scraps and wear them according to season: velvet for winter, linen for summer, etc.
CREDITS
– Leaf Fabric design – by Lana Red Studio in collaboration with Spoonflower
– Tassel Earrings – by Lana Red Studio for Mollie Makes Magazine
This blogpost is an original LRS Project and was not sponsored.






2 comments
wow, Amazing what an idea to make a self-made headband. It was looking so beautiful thanks for sharing.
Thank you for the great post!