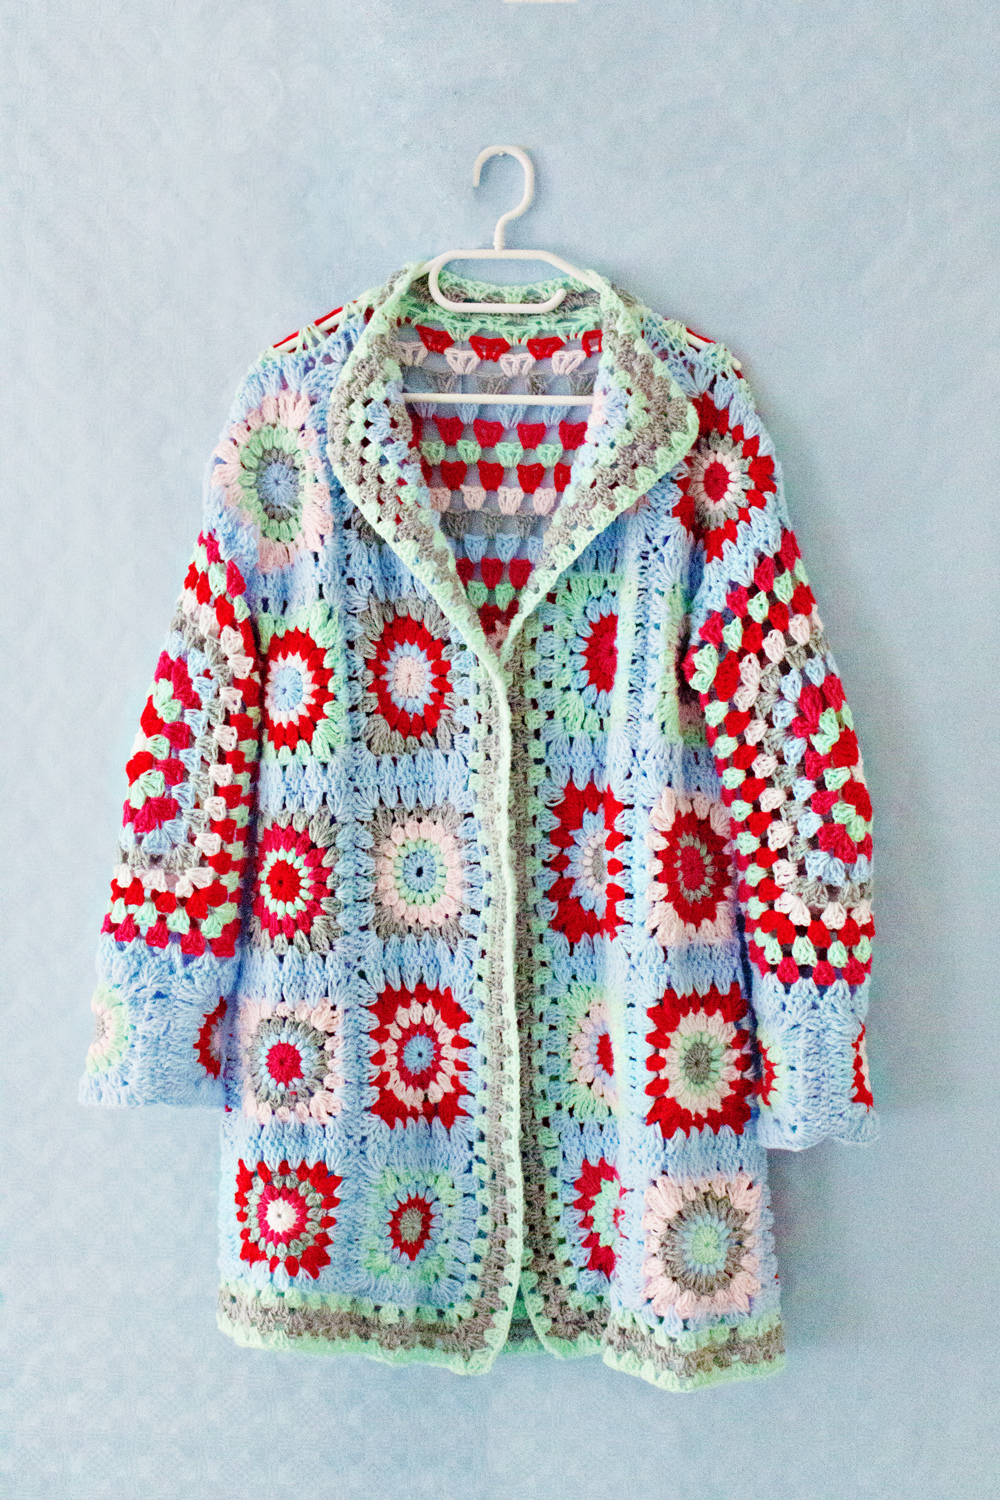
Let’s start off with a confession: I had never used the crochet technique before I started this project. I always thought that it would be waay too difficult and that the results would turn out to be a very poorly old fashioned (in a bad way) cushion cover.
But, wow was I wrong!
A few weeks ago I received the latest Mollie Makes Magazine which included a free crochet hook and I decided to give it a try. So I googled and youtubed to search for what would be the best beginner crochet DIY project. And I choose to begin with a simple granny square. One square let to two, than three and before I knew it I had a pile of squares and no idea what to do with it.
After deciding that I wanted to turn the squares into a sweater I made a plan and design on how I wanted it to look. I googled some more and I found a lot of helpful videos that I used as pieces of my sweater puzzle.
This resulted in many Netflix evenings on the couch with the cats and my crochet project, it felt wonderful. (I guess that this is also the point where I tell you that it is not a one-day project, not even a one-week project. I used a very small crochet hook and pretty thin yarn, and being a beginner I have to admit that one granny square took me about an hour..)
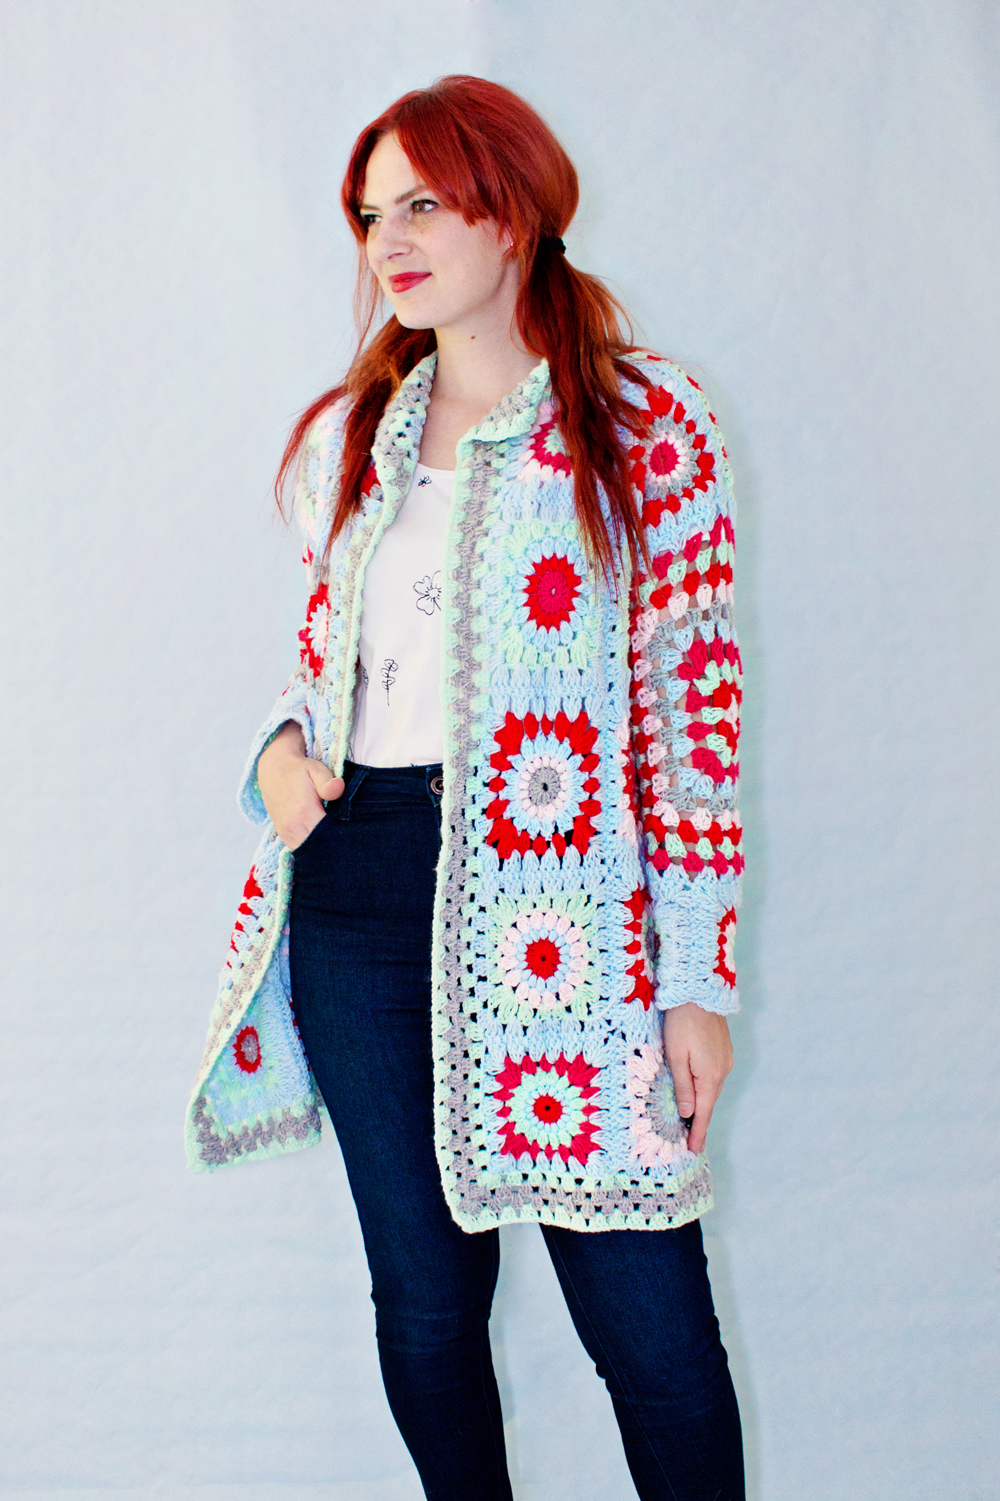
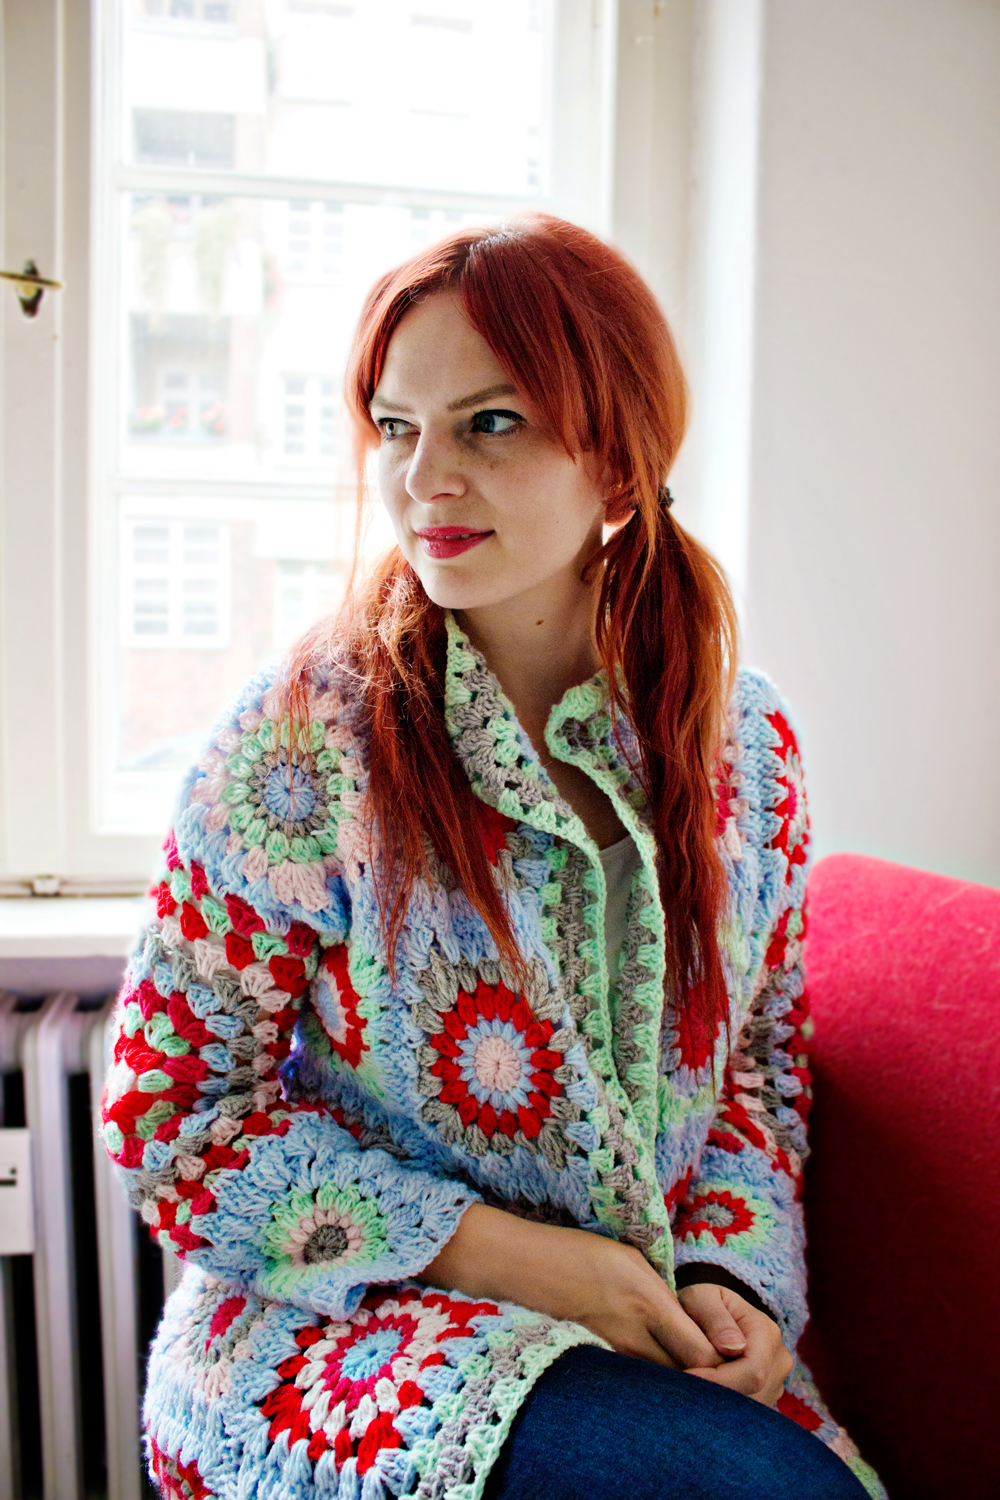
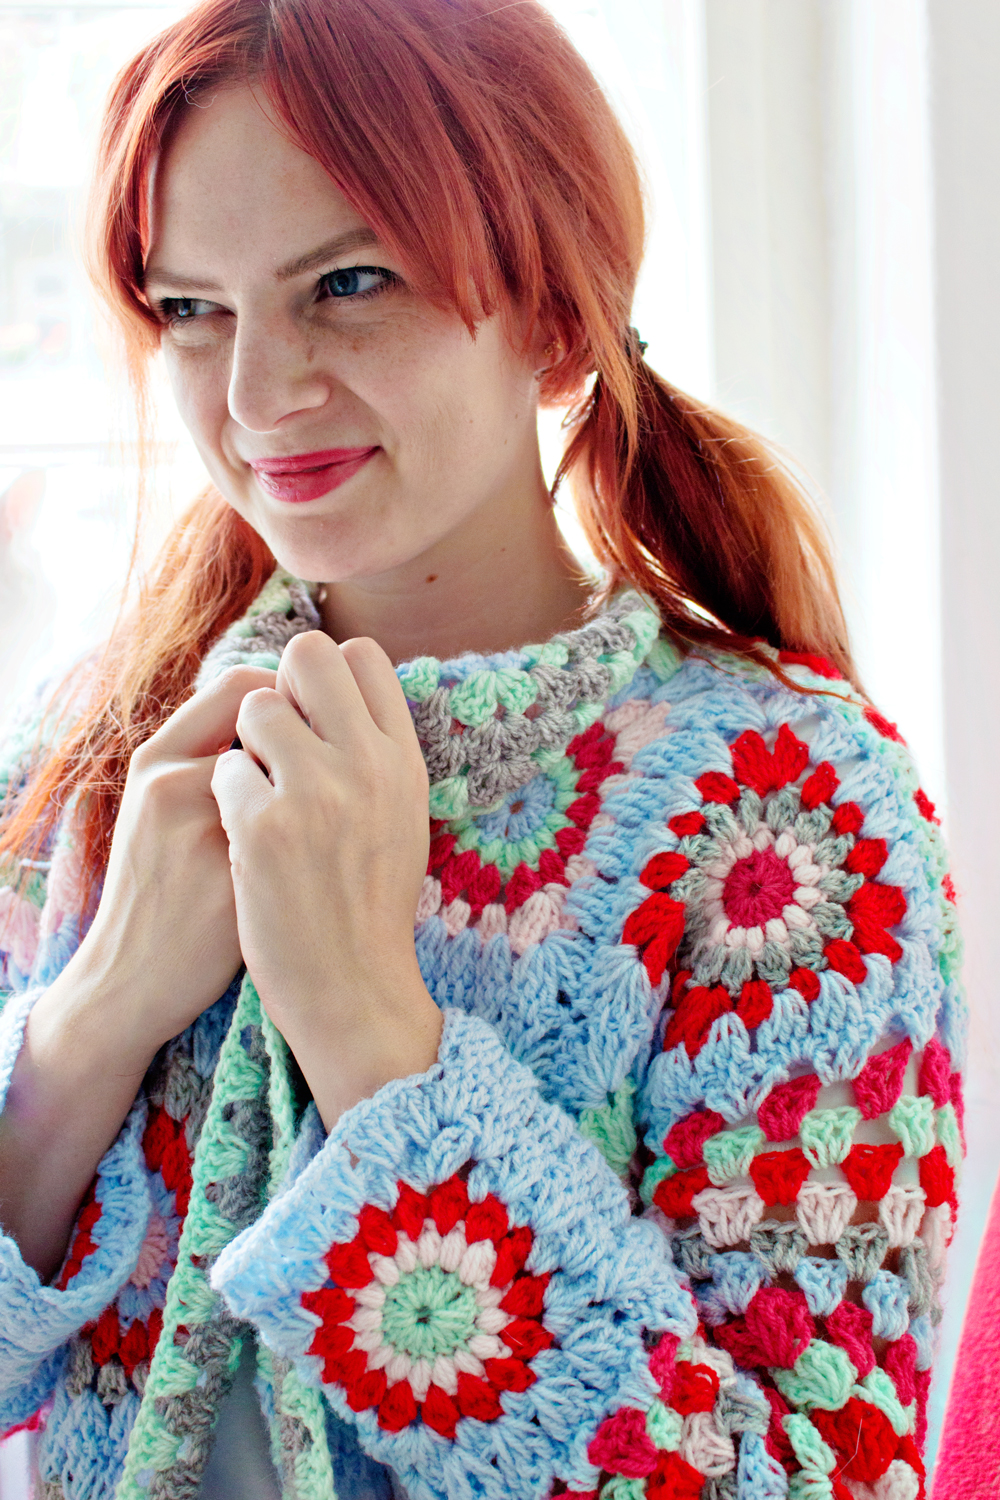
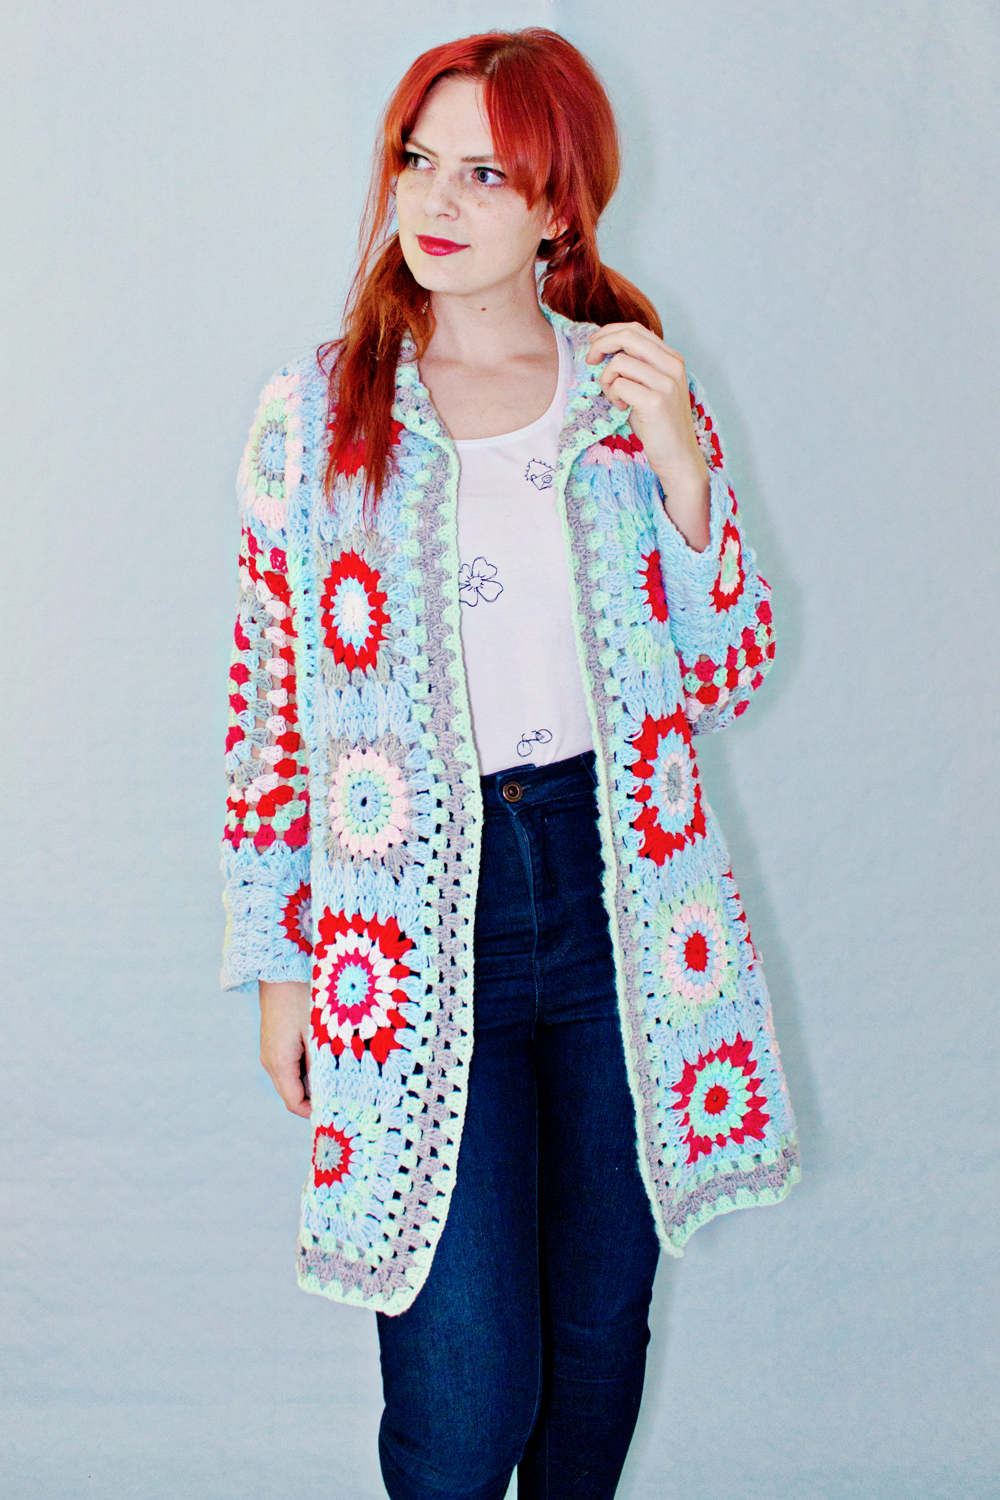
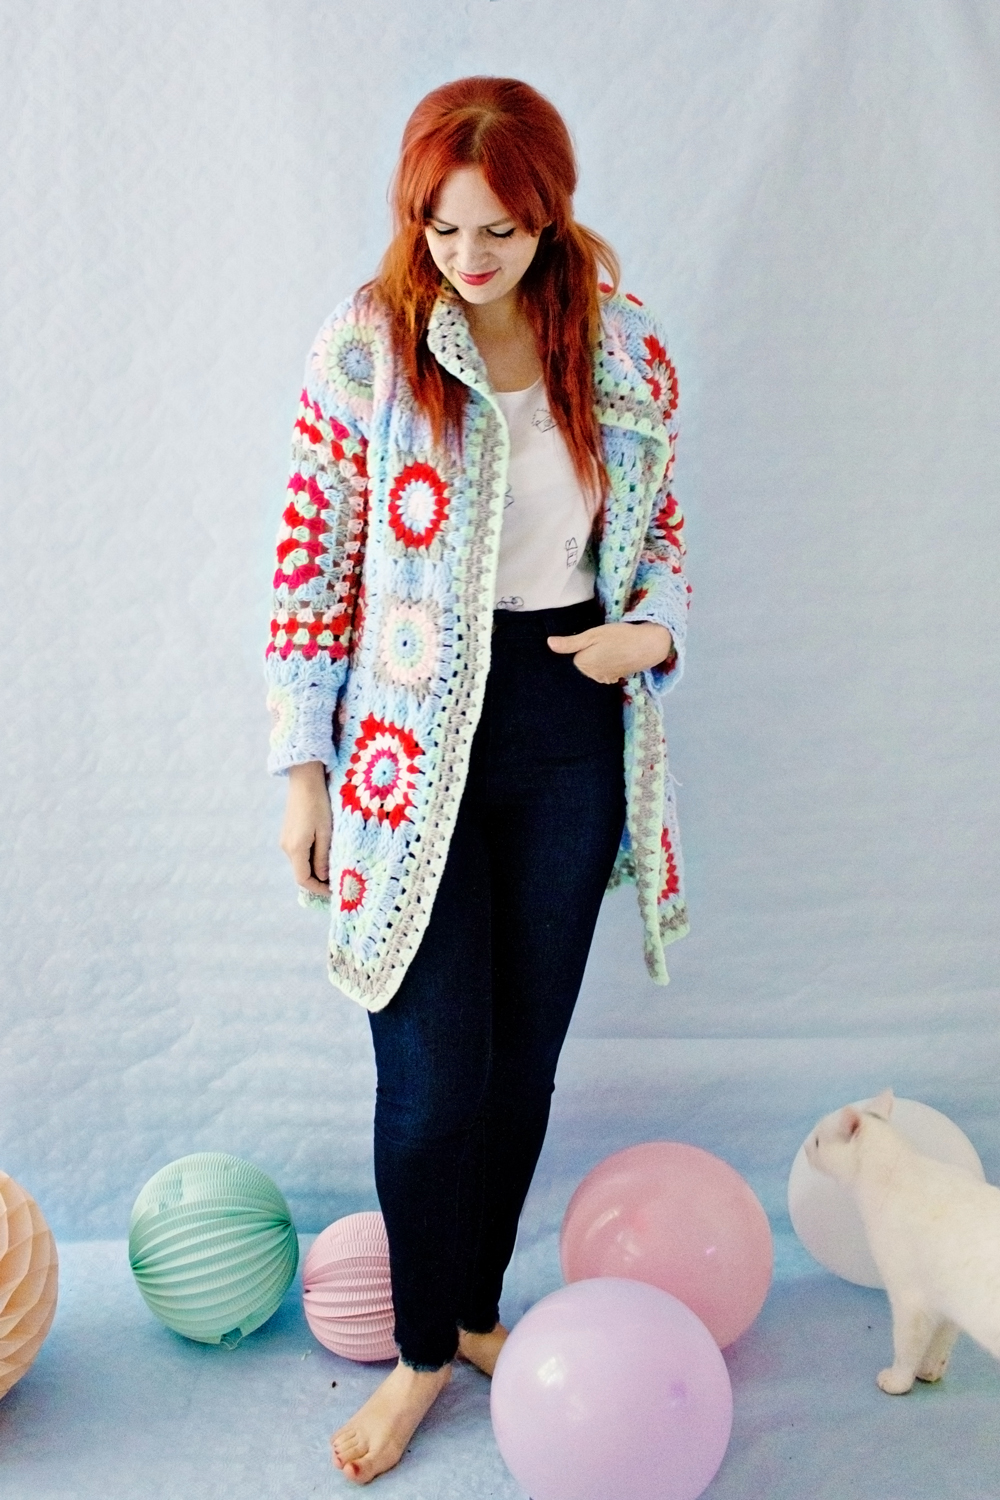
The sweater turned out just as I wanted it to and it has become my go-to indoor cozy cardigan!
Now on to the crochet DIY: since this is my first crochet DIY project, I simply want to show you my process. Crochet tutorials in writing are still very daunting to me and to be honest it feels like I am reading some sort of secret code. This means that I will show you the steps that I took, with the videos that I used to make the sweater.
I used three videos in total: (you can also find them below when you scroll down within the DIY steps, so you don’t have to leave this page to go to youtube)
– Video 1 – This video is from SimplyDaisy* and she shows you how to make a Sunburst Granny Square.
– Video 2 – This video is from WoolyWondersCrochet and it explains how to make a never ending square. (I used this video for the back and the sleeves of the sweater.
– Video 3 – This video is from Bella Coco and she shows you how to attach the squares together with different techniques to choose from.
*”Simply Daisy” was the best video to start my first crochet project with. She explains everything very clearly and it is definitely suitable for beginners.
DIY
Supplies:
– 10 x 50g/199m of washable yarn ( I used 5 different colours, so 2 of each colour)
– A 3mm or 4mm crochet hook
– Scissors
STEP 1
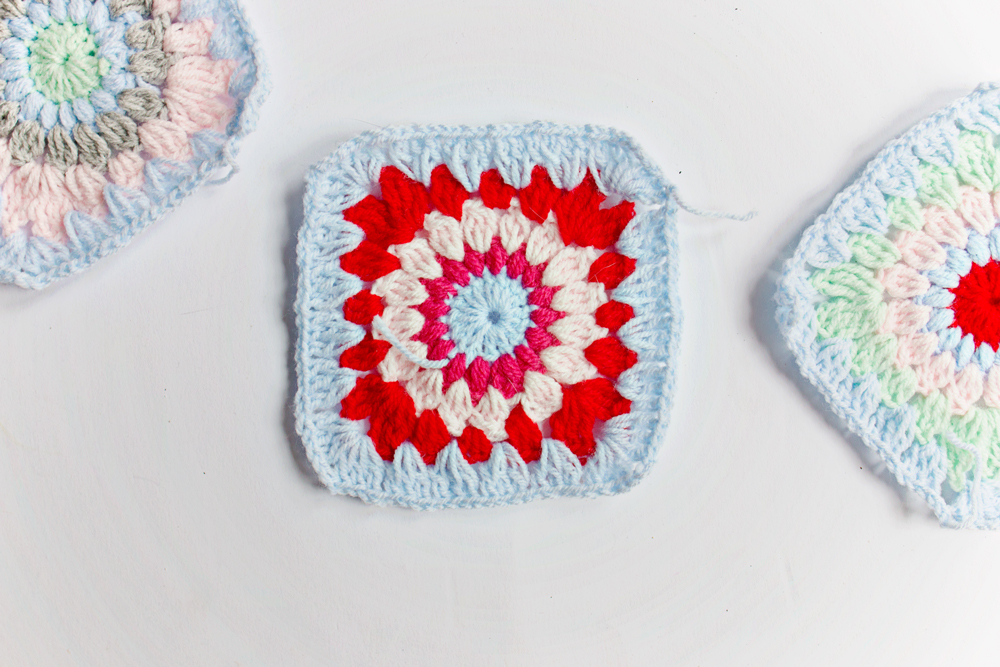
– Start making the granny squares* with the help of the video below:
– Make as many as you want. For this sweater pattern I made 32 squares:
> 20 squares for the front.
> 8 squares for the lower back.
> 4 squares for the cuffs.
*I mixed the colours to get a playful effect, but you can also stick to the same colour pattern for each square.
STEP 2
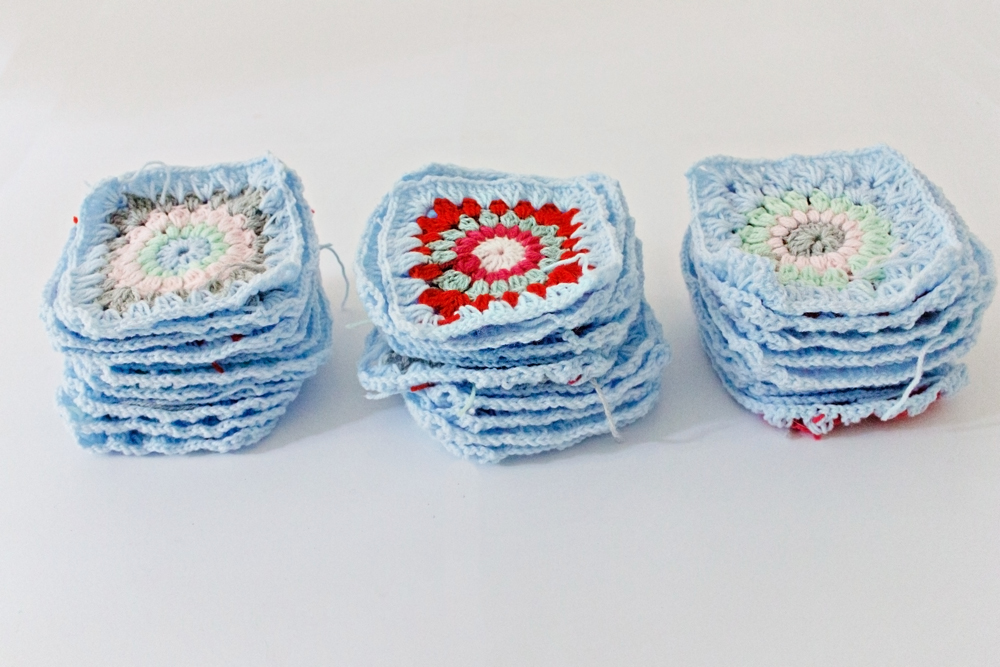
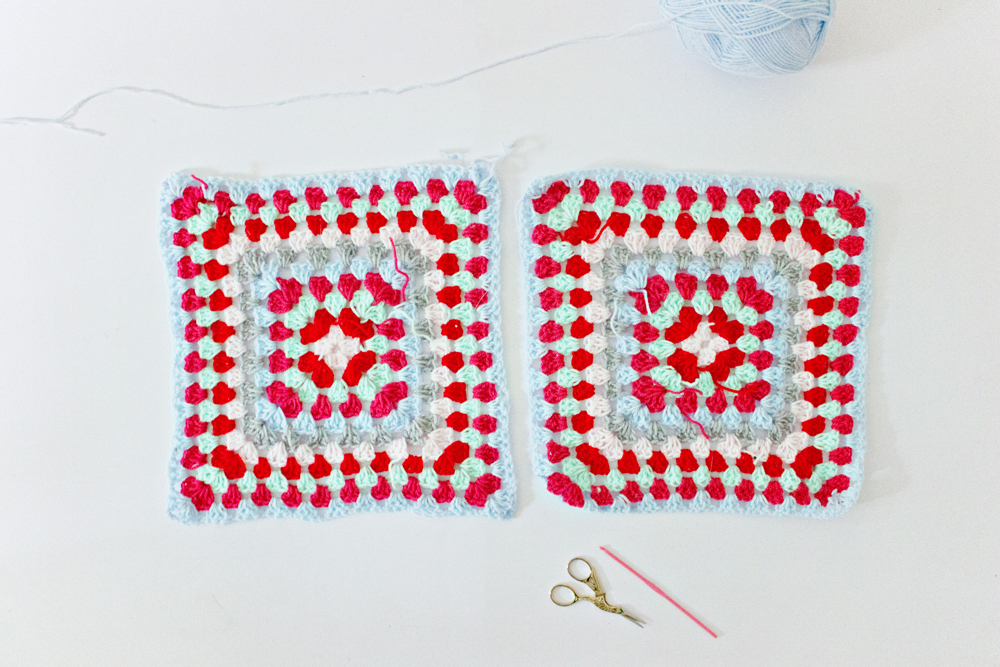
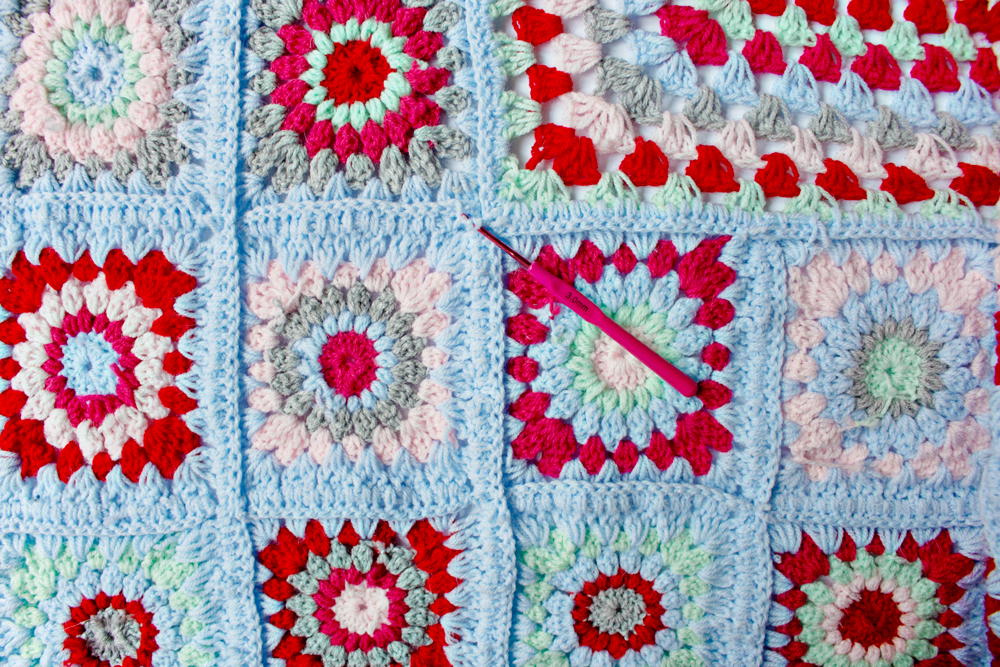
– To create a matched and detailed look, repeat step 4 from the video above to make an extra edge in the same colour yarn on each granny square. (this will also make the squares slightly bigger )
– repeat this step for all of the squares (see photo below)
STEP 3
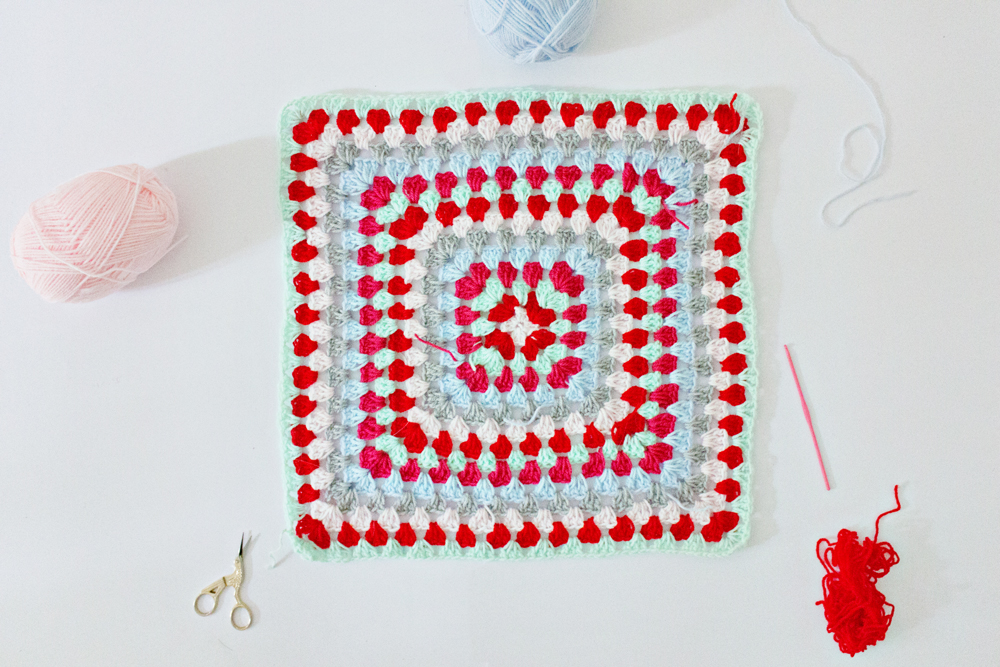
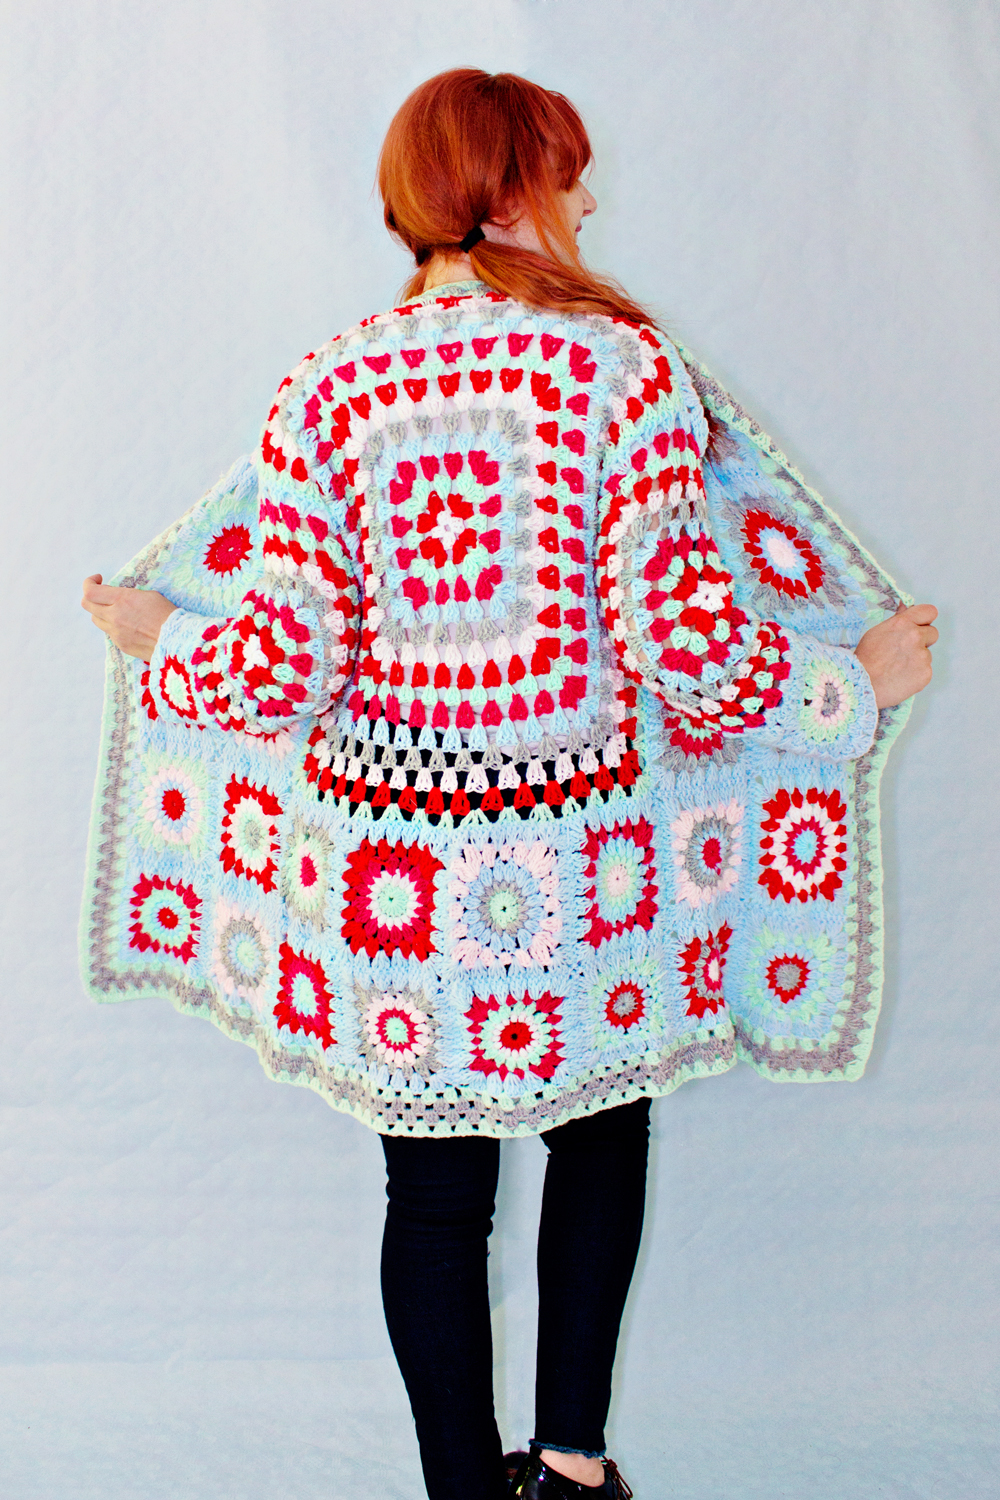
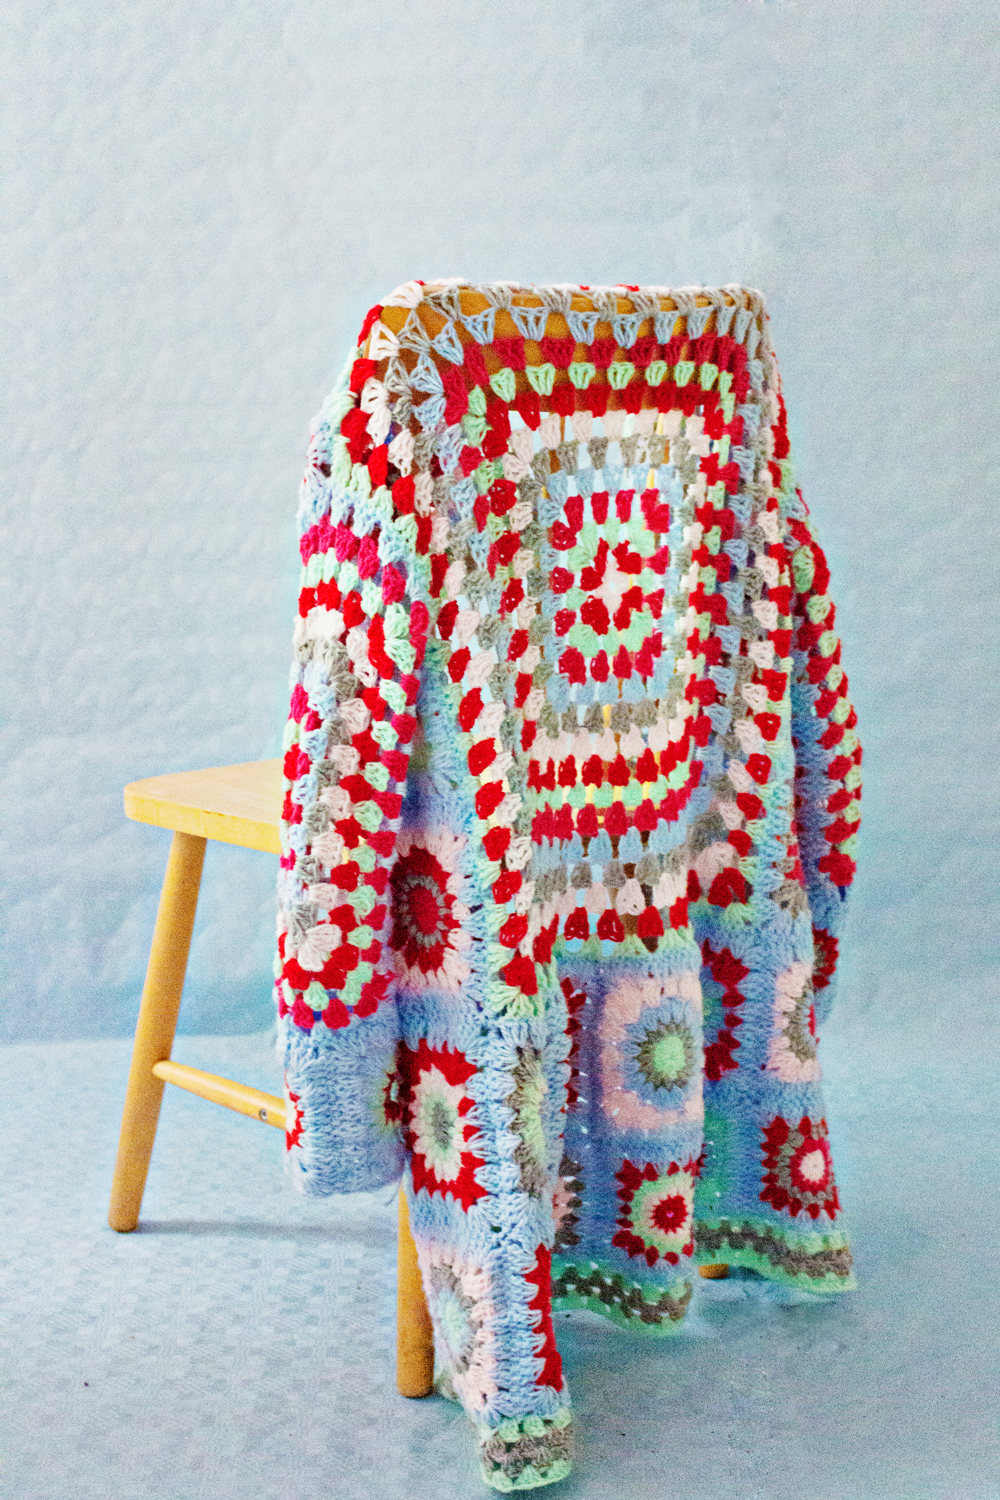
– Make a giant granny square in a different pattern for the back of the sweater with the video below.
– The size of the square depends on the size of you sweater. I held the square to my back every so many rows to measure and see if I needed to go on or if I had reached the desired size.
STEP 4
– Make two slightly smaller granny squares with the video above for the top of the arms.
– Just as in step 3, I calculated the size by folding the square around the top of my arm to see if it was big enough.
STEP 5
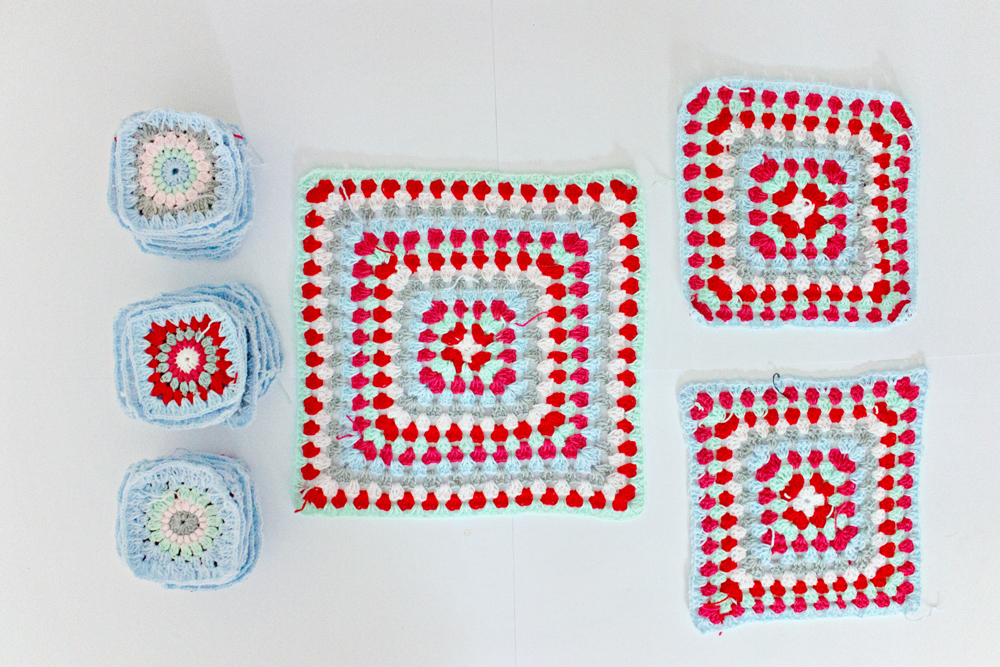
– You will now have:
32 granny squares ( or as many as you like for your size and style sweater)
1 large granny square for the top of the back
2 medium sized granny squares for the top of the arms.
– To make sure that the sweater will fit, before you start connecting the pieces, you can use safety pins to temporarily pin everything together and try the sweater on. Simply add more rows to the bigger squares in case they are too small.
STEP 6
Now it’s time to play!
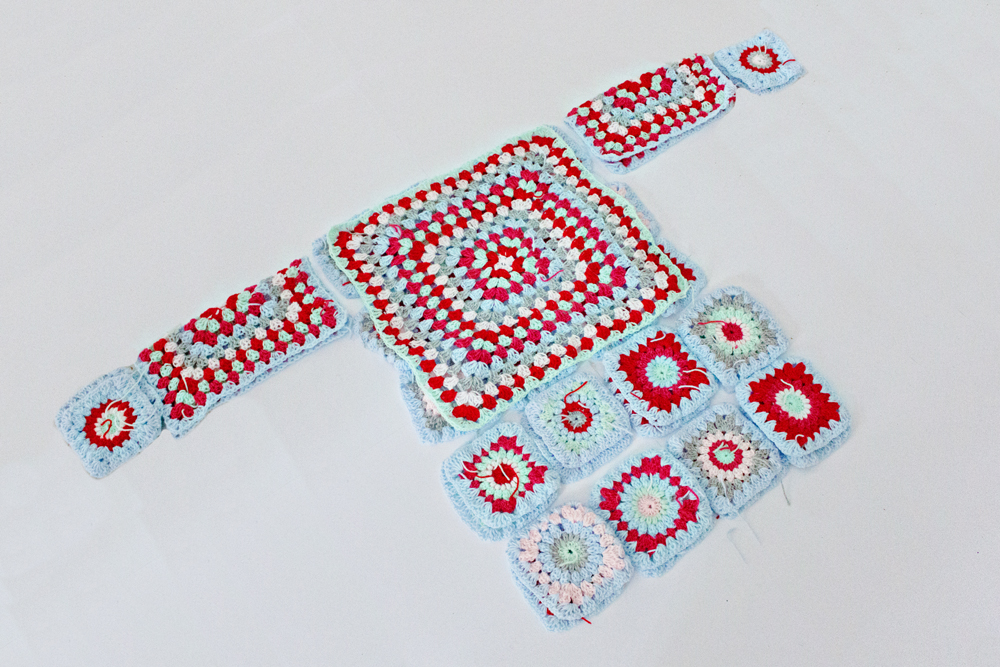
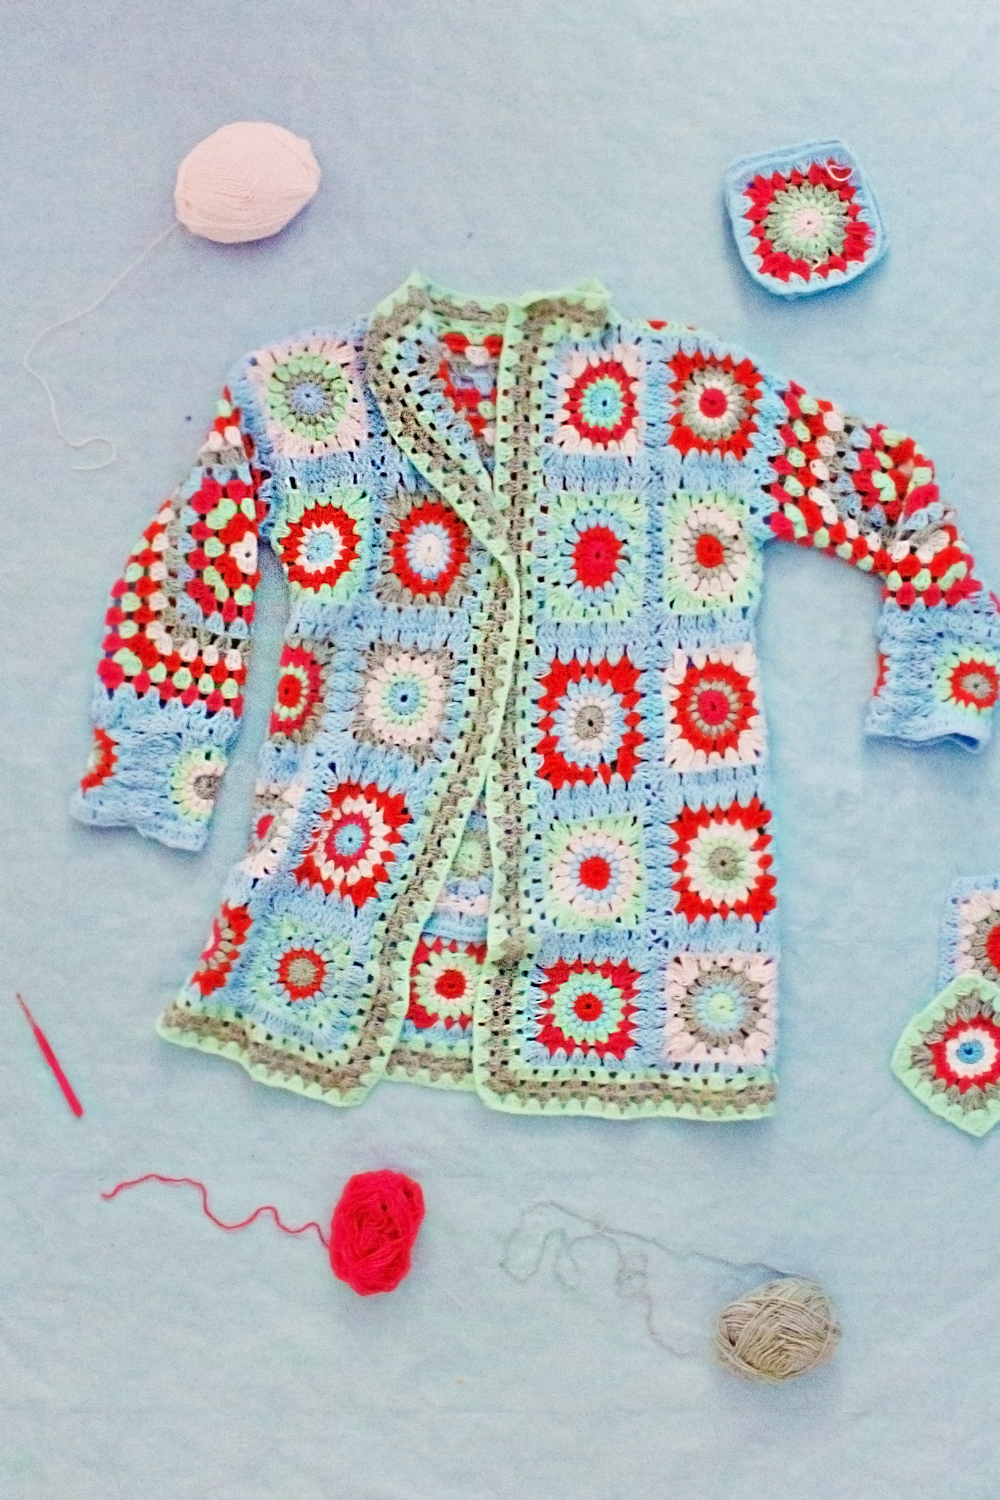
– Place the squares on a flat surface to arrange the back.
The biggest square goes on the top,
Place 8 small granny squares in two rows underneath it for the lower back,
The medium sized squares go at the top of the arms,
And each arm gets two small squares as cuffs.
– Rearrange the squares until you like what you see.
STEP 7
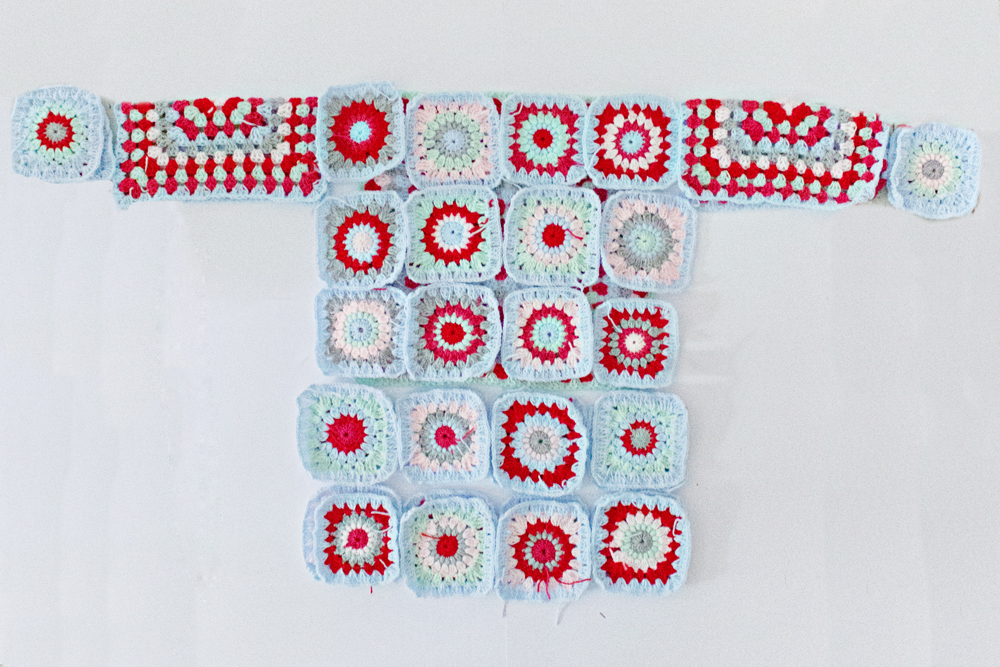
– Arrange the front
Place 20 small granny squares in rows of 4 underneath each other for the front. (the midline will be the opening of the sweater)
The medium sized squares go at the top of the arms,
And each arm gets two small squares as cuffs.
– Rearrange the squares until you like what you see.
STEP 8
– Attach the squares together with the help of the video above. ( I used the first method that she shows using the blue border colour)
– Attach everything together in the pattern that you chose for your sweater (see steps 6 & 7)
STEP 9
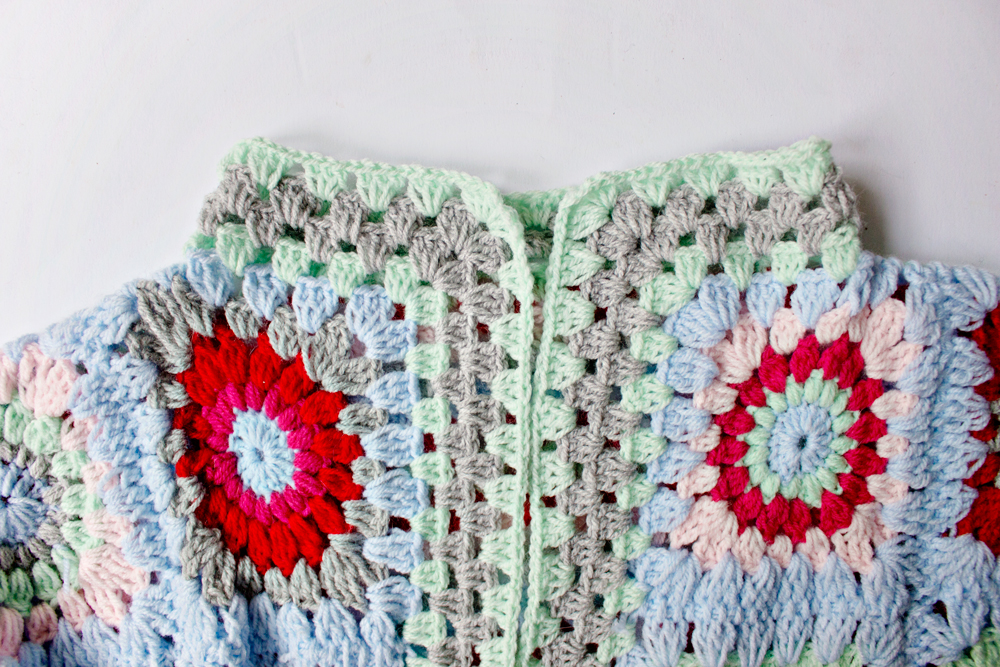
– To give the sweater a finished look, add a border all around*.
– I started with the left bottom corner of the sweater and used the 4th step from the first video to create a border.
– To go around the corners simply add a chain 3.
– I added 4 rows, but you can add as many as you like.
* You can see in the photo below what the border will look like at the neckline. The green and grey rows are my added border.
Optional Steps:
– Add a border to the end of the sleeves
– Add a zipper or buttons.
– Add lining and turn it into a coat.
And that is it! Those are all of the steps to make your own crochet DIY sweater!
Thank you so much for your interest in this crochet DIY project!
Do you have any questions regarding this project? Please let me know in the comment section below!

34 comments
Great detailed video! As to the name of your unknown stitch using the mint green, it’s called a cluster stitch.
Hi Yvonne, thank you for your kind words! The video is actually not mine but made by the wonderful simplydaisy. I am a big fan and her video was the perfect way to learn crocheting for a beginner like me.
I so love your jacket, I’ve never made anything for myself apart from throws ,cushions and toys for friends. It’s really spurred me on to have a go . X
Thank you! And it’s lovely to hear that this project has spurred you to have a go! Happy crafting, and let me know how the project is going,I can’t wait to see what you made!x
I love the jacket and plan to make one! I was wondering what yarn you used, the brand, cotton/acrylic, and the weight. Thank you!
Hi Lina, It’s wonderful to hear that you love the jacket and are going to make one too!
I bought the yarn at a Dutch discount store called Zeeman.
Information about the wool:
– Price: €0.89
– 50 grams (199meters)
– 80% acrylic/20% polyamide
– Machine washable at 30°
https://www.zeeman.com/nl/supersoft-breigaren-av-000001415.html
Please let me know if you have more questions! And happy crocheting:)
Thank you for the reply!
I bought the yarn and want to make sure of my gauge! May you please measure one granny square so I can make sure of my size?
Thank you again so much!
Hi Lina, I measured a few squares and they are about 13cmx13cm each. This is an average, since some of them have been stretched a bit because I wear it a lot:)
I just started crocheting this month and I LOVE what you have done! I will try it myself but probably make it shorter. THANK YOU SO MUCH for posting this! You INSPIRE me! Keep posting!
Hi Daisy, congrats on starting crocheting! And thank you for all of your kind words! Good luck with your version of the crochet sweater, and please let me know if you have any questions. Lana x
Hi Lana,
What a great idea!
I crochstiched a big coverlet in 2016. It was so heavy (> 2 stones) is slipped of the bed. Okay, it was my first crocheting project. Now, I know what to do with all that wool.
Thank you for sharing this lovely sweater on the internet.
Greetz from the Netherlands
Hi! A big coverlet sounds like a great project! I might try it too in the winter season:)
And greetings back from The Netherlands;)
Can the back of this sweater be just one big granny square instead of having some granny square in the down back?
Hi! When you crochet the square and want it to reach the length of the front, it means that the sides will also get wider. So I wouldn’t recommend it. Because not only will the sides get wider, the neckline will also not fit with the front anymore.
I plan to make this sweater for a toddler
That is such a wonderful idea! I can imagine that it will look extremely cute on a toddler:)
I love this, cant wait to make one! Did you use the same size hook for both the small and large squares?
Hi Claire! Yes I used the same hook for all of the squares:) Happy crocheting!! Lana x
Hi!
Thanks so much for sharing this pattern. I’ve been looking for one like this for quite a while, & now I’ve found it. It’s really cool, & I look forward to making it & then wearing it. If it works out for me, I’ll make some for other people as well.
Just so that I have an idea of where to start, if you don’t mind me asking you, what size sweater do you wear? I’m only asking to give me an idea of how many squares I’ll need, which’ll probably be more than what you made.
Thanks again. :)
Hi Michelle! I usually wear a size EU38 (medium) which I think is a US size 8.
I made the sweater slightly oversized, but paid special attention to the sleeve length and the position of the shoulder seam. These really make the sweater look ‘fitted’.
Have fun crocheting! And please let me know how it turns out!! Lana x
Thanks, Lana. That helps a lot. ?
It’ll be a while before I make it, but I will let you know.
I am having trouble making the big back square fit with the 4 small squares for the back…should I make the big back square bigger til it fits my 4 small squares….sorry I’m new to this …but enjoying the project as it’s coming along..
Hi Audrea! It’s great to read that you are making your own sweater!
And yes, you can continue adding rows all around the big square to make it fit with the 4 small ones. If you are new to this (which I also was when making the sweater) it is possible that the tension between the stitches isn’t always the same. So it is perfectly ok for your squares to turn out a bit different than the example videos. Just as long as the final sweater fits you well, it will all be fine:)
I’m totally impressed that this is your first crochet project!
Thank you so much!!
Lana I want to make this in a 3X size can you help me with the size my squares need to be thank you Shortie
Hi Gloria, sorry for the late reply! And how wonderful that you are going to start the crochet sweater.
Unfortunately, I am terrible in math. But luckily others are kind enough to share their wisdom;) I found this video explaining how to do it: https://www.youtube.com/watch?v=pI2EyMTsAuQ
I hope this helps! Happy crocheting!
Lana x
Absolutely stunning!
Ilovethat this tutorial isn’t too jargon-y. Written patterns kind of scare me too!
Lana,
Thank you for sharing! This is unbelievably beautiful! Well done.
I’m going to try my hand at this soon. I’m practicing as a beginner now too, but am remembering so much of what my mother taught me as a child!
I hope you are doing well in light of our world’s craziness.
Be blessed, Dawn from Atlanta, Georgia, USA
I was absolutely smitten when I saw this sweater and the colors you used. I bought yarn yesterday to have a go at making my own and ..YES… I copied you by buying the same colors! I do something with my hands while watching T.V. with my husband at night. I was looking for a granny square sweater or vest pattern and found your post. Hoping I can make mine fit properly. I will let you know when I finish! Thanks!
I love this jacket and am about to start crocheting it for my daughter. Thanks for sharing the pattern
Hi loving this going to make one for a friend. I notice the video for the squares only does 4 rounds and yous id 5 is it still the cluster stitch on your round 4 then the border? Going to make it slightly shorter for my friend as a bed jacket she loves them
Well, I bookmarked this page for a couple of years. And like the others, absolutely love the colors! I had been looking for this exact crochet project for a while, spending time just searching crochet granny square cardigans on the web. This is so happy! As I recall now the only color I needed to buy was the mint. I got all the squares done and then it sat again for a while because I was looking for a join I liked. When I got back to it, I discovered the squares were on the large side so I decided I need or really want to line this with something. My squares are joined but my pieces are the last to go before I figure out the lining. I’m thinking a knit or fleece in mint. It’s still oversized but that’s me because I used a larger hook because I wanted the yarn softer. Some of the yarn is Red Heart, not the best for garment but I had to use what I had around my yarn room. I hope I look as good in it as I want. Because it’s still my favorite. Otherwise I’ll have to try again but use maybe Caron Simply Soft or Red Heart’s Soft or Love. Thank you for the pattern!