Remember my television debut from last week? Well, on tv I showed you a few fun upcycling tutorials that are fast, easy and most of all crazy inexpensive!
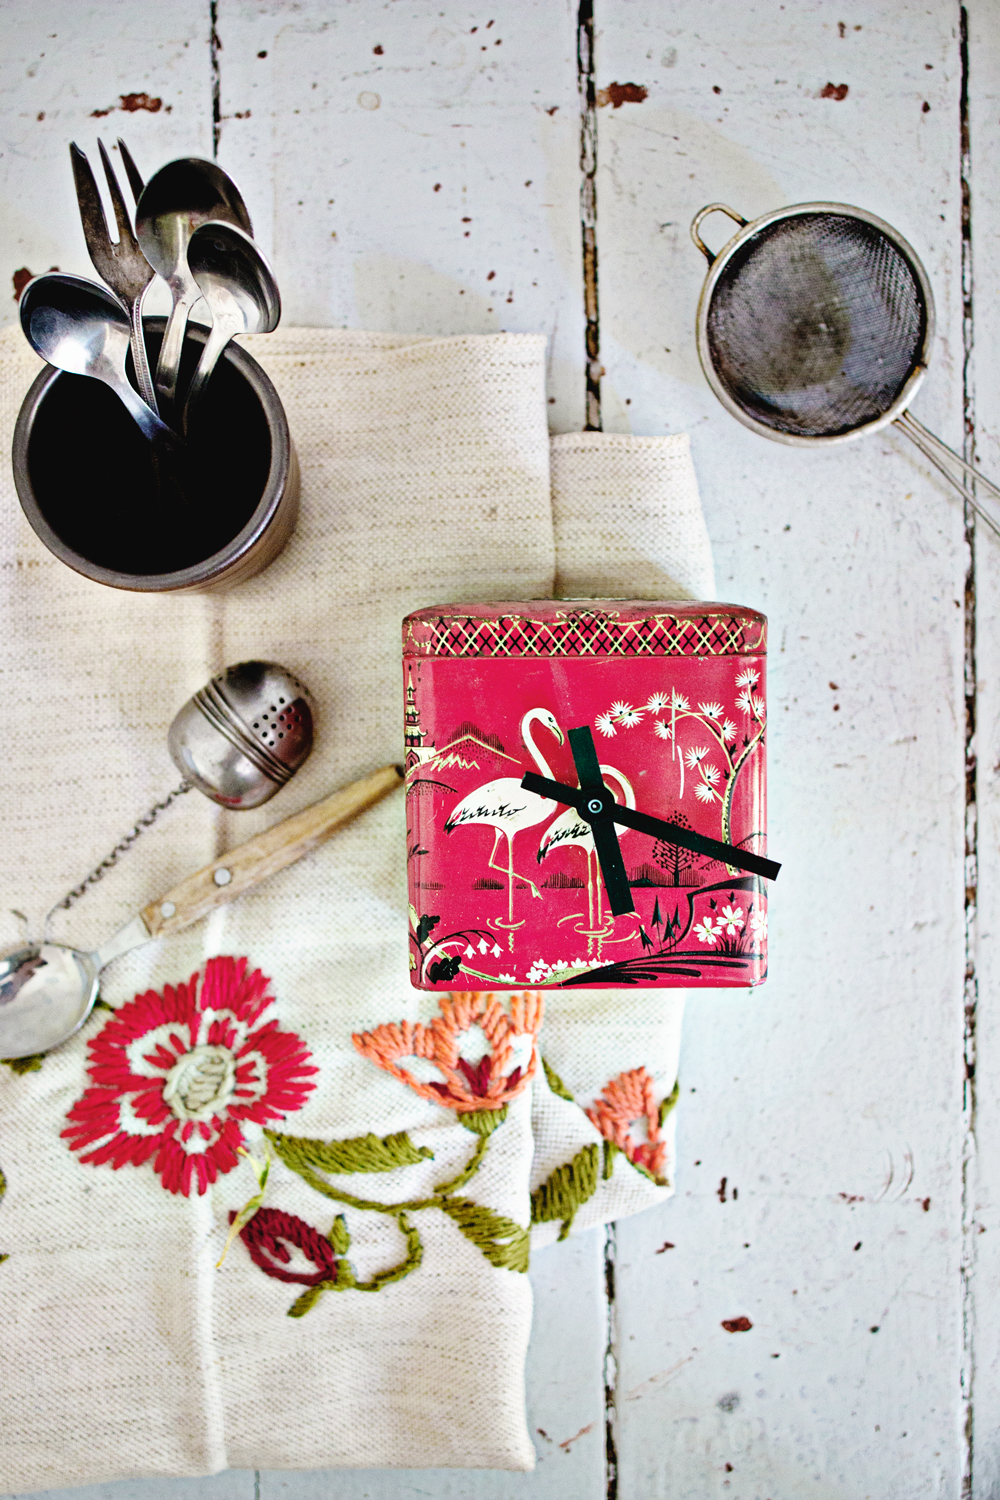
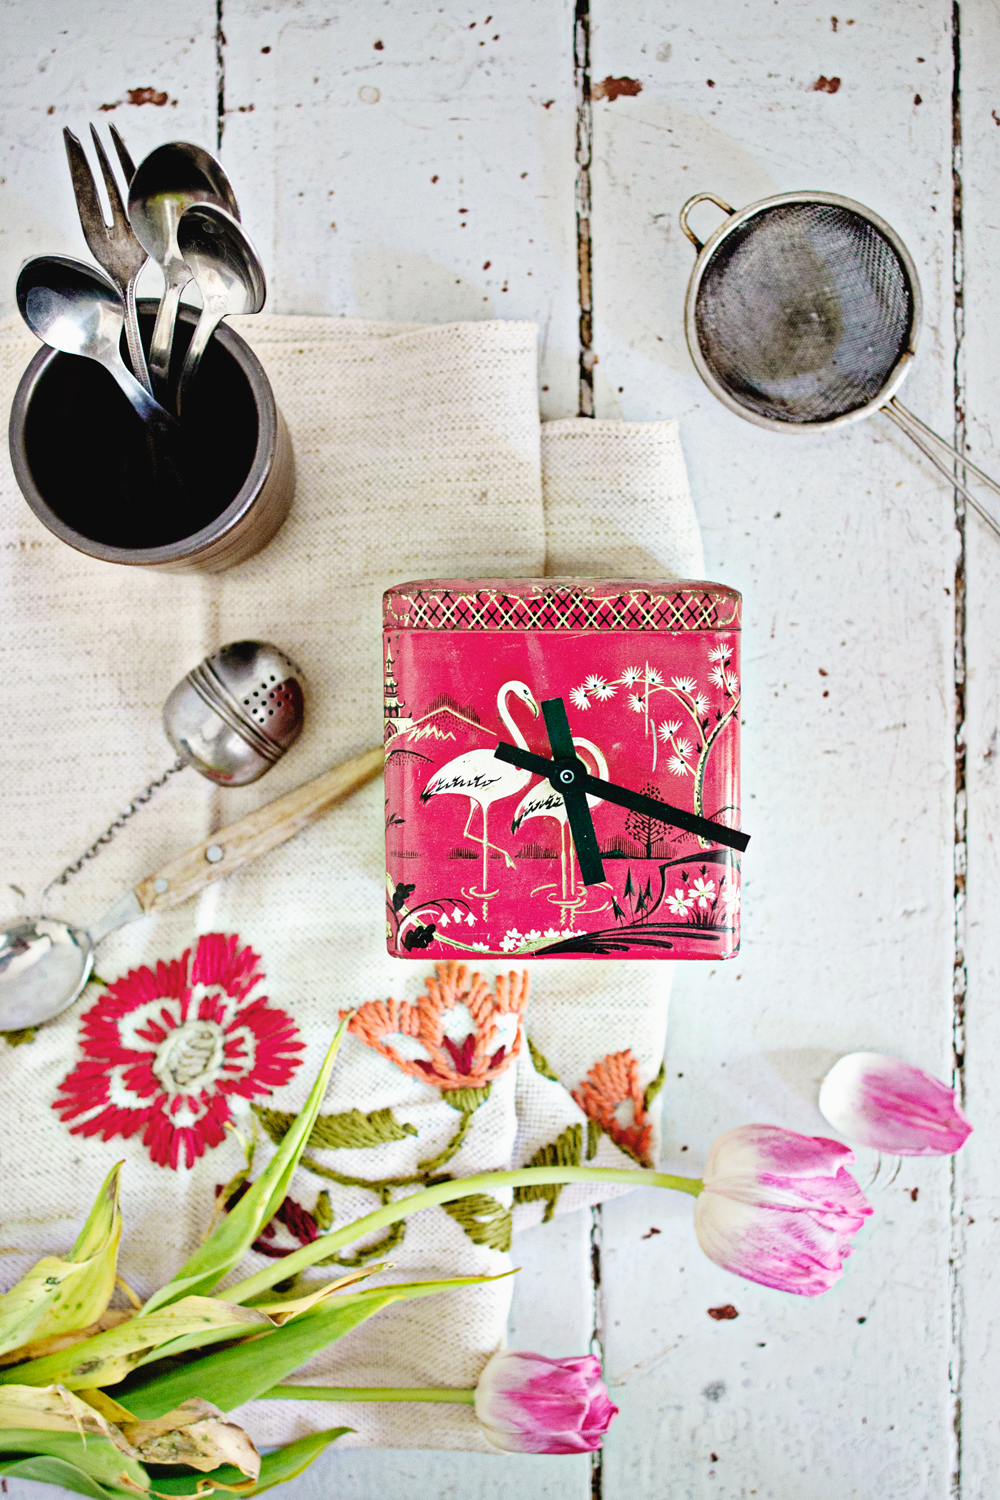
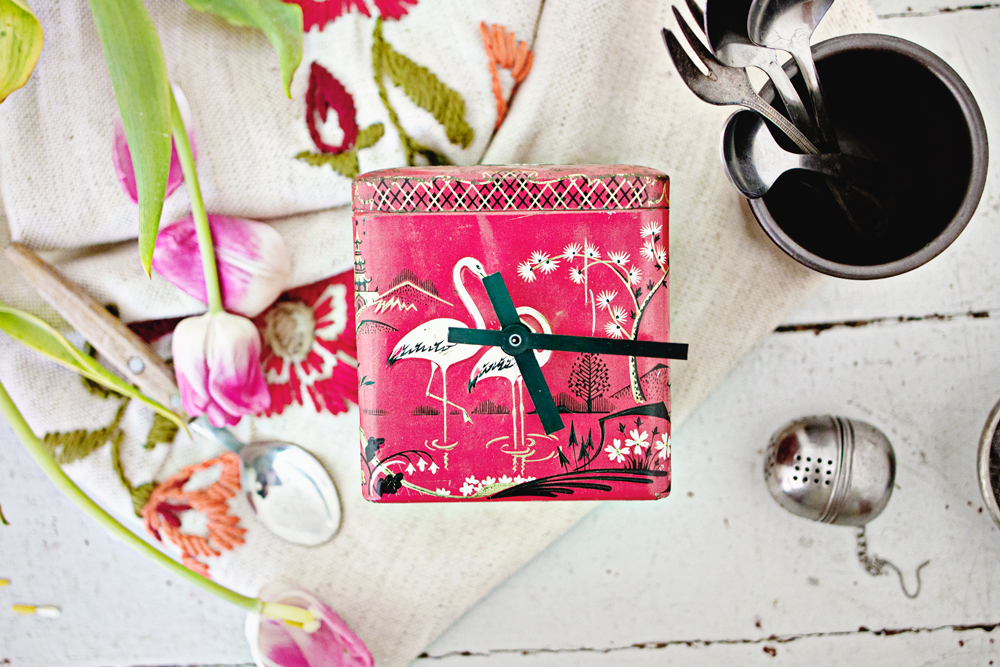
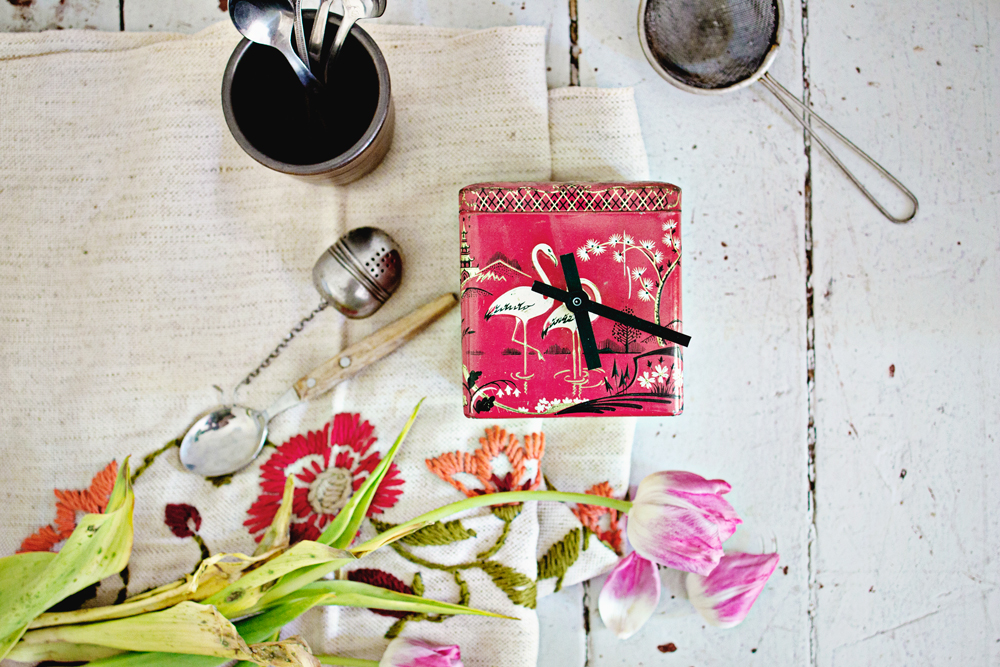
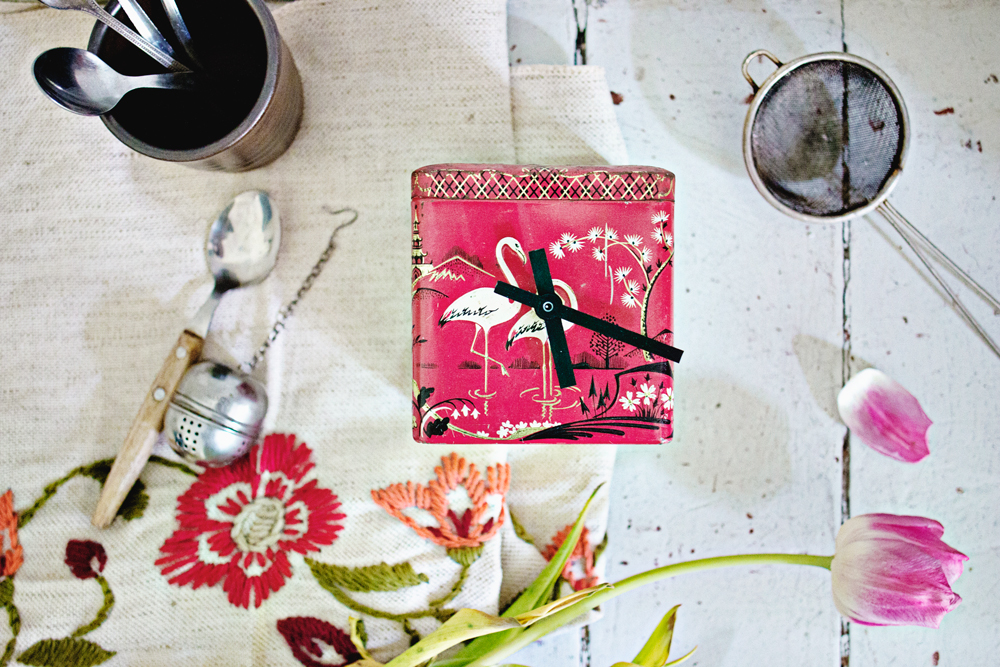
One of those projects involved an old tea tin, a simple plastic clock and a drill. And that became a very easy to make vintage clock!
Today I would like to show you in more detail how to make this clock.
Like I sad, it’s very easy and the tin I used was pretty old, but I think that just adds to the charm. And what if you don’t have an old charming tea tin to spare? It actually doesn’t even have to be an old tin, you can use anything (books, cans, etc.) just as long as you can drill a big enough hole in it to attach the clockwork!
DIY:
SUPPLIES
– Old can, tin or jar or anything that you can make a hole in.
– Old clock with an intact mechanism that you can remove from the clock. (or you can buy one of those sticker wall clocks that are very inexpensive and only use the clock part)
– Drill.
STEP 1
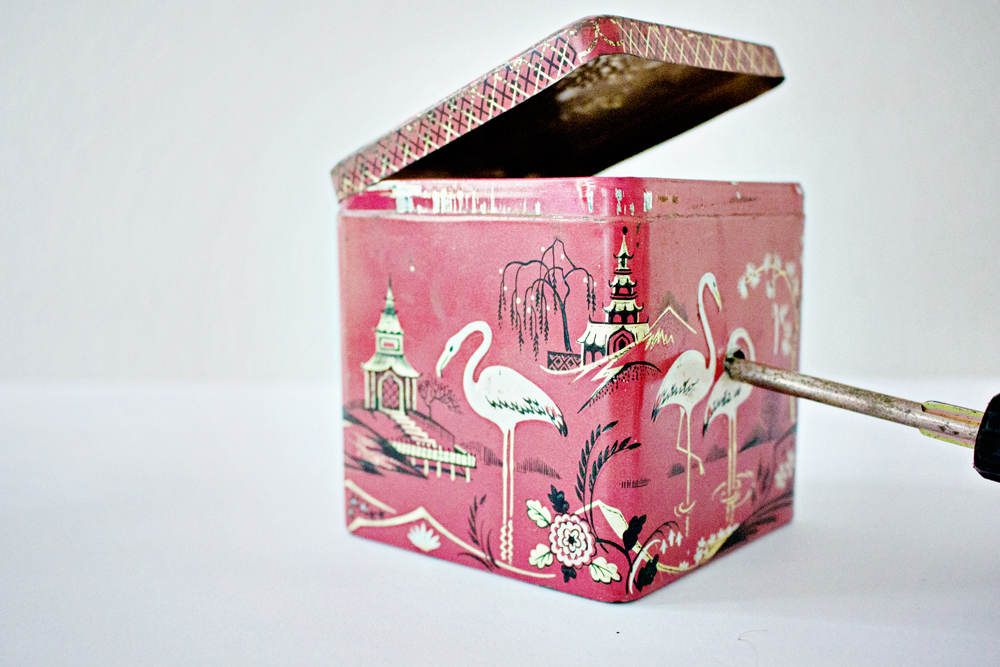
– Drill a hole in the front of the tin. Make it big enough for the front piece of the clock to fit through.
STEP 2
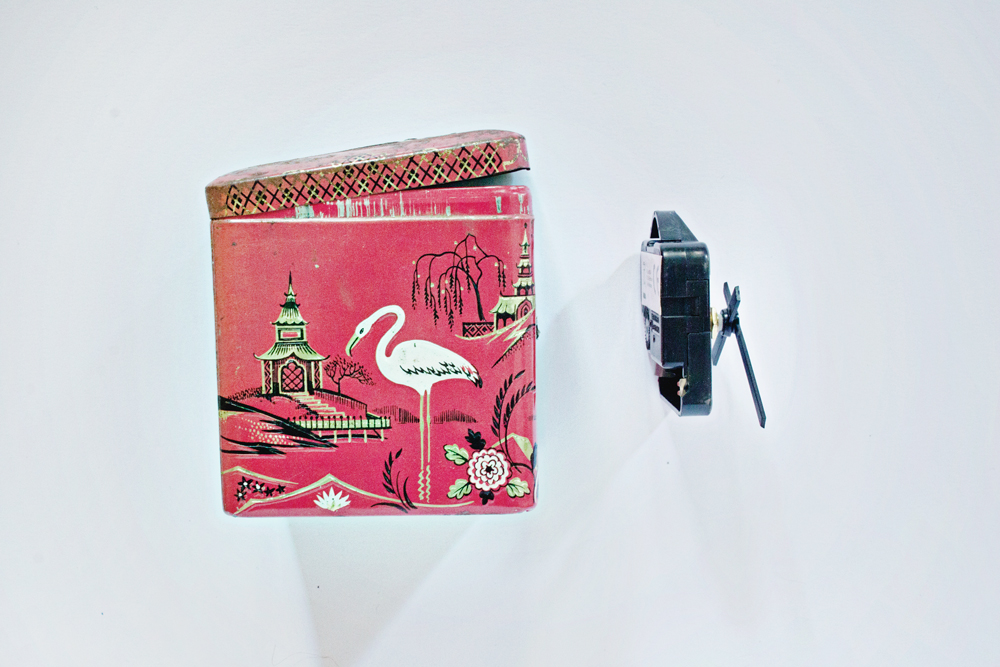
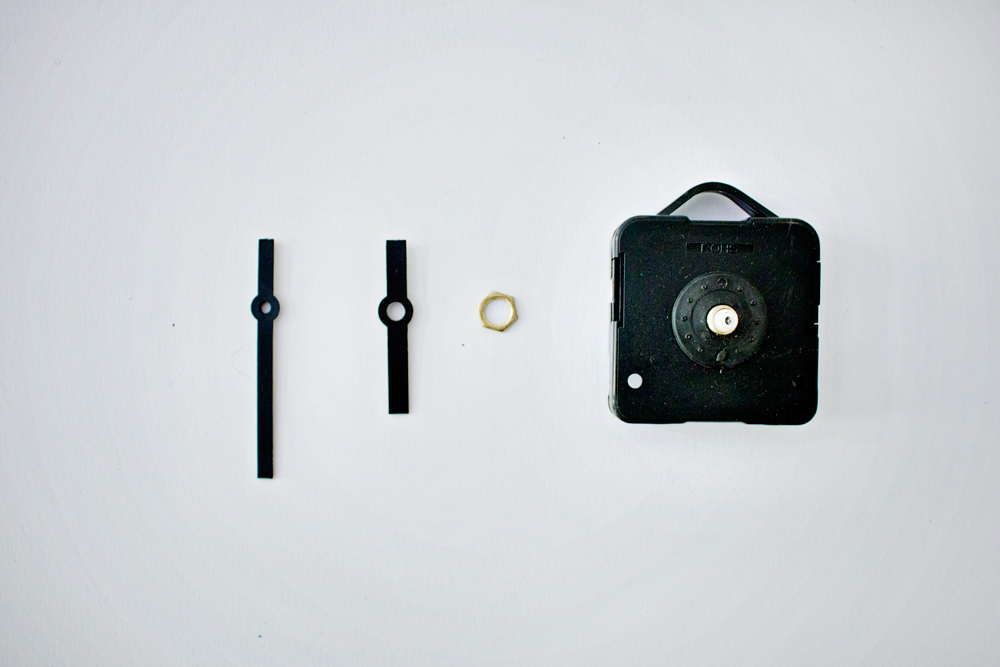
– Disassemble the clock by removing the hands from the motor of the clock.
STEP 3
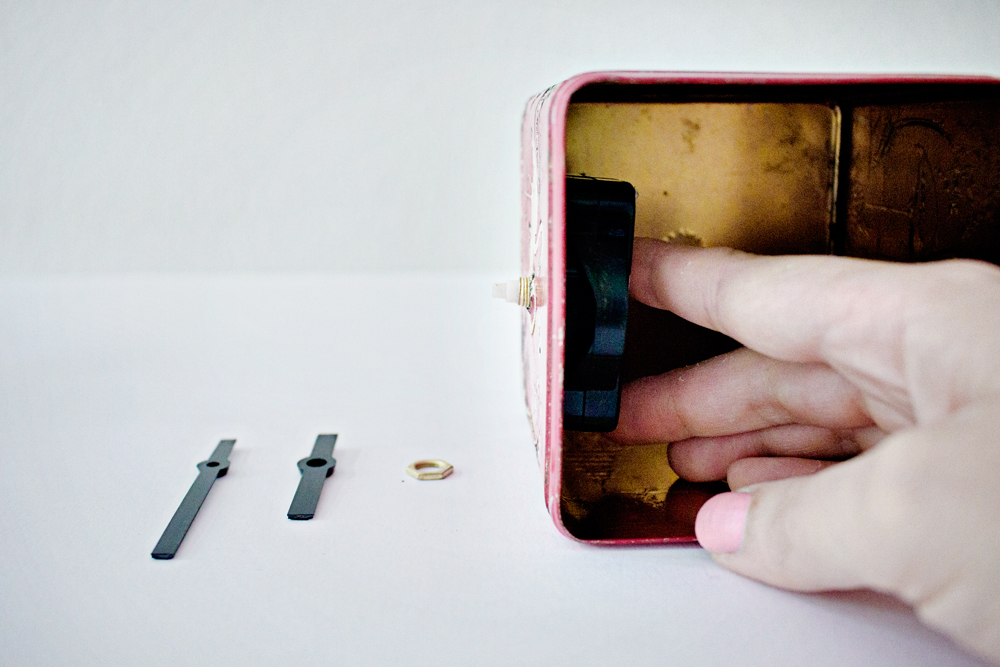
– Place the motor part of the click in the tin and the front part through the hole.
STEP 4
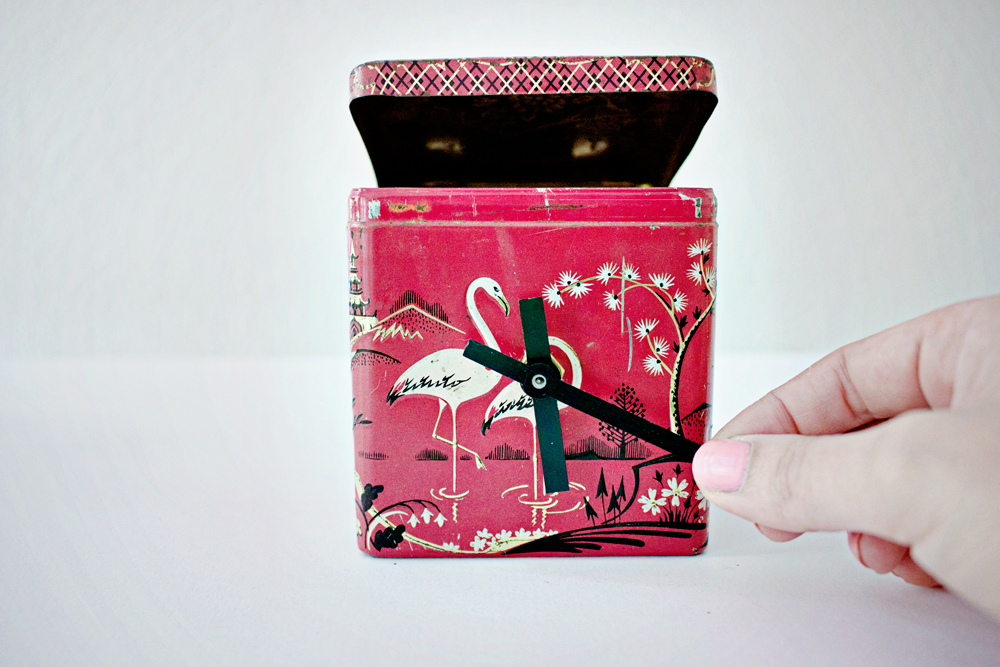
– Click the hands back in place.
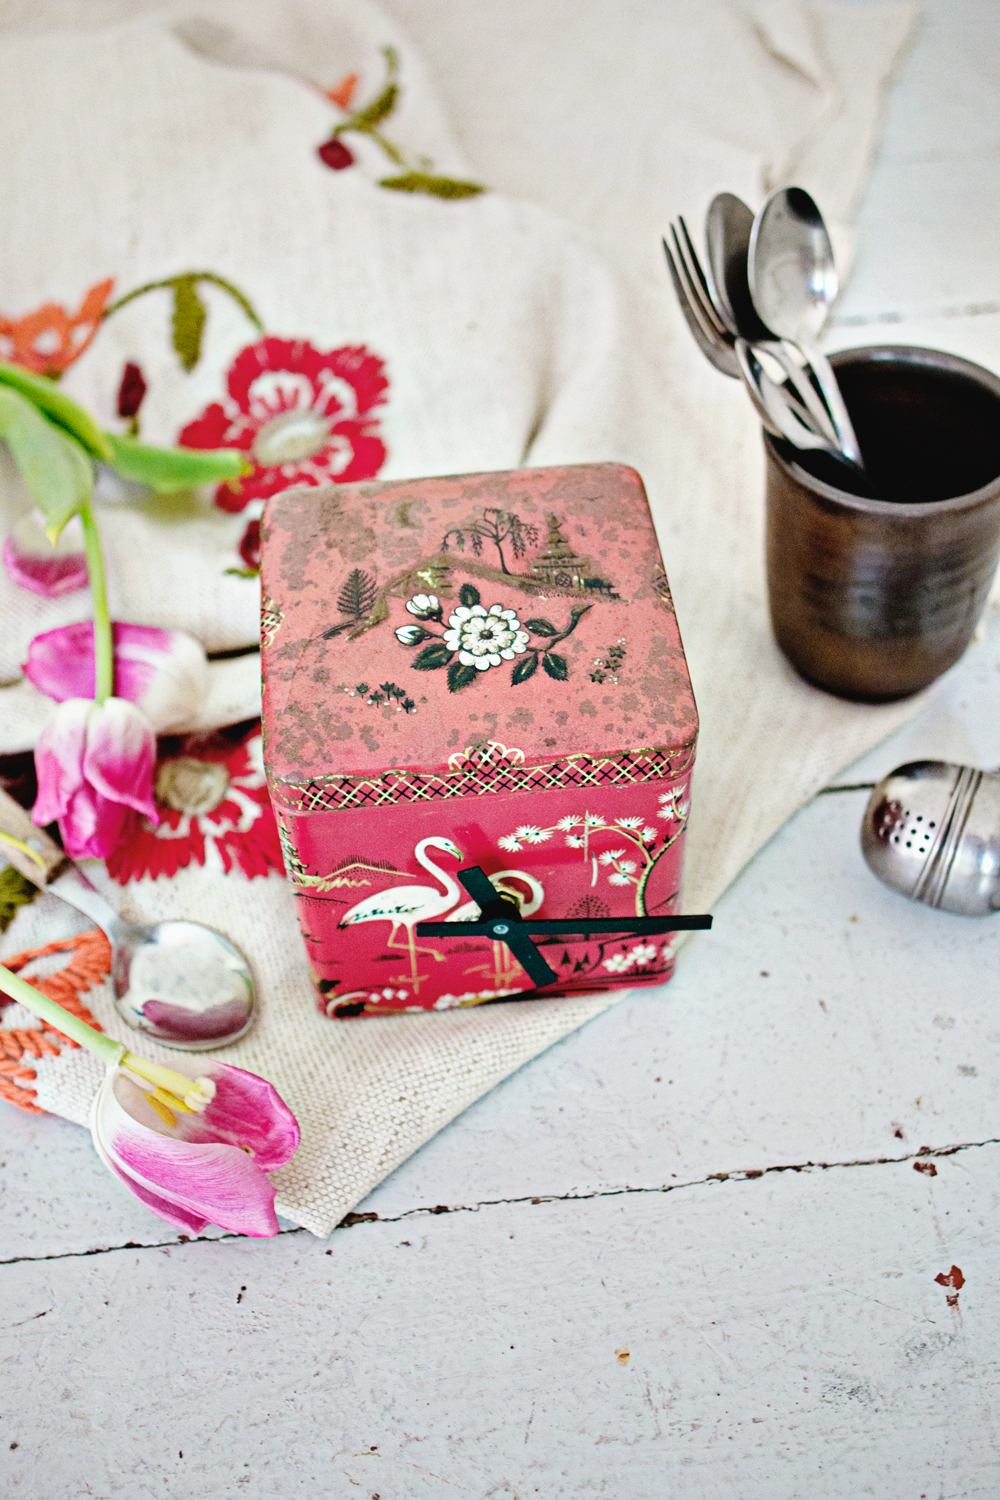
And that’s it! How easy was that?!
* tip – you might want to add some extra padding in the tin, in case you are sensitive for loud clocks;)
Oh, and another fun idea: what if you make a couple of these and set them to different times around the world?!
What would you use to create a fun clock? Let me know in the comment section!




1 comment