Always been curious on how people made those gifs with only one part of the image moving? Well, look no further because here’s a very easy tutorial on how to achieve that with your own material!
I have been doing a lot of research on video and photography techniques for school and came across some tutorials that explain how to make cinemagraphs. And I have been using photoshop for a while now, but never really used it for animations. So this was the perfect opportunity to try it myself, only the tutorials that I found where somewhat vague or not very detailed. But after a while I got the hang of it and decided to share my process with you!
For the people that still have no clue what I am talking about. A Cinemagraph is a video and photo combined. So only a part of the images is moving and the rest looks like a still image. Why would someone want to make such a partially moving gif? Well, mostly because they can be very funny, cute and pretty. And you can highlight something with this technique to draw focus to it. For me it was part of my schoolresearch and I always love to find new techniques that can change someones look on a picture.
Here’s how:
– Find or shoot a video. Make sure that you decide beforehand what you want to keep still and what you want to draw the attention to. I advice using a tripod or placing your camera on a flat surface because it’s best to keep the camera still.
– Pick an animation that is still interested when it’s ‘in looping mode’.
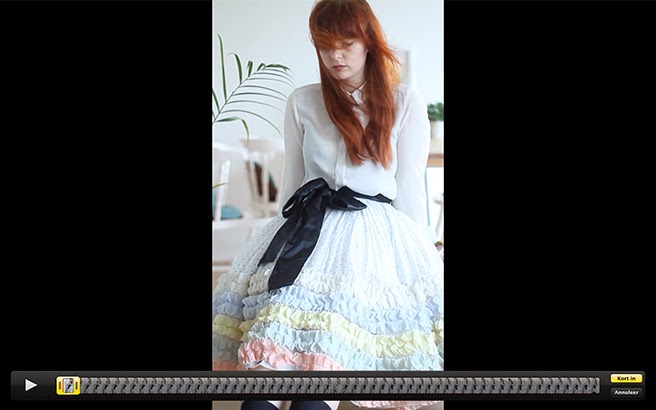
– Open your video in Quicktime (or any video editing program) and select the Trim Tool. Select the part you want and trim the video, you will only need a few seconds of video, because the gif will be looped.
– Save the trimmed part.
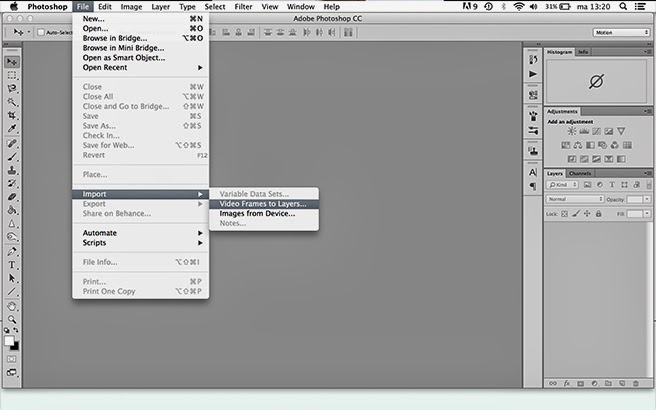
– Open Adobe Photoshop and import your video by going to file->import->video frames to layer.
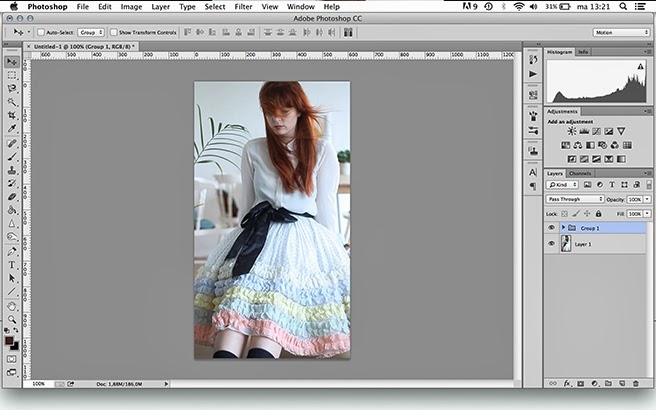
– Select all layers accept layer 1, and group them by right clicking and selecting ‘group from layers’.
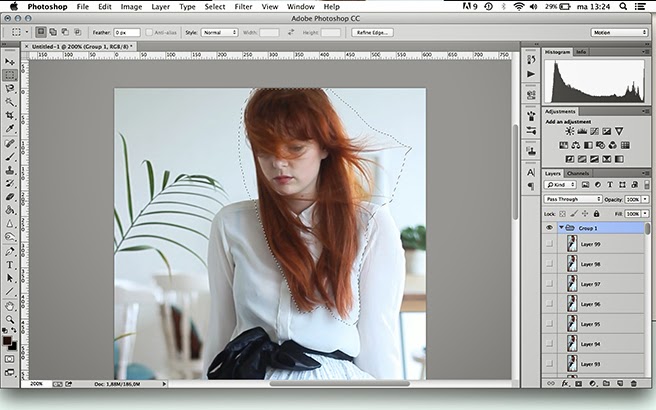
– Select the group layer
– Use a selection tool of your choosing and select the part that you want to keep moving in the gif.
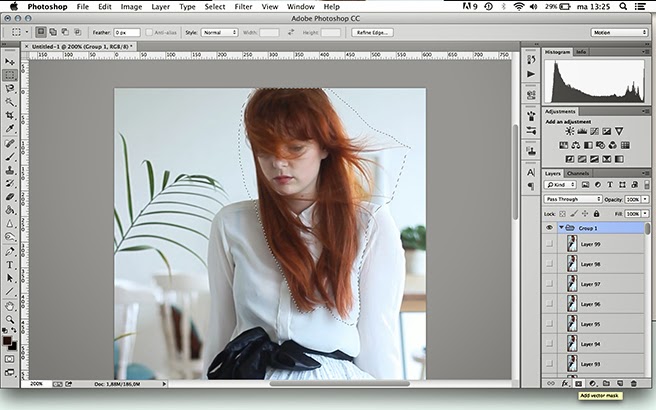
– Add a new mask by clicking the icon underneath the layers.
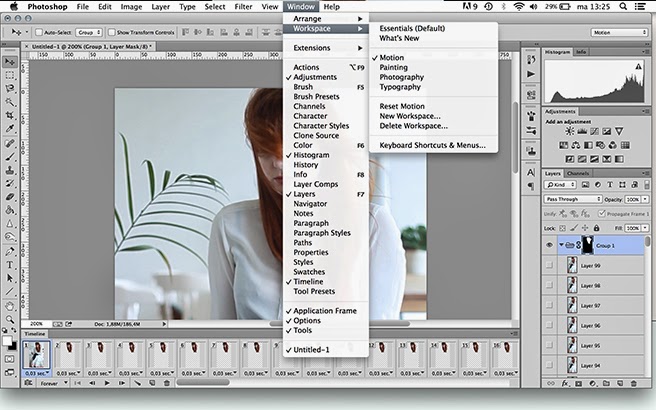
– Go to window->workspace->motion to open your animation.
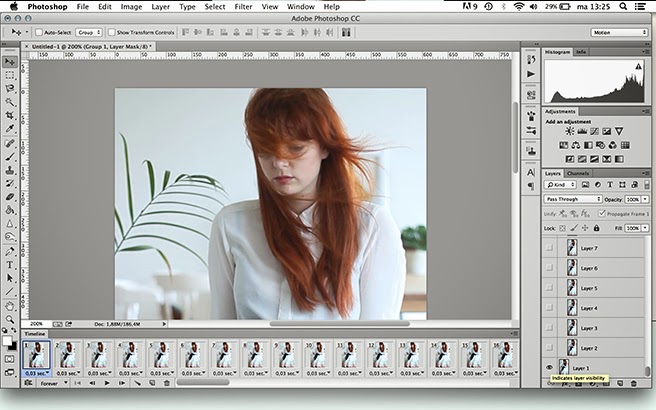
– Probably only your selection is showing, but this can be fixed easily by clicking on the layer visibility of layer 1 twice (the eye shape).
– And finally, if you want to do some color adjustments to the images: select the group layer and go to layer->new adjustment layer. Select a tool, make your adjustments and make sure that the adjustment layer is above the group layer.
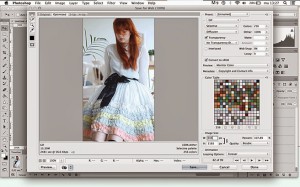
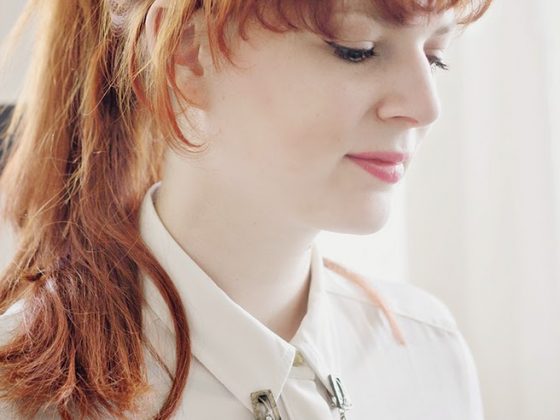
– For saving, go to save for web and save as a gif document. Your gif image will probably not be the same quality as the film you shot, because of the limited amount of colors it can contain. You can adjust some of the save for web menu options to try to get the best quality possible. You can see my gif in color below to view the effect it has on the colors.

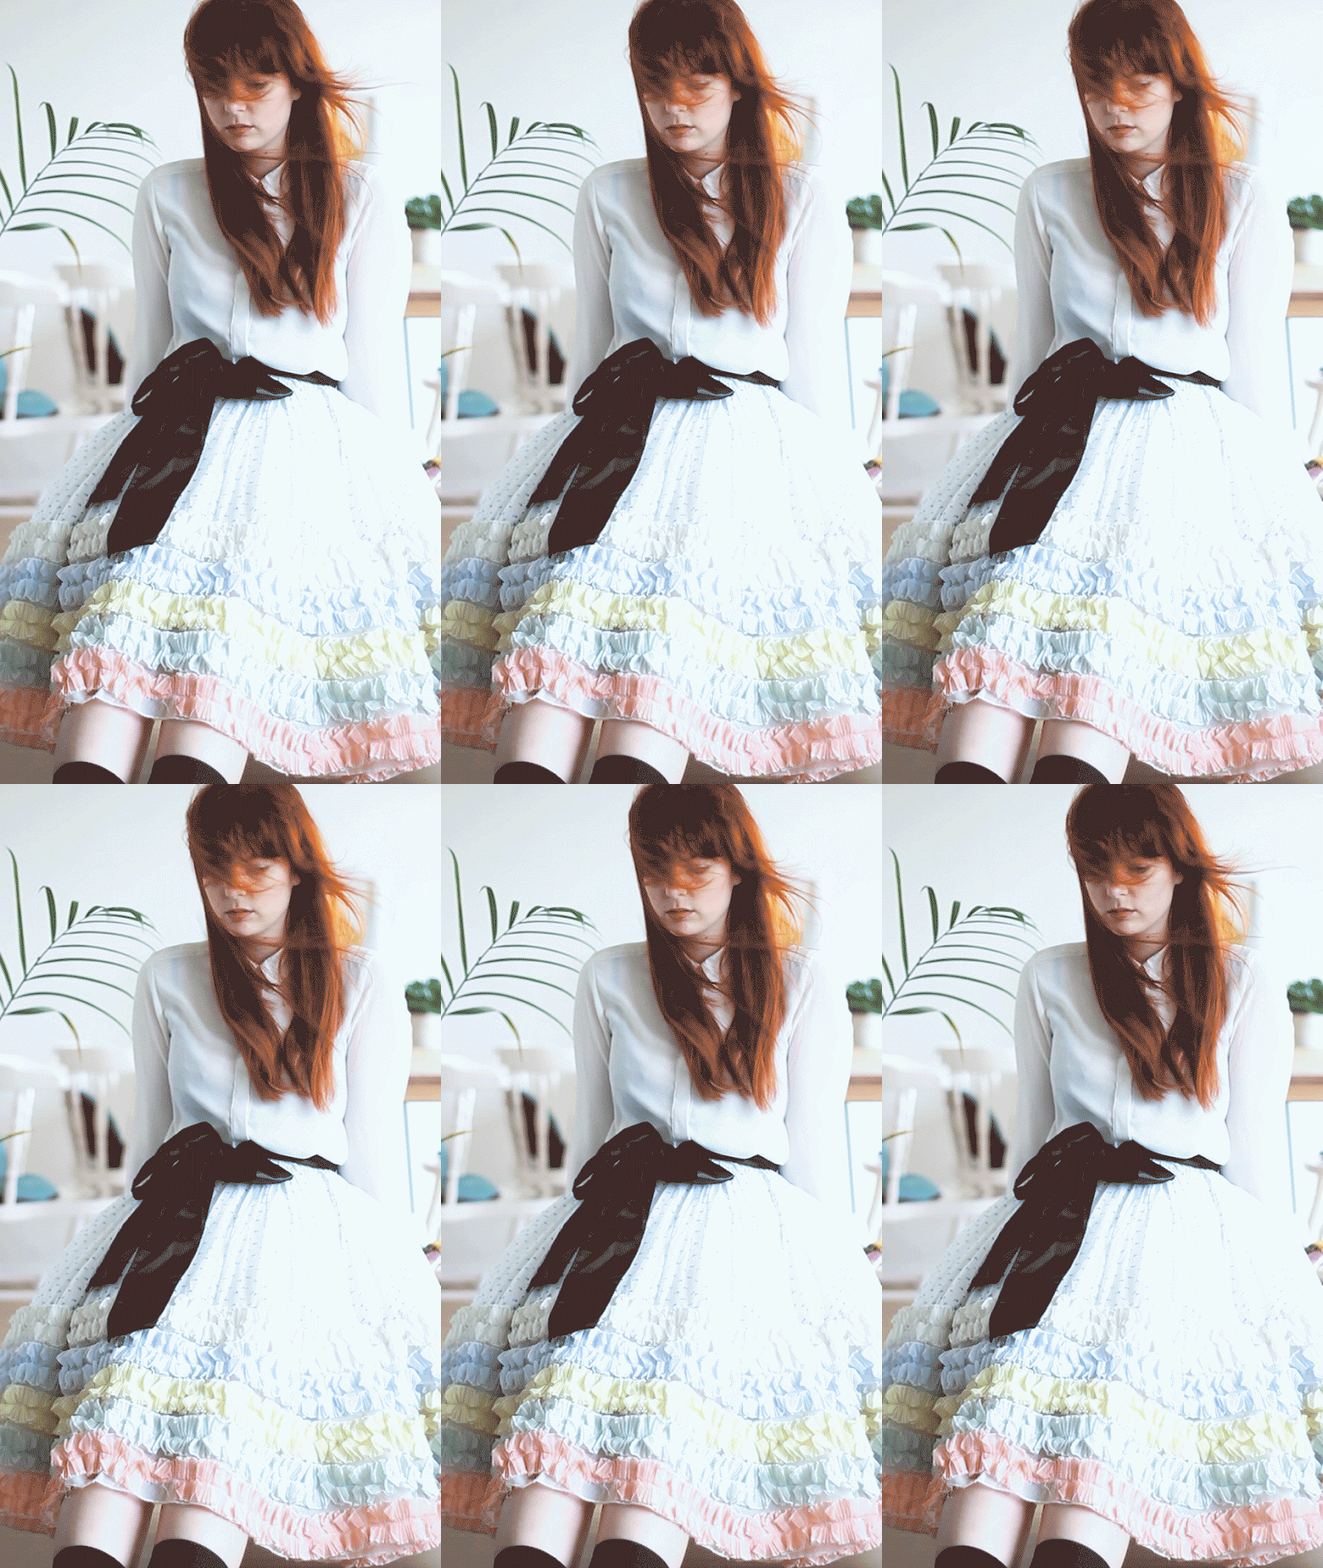
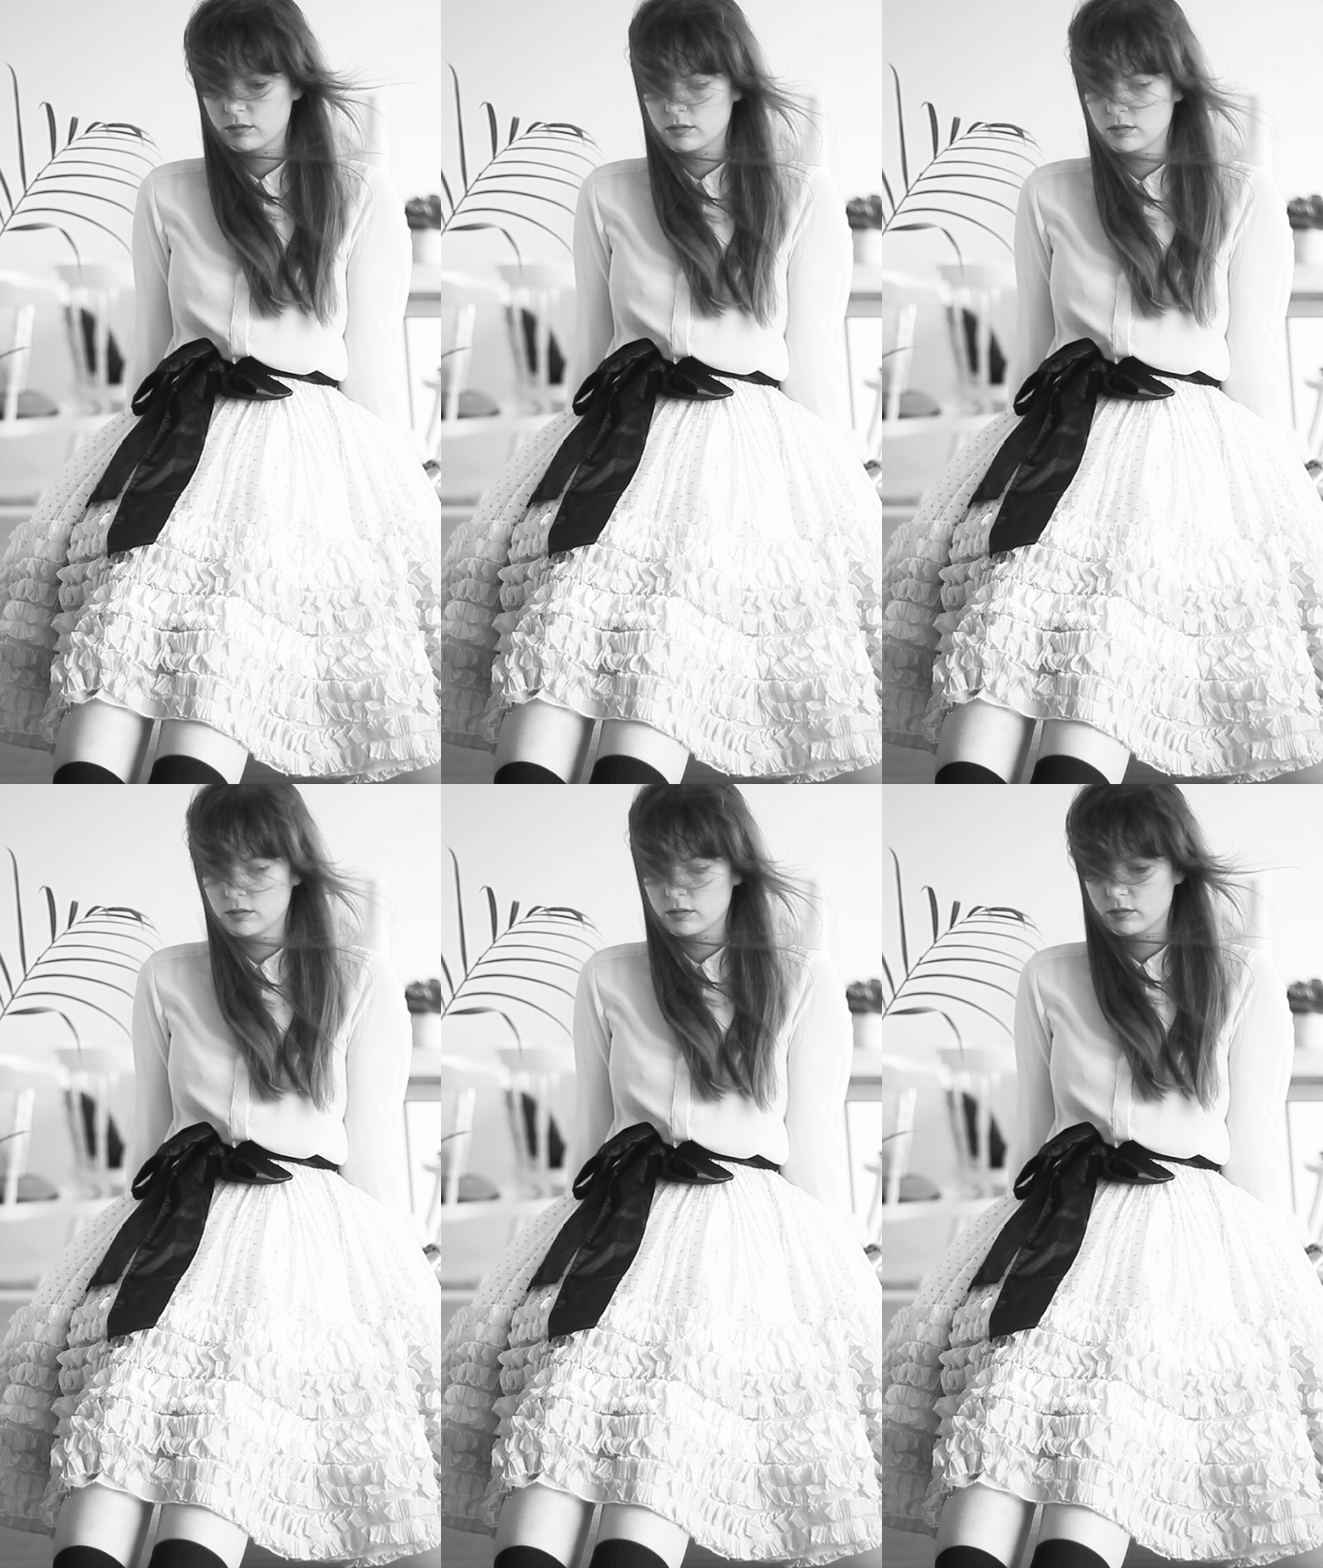

8 comments
Wow! Love it! thank you so much for the tutorial! :)
I have actually never seen this before, but it looks really cool!
This is awesome! Thanks for the tutorial! :)
This is great! Will definitely try it :)
Thank you soooooo much for posting this!!!
:)
thanks for the tutorial from south korea, really appreciate it
Thank you so much our students will love it at Underthetreekidtv especially for our videos on YouTube. I will try it and put their you can check it later just sear for UNDERTHETREEKIDTV AND THEN CKIVK IT