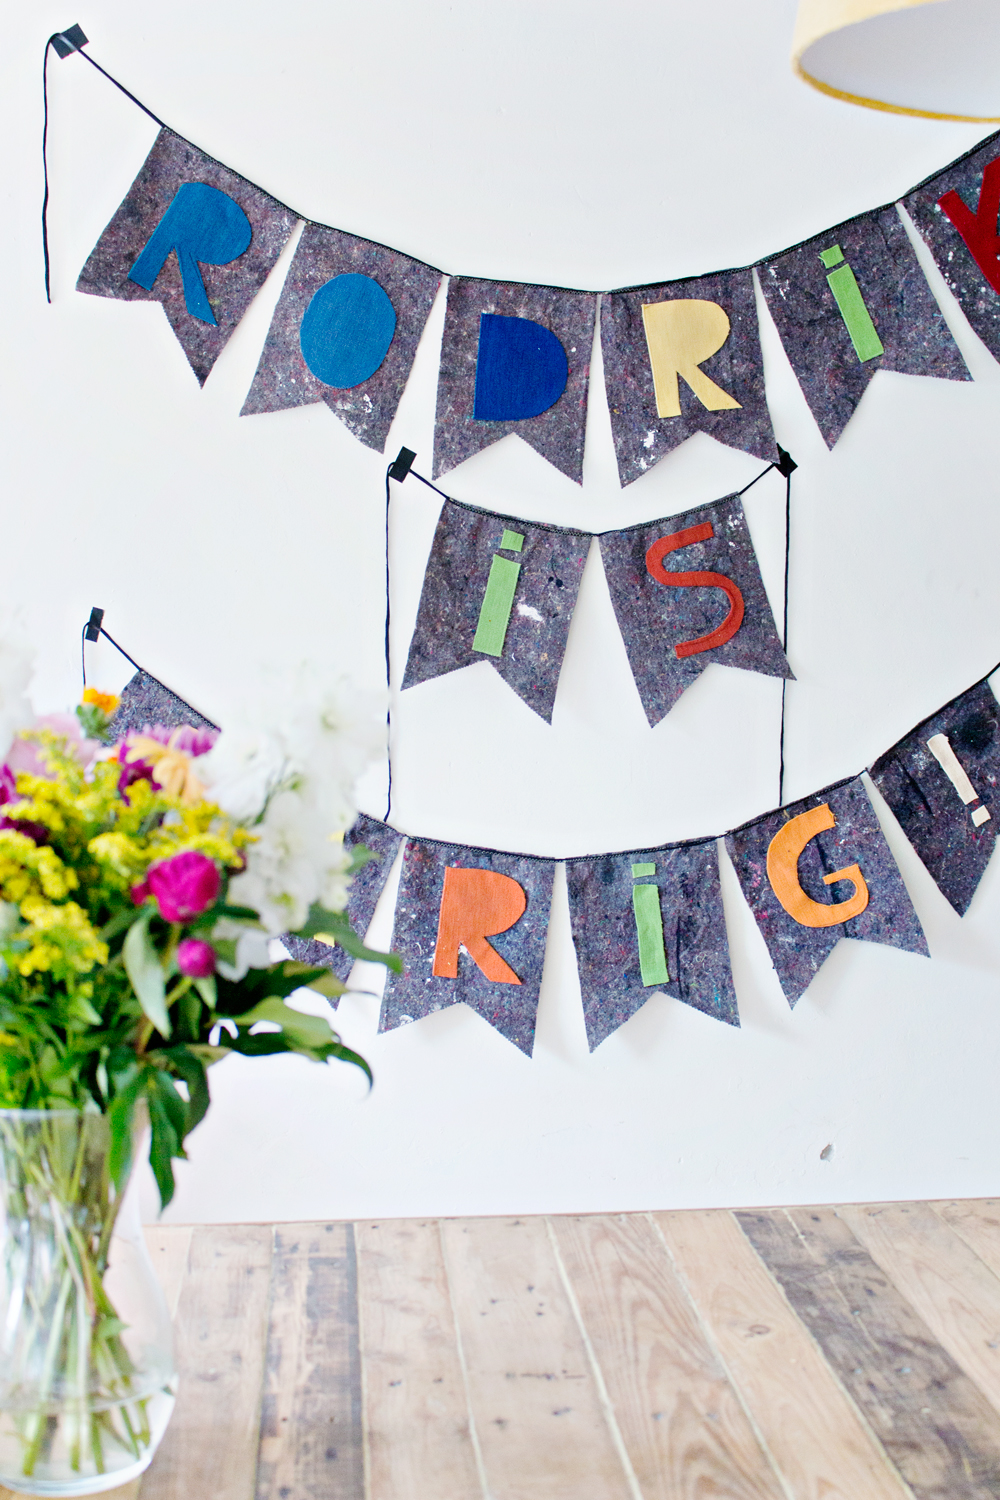
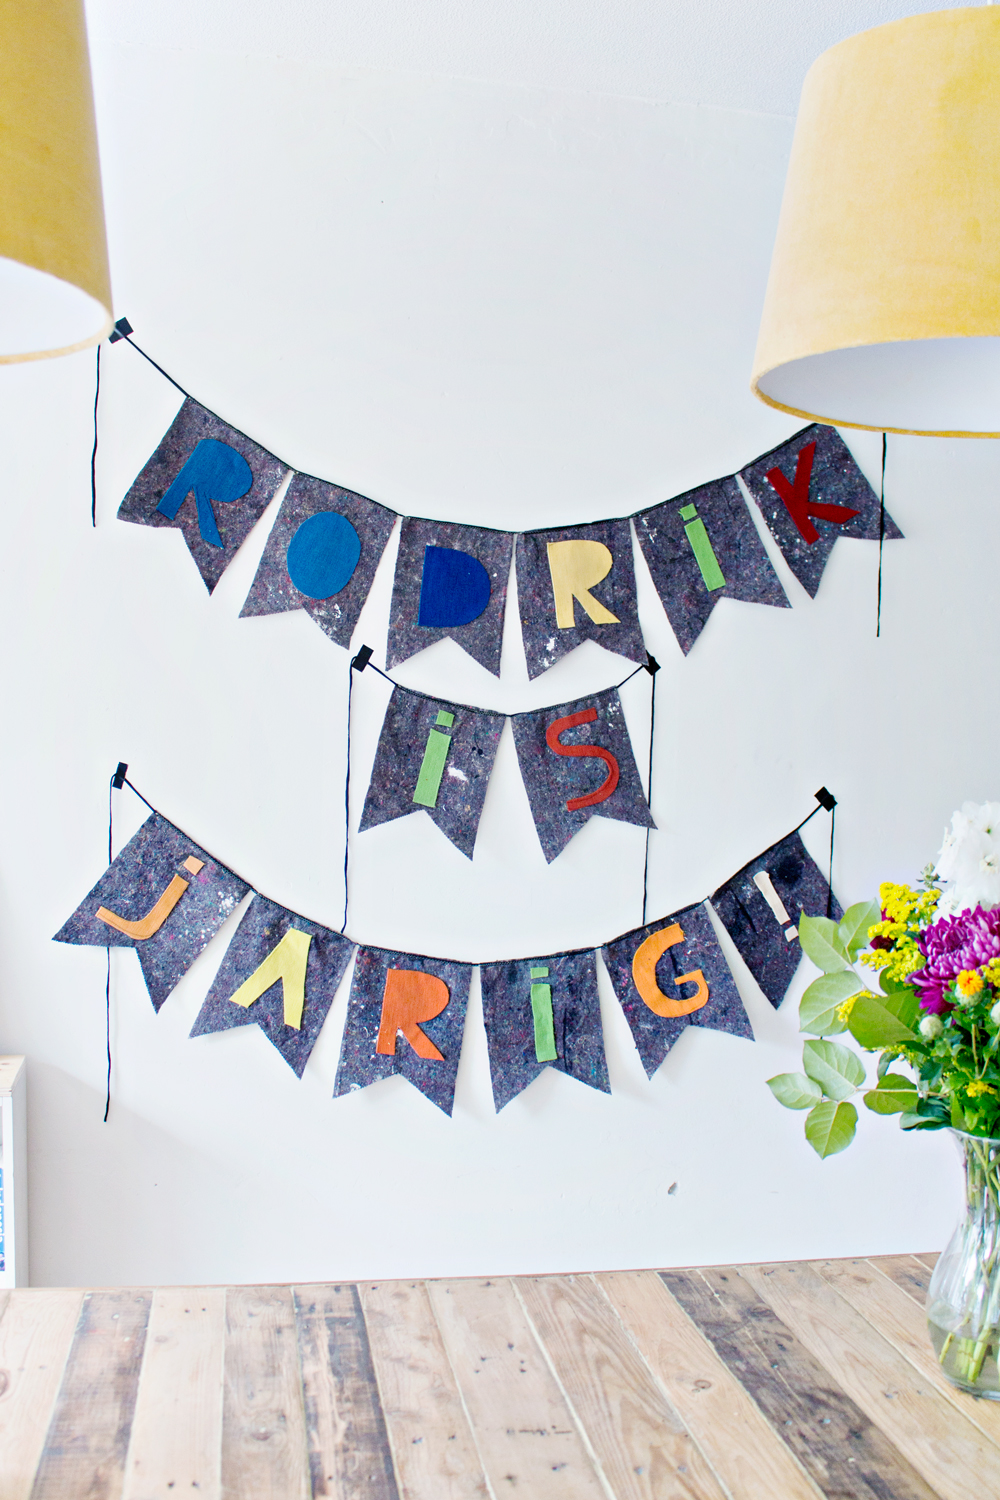
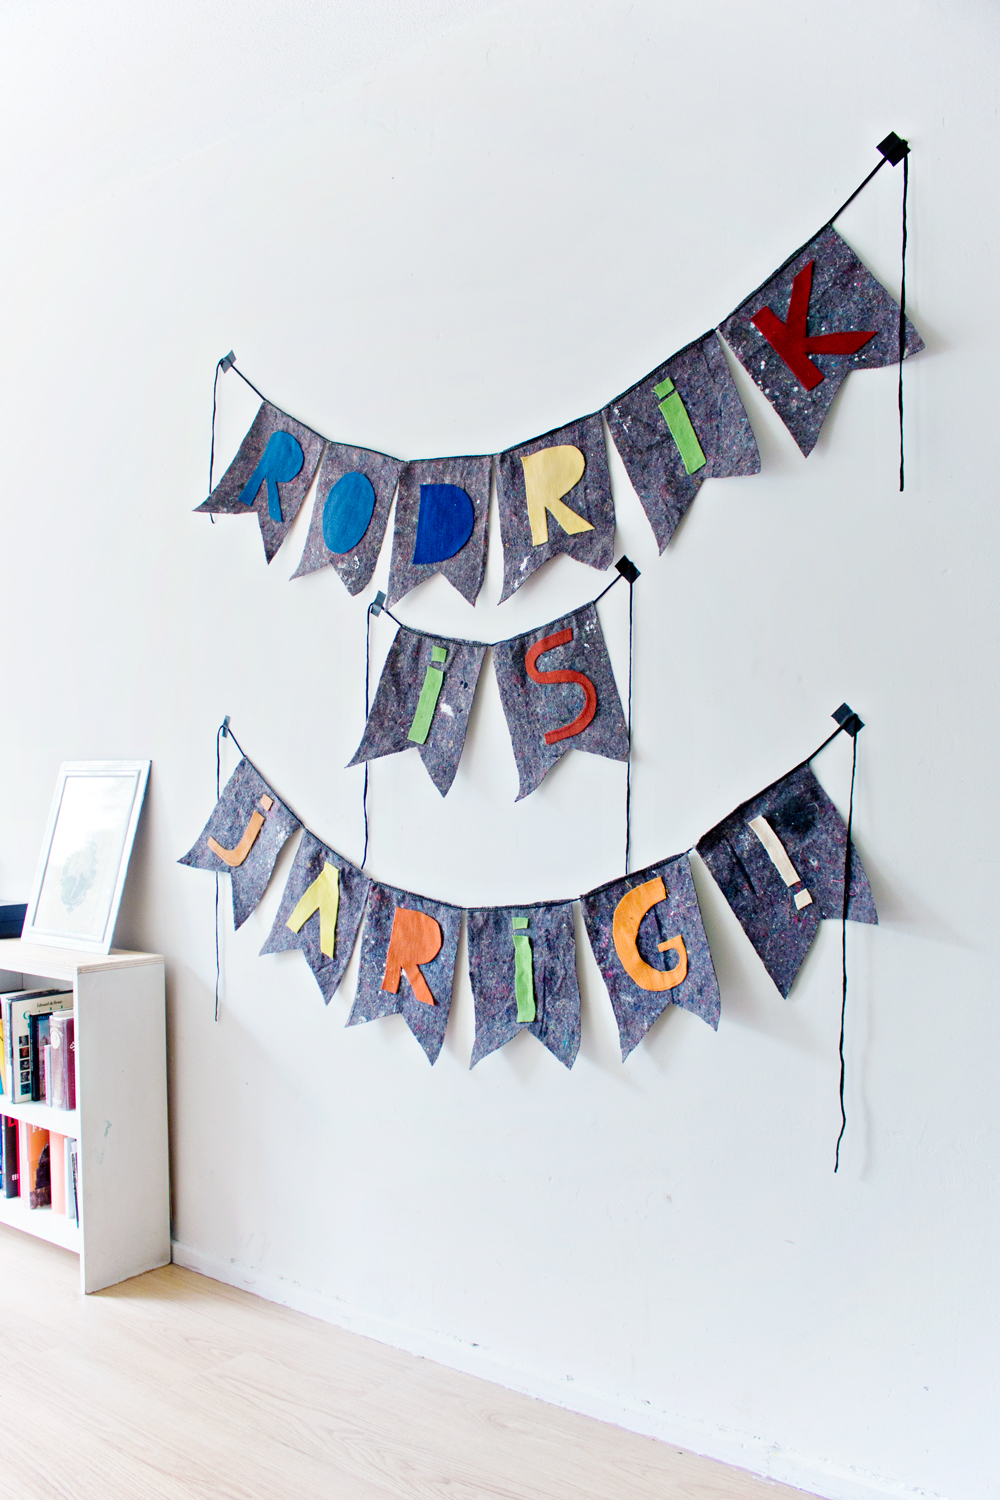
Last month was my boyfriends birthday, and I alway love to go all out on decorations and gifts. I am not a big fan of the regular store bought plastic banners and I know my boyfriend definitely doesn’t like them. So this year I decided to get up a little early on his birthday to make him this festive birthday banner!
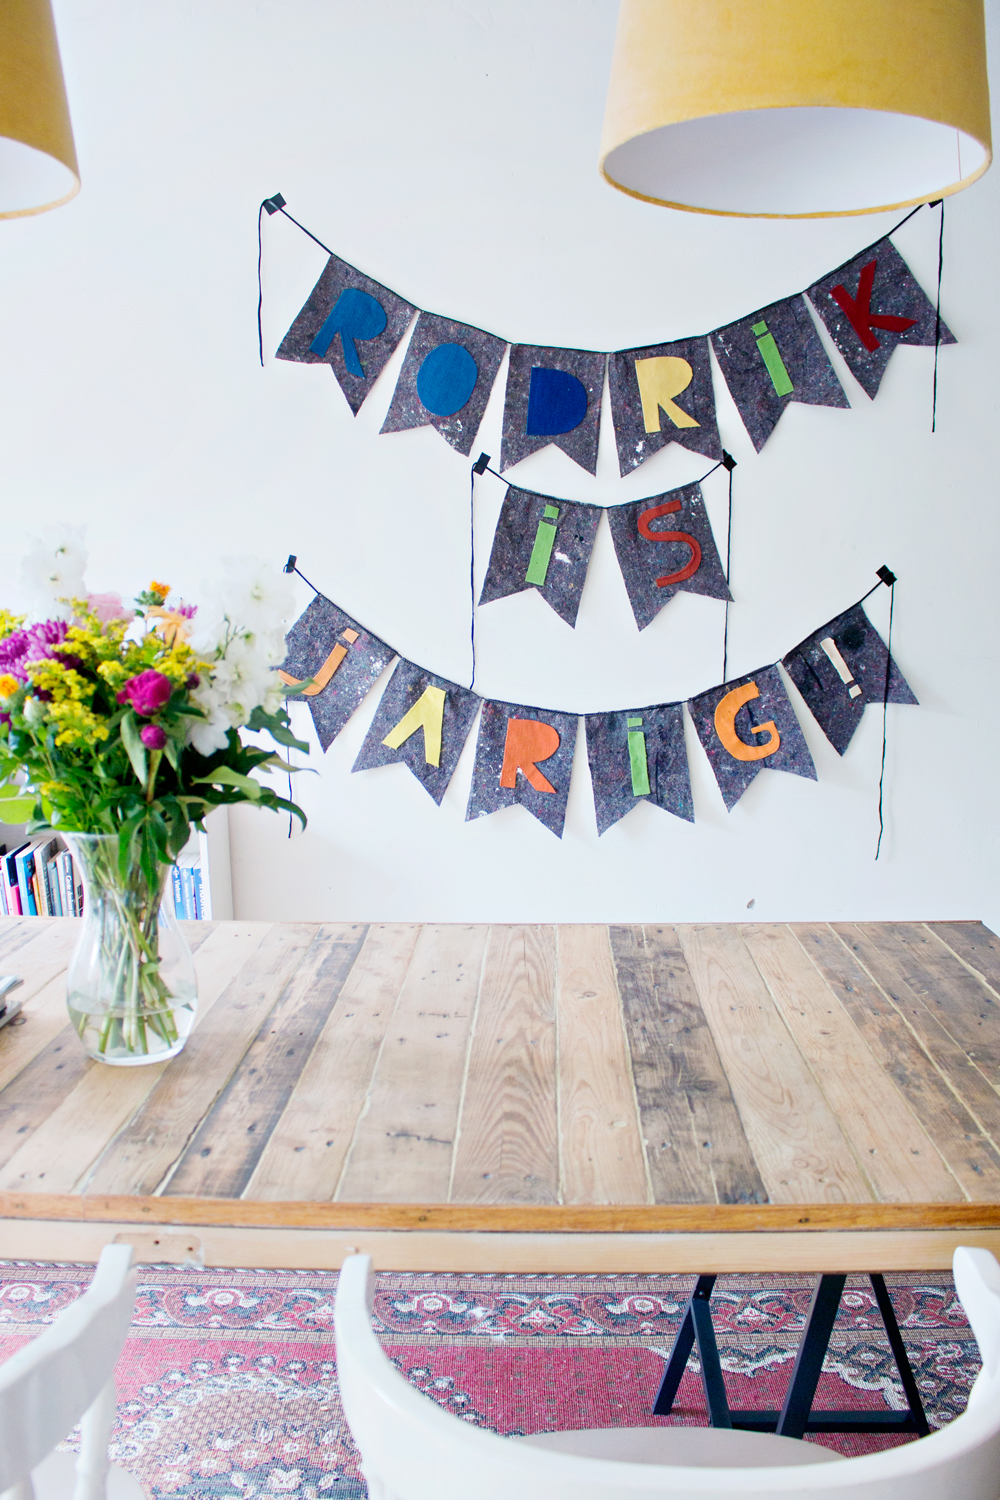
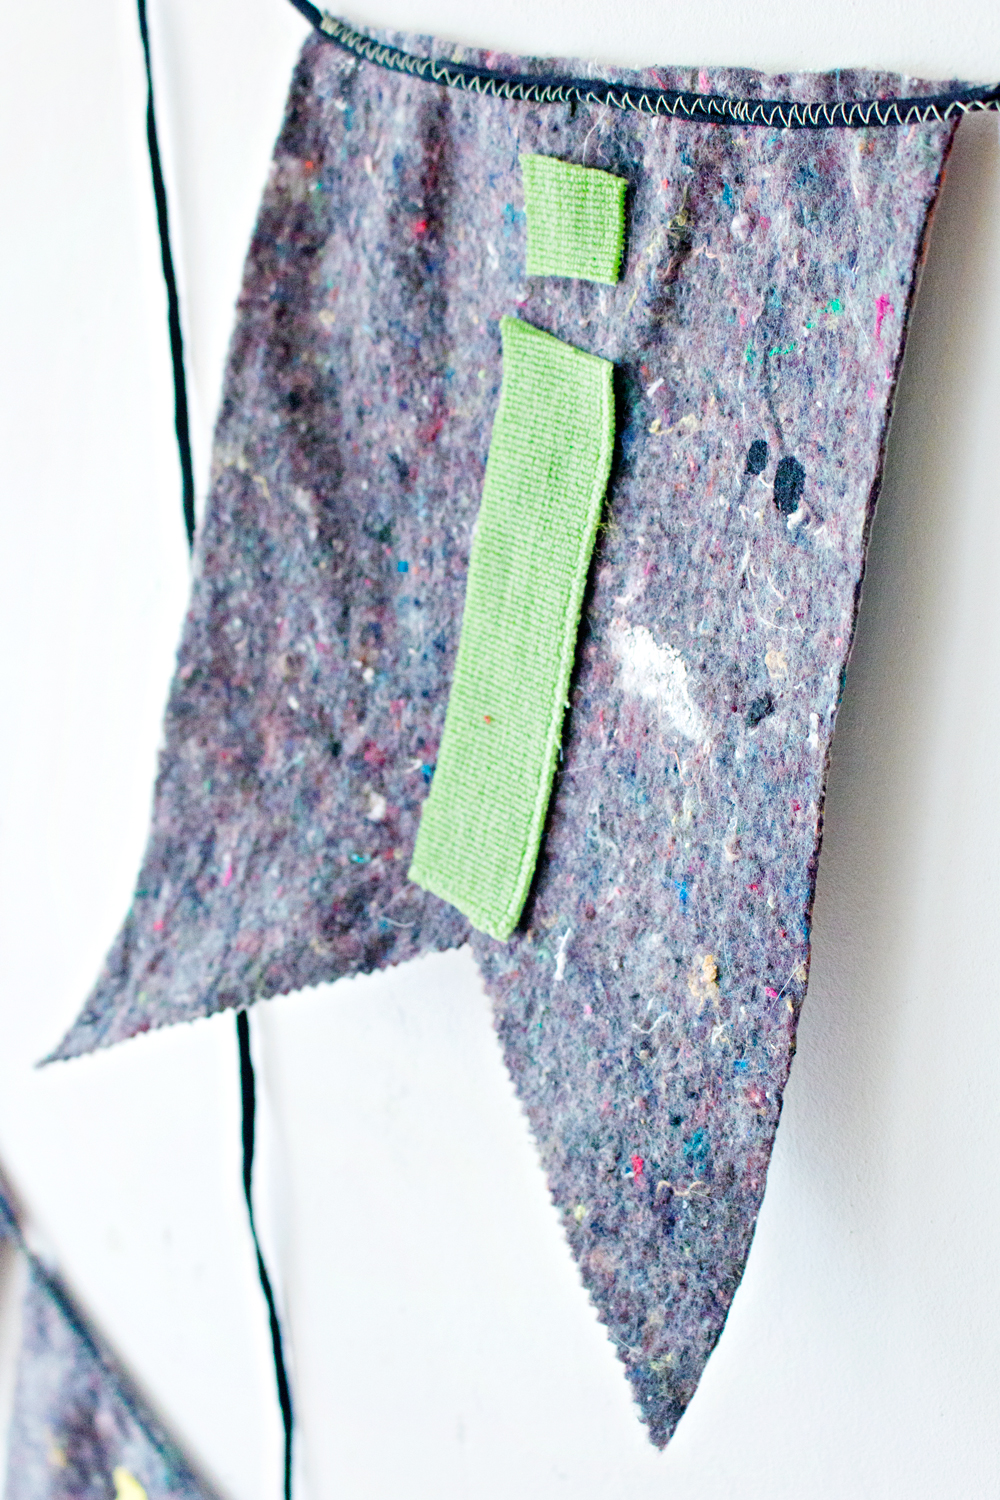
Oh, and you non-Dutch-folk are probably wondering what the banner says: it says “It’s Rodrik’s Birthday!”
It only took me about an hour to make, and it was extremely easy.
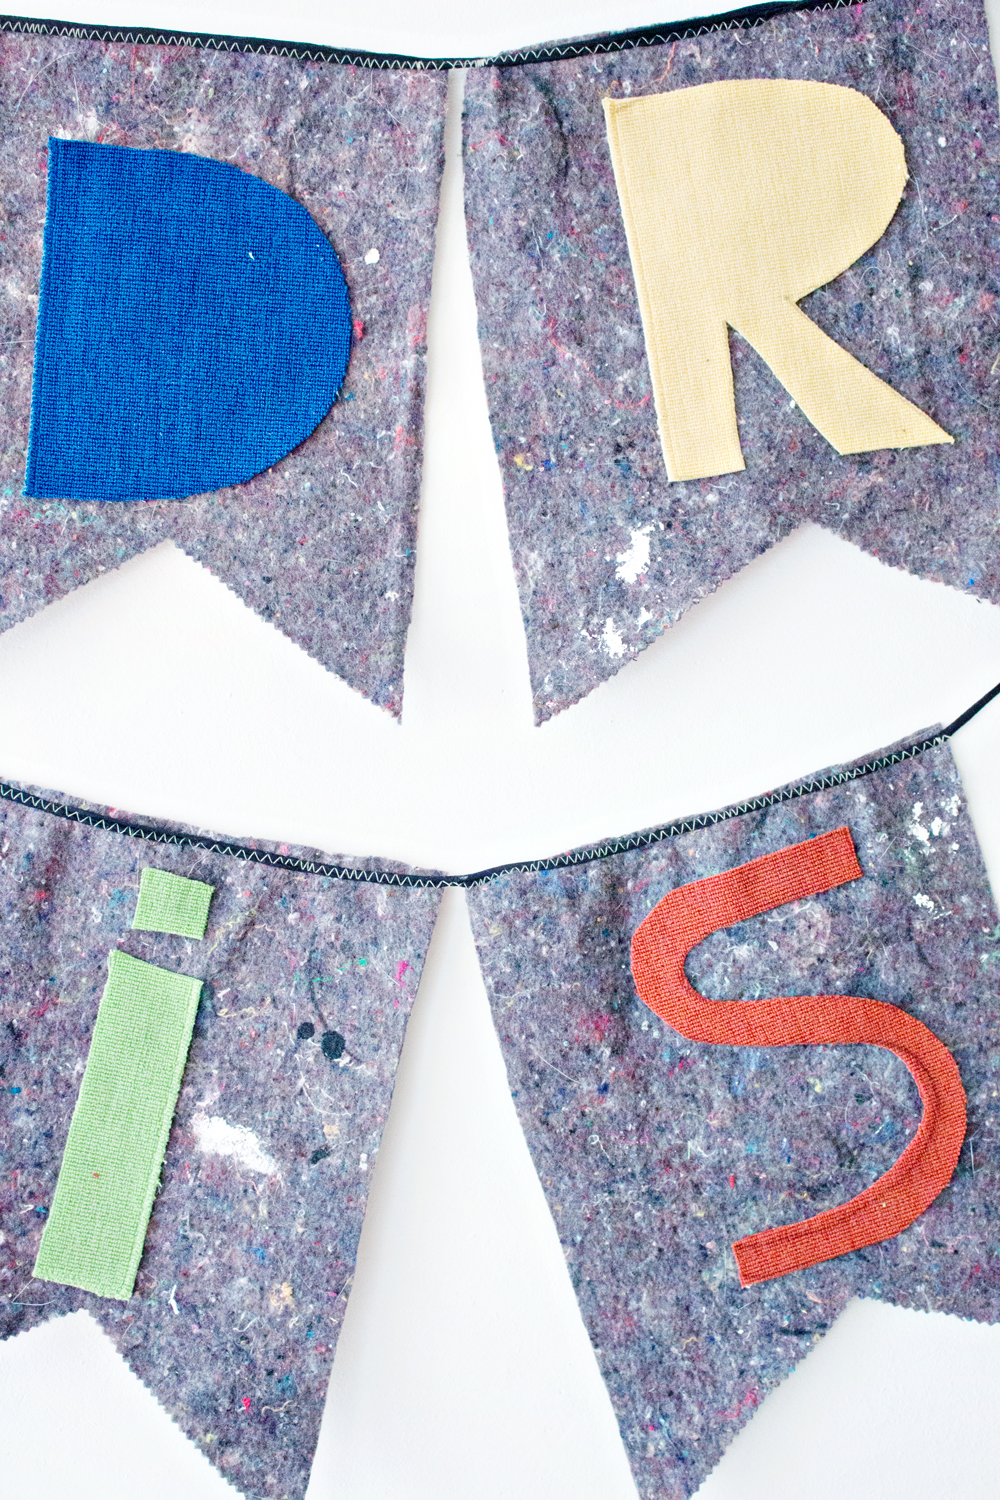
All of the materials that I used where things that I bet every crafter already has laying around the house. For the base I used an old stained painters cloth. And for the letters I just used fabric scraps. They where carpet scraps that I once got for free from a furniture store (I just walked into the store and asked what they normally did with their sample fabric, and they usually trow it away!) So this banner is extremely easy to make with cheap and free materials!
Are you having a birthday coming up? Or a party, or are you just in the need for some fabric banner decorations? Here’s the DIY:
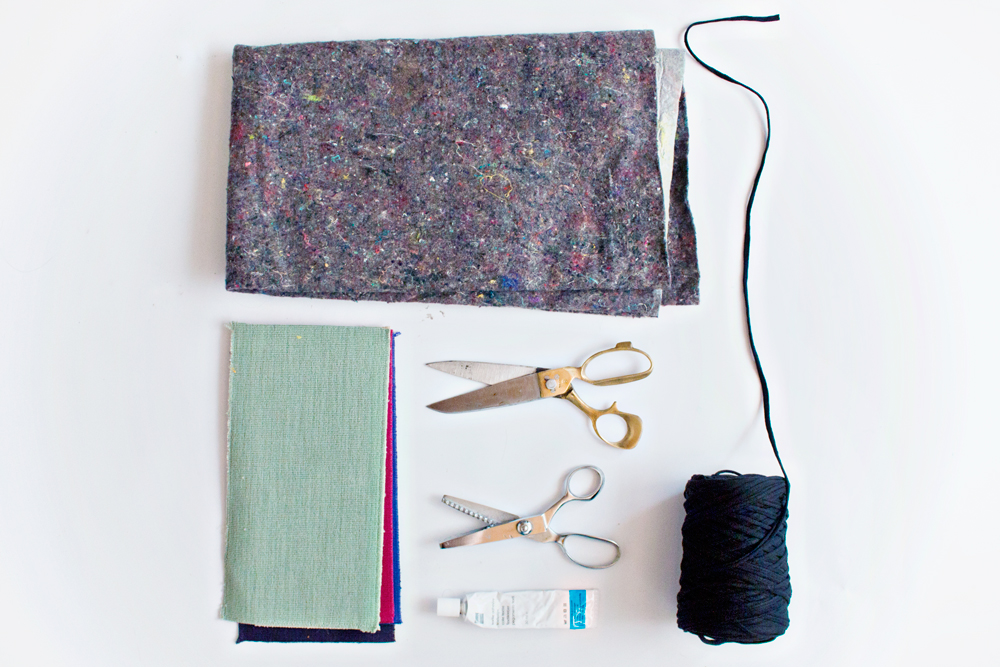
Supplies:
– Painterscloth
– Scrap Fabric ( I used rest material from a furniture store that I got for free, check out your local furniture store and ask for scrap fabric, they often have loads!)
– Rope, ribbon, yarn, etc. I used black t-shirt yarn, but it doesn’t have to be a stretchy kind.
– Scissors
– Fabric glue
– Pinking shears (optional)
– Sewing machine (optional)
DIY:
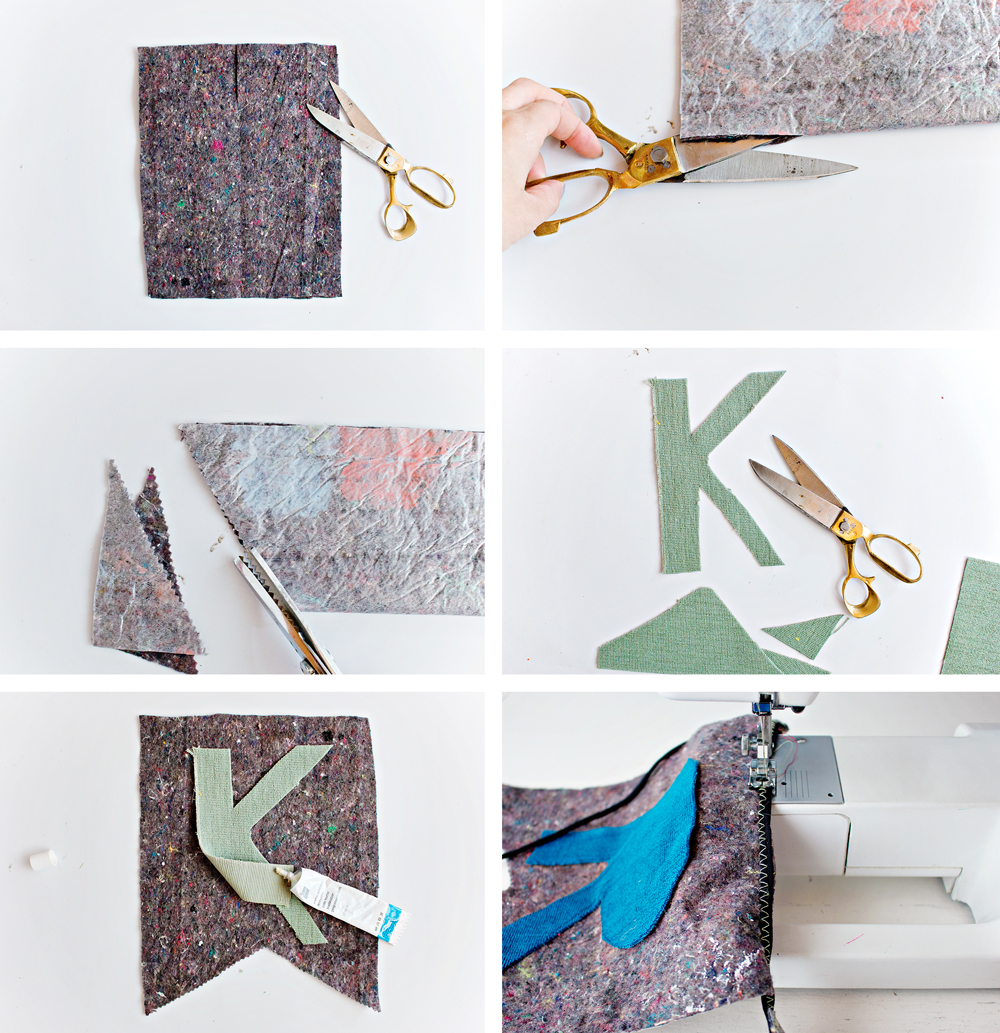
Step 1 – Count how many letters and words you need and decide the size of your banner(s). Cut the painters cloth in your desired rectangle size, repeat this for the amount of letters that you need.
Step 2 – Fold the painters cloth double. Cut an opening of a few centimeters on the fold.
Step 3 – Use regular scissors or pinking shears to cut from the top of the cut fold onto the bottom corner. (make sure the fabric is still folded double)
Step 4 – Cut your letters out of the scrap fabric. You can draw the design on the fabric first, before your cut them out. The messier your letters are, the more playful your banner will be.
Step 5 – Use your fabric glue to glue the letters onto the banner pieces. Let it dry.
Step 6 – Sew your banner onto the yarn, leaving enough yarn on both sides to hang the banner up. I chose to use a messy zigzag stitch in a different colour to accentuate the handmade look. You can also do this neatly if you prefer.
– Or if you don’t have a sewing machine (or just don’t feel like using it) you can always fold the top of the banner over the yarn string and glue the banner to it’s own back.
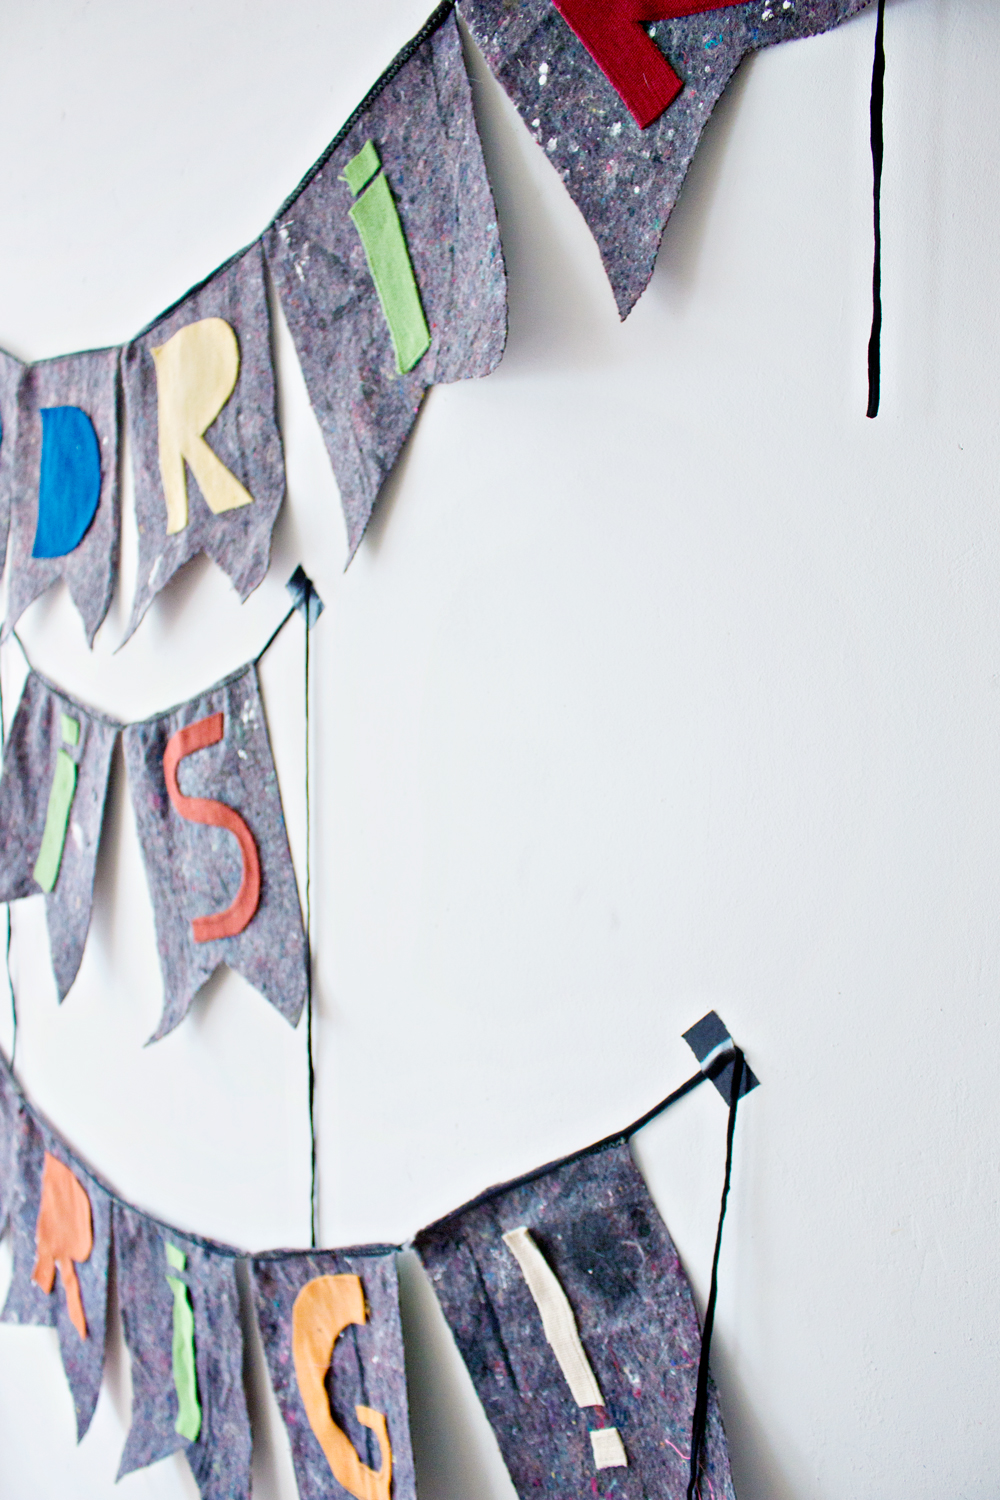
Now all that is left is hanging it up, use tape like I did, or tie the yarn onto something, go crazy!
All done!


1 comment
That’s indeed a decoration banner with a lot of character.