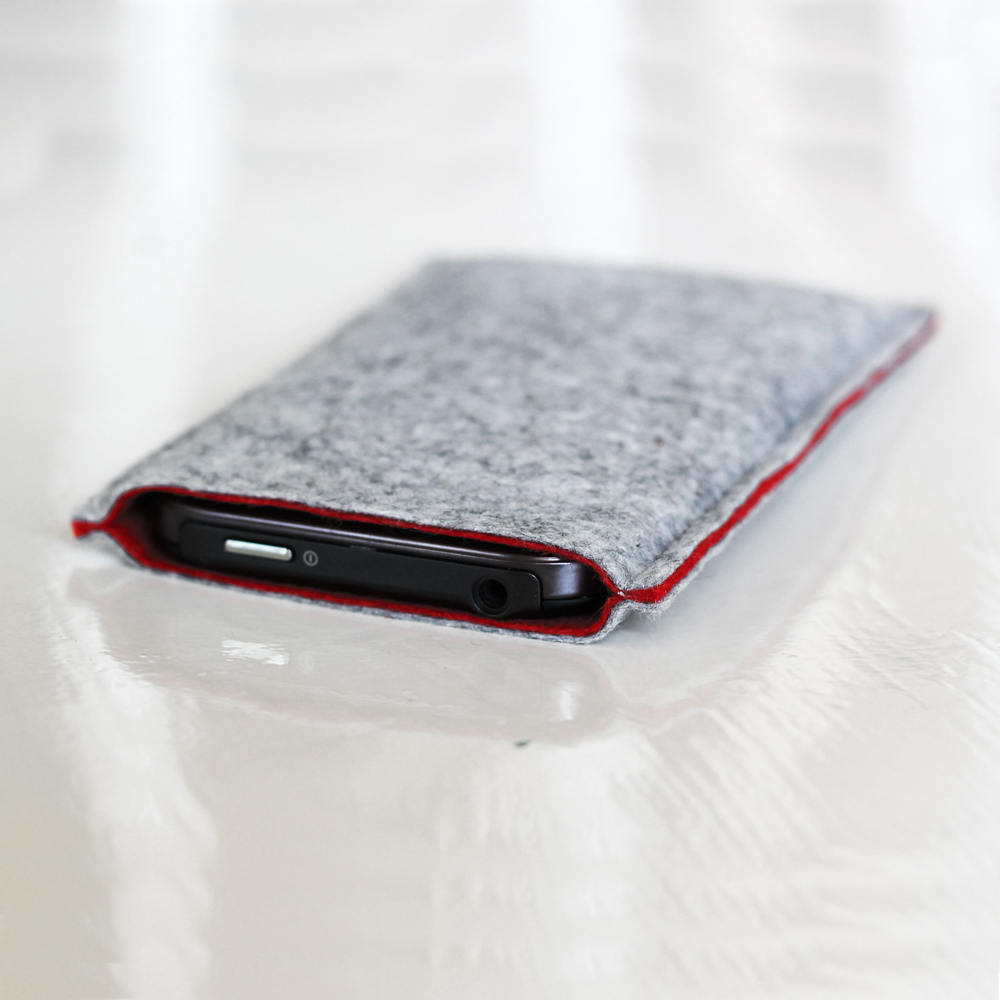
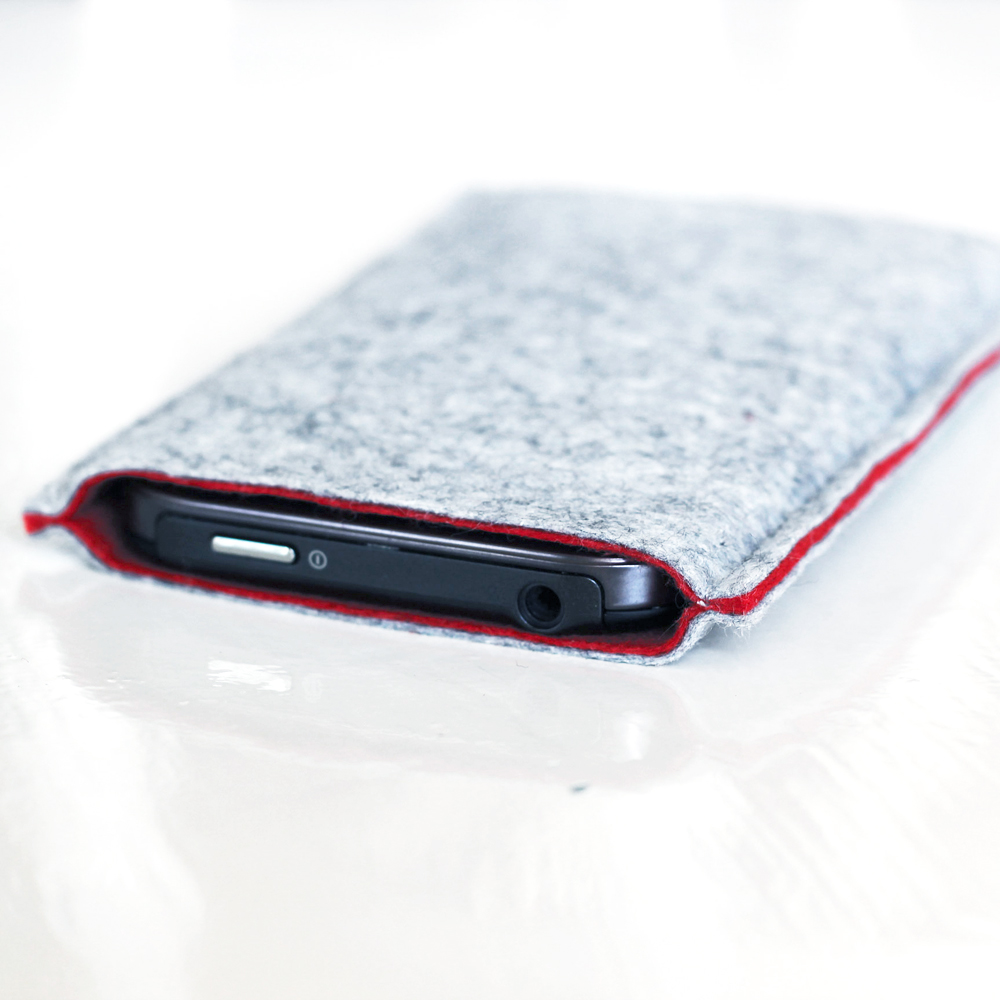
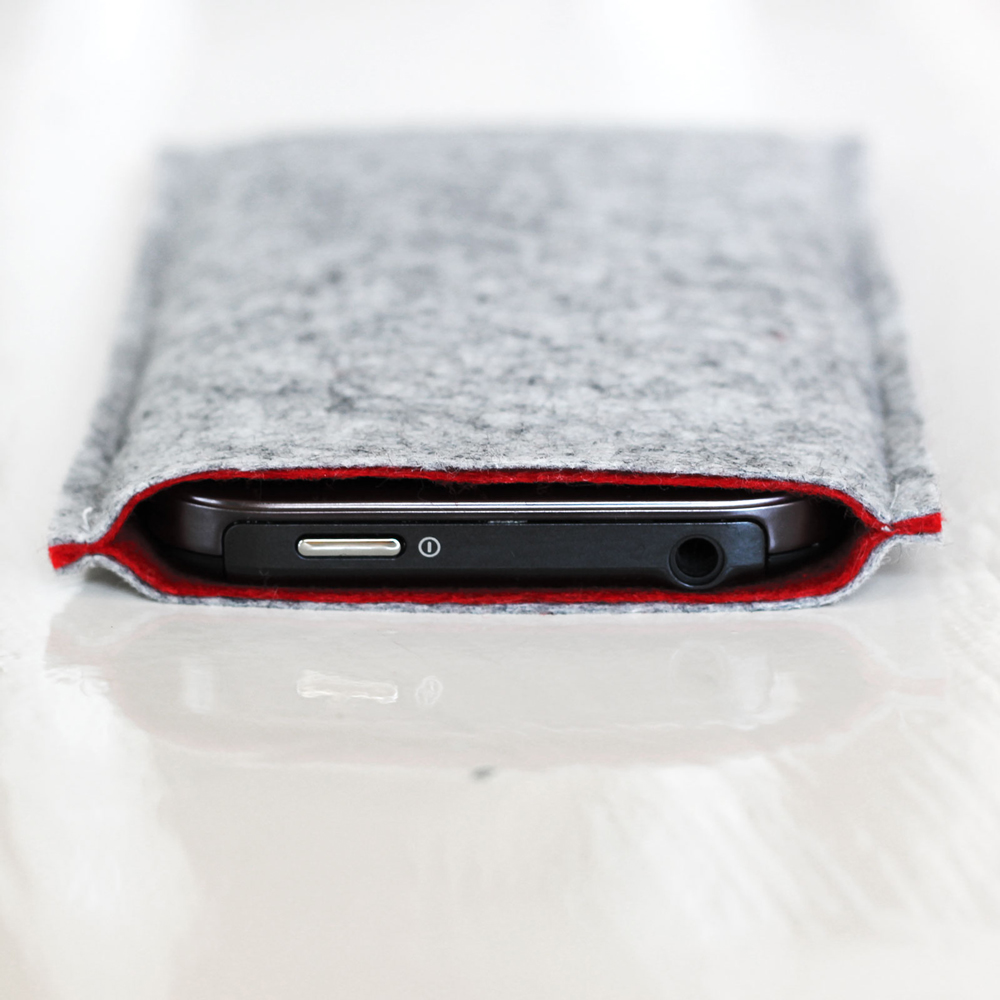
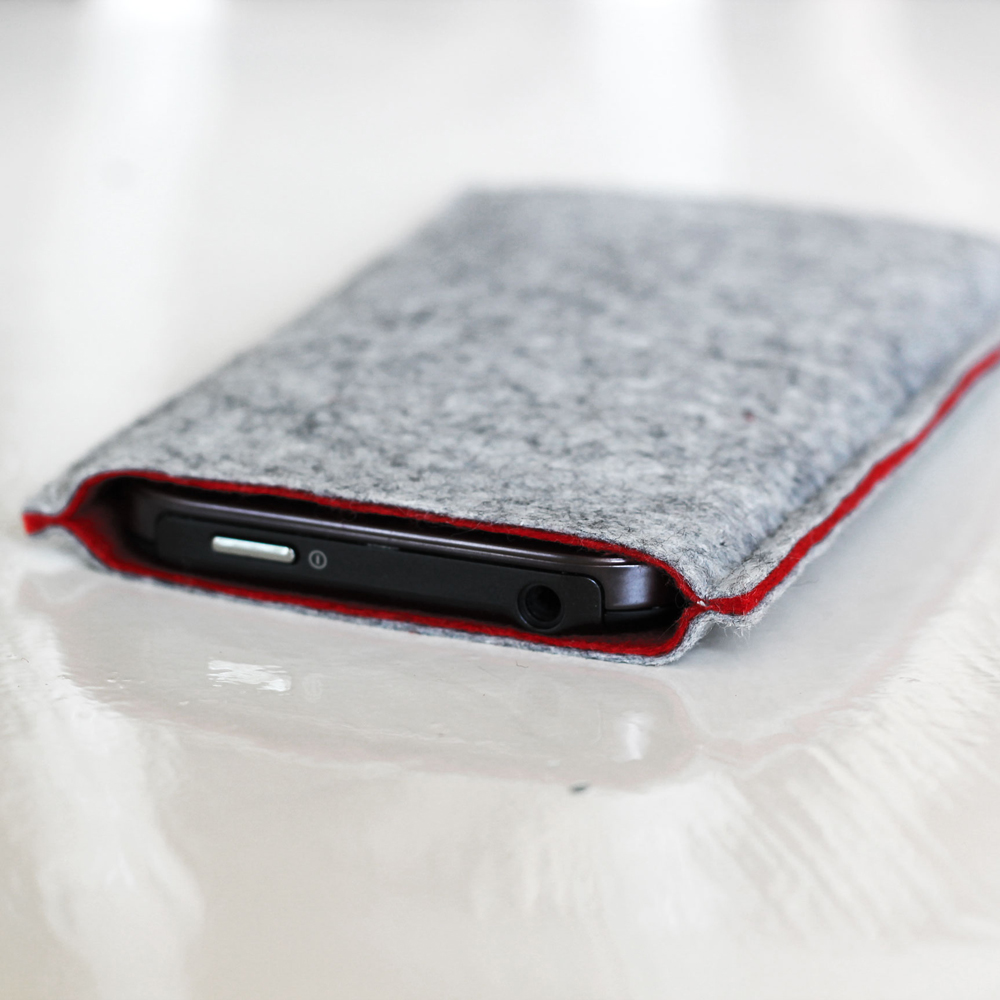
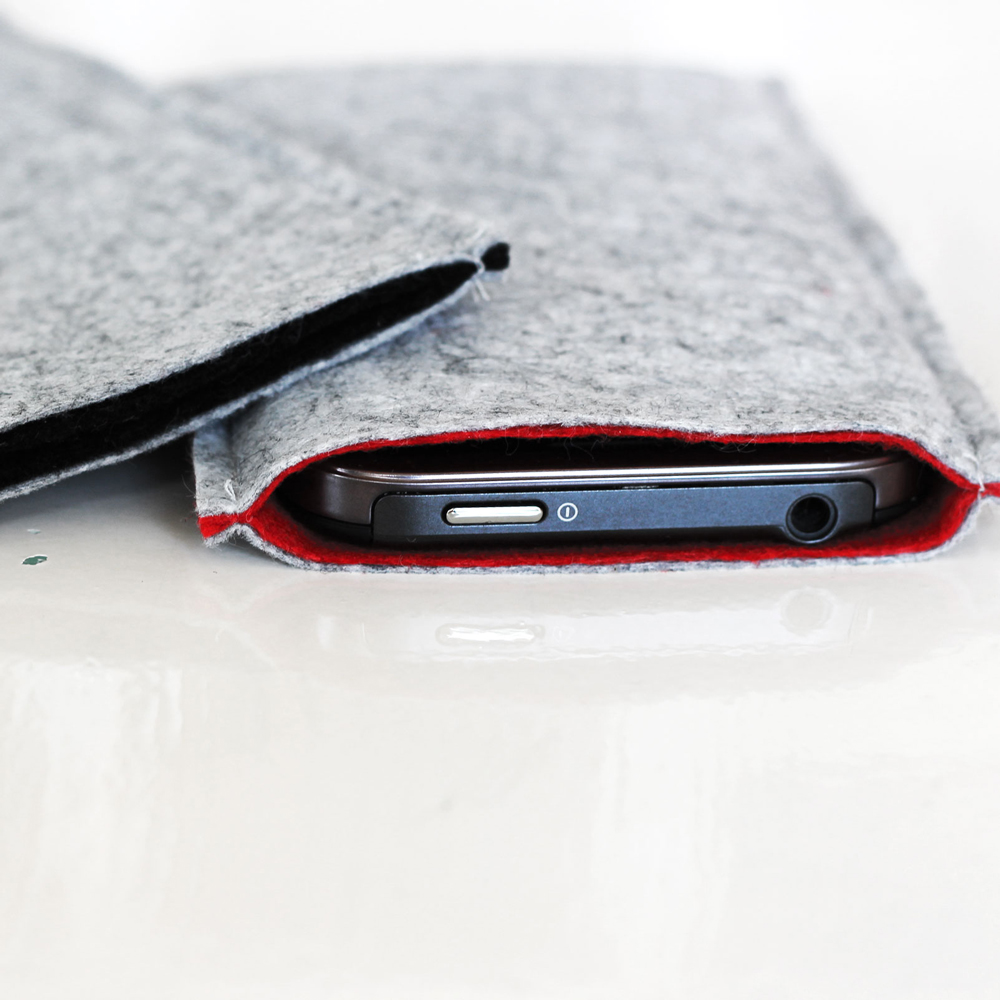
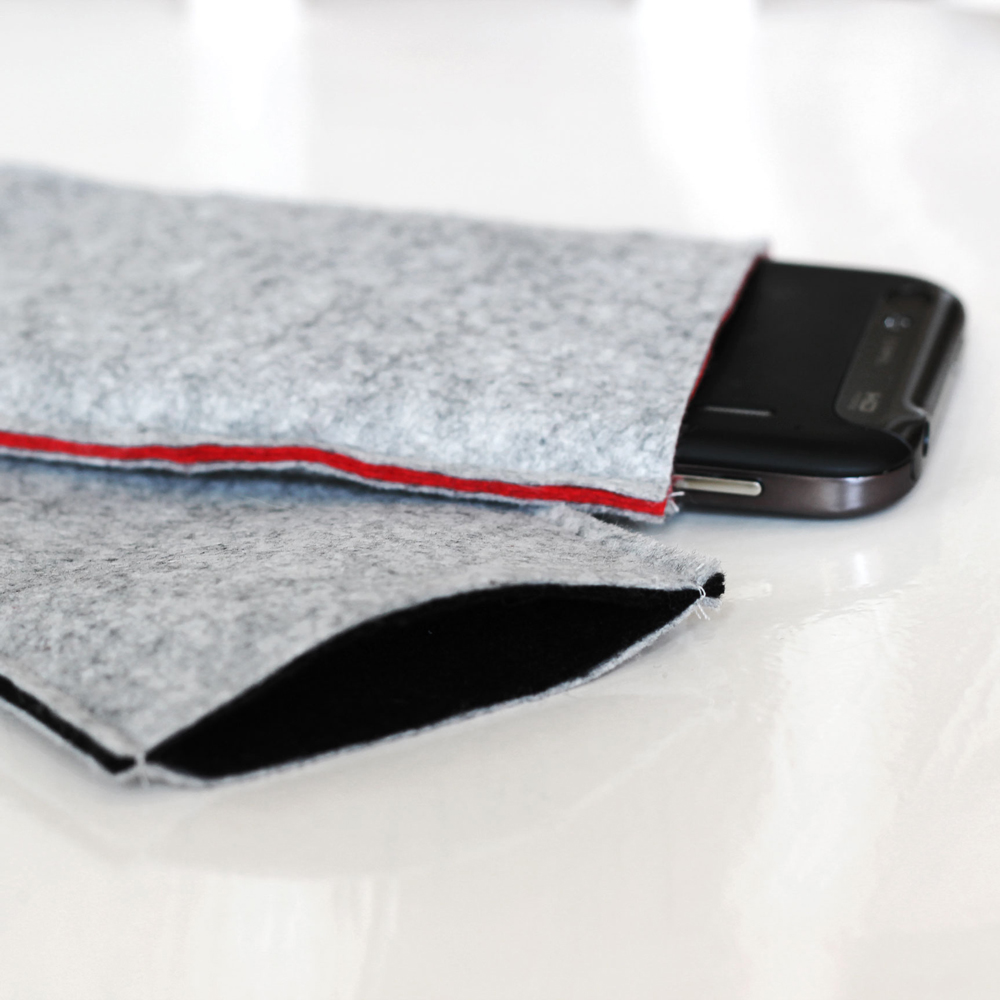
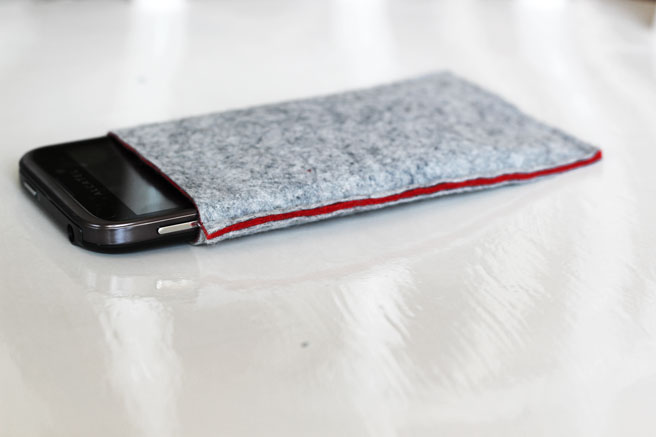
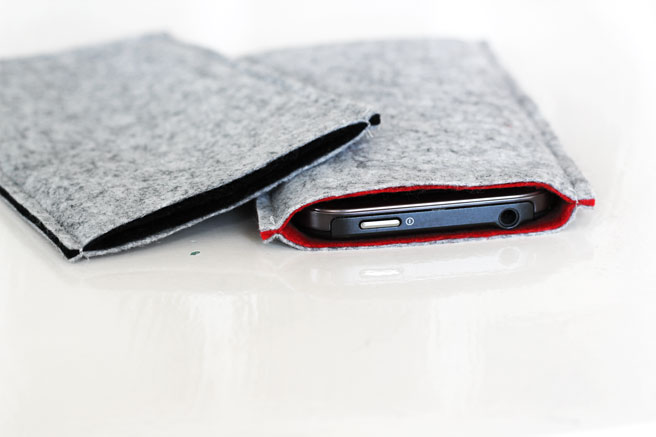
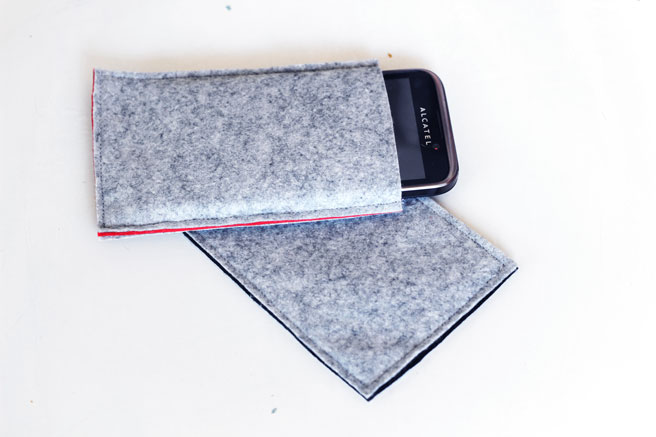
My boyfriend just bought a new phone and needed a new phone case to go with it. So I promised him I would make him one. He really wanted it to have a simple design and no bold colors. I decided to use felt, since it’s affordable and if you use it in grey it gives it that modern manly vibe. I mixed the grey with some red on the inside, to make it more design and less boring :)
He’s really happy with it, and it was ridiculously easy to make!
Here’s how, if you want to make one yourself:
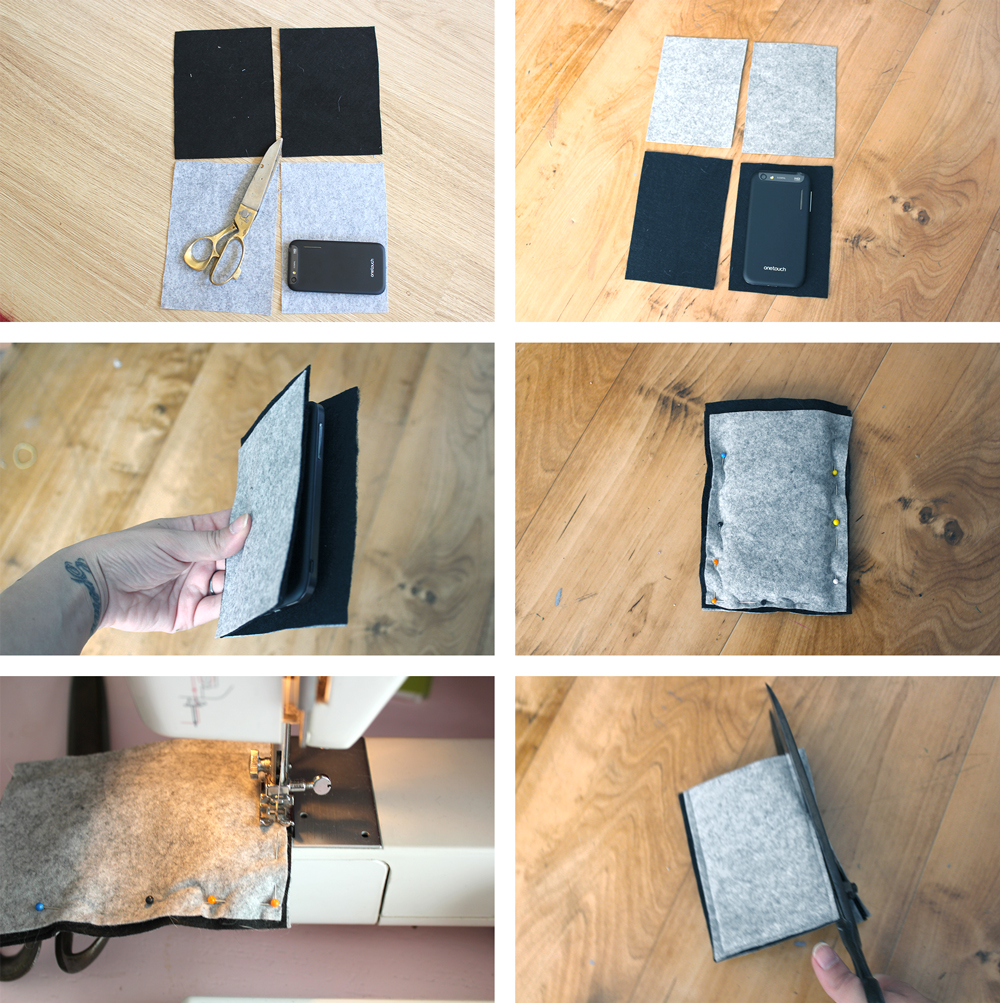
1. Get two different colors of felt, a scissor and some pins.
2. Cut the pieces in the size of your phone + 1 cm all around.
3. Put the pieces on top of each other and put your phone in the middle.
4. Pin the sides with your phone still inside the felt pieces. Pin it pretty tight, because it will be a bit less tight when it’s sewn together.
5. Take your phone out and stitch the pinned parts.
6. Cut the felt about 2mm. from the stitched sides.
All done!
Pictures by Lana


18 comments
Love this! So simple. I want to make one for my Kindle. It’s perfect to embroider something pretty on! Maybe even some beads? I’m excited! Thanks for posting the tutorial!
I would also love to use beads! Unfortunately my boyfriend wouldn’t be so excited ;) So I guess I’ll have to make one for me too!
Some people aren’t so bright, so you might want to add for their sake that they need to take the phone out before they stitch it. I’m sorry if this sounds pretty nasty, but it is sometimes necessary
I get what you mean ;) I changed it now, so thanks!
Thank you very much for this clear instruction. Have a nice weekend !
Best regards, Synnöve
This looks very manly! I love how your phone case turned out. Gray looks great with almost every color. :)
I like the exposed seams and the simple design. I’ve just finished an iPhone case that’s a similar design to this, but it’s made from leather and felt.
This is such a simple and great idea! I just followed your directions and made an absolutely awesome one! Although when I made mine, I wanted the seams to be hidden, so I made the layout a little bigger than it needed to be and flipped it inside out! This is way better than spending all that money on a store bought iphone case. The best part about this is that you can get as creative as you want with these, and make a bold statement! Thanks again!
Hi Eliza! How great that you made one to! And I agree, it is way better than spending all that money on one from a store. Have fun with yours! xoxo Lana
This post was featured on truecharismacrafts.blogspot.com
Check it out!
Thank you so much for featuring me! Your blog looks great!
xx Lana
Thank you very much for your tutorial! I have just made a case for my boyfriend and he loved it!! He said it was very elegant, and it is so simple to make!! Thank you!
Thank you! And how great that used my tutorial!
Erg bedankt van je tutorial
Hi, sorry if I am being really thick here… I don’t understand why first i need to cut twice the size of the phone, and then in the second step 1cm around the phone? Can i skip step 1?
thanks!
Hi! You are absolutely correct: the first step is completely unnecessary (it is one of my oldest and first tutorials, so I am not sure what went wrong there:-))
I removed the confusing part, thank you for letting me now!
Please let me know if you have any other questions. Lana
Haha that is awesome, thanks so much!
This design is great and your page so well presented and clear! THANK YOU!