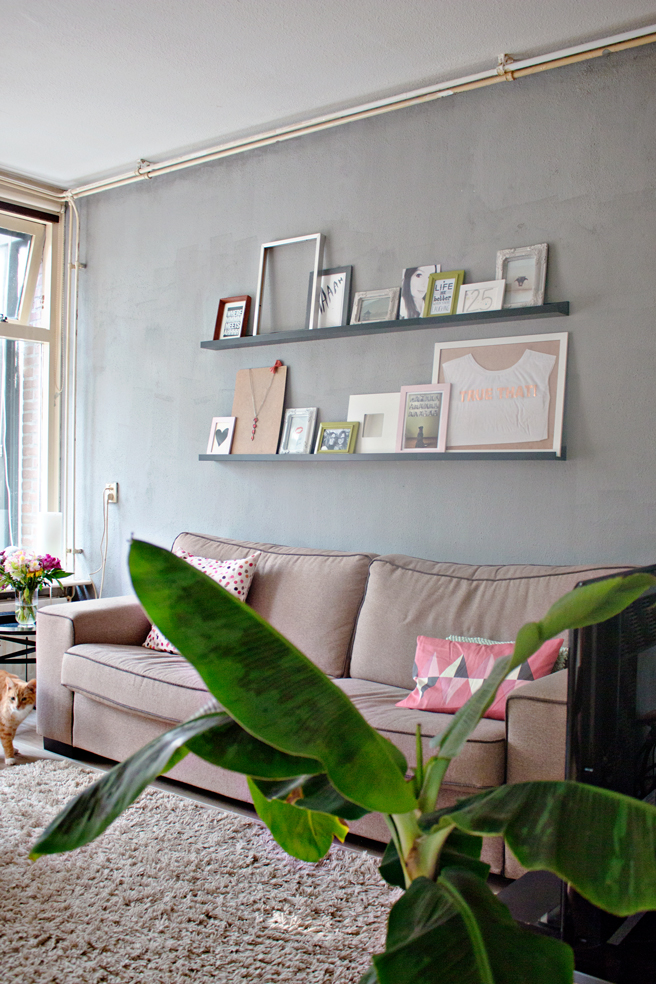
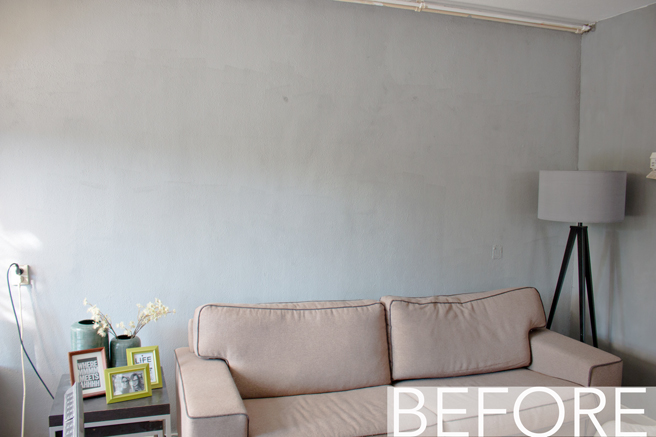
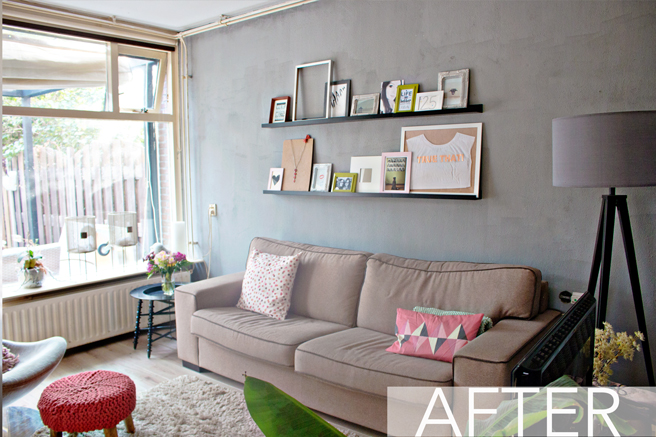
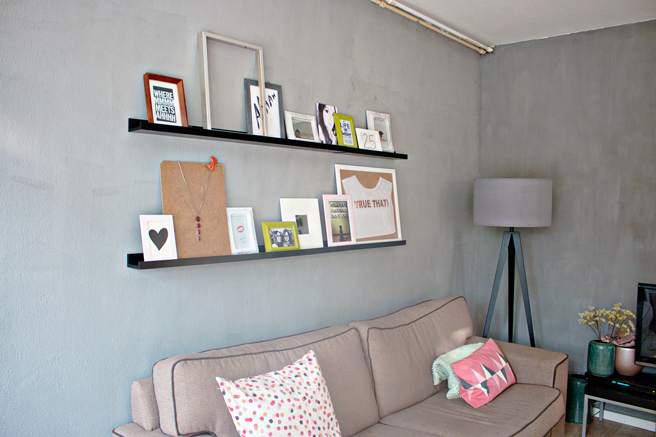
How about a complete wall restyle for less than 50 euros? Yes! But how, with less than 50 euros you ask? The best combo: Ikea and some serious thrifting!
I promised my sister to restyle her wall as a birthday present. We painted her wall a while ago, and she wanted a different look in her living room. the only demand was that she could personalize it and add or remove items to create different looks.
We decided to use picture frame shelves, because they are just the best! I never used them before, but I always love the look and it’s most of all perfect when you want a less permanent option. Because you can do endless variations with things to put on the shelves!
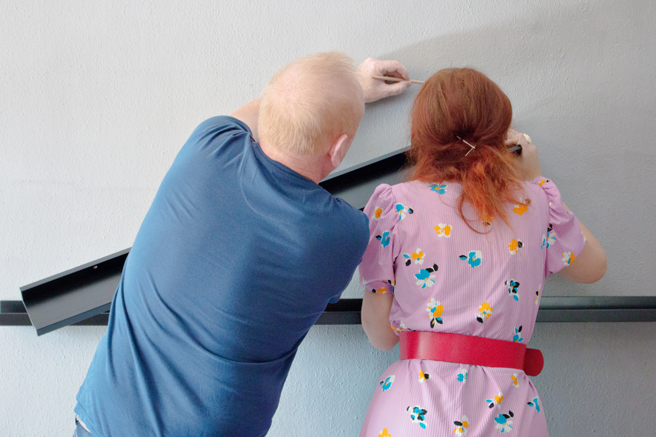
After deciding this, I realized that tools are heavy and me and my sister don’t live very close to each other, (and I don’t own a car) enters: Dad. I don’t know anyone that has more handy tools than him and always a plus: he can’t sit still. So when I asked him to borrow some tools, I eventually got a lot of help with this tutorial from him!
Here’s how:
Supplies:
– Picture frame shelves (I bought mine at Ikea)
– Tape
– Level
– (Hammer) Drill (depending on your wall)
– Screws (and plugs)
– Picture frames (I mixed cheap Ikea frames, with frames that I found at thrift stores)
– Paint
– Accessories
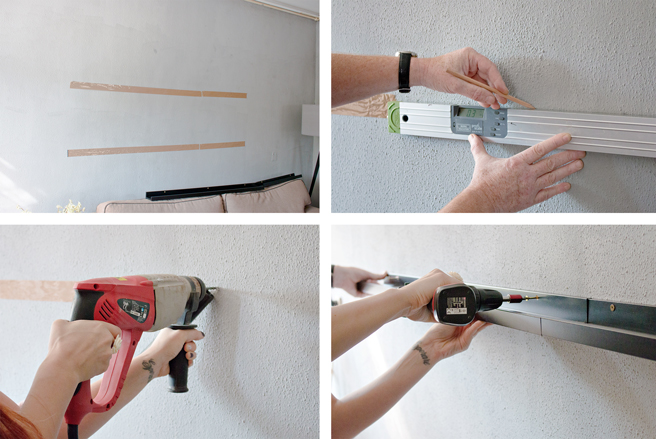
1. Use the tape to decide where the shelves will be placed. If you only have cheap tape laying around (like I did) Than make it a bit less sticky by pressing your hand or some fabric over the sticky part. This will make it less sticky and ensures that it doesn’t damage your wall.
2. Once you decided on the right spot, use your level to see if the tape is level. If not, replace the tape to make it level.
3. If you have a sturdy wall like this one, than only screws won’t do the trick. You will need to use a hammer drill. Make sure that the plugs, screws and drill are all the same size! Place the shelf over the tape and use a pencil to mark the screwholes. (place the level on the shelf, for an extra check to make sure it’s level) Use your hammer drill to drill the holes.
4. Place the plugs into the holes. Next, have someone hold the shelf and use the screws to secure it to the wall.
The hard part is over! Now take a short break, you deserved it! >>Next up: decorating<<
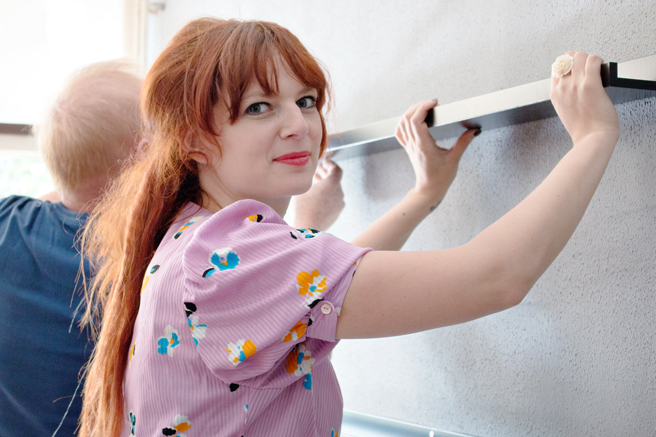
As you can see, it requires some team effort.
And some serious difficult shelf holding;)
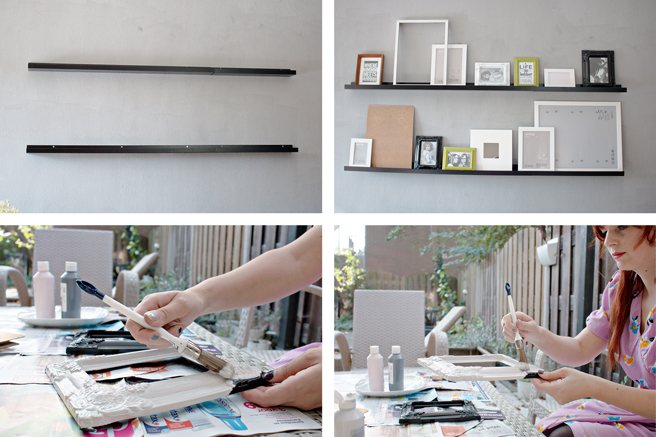
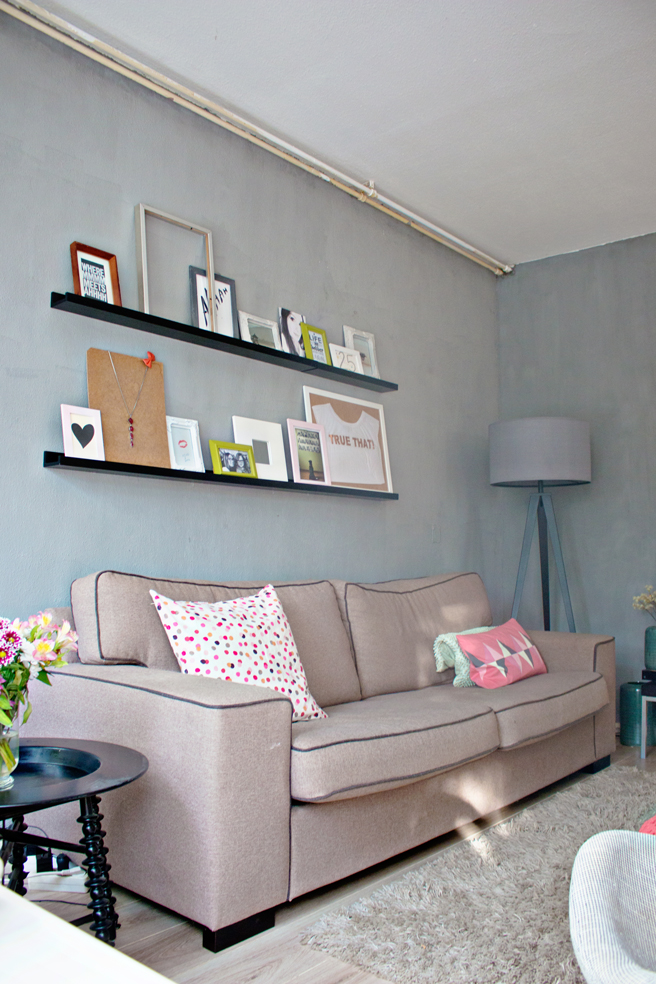
5. Look how pretty your new shelves are!
6. Collect all of your frames and place them on the shelves. Mix and match a little and decide the perfect display. Tak a picture to help remind you of how you placed them.
7. Choose the frames that you want to restyle. Do you want to paint them all in the same color? Or go bold and try a mixture of colors!
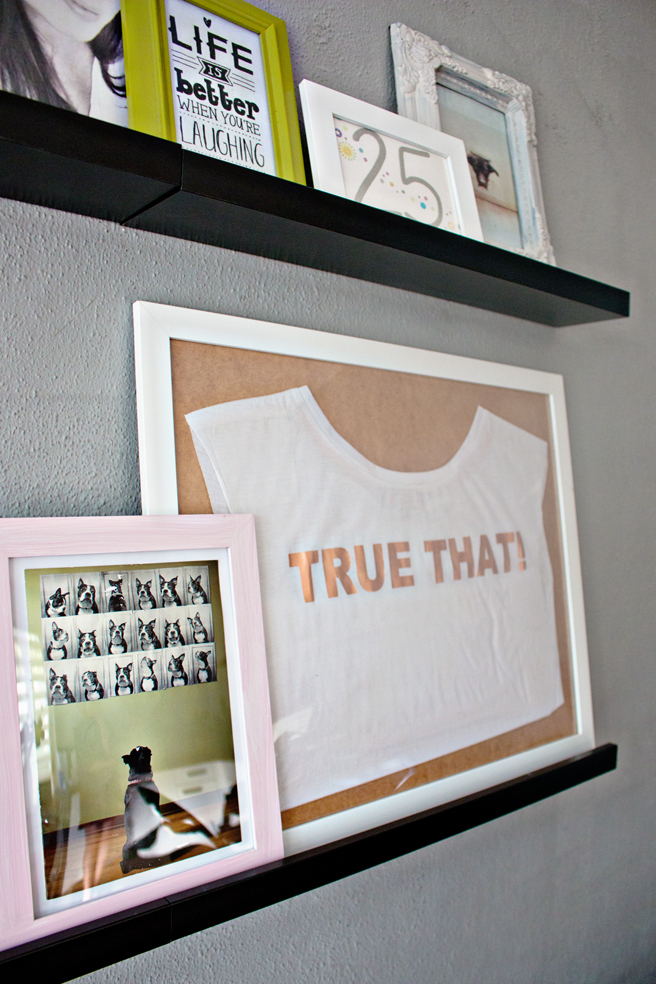
Because I used a mixture of frames, I wanted to keep the overall look stylish. Different frame-styles and colors can make it look a bit crowded and because the wall is already in a dark color, I wanted to keep the look more fresh and light. So I decided to paint the darker frames in light colors: pink, white and grey.
8. Some frames may need a few layers of paint, let the paint dry in between layers. After all the frames dried, place them back on the shelves and use your prettiest pictures or accesories in the frames!
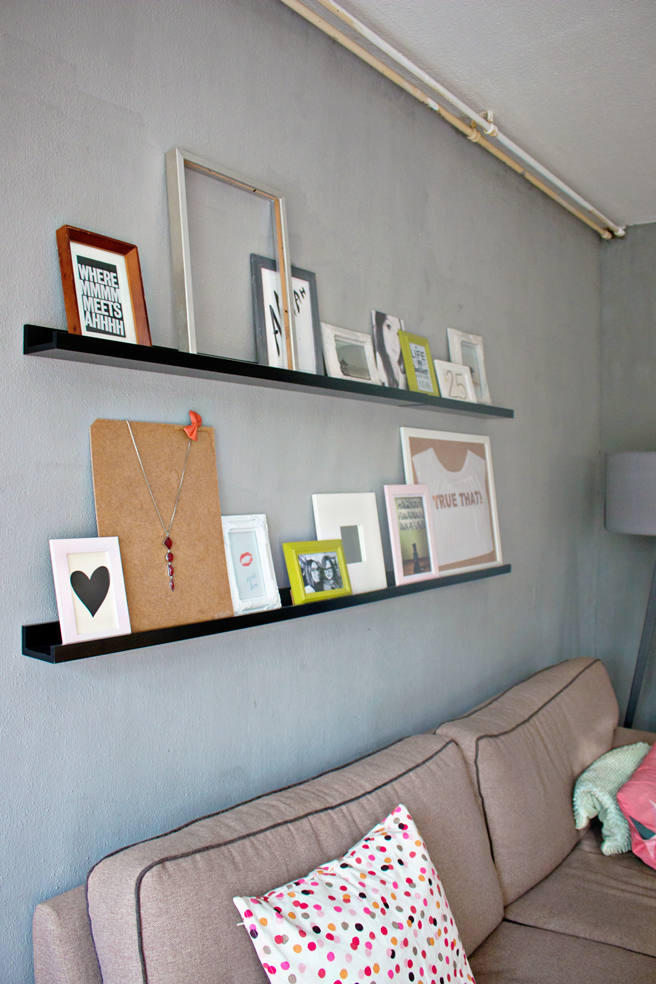
Try to think outside of the box when decorating the shelves and look for different items to place in the frames. This can be anything: cute notes, concert tickets, a book print DIY or just a very cool shirt!
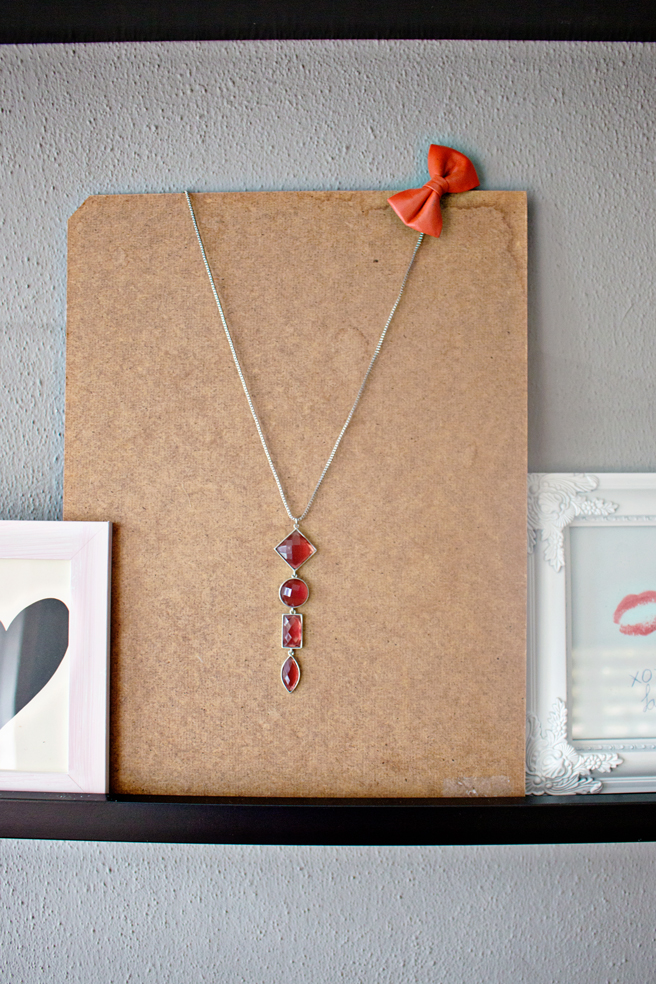
Not enough frames? Use different items to place on the shelve. I found this piece of cardboard and displayed a necklace to add a bit of color to the total look.
Photography by: Barbara & Lana
Handy help by: Dad

