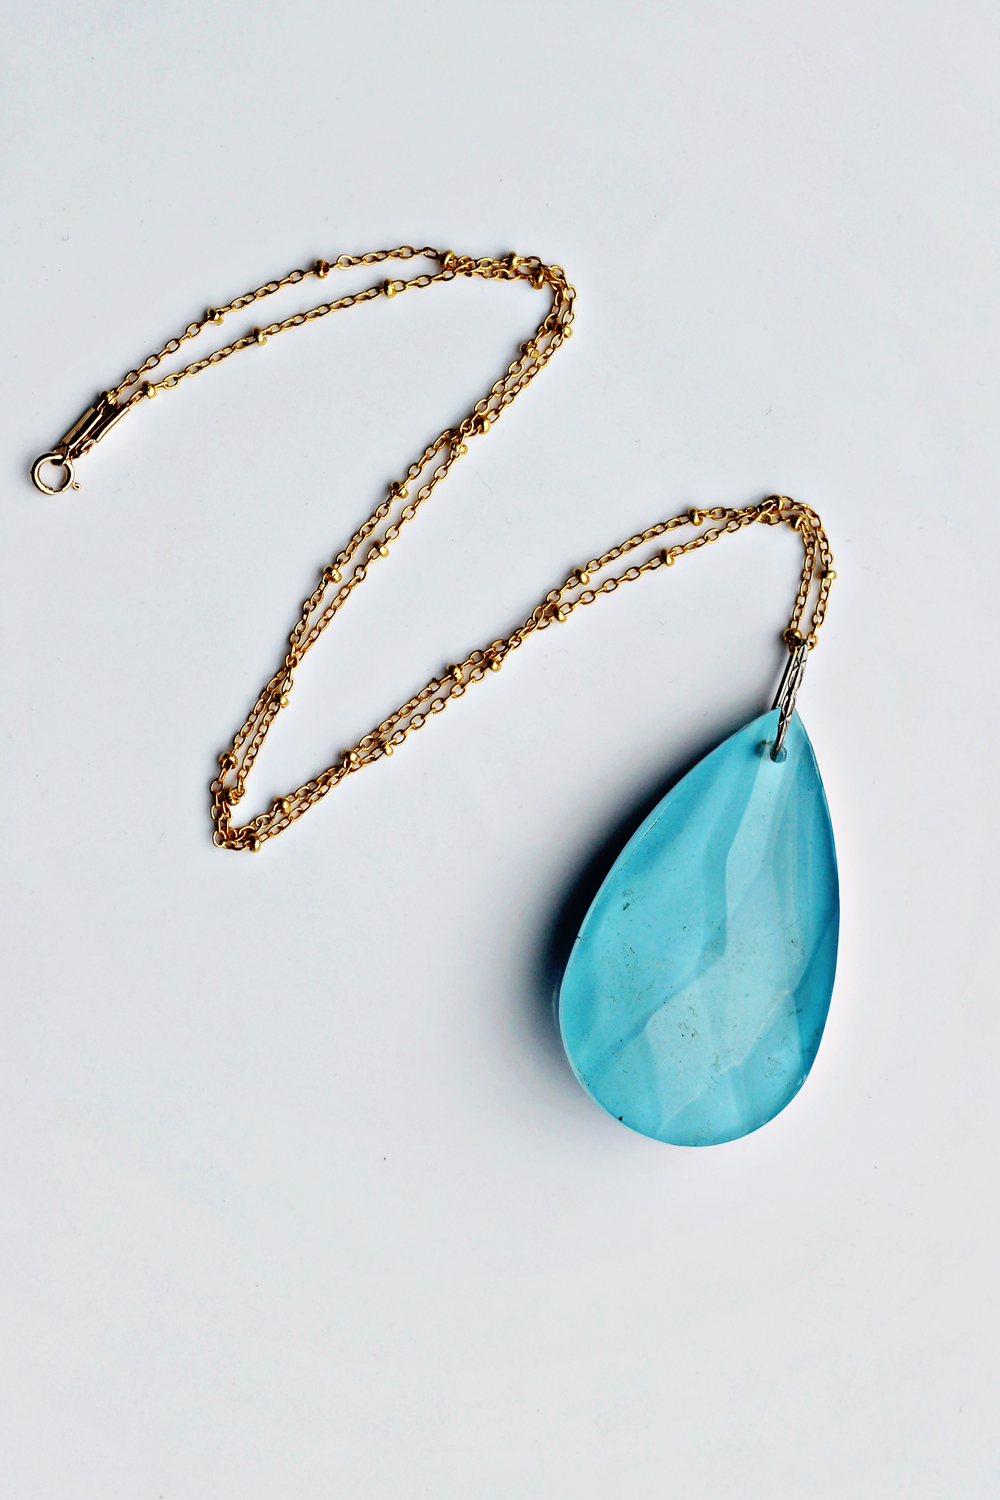
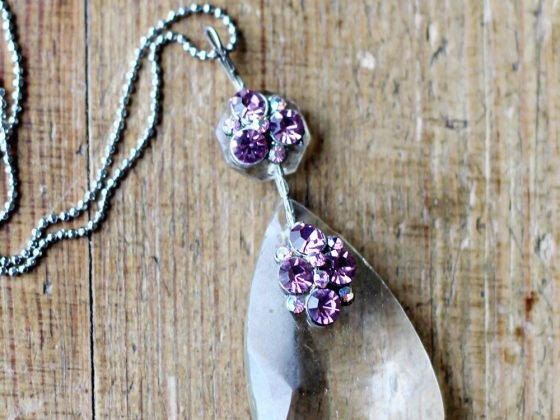
I found a couple of these chandelier pendants at the thrift store and immediately felt a new DIY project coming up!
I just love to repurpose things, and to give them a second live. And these beauties just seemed perfect for just that.
I decided to make two different tutorials for them, because I wanted to see if I could make two different necklaces with the same basis in just a few simple steps. And I must say that it worked out great! I am now the proud owner of two pretty new necklaces, and they are both suitable to wear with many different outfits.
Today I am showing you the first DIY, so be sure to check out the blog tomorrow to see part 2!
Here’s how:
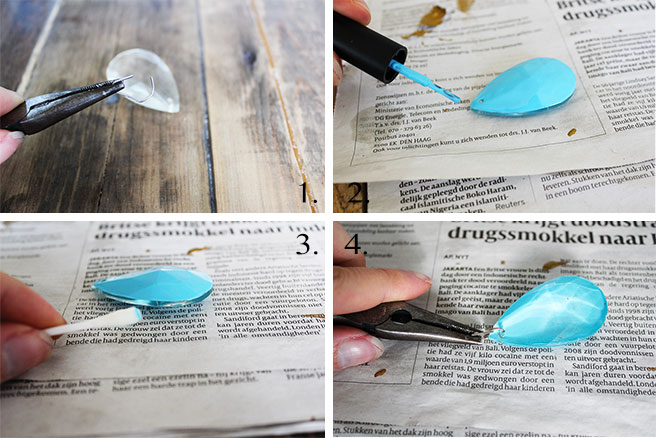
1. Remove the wire and clean the pendant piece.
2. Choose a color of nail polish and apply it to one side of the pendant, let it dry.
3. Take a cue tip and some nail polish remover and remove any mistakes on the sides, to create a smooth even line.
4. Reapply the wire.
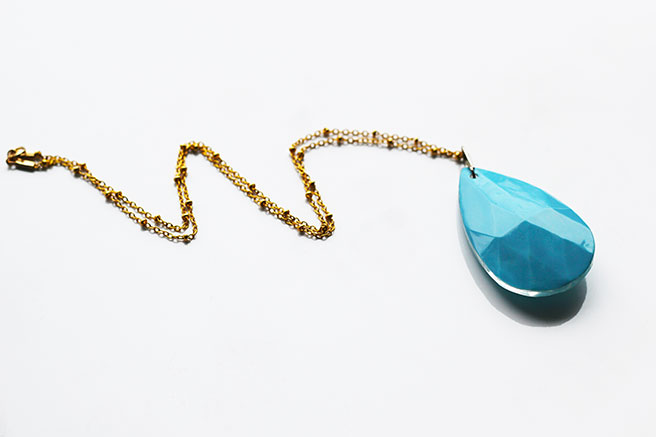
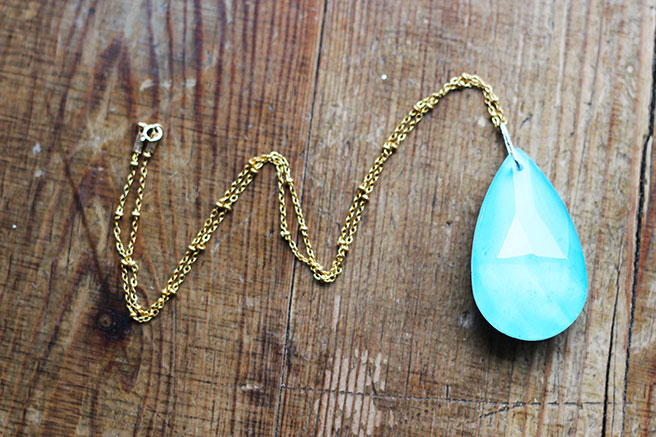
All Done!



17 comments
I think it’s a nice idea. Is it possible to do it with a picture or a pattern?
Thank you!
And what do you mean with picture or pattern? Like applying it on the pendant?
I love it – so simple. :) Will need to hunt for a suitable chandelier pendant.
Yes, you should! ;)
Excellent idea! I think it would be even more of an interesting result if one were to use several nail polishes that are close to each other in color enough that if they were layered, they’d create a cool gradient effect… that would be so pretty!
That is a really cool idea! I should definitely try that, thanks!
So cute!! I’m obsessed with the trend of painting old rhinestones with nail polish…. this is even bigger and better!!
Mackenzie
http://www.heybirdfriend.com
Thank you!
Wonderful tutorial! I loved the outcome!
Great post!! I included it in my post Βόλτα στη Γειτονιά #25 :)
Have a great week!!
Thank you! And thank you for reblogging it!xx
Simple yet beautiful! I love the color you used for the pendant! Thanks for sharing Lana!
Thank you!x
Gorgeous! I am loving your tutorials! This necklace is so simple, which I think makes it even more eye catching. My love of stones caused this to catch my eye ;)
Thank you so much for liking my tutorials and for the comment! xx
Looks great. Will the nail polish last? Would it be worth putting a coat of some kind of sealant – id there anything you would recommend?
The nail polish is still the same as the day that I applied it. But I can imagine that if it gets scratched somehow, it might get damaged. You can use a sealant as an extra protective layer, but I am unfortunately not very familiar with sealants on top of nail polish.
I googled: “sealing nail polish jewelry” and found a few helpful links that way. Hopefully these might help you.
Happy crafting! Lana x
Such a amazing article! Thankyou very much for sharing this great piece.