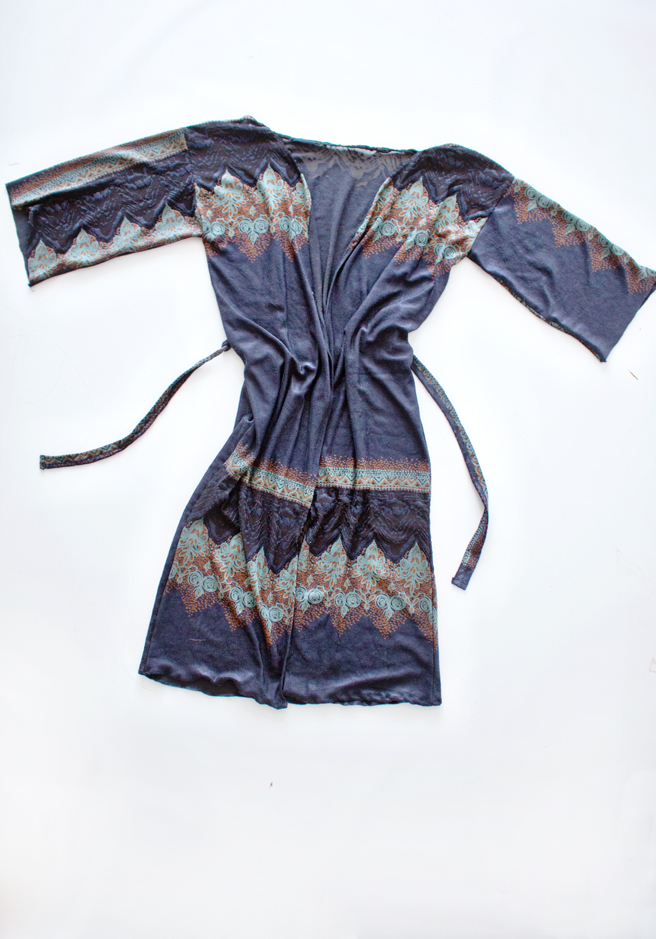
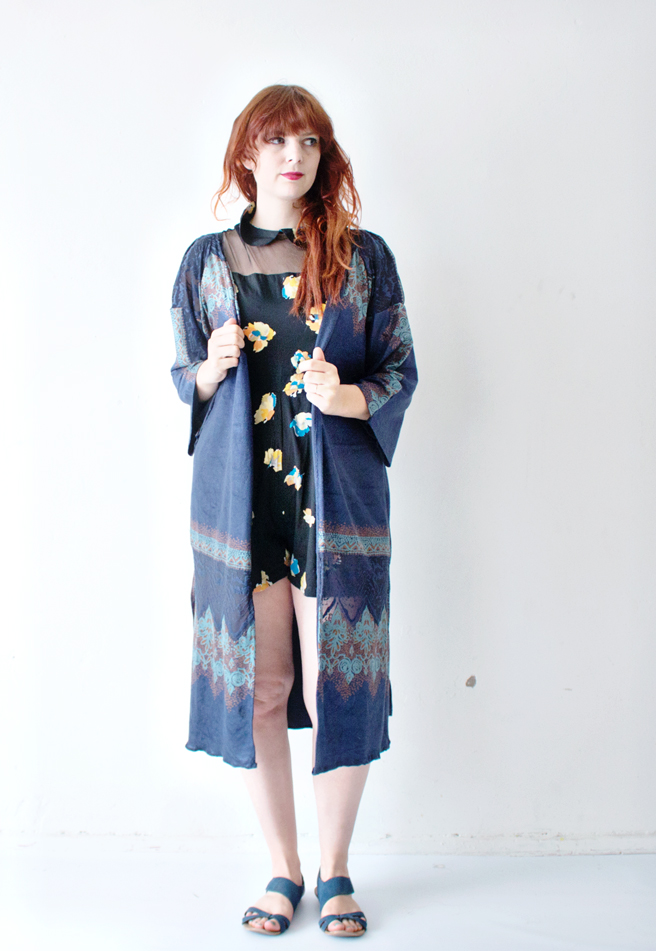
The kimono trend as been going on for a while now and it was time to turn it into a project! For those of you that don’t know the meaning of the new found kimono: it’s the perfect piece of clothing! You can wear it over your clothes as a vest (but more hipstery fashionable), you can wear it over your nightgown, you can wear it on the beach to cover up, and many more!
It has a similar pattern to the western kimono version, but the trick is to use flowy patterns. Many crafters make one out of old scarfs and they always look gorgeous!
I decided to go for a more warm but still flowy stretchy fabric, because I planned to bring it on my Vietnam tip, and also wanted it us it as a lightweight vest to keep in my purse.
DIY: Make your own kimono:
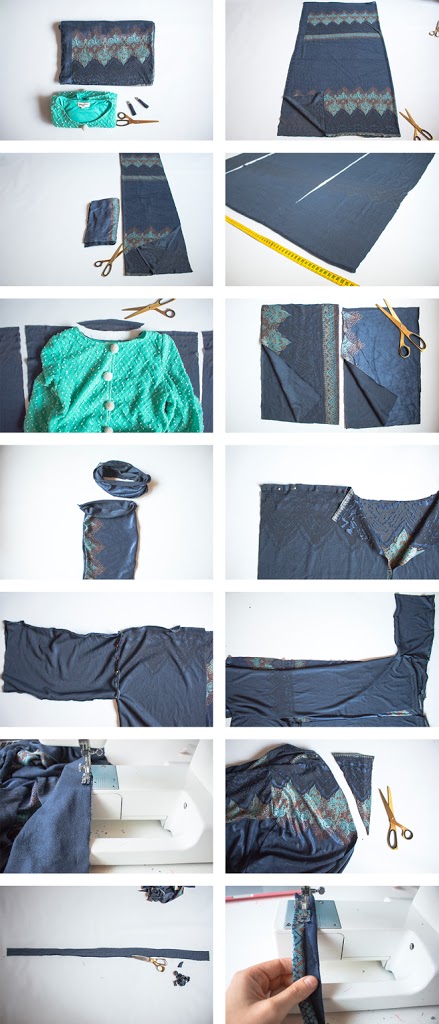
1. Supplies: Fabric for the kimono |Scissors | Sweater that fits you right | Sewing Machine
2. Buy your fabric. Make sure that it is wide enough to fit around your waist and extra space for overlapping at the front. Fold the fabric double and cut the fold line to create two parts.
3. Take one of the parts and fold that one double. Cut along the fold line.
4. You should now have one back piece, and two front pieces.
5. Place your sweater on the back part and use the neckline as a guide to cut the neckline on your kimono.
6. Cut two long pieces of fabric and fold them double, these will be the sleeves.
7. Sew the sleeves, by making a tunnel.
8. Place the front pieces of your kimono onto the back piece (all of them wrong side out). Pin and sew the shoulders.
9. Pin and sew the arm sleeves to your kimono.
10. Sew the sides.
11. Hem the bottom part of your kimono.
12. Cut the front from the neckline in the way you prefer it best. I choose to make a small curve on the top.
13. Cut a long strip and fold it double, this will be your waistband.
14. Sew the waistband.
Your new kimono is ready!


