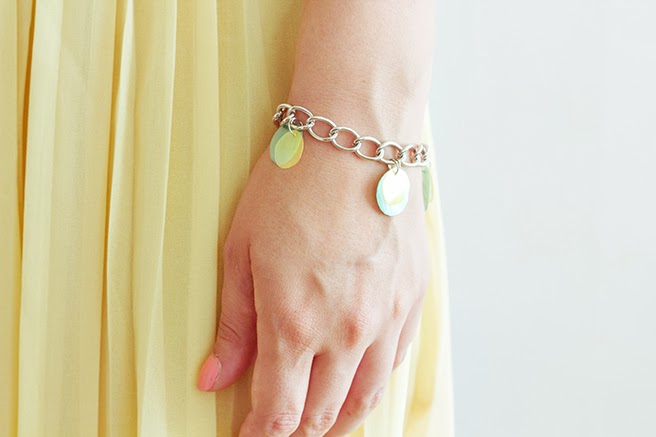
It seems like forever since I did an upcycle DIY project, so I’m very excited to share this new one with you!
It’s a pretty low cost and easy tutorial, and I personally really loved making it! The fun part is that you can alter it to your own taste, so please share your creations I would love to see them!
Have fun upcycling!
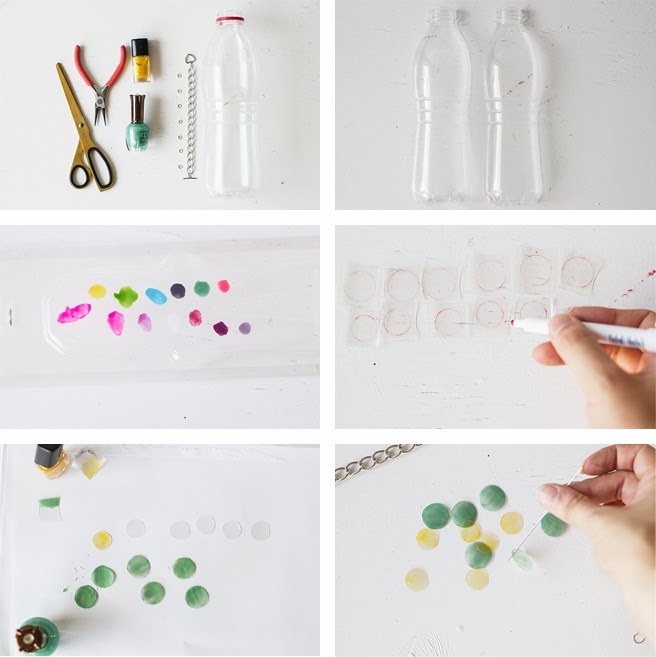
Supplies:
Plastic Bottle | Bracelet chain | Hoop Rings | Pliers | Scissors | Nailpolish | Pen/Marker | Big Sewing Needle
1. Cut your bottle in half.
2. Use one half of the bottle to test your nail polish thickness and color. (you can also cut them out and test what they look like when they are layered)
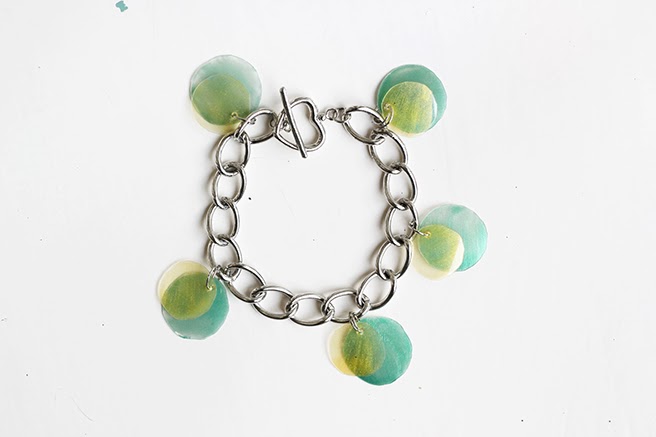
3. Cut 12 pieces of plastic. Draw 6 small circles** and 6 bigger circles on the plastic and cut them out.
4. Paint your circles in your choice of nail polish and color. Let them dry.
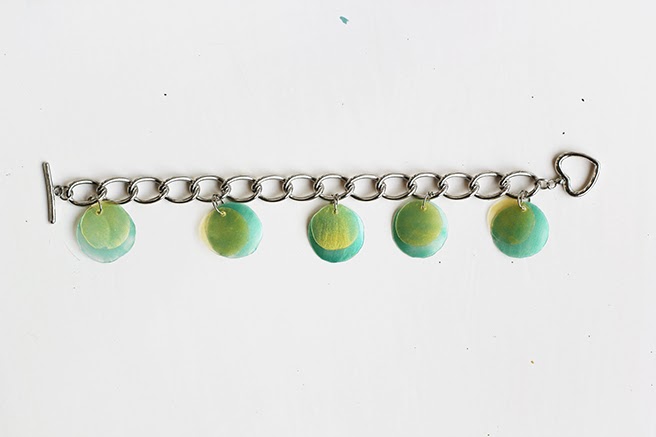
5. Use your needle to make a small hole in the plastic circles. Next, use your pliers and hoop rings to attach the plastic circles onto the bracelet.
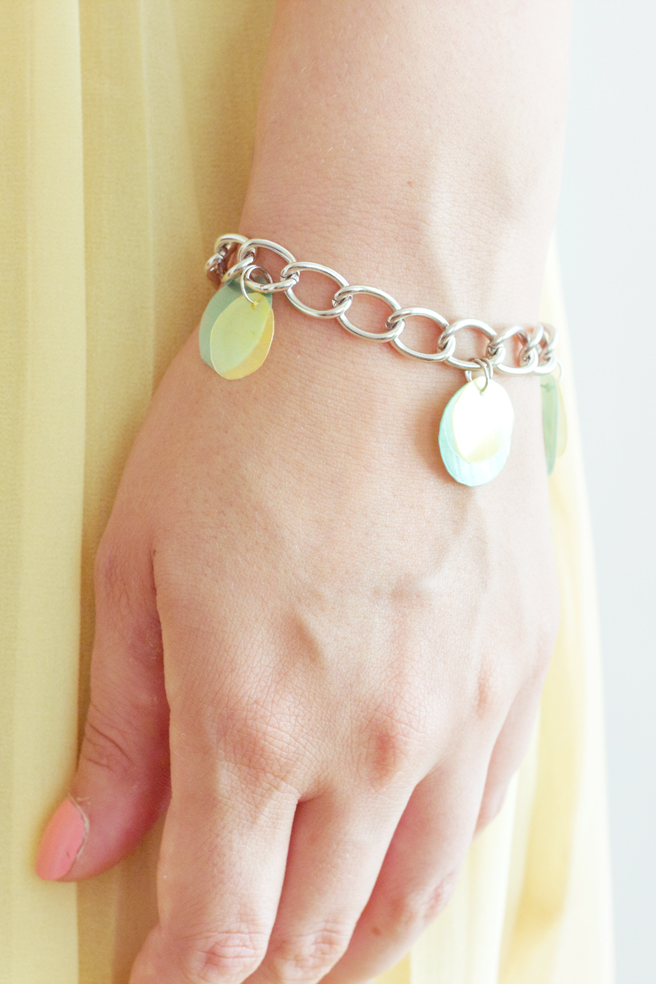
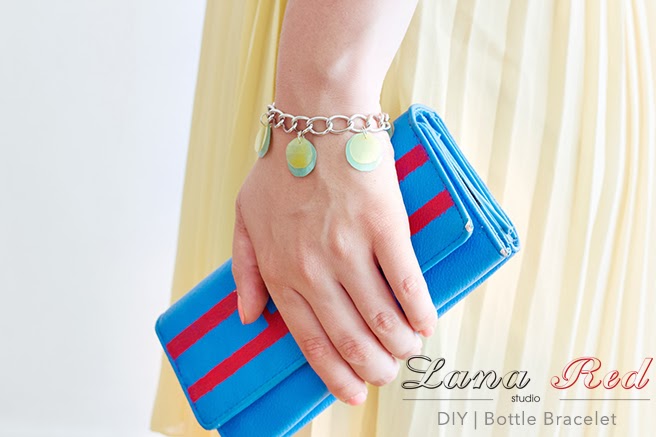
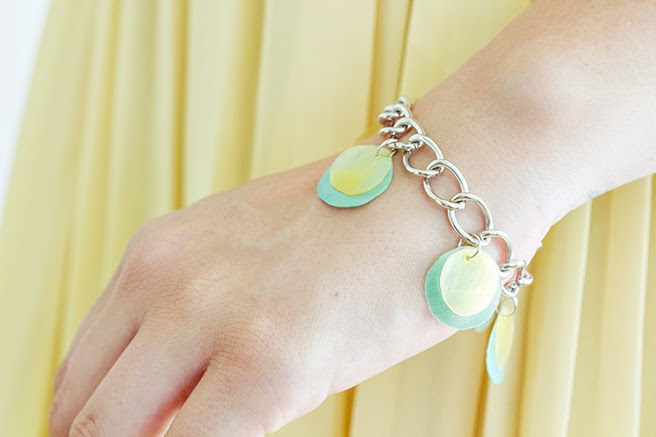
All done!
** You can also make small hearts, triangles etc. and adjust it to your own taste!
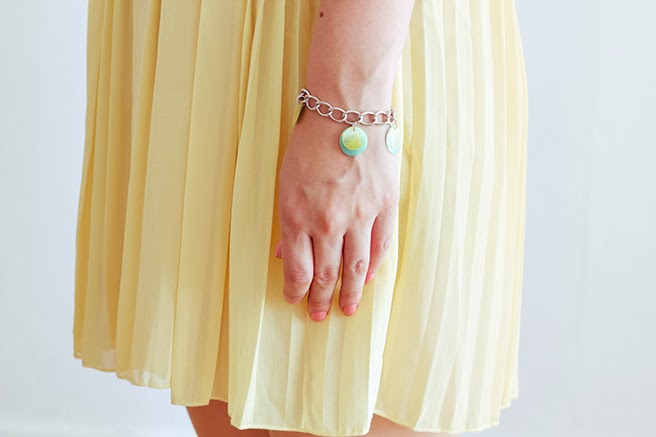
Dress by Lalamagic


2 comments
wow!!
this looks like it took a while!! ;-)
it’s very good!
peacequiethere.blogspot.gr
It actually didn’t take that long:) Thanks for the comment! xx