Ever since I moved into my second sublet here in Berlin, I have this mixed feeling about the emptiness of the space. It has all the basics: sofa, table, chairs, shelves, etc. And the walls are pretty and high and clean and light. So it’s a perfect blanc canvas, but unfortunately a canvas that I am not aloud to paint..
And since all of my stuff fits in a suitcase (and secretly also a backpack filled with dresses) I do not have anything to organise or store my clutter. Not to mention that I am despreftaly in need of some decoration items that have no purpose at all, but to prettify my home.
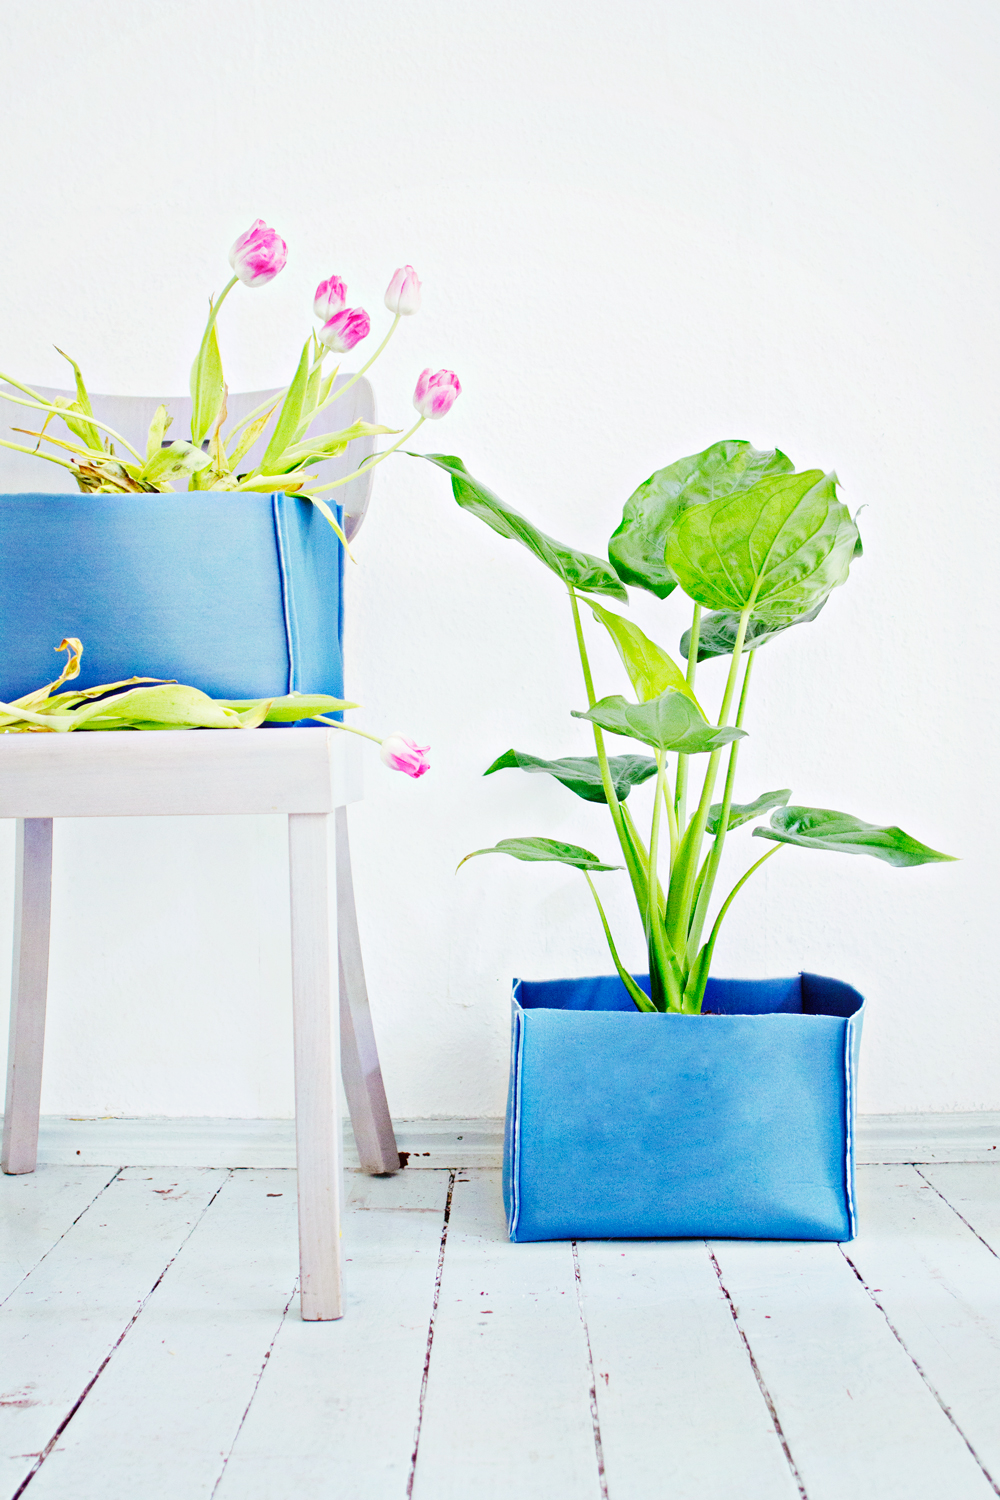
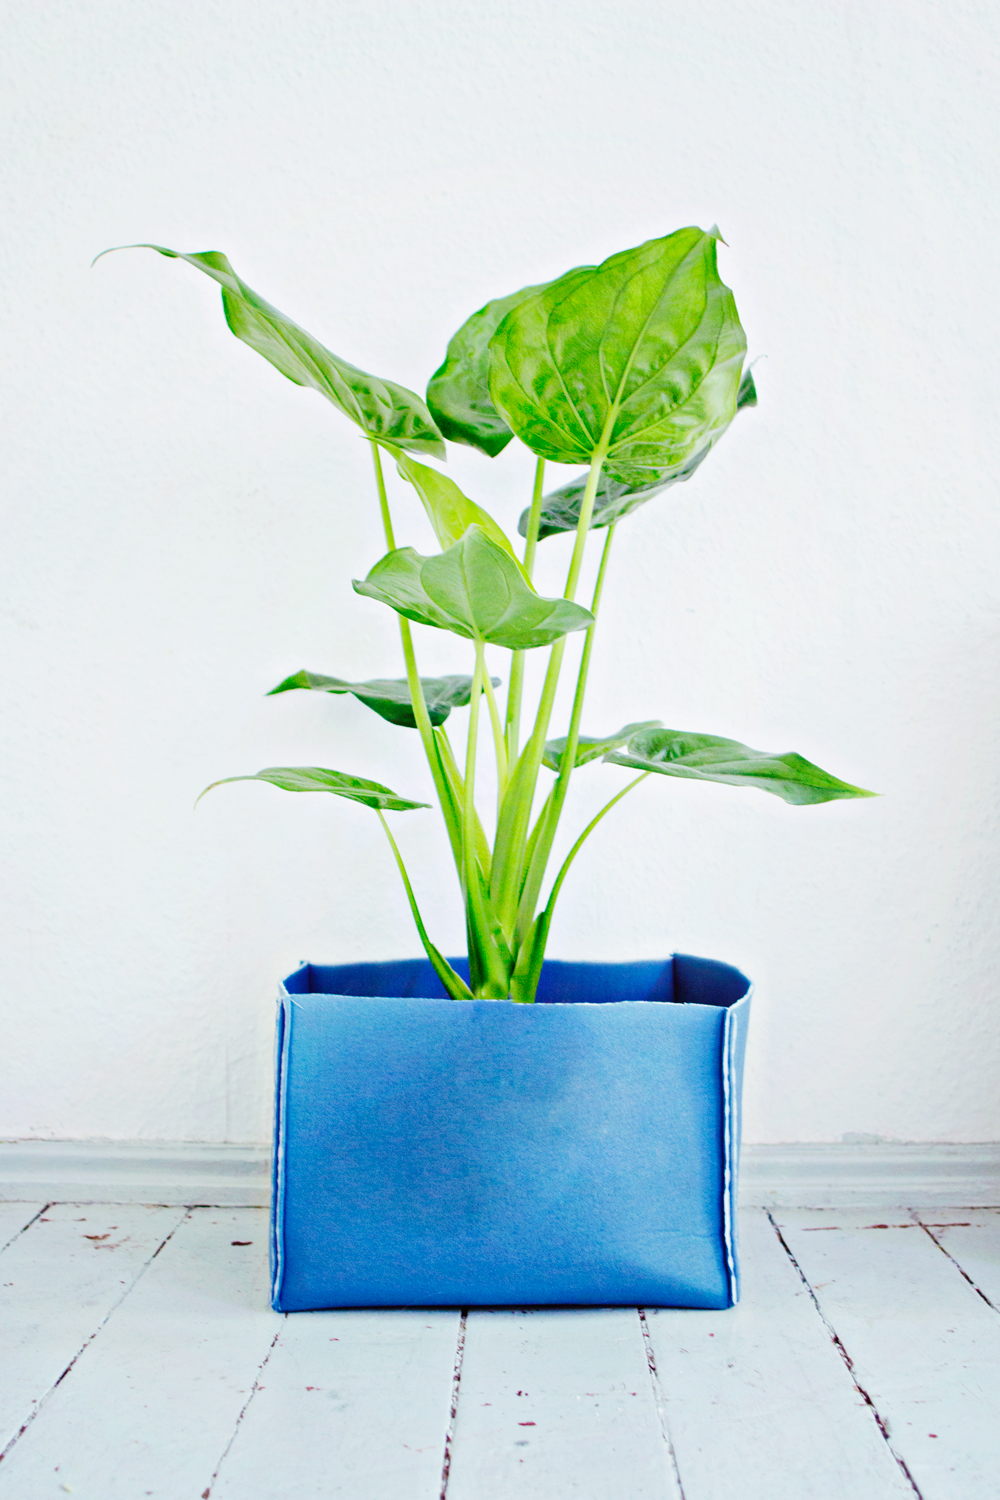
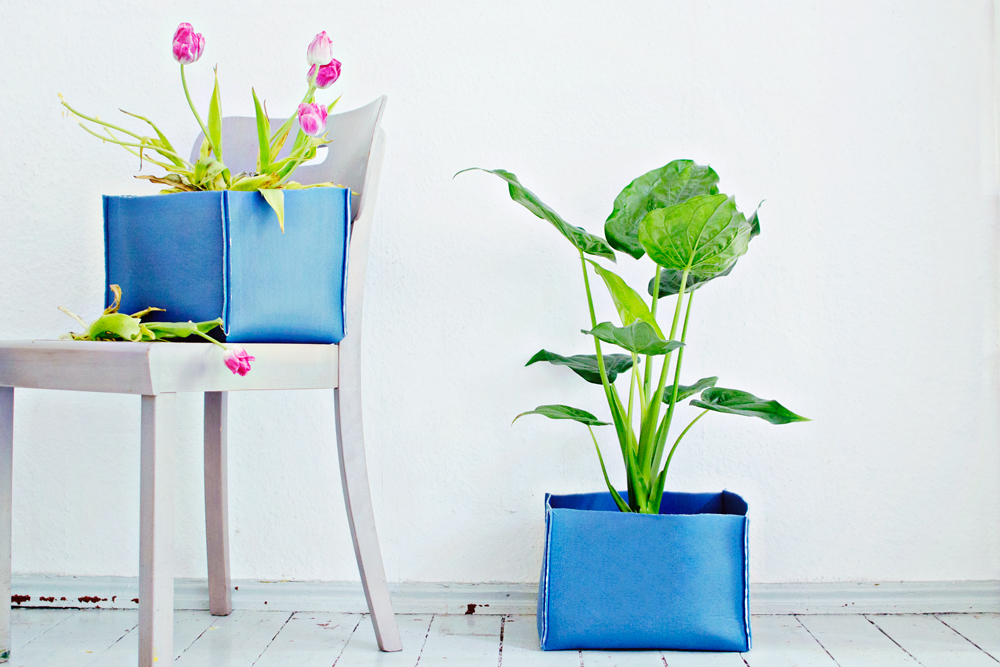
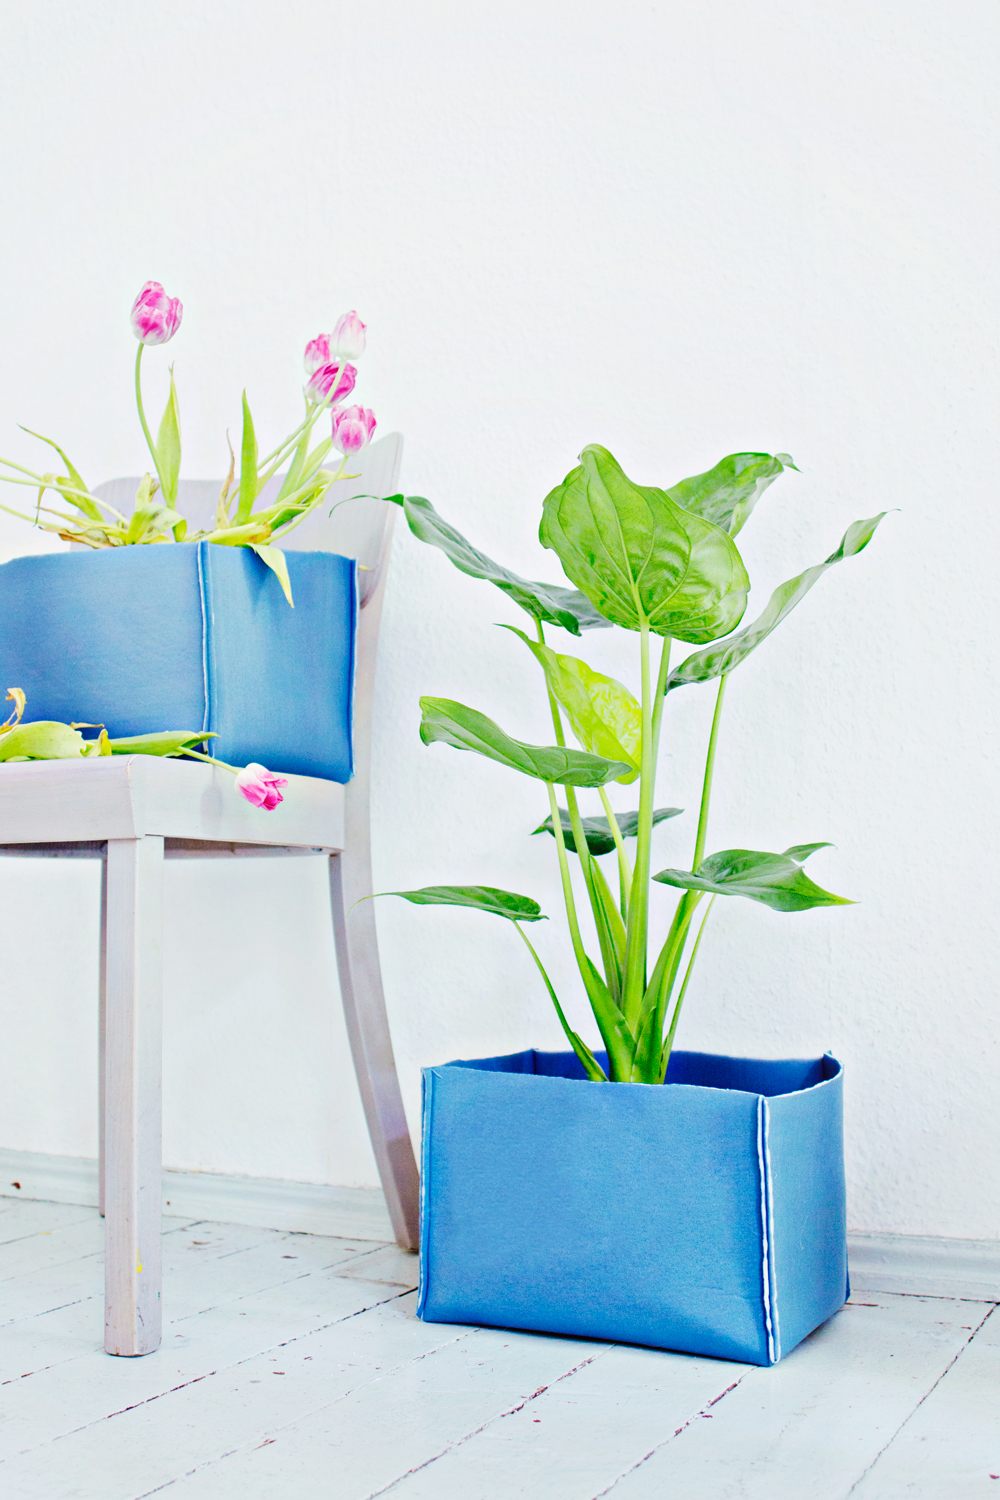
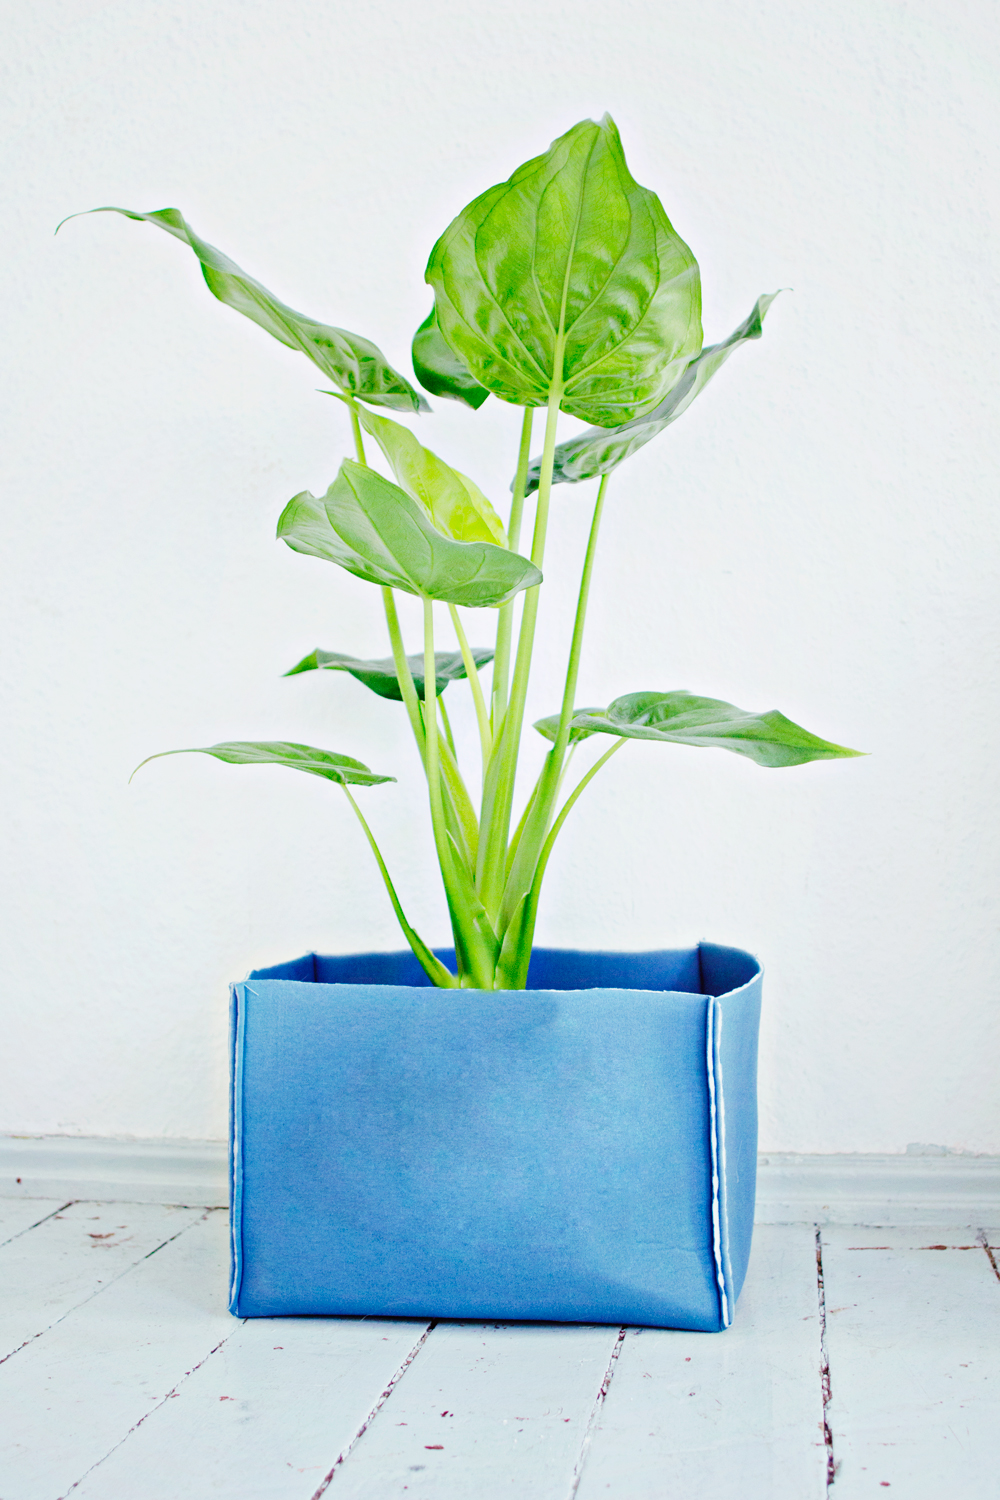
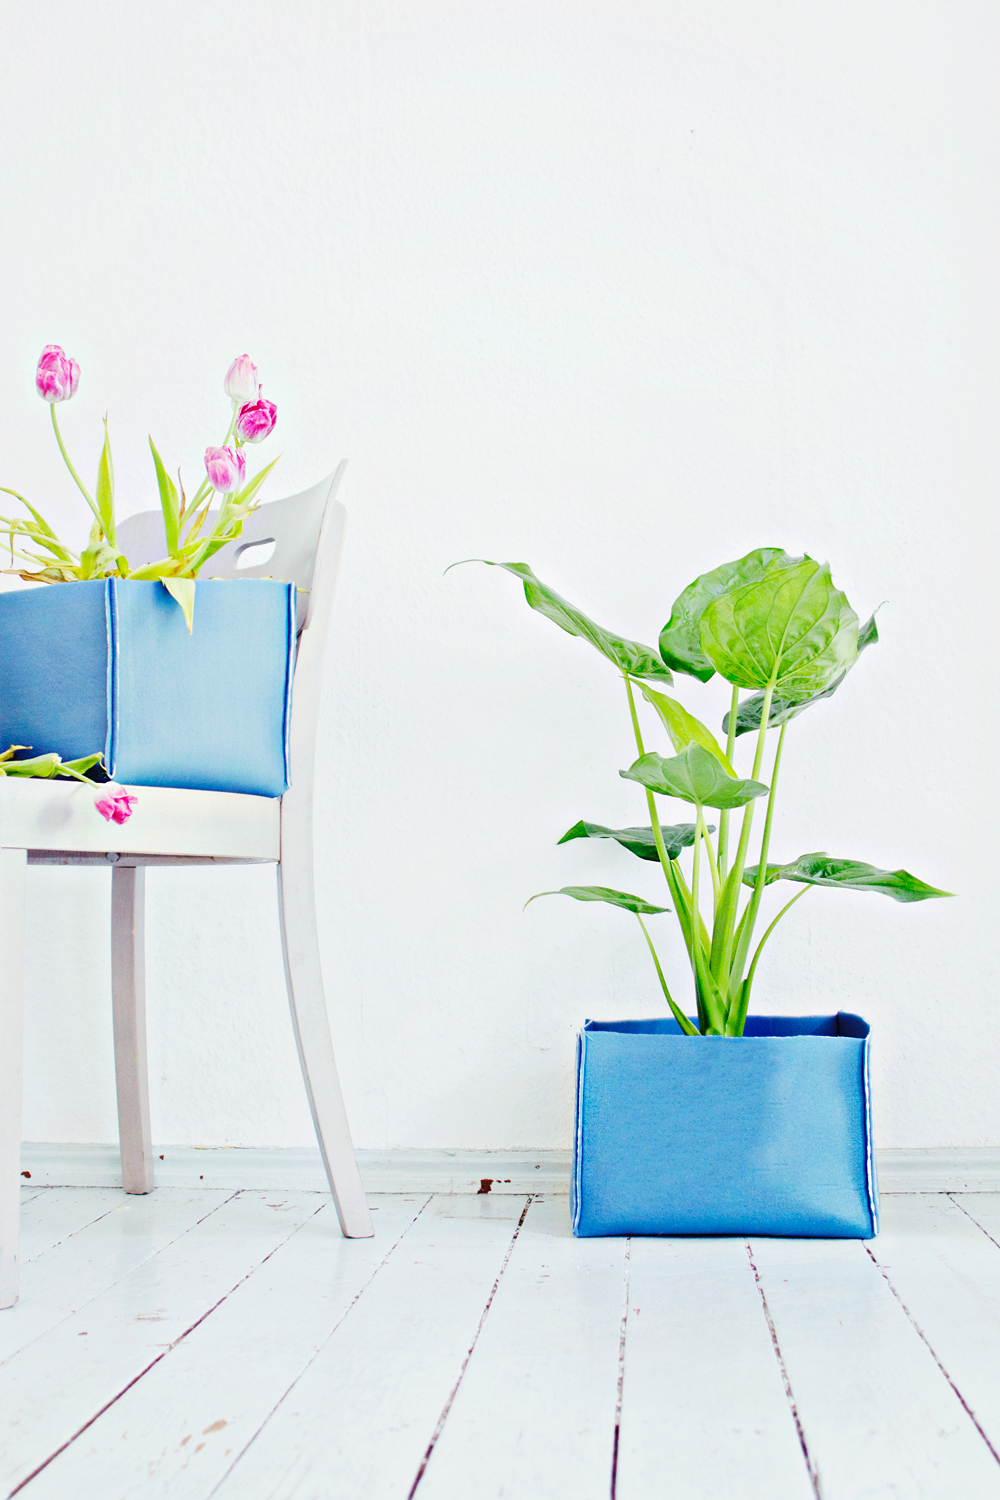
How to solve these problems? I guess I already gave it away with the big picture above: 10 minute storage baskets!
They are the perfect solution! Because they hide all of my clutter, they are extremely multifunctional: Planter, storage, cupboard organizer, etc. and they also look pretty!
To make these I used one of my favourite kinds of fabric: neoprene. In case you haven’t heard of neoprene before, it’s the fabric that looks like a surfers outfit or a laptop sleeve. It comes in many colors and the best feature is that it doesn’t fray. So you can simply cut the fabric, sew it and that’s it! (you can even show the cut edges off, since they are thick and look nice:)
I even used the cheaper neoprene kind that isn’t stretchy, because this basket doesn’t have to stretch and saving money is always a plus.
Are you ready to create your own easy neoprene fabric baskets?
DIY:
SUPPLIES
– Neoprene Fabric (it doesn’t have to be the stretchy kind)
– A piece of A4 paper
– Pins
– Scissors
– Sewing Machine (but needle and thread will also work)
STEP 1
– Spread the fabric over a flat surface.
– Place the piece of A4 paper on the fabric, making sure that there is enough space for another similar sized paper all around.
– Mark the placement of the paper by pinning the fabric next to the corners of the paper.
STEP 2
– Remove the paper from the fabric and place it underneath the previous made marking points (made with your pins in the fabric.
– Mark this positions in the fabric with your pins.
– Repeat these steps all around the marked pins from the first step.
**Make sure that you stack 3 horizontal A4 sized shapes and add 2 vertical placed shaped on the sides of the middle piece, see next image for a clearer view
STEP 3
– Use your scissors to cut all around the pins. Creating your basket template.
– Remove the pins
STEP 4
-Fold the corners of the basket and sew a straight line, creating the basket shape. Repeat this for all 4 corners.
** You can show the seems by leaving the basket like this, or you can fold the basket inside out for a different look.
For these photos I showed you how to use the basket as a stylish planter. But not only your plants have to enjoy these. I also use the baskets for my tights storage, and I have a few of them displayed in my open living room cupboard, to hide my cables and other clutter.
What would you use the basket for? Let me know in the comment section!

